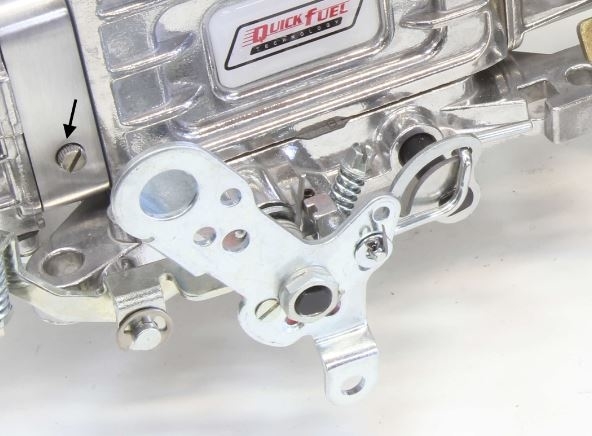
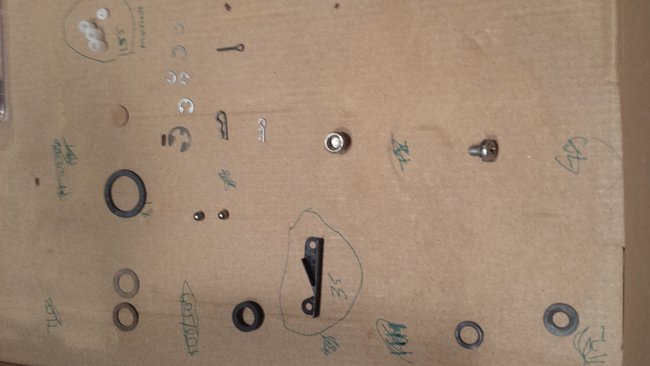
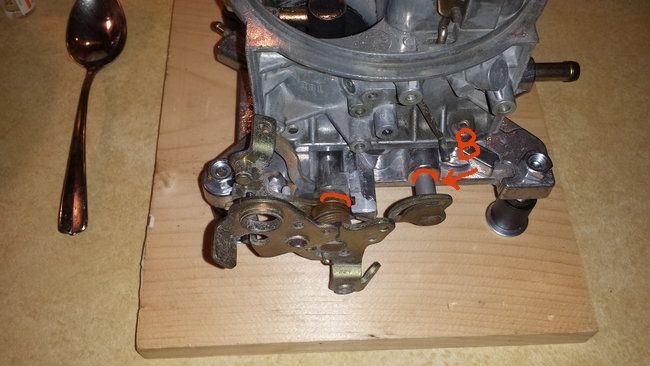
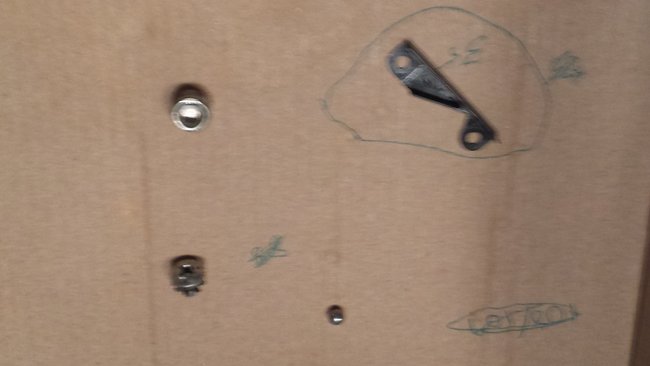
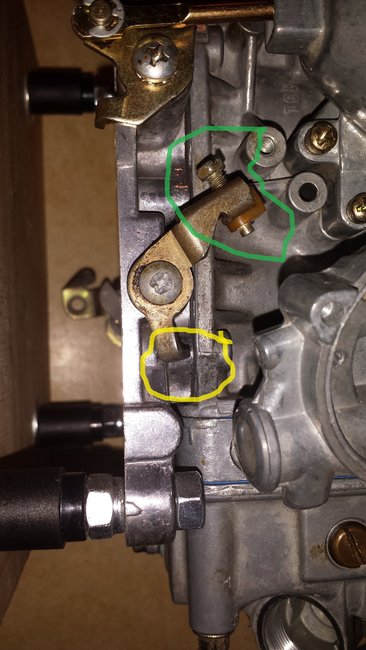
The ball bearing came out of the carburetor. It's not extra just like the hex plug. They came from the carb. I just can't come up with where they belong or how they attach.
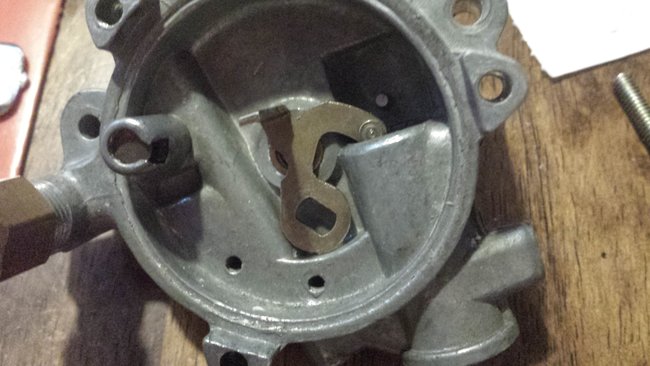
The screw is to hold the Diaphragm lever assy. I just found how the metering body vent valve #35 goes into the metering block, I'll have to deconstruct it again. What does it do?
Now I edited this and all of it disappeared. What the hell?
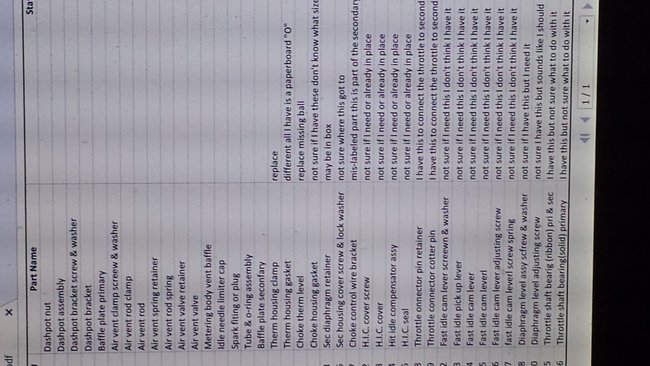
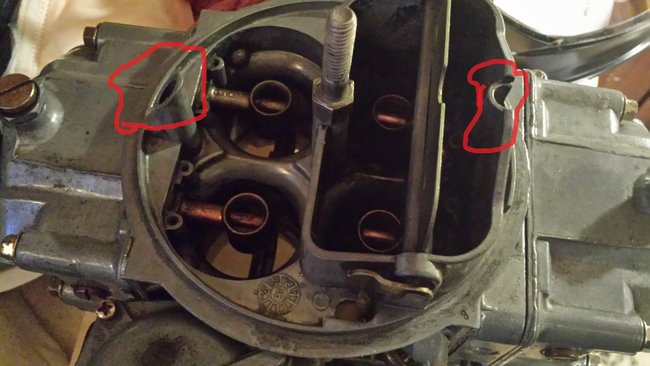
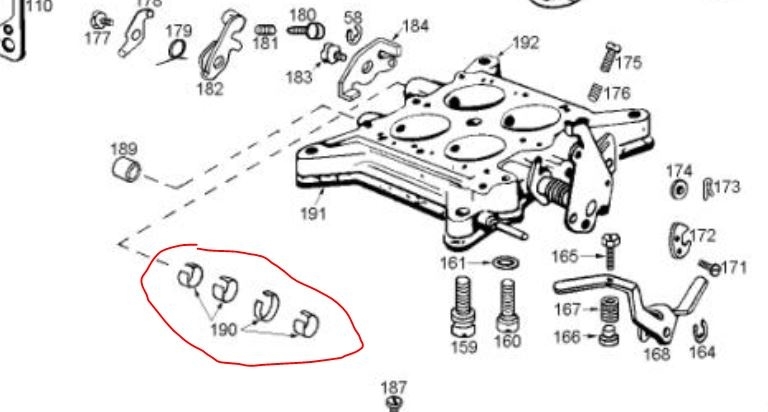
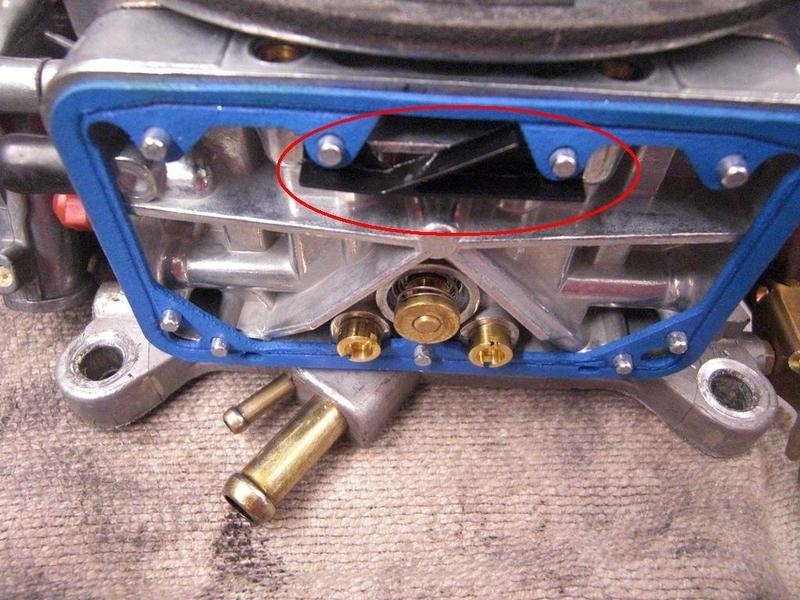
121 is the Pump discharge check ball and 120 is the Pump discharge weight. The reconstruction didn't mention these parts but they are on the exploded view and chart. Just another Holley oversight. Any way on the exploded view it says the check ball and weight are not used except for mid-70s carburetors or earlier. I didn't think my carburetor was that old but it did have the check ball in the pump discharge "stack" but it didn't have a weight.
Read on about the weight from an article I found on carberatorblog.
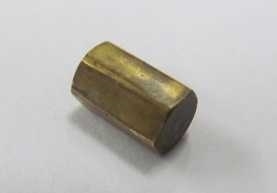
Holley 1940 Check Weight
This is the Holley 1940 check weight. These are not produced and if you lose your check weight, then your choices are to find a donor carburetor or make your own. This one is a bit harder than most because it is a hex-shaped weight. I would say the most important spec is the weight. Too much weight and the check ball will not lift as it should. Here are the specifications. Brass 1 gram in weight 7/16" long 5/32" wide, point to point of the hex.
An alternative is to add 1 more check ball on top of the 1st check ball. This is not the preferred method but will get you by.
Now you know but what to do? Do I include it and make a weight somehow or do I leave it out entirely, or put it back with just the one check ball or do the un-preferred method of using a 2nd check ball? What does all this accomplish if it's done properly or not at all?
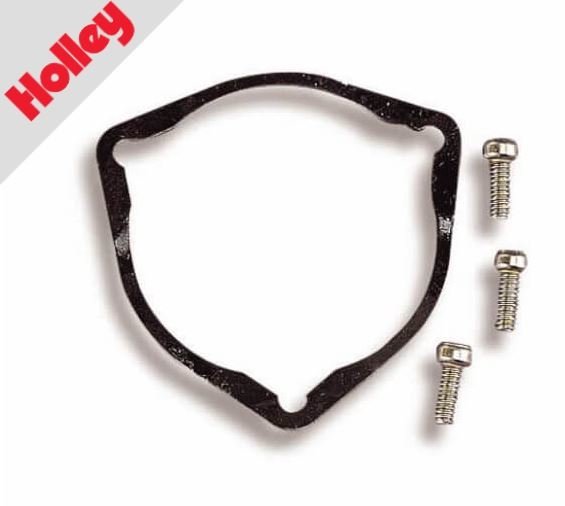
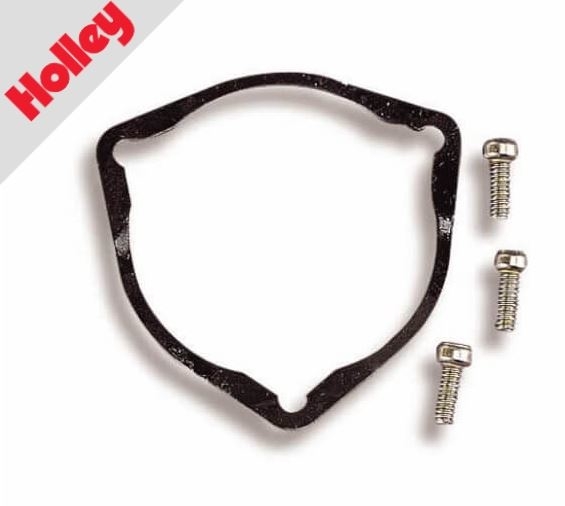
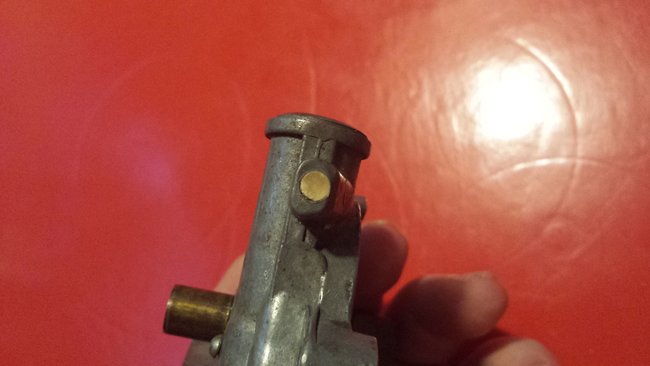
The hex plug is the last piece.
Images (Click to enlarge)
May 22, 2021 at 1:09 PM