Welcome to 2CarPros.
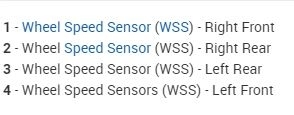
Relax, we'll get through this. I was wondering if it only happens in reverse. Does it work normally when you put it into drive?
Since the traction control light flashes, it should have trouble codes stored in the computer. However, in most cases the type of code it will set requires an upper level scanner. Can you tell me if the check engine light stays on when the engine is running?
Now, most times a traction control light comes on, it is related to a wheel speed sensor. I have even seen them come on when the brake fluid in the master cylinder was low, so check that.
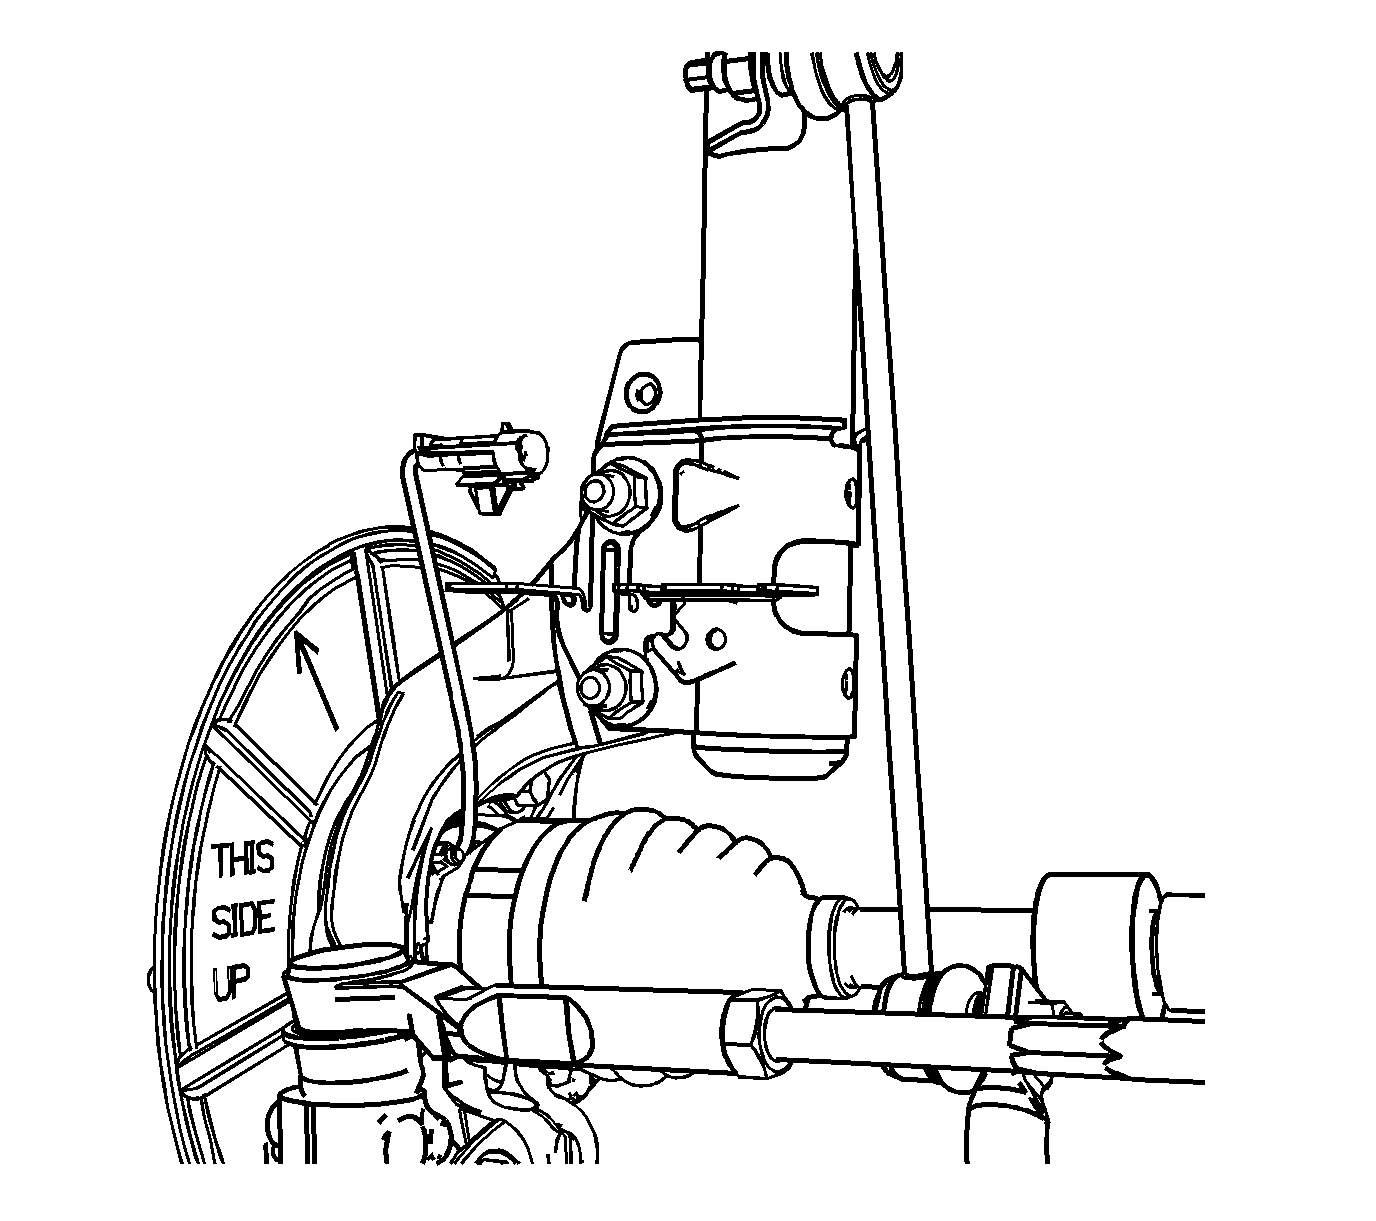
As far as a wheel speed sensor (aka an abs sensor), here is a link that explains how to test one. Also, I attached two pictures to help you locate the sensors. Pictures 1 and 2
https://www.2carpros.com/articles/abs-wheel-speed-sensor-test
Here are a few links that explain how to use the basic testing equipment needed:
https://www.2carpros.com/articles/how-to-use-a-test-light-circuit-tester
https://www.2carpros.com/articles/how-to-use-a-voltmeter
https://www.2carpros.com/articles/how-to-check-wiring
If you find one of the sensors is bad, here are the directions for replacement. The link shows how in general.
https://www.2carpros.com/articles/how-to-replace-an-abs-wheel-speed-sensor
Now, if you find that one of the sensors is bad, the sensor itself isn't replaceable, but rather the hub / bearing assembly needs replaced.
_______________________________________________________________
Here is a link that explains how in general a wheel hub bearing is replaced:
https://www.2carpros.com/articles/bearing-hub-replacement
______________________________________________________________
Here are the directions specific to your vehicle. I will start with the rear.
REAR WHEEL BEARING AND HUB REPLACEMENT
Rear Wheel Bearing and Hub Replacement
Removal Procedure
1. Raise and support the vehicle. Refer to Lifting and Jacking the Vehicle (See: Vehicle Lifting > Procedures > Lifting and Jacking the Vehicle).
2. Remove the tire and wheel assembly. Refer to Tire and Wheel Removal and Installation (See: Wheels and Tires > Removal and Replacement > Tire and Wheel Removal and Installation).
3. Remove the brake rotor. Refer to Rear Brake Rotor Replacement (See: Brake Rotor/Disc > Removal and Replacement).
pic 3
4. Disconnect the electrical connector from the wheel speed sensor, if equipped with ABS.
5. Remove the stabilizer link bolt at the knuckle and position the stabilizer link out of the way in order to provide access to the wheel bearing/hub nuts. Refer to Stabilizer Shaft Replacement (See: Stabilizer Bar, Sway Control > Removal and Replacement > Stabilizer Shaft Replacement).
6. Remove the 4 wheel bearing/hub assembly nuts.
7. Remove the wheel bearing/hub assembly from the knuckle.
Installation Procedure
pic 3 again
1. Install the wheel bearing/hub assembly to the knuckle.
Caution: Refer to Fastener Caution (See: Vehicle > Vehicle Damage Warnings > Fastener Caution).
2. Install the 4 wheel bearing/hub assembly nuts.
Tighten the nuts to 63 Nm (47 lb ft).
3. Connect the stabilizer link bolt at the knuckle. Refer to Stabilizer Shaft Replacement (See: Stabilizer Bar, Sway Control > Removal and Replacement > Stabilizer Shaft Replacement).
4. Connect the electrical connector to the wheel speed sensor, if equipped with ABS.
5. Install the brake rotor. Refer to Rear Brake Rotor Replacement (See: Brake Rotor/Disc > Removal and Replacement).
6. Install the tire and wheel assembly. Refer to Tire and Wheel Removal and Installation (See: Wheels and Tires > Removal and Replacement > Tire and Wheel Removal and Installation).
7. Lower the vehicle.
________________________________________
FRONT WHEEL BEARING AND HUB REPLACEMENT
Front Wheel Bearing and Hub Replacement
Removal Procedure
1. Raise and support the vehicle. Refer to Lifting and Jacking the Vehicle (See: Vehicle Lifting > Procedures > Lifting and Jacking the Vehicle).
2. Remove the brake rotor. Refer to Front Brake Rotor Replacement (See: Brake Rotor/Disc > Removal and Replacement).
pic 4
3. Disconnect the wheel speed sensor electrical connector, if equipped.
4. Remove the wheel speed sensor electrical connector from the mounting bracket, if needed.
5. Loosen the wheel drive shaft from the wheel bearing/hub. Refer to Wheel Drive Shaft Replacement (See: Axle Shaft Assembly > Removal and Replacement > Wheel Drive Shaft Replacement).
pic 5
6. Remove the wheel bearing/hub mounting bolts (1).
pic 6
7. Remove the wheel bearing/hub and backing plate from the steering knuckle.
Installation Procedure
pic 7
1. Position the backing plate and wheel bearing/hub assembly in the steering knuckle.
pic 8
Caution: Refer to Fastener Caution (See: Vehicle > Vehicle Damage Warnings > Fastener Caution).
2. Install the wheel bearing/hub mounting bolts (1).
Tighten the mounting bolts to 115 Nm (85 lb ft).
pic 9
3. Reconnect the wheel speed senor electrical connector, if needed.
4. Install the wheel speed sensor electrical connector on the retaining bracket, if needed.
5. Install the brake rotor. Refer to Front Brake Rotor Replacement (See: Brake Rotor/Disc > Removal and Replacement).
6. Install the wheel drive shaft retaining nut and washer. Refer to Wheel Drive Shaft Replacement (See: Axle Shaft Assembly > Removal and Replacement > Wheel Drive Shaft Replacement).
7. Remove the support and lower the vehicle.
__________________________________________
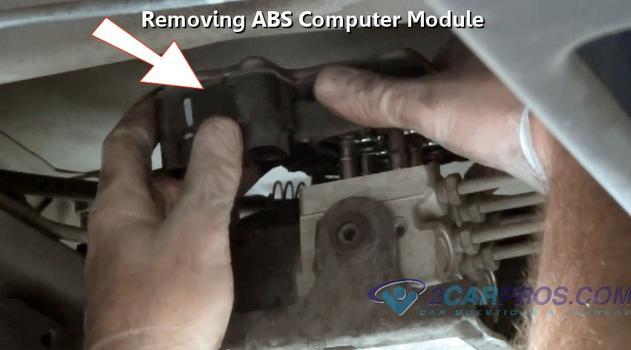
I realize this seems like a lot, but I can help you if needed. If you can, first confirm the brake fluid is full. If it is, the next thing I would do if possible is have the computer scanned by someone that has a scanner that can read more than just power-train codes. That will most likely point you in the right direction of the cause. If that isn't possible, you will need to check each sensor for a signal using the directions I listed above.
Feel free to ask me questions if you have them. Also, let me know what you find or if you need help.
Take care,
Joe
Images (Click to make bigger)
Monday, June 10th, 2019 AT 8:33 PM