Welcome to 2CarPros.
It does sound like a crankshaft position sensor. When they start going bad, heat can have an adverse affect on it. Take a look through these links.
https://www.2carpros.com/articles/how-a-crank-shaft-angle-sensor-works
https://www.2carpros.com/articles/symptoms-of-a-bad-crankshaft-sensor
https://www.2carpros.com/articles/crankshaft-angle-sensor-replacement
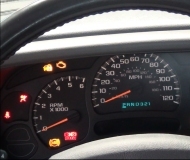
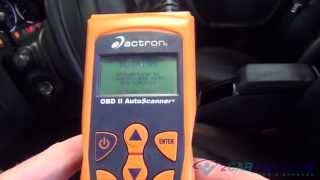
This is the tough part. The best way to check if it's bad is using a live data scanner. When it won't start, you need to see if there is an RPM signal. If there is no signal, then my first suspect is always the sensor.
If you do this and find it is bad, here are the directions specific to your vehicle for replacement. The attached pictures correlate with the directions.
_______________________________________________________________
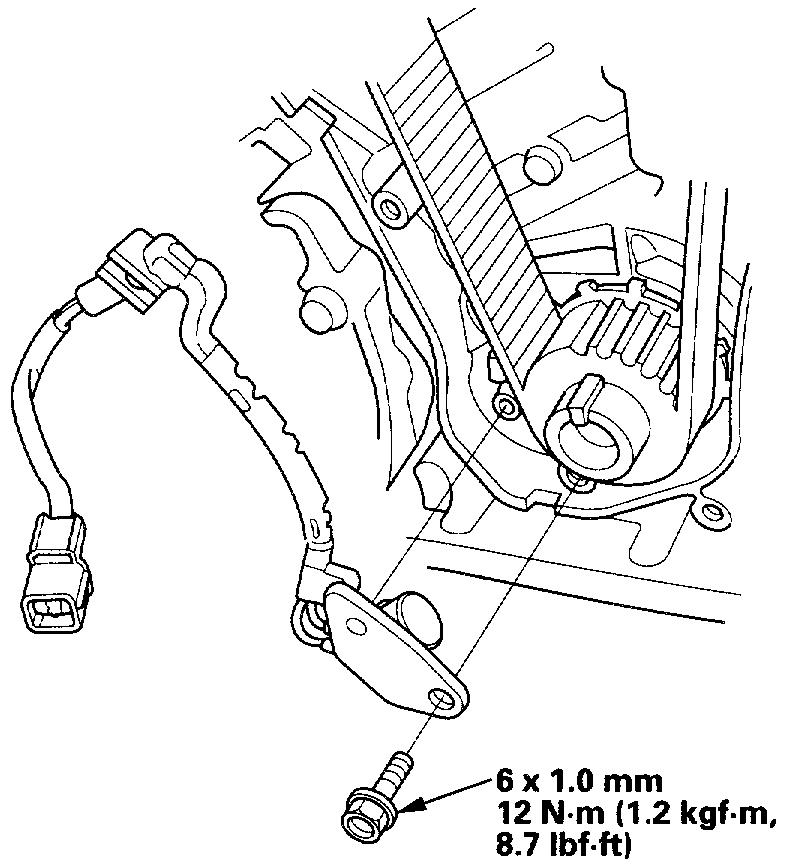
CKP SENSOR REPLACEMENT
1. Move the auto-tensioner to remove tension from the alternator belt, then remove the alternator belt.
2. Loosen the adjusting bolt, locknut and mounting bolt, then remove the Power Steering (P/S) pump belt.
3. Remove the dipstick and tube.
4. Remove the crankshaft pulley.
5. Remove the upper and lower covers.
pic 1
6. Disconnect the CKP sensor connector, then remove the back cover.
7. Install the CKP sensor in the reverse order of removal.
_____________________________________________
Another thought is if the fuel pump is failing or the filter is plugged. With that, you really need to check fuel pressure. Here is a link that shows how that is done.
https://www.2carpros.com/articles/how-to-check-fuel-system-pressure-and-regulator
Here are the directions specific to your vehicle including the manufacturer's specs.
____________________________________________
1998 Honda Accord EX Coupe V6-3.0L
Component Tests and General Diagnostics
Vehicle Powertrain Management Fuel Delivery and Air Induction Fuel Pump Fuel Pressure Testing and Inspection Component Tests and General Diagnostics
COMPONENT TESTS AND GENERAL DIAGNOSTICS
Special Tools Required
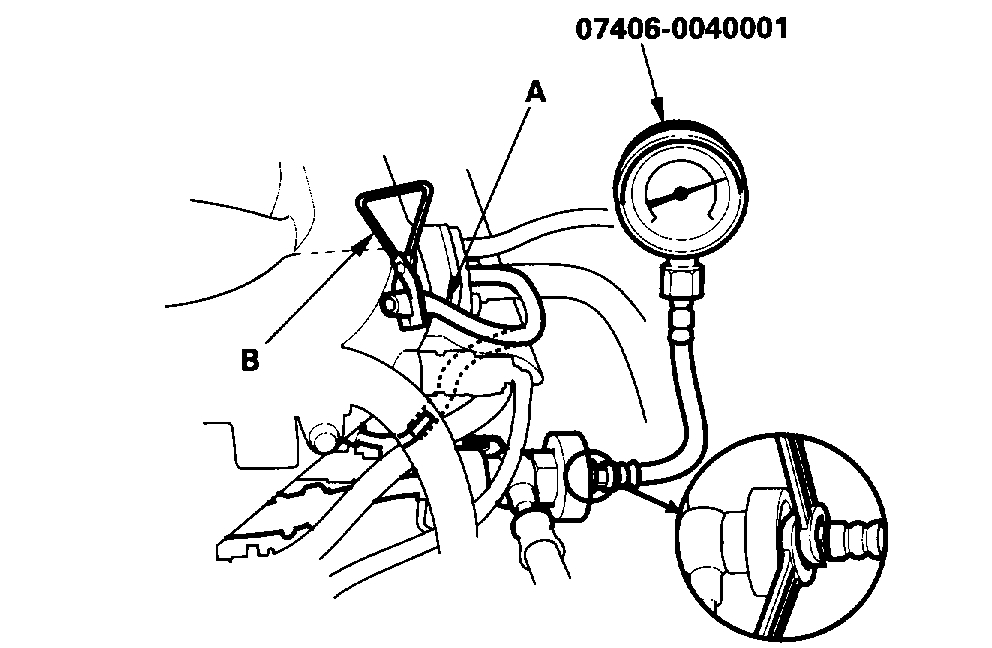
- Fuel pressure gauge 07406-0040001
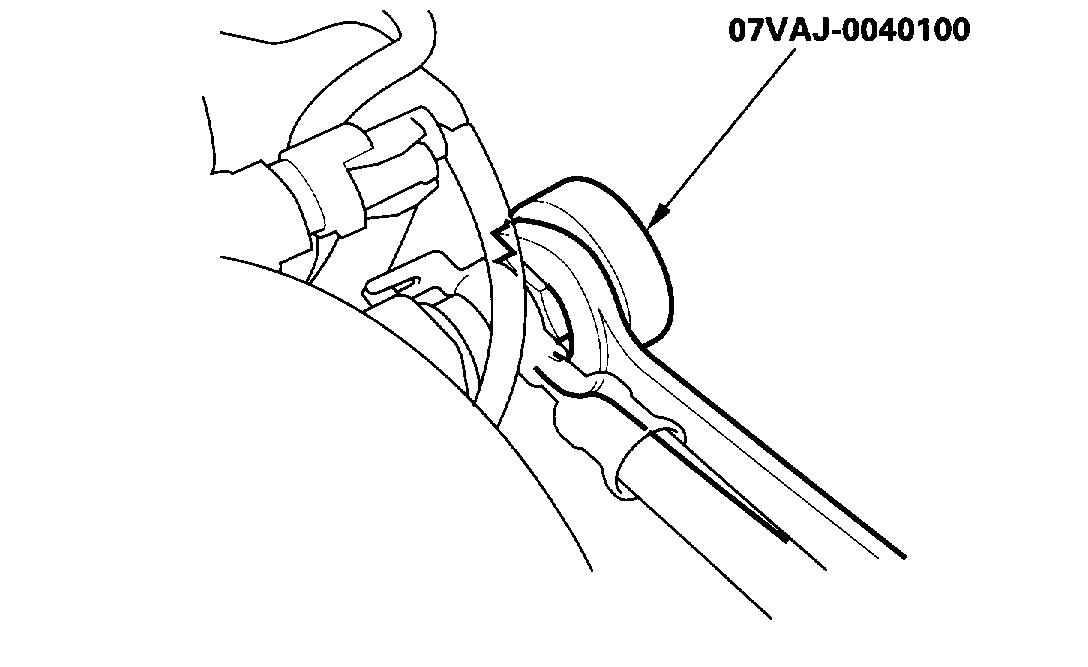
- Fuel pressure gauge attachment 07VAJ-0040100
1. Make sure you have the anti-theft code for the radio, then write down the frequencies for the radio's preset buttons.
2. Disconnect the battery negative cable from the battery negative terminal.
3. Remove the fuel fill cap.
pic 2
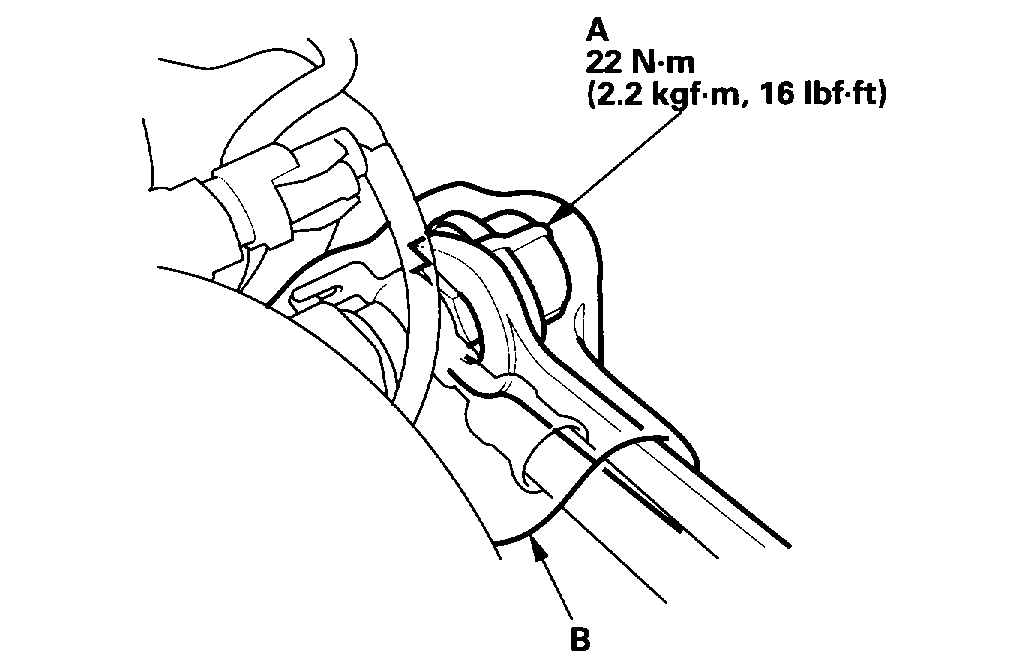
4. Use a wrench on the fuel pulsation damper (A) at the fuel rail.
5. Place a rag or shop towel (B) over the fuel pulsation damper.
6. Slowly loosen the fuel pulsation damper one complete turn.
pic 3
7. Remove the fuel pulsation damper from its fitting, and attach the fuel pressure gauge attachment.
pic 4
8. Attach the fuel pressure gauge.
9. Disconnect the vacuum hose (A) of the fuel pressure regulator and pinch it closed with a clamp (B).
10. Start the engine and let it idle.
- If the engine starts, go to step 12.
- If the engine does not start, go to step 11.
11. Check to see if the fuel pump is running: remove the fuel fill cap and hold your ear to the fuel fill port while an assistant turns the ignition switch ON (II) you should hear the pump run for about two seconds when the ignition turned ON (II).
- If the pump runs, go to step 12.
- If the pump does not run, test it .
12. Read the pressure gauge (with the fuel pressure regulator vacuum hose disconnected and clamped). The pressure should be 280-330 kPa (2.9-3.4 kg/Sq.cm, 41-48 psi).
- If the pressure is OK and engine is running, go to step 13. If not running, repair the cause, then continue this test.
- If the pressure is out of spec, go to step 14.
13. With the engine running, reconnect the vacuum hose and read the gauge again. The pressure should be 220-270 kPa (2.25-2.75 kg/Sq.cm, 32-40 psi).
- If the fuel pressure is OK, the test is complete. Go to step 15.
- If the pressure is out of spec, go to step 14.
14. Disconnect the vacuum hose from the pressure regulator again while you watch the pressure gauge. The pressure should rise when you disconnect the hose.
- If the pressure did not rise, replace the fuel pressure regulator and recheck the fuel pressure.
- If the pressure rose, and all your readings were within spec, go to step 15.
- If the pressure rose, but your readings were out of spec, check for these problems:
- If the pressure is too low, check for a clogged fuel filter and for leaks in the fuel lines.
- If the pressure is too high, check for a pinched or clogged fuel return hose or line.
15. Reconnect the vacuum hose, remove the pressure gauge, and reinstall the fuel pulsation damper and a new washer.Tighten the fuel pulsation damper to 22 Nm (2.2kg.m, 16 lb.ft).
NOTE: Disassemble and clean the fuel pressure gauge attachment thoroughly after use.
Let me know if this helps or if you have other questions.
Take care,
Joe
Images (Click to make bigger)
Tuesday, October 29th, 2019 AT 7:38 PM