This indicates your mechanics are attempting to save you money. It is pretty much unheard of to buy the exact replacement brake line and try to install it. GM has a history of designing their vehicles to go together quickly on the assembly line with little regard to serviceability later. As such, it is common to "fabricate" new brake lines. This can be done in two ways. Most shops buy new brake line in coils of up to 25 feet. They figure out how long the new line must be, cut that off from the coil, put new threaded nuts on the ends, then form the proper type of flare on the ends. The second way that would work better for you is to buy standard-length replacement sections from any auto parts store, and piece them together.
You won't be able to run the new line right next to the old one as the old one passes through holes in the body and around places you won't be able to fish the new line through. It is perfectly acceptable to route the new line differently, but there are things we need to watch out for. The most important is to not run the new line near hot exhaust or engine parts that could cause the brake fluid to get too hot. Another caution is to avoid having the new line lay on top of sharp edges of sheet metal where it could vibrate and rub through. The new line should be anchored to hold it from sliding and vibrating.
If you want to pursue this, I'm here around this time every day to help you through it. To get started, review these articles:
https://www.2carpros.com/articles/brake-pedal-goes-to-the-floor
https://www.2carpros.com/articles/how-a-brake-system-works
https://www.2carpros.com/articles/how-a-brake-master-cylinder-works
https://www.2carpros.com/articles/how-to-replace-a-brake-master-cylinder
There are many other dandy articles on this page:
https://www.2carpros.com/articles
In addition, there are more things to be aware of that only apply to GM front-wheel-drive cars. One of those is the unusual design of the master cylinder. It has a valve that trips when uneven pressures build up in the two halves of the system. That valve stops brake fluid flow to the leak, and can prevent internal damage to the master cylinder, but it has to be reset manually. That presents a problem for most people, but I have a very simple trick to do that once the repairs are done.
If the brake pedal did manage to get pushed down to the floor, the master cylinder is most likely damaged internally and will need to be replaced. That's why I included the link to that article. Many shops will automatically include the new master cylinder in their repair estimate in case it is needed, rather than tell you later that more parts are needed. The damage occurs due to the buildup of crud and corrosion in the lower halves of the bores where the pistons don't normally travel. When the brake pedal gets pushed over about halfway to the floor, the rubber lip seals run over that crud and can be ripped. That results in a slowly sinking brake pedal, and that commonly takes two or three days to show up. Some shops always replace the master cylinder as part of the repair when that is a possibility, rather than risk that problem developing a few days later. In the long run, that is a better value for you. This typically doesn't apply to a master cylinder that is less than about a year old as that corrosion hasn't had a chance to develop yet. I have another trick that can make replacing the master cylinder relatively easy and avoid the need to bleed at the other three wheels. Most competent do-it-yourselfers think they need to bleed at all four wheels. Given the age of your car, it's a good bet the bleeder screws are rusted tight and will snap off. That opens a new can of worms as to how to get the air out of the system.
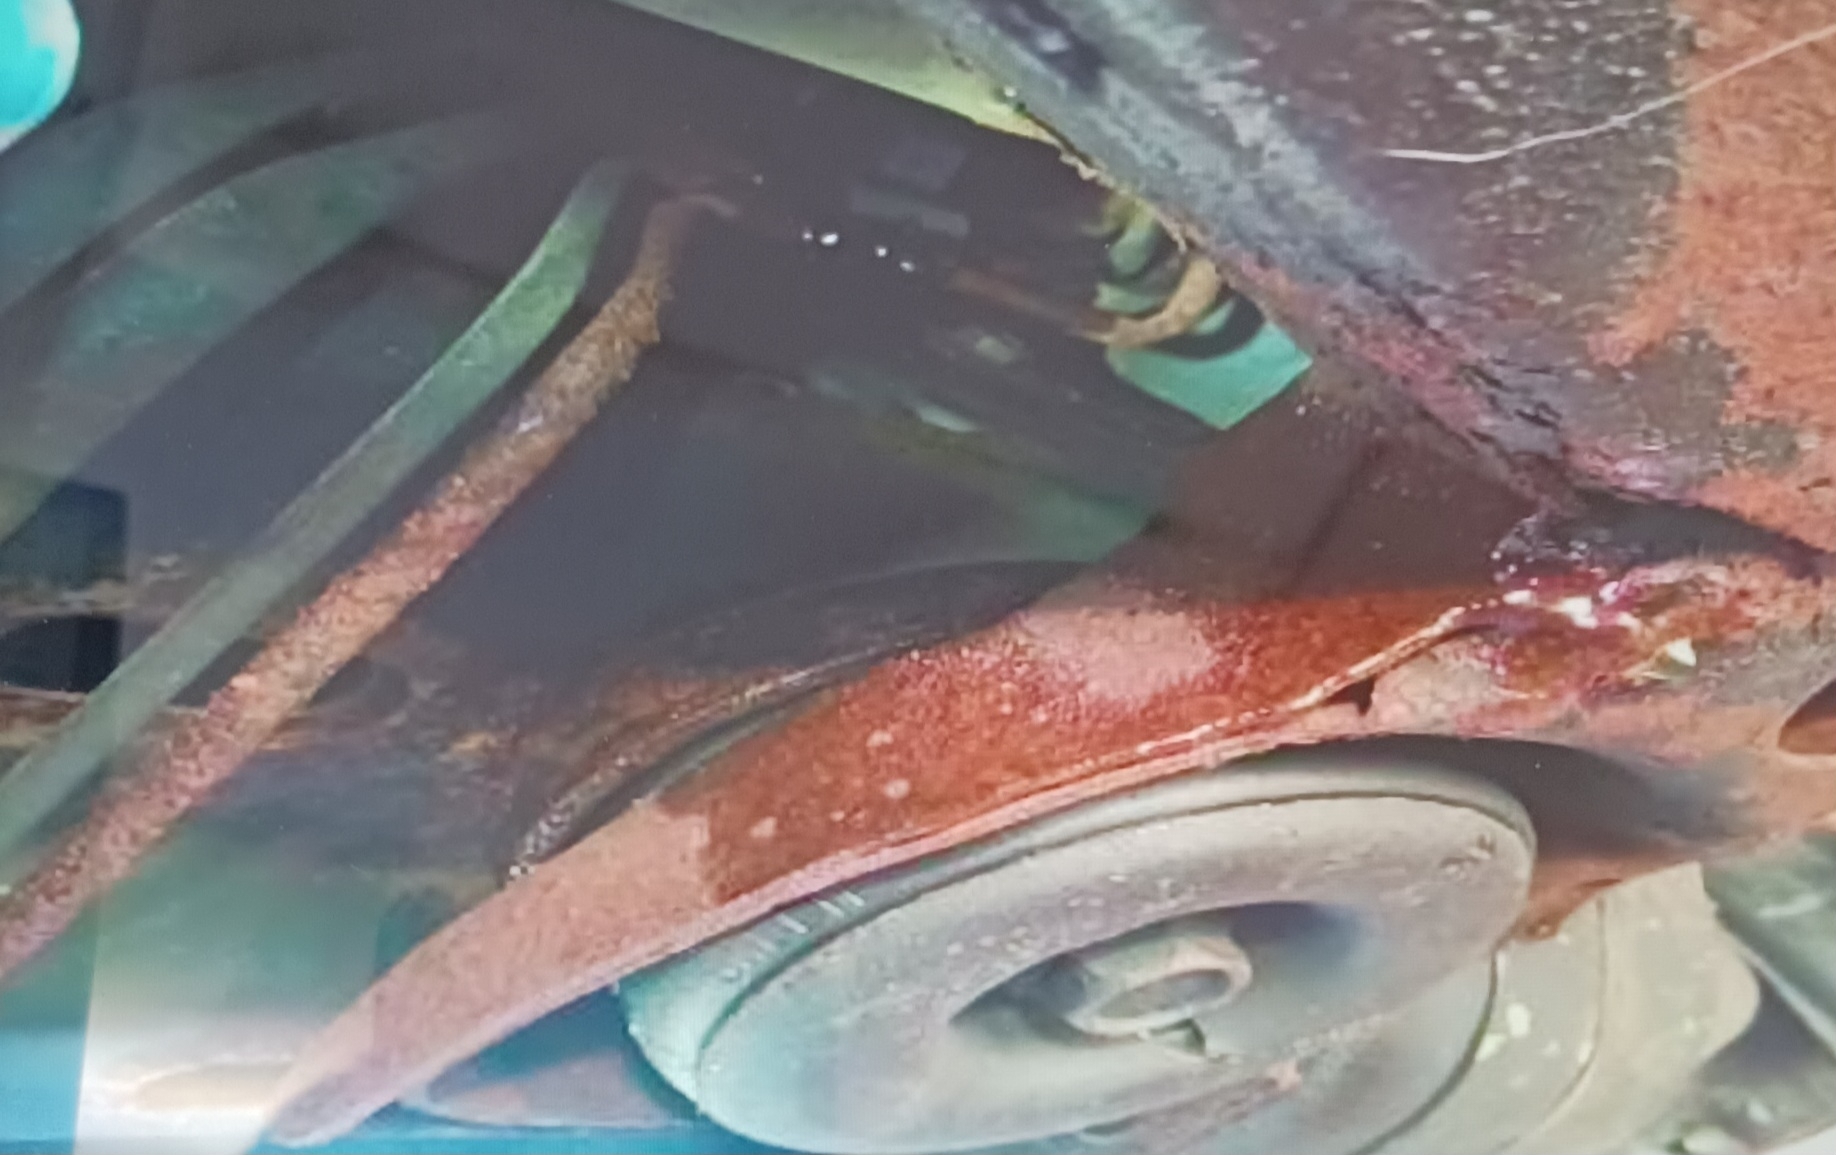
If the leaking brake line is for a rear brake, it would be smart to replace both of them. Each rear wheel has a separate line that often rusts out under the left doors. When one has rusted through, the other one is just as old and is about to rust out too. Front lines are different. They run in different areas, and are affected differently by salt and water.
For the new line, when a mechanic makes the new one, he uses a special flaring tool. The common one costs around $50.00 and requires some experience to do it right. There are some newer, very expensive tools now that work really well, but take some time to learn. You can often borrow these tools from an auto parts store that rents or borrows them. In my city, they make you buy the tool, then you get a full refund when you return it. If you choose to keep it, you still return it, then they give you a brand new one.
For do-it-yourselfers, the better approach is to use premanufactured line sections. Either measure how long the line must be, or plan on making additional trips to the store. The common diameter is 3/16". You must match the type of flares on the ends. If you don't know the type, remove the ends, break them off and take them to the auto parts store. They will have a selection of lengths to add up to the total length you need. The nuts on the ends are soft metal, so "flare nut" wrenches are recommended. Also called, "line wrenches". Soft brass couplers are used to connect two line sections.
Before you start this repair, allow me to make one very important warning. That is to not allow any type of petroleum product to get into the brake fluid. Any type of engine oil, transmission fluid, power steering fluid, penetrating oil, or bearing grease will destroy the rubber parts it comes in contact with. I can describe the repair for that, but be assured the repair cost will far exceed the value of the car. Brake system specialists even wash their hands with soap and water to prevent contaminating brake parts with fingerprint grease.
Let me know if you want to pursue this. Replacing the line can be rather time-consuming, especially if you try to do this without a hoist. Bleeding the air out can also be frustrating, but I can help with that.
Feb 7, 2025 at 4:18 PM