Good afternoon,
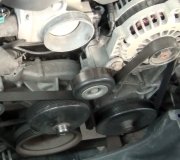
Yes, very common issue. The rubber wears out the outer portion comes forward from the motion of the motor.
Roy
Notice: The inertial weight section of the crankshaft balancer is assembled to the hub with a rubber type material. The correct installation procedures (with the proper tool) must be followed or movement of the inertial weight section of the hub will destroy the tuning of the crankshaft balancer.
ImageOpen In New TabZoom/Print
1. Remove the drive belt.
2. Raise and suitably support the vehicle.
3. Remove the right front tire and wheel.
4. Remove the right engine splash shield. Refer to Splash Shield Replacement - Engine in Body and Frame.
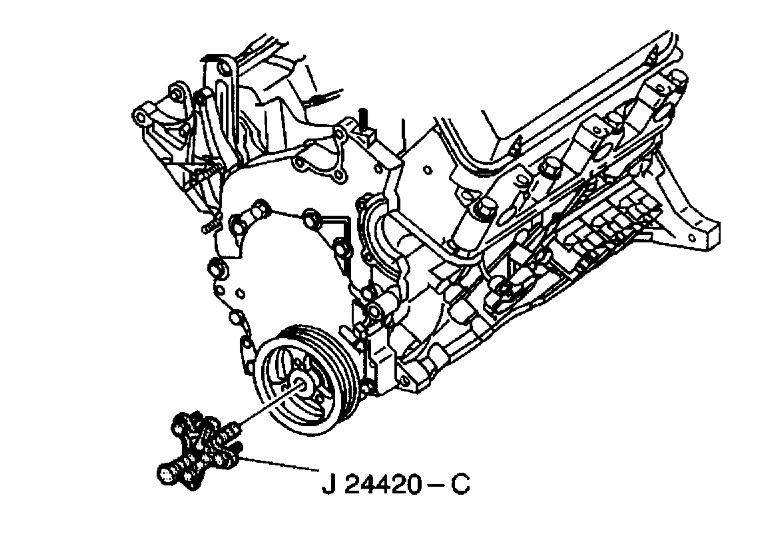
5. Loosen the right frame bolts. Lower the right frame for access to the crankshaft balancer bolt with the J24420-C.
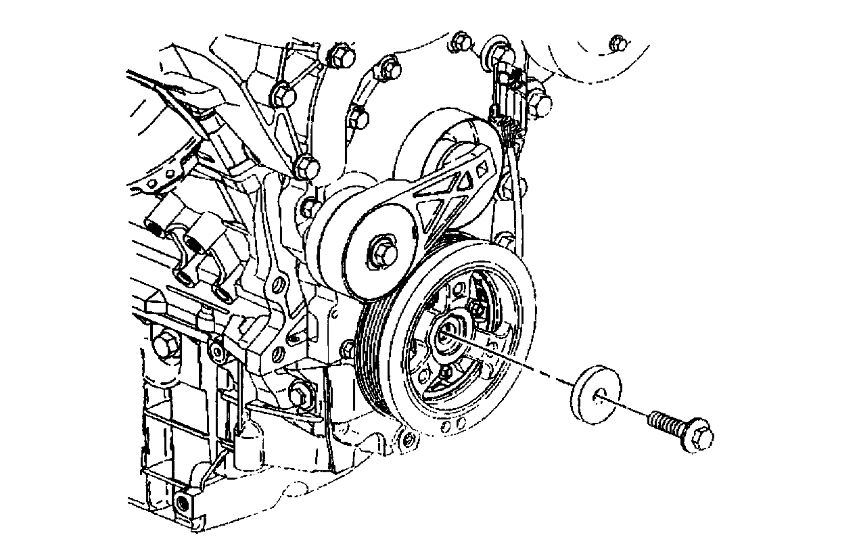
6. Remove the crankshaft balancer bolt and the washer.
ImageOpen In New TabZoom/Print
7. Remove the crankshaft balancer. Use the J24420-C.
Installation Procedure
Tools Required
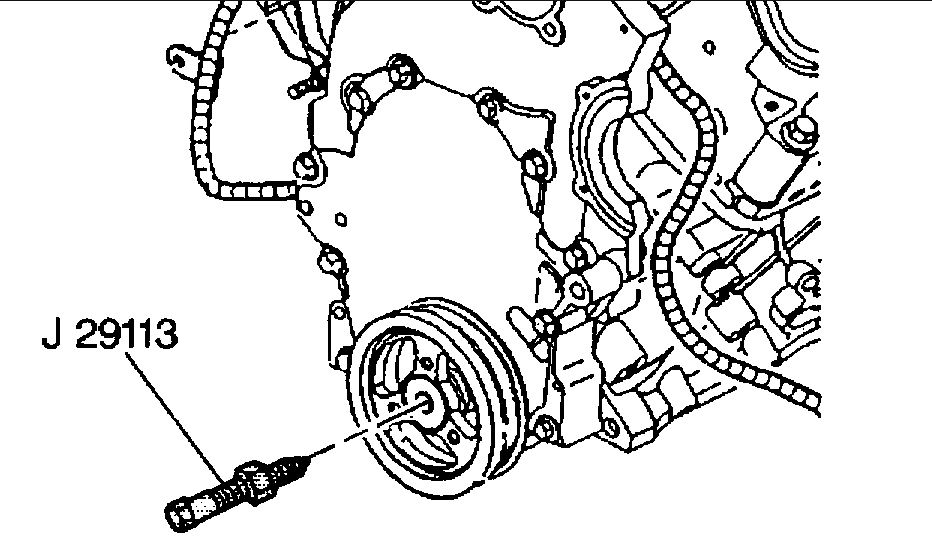
- J29113 Crankshaft Balancer Installer
imageOpen In New TabZoom/Print
1. Apply sealant to the keyway of the balancer. Use sealant GM P/N 12345739 or equivalent.
2. Install the crankshaft balancer. Use the J29113.
3. Remove the J29113.
Notice: Refer to Fastener Notice in Service Precautions.
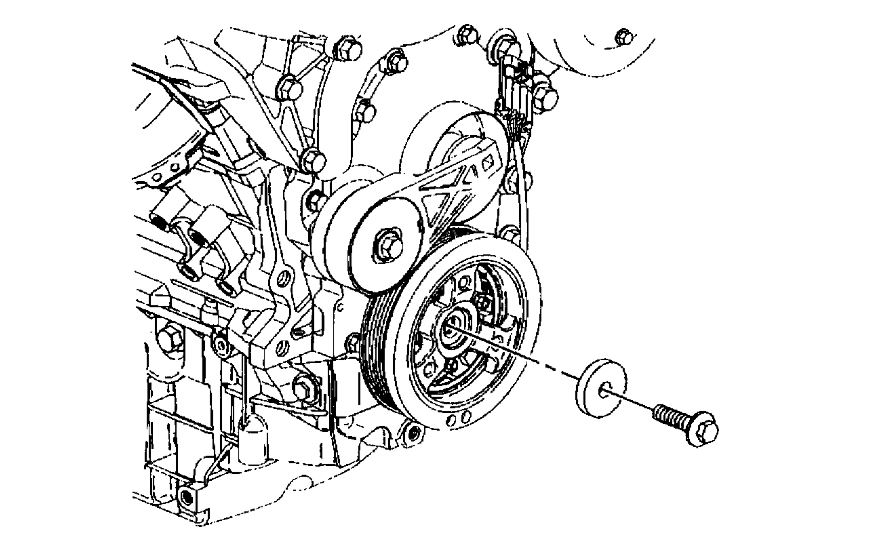
ImageOpen In New TabZoom/Print
4. Install the crankshaft balancer washer and the bolt.
Tighten the crankshaft balancer bolt to 103 Nm (76 ft. Lbs.).
5. Tighten the frame bolts. Refer to Frame Removal in Body and Frame.
6. Install the right engine splash shield. Refer to Splash Shield Replacement - Engine in Body and Frame.
7. Install the right front tire and wheel.
8. Lower the vehicle.
9. Install the drive belt.
Images (Click to make bigger)
Friday, July 5th, 2019 AT 3:24 PM