Welcome back:
If it hasn't been done, it won't hurt. However, what you described sounds more like a universal joint. On this vehicle, there is what is called a propeller shaft. The drive shaft attaches to it via a constant velocity joint (CV joint). That may be bad and you should check for play in it. Also, I will provide the directions for replacing the differential fluid. That way you can do it yourself and save money.
First, take a look through this link. It discusses universal joints and how to check them and how they work. Yours will be a different design, but the same principals apply
https://www.2carpros.com/articles/how-u-joints-work
If you find the joint is bad, here are the directions for replacement. The attached pictures correlate with these directions. Also, the next section will relate to servicing the rear differential.
________________________
CV joint replacement
PROCEDURES
Replacing Constant Velocity Joint For Propeller Shaft
Remove propeller shaft.
pic 1
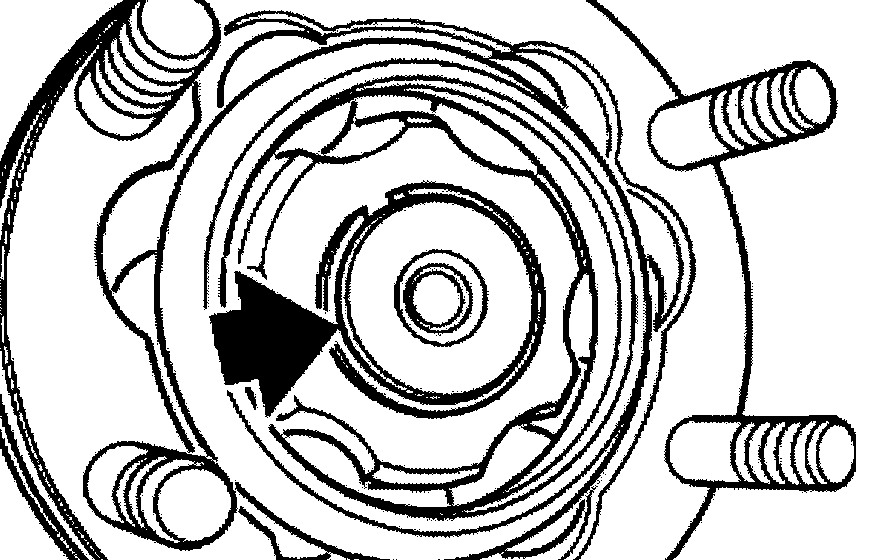
Lift out retainer.
Installation:
Replace retaining ring.
pic 2
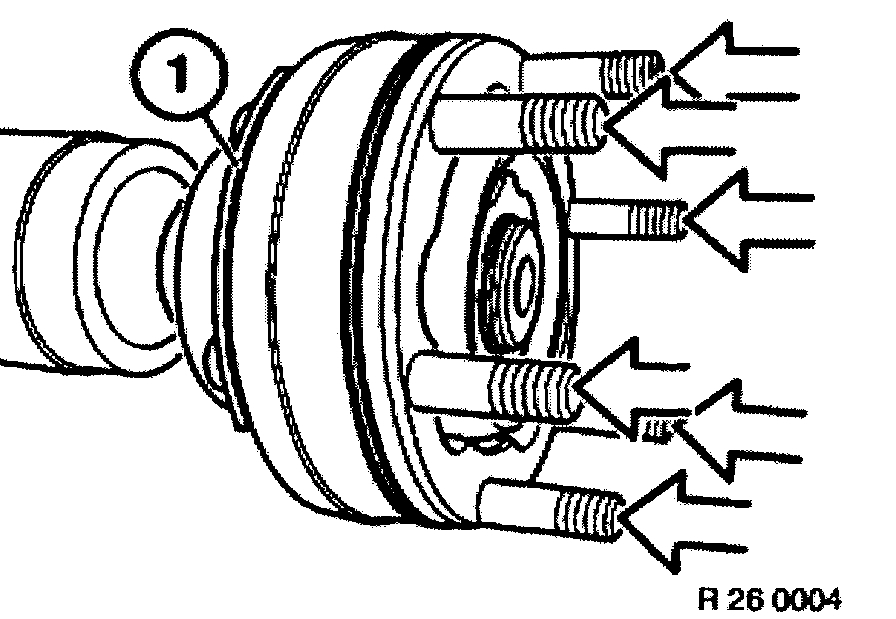
Drive out knurled pin.
Installation:
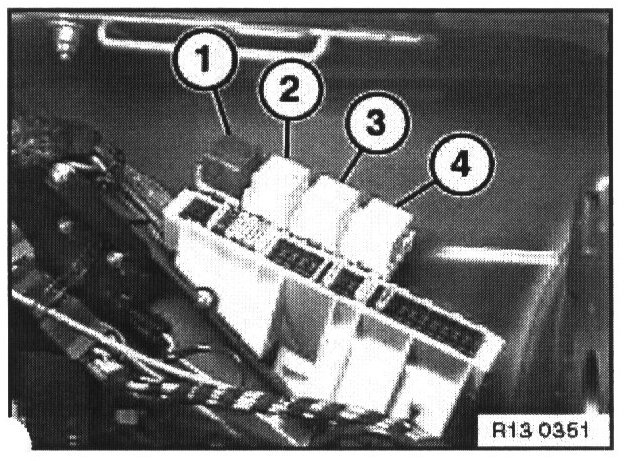
Install shims (1).
pic 3
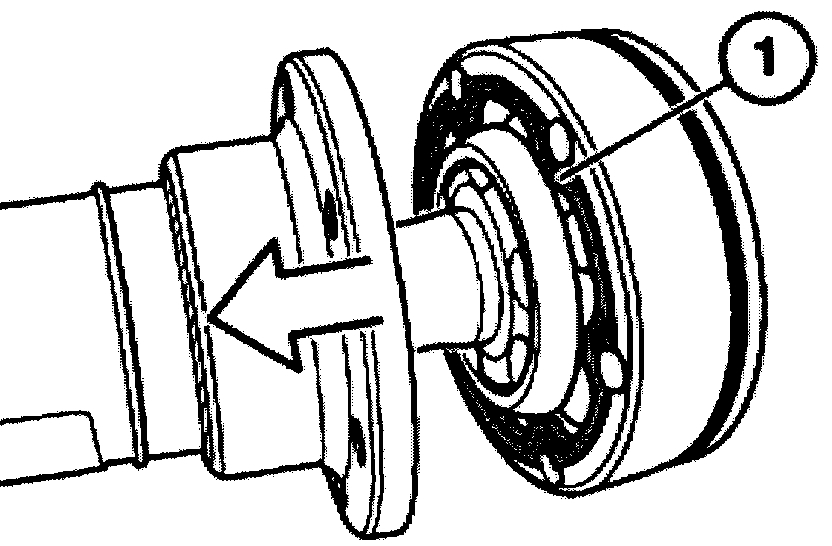
Press gaiter off constant velocity joint.
Installation:
Inject new grease into constant velocity joint from rubber gaiter and flange sides.
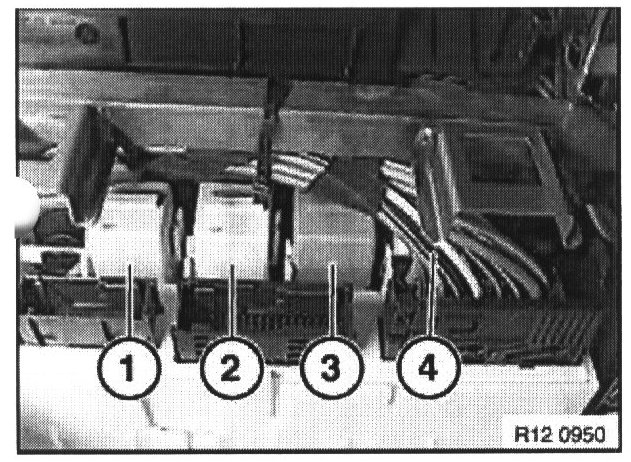
Insert sealing washer (1) in constant velocity joint.
pic 4
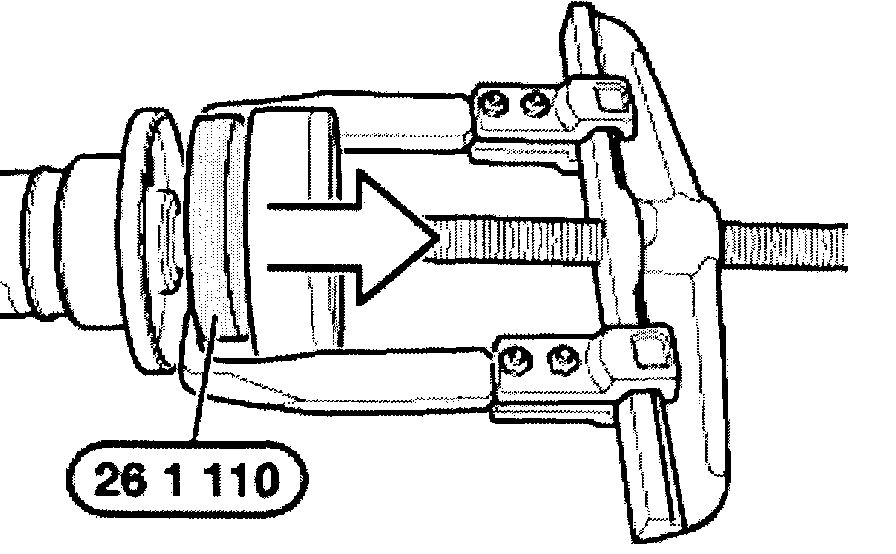
Detach constant velocity joint with special tool 26 1 070 or 261 110.
pic 5
Installation:
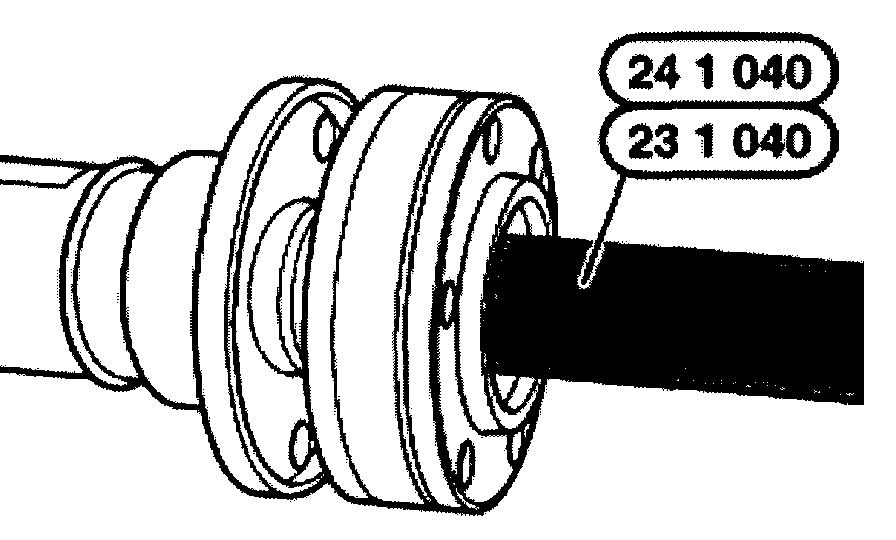
Drive on constant velocity joint with special tool 23 1 040 or 24 1 040 as far as it will go.
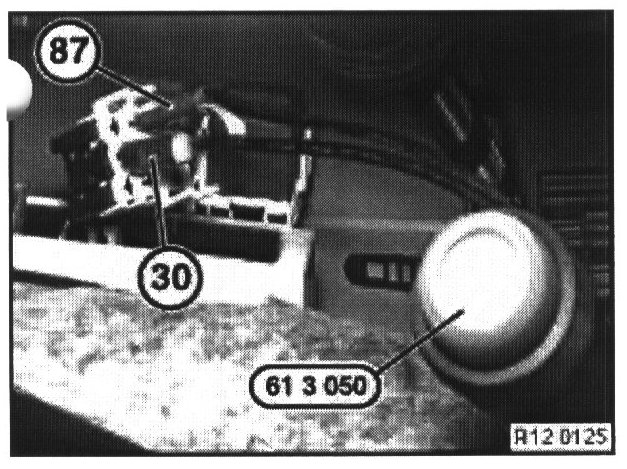
pic 6
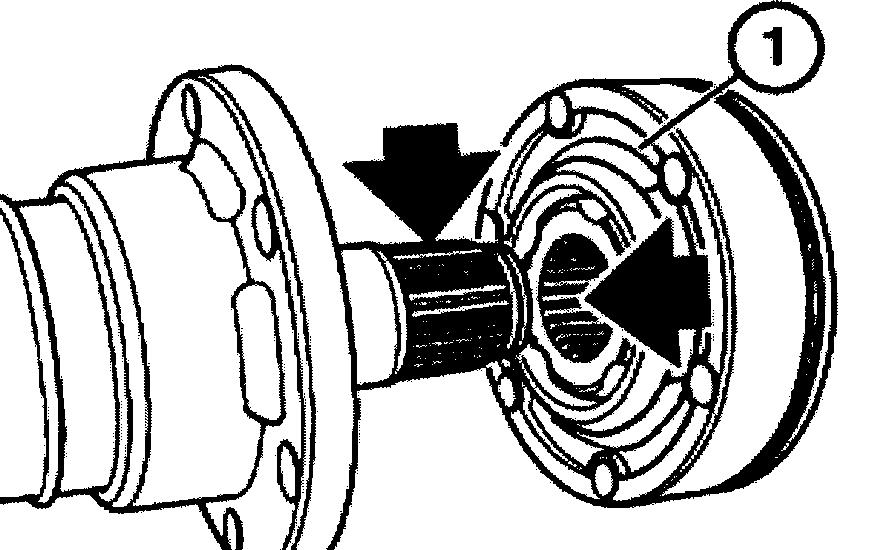
Installation:
Shoulder (1) for sealing washer must point to gaiter.
Toothing must be free from grease.
Thread locking: apply Loctite 648.
Caution: Do not apply Loctite to the ball races. Clean toothing and apply a light coating of oil.
________________________________________________
If you want to service the differential, first look through these links to get a general idea as to how it's done. The specific directions will follow.
https://www.2carpros.com/articles/how-a-differential-works
https://www.2carpros.com/articles/differential-gear-oil-fluid-check
https://www.2carpros.com/articles/differential-service
_________________________________________________
CHANGING DIFFERENTIAL OIL
Changing Differential Oil
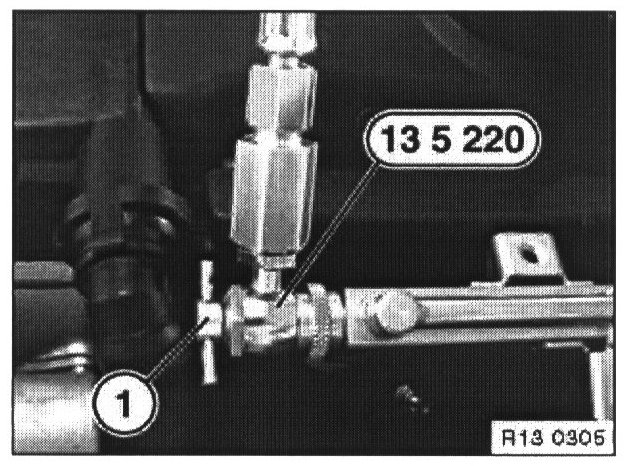
Note: Only change oil when differential is at normal operating temperature. Use only recommended differential oils, refer to BMW Operating Fluids MG33.
Catch and dispose of escaping differential oil.
Observe country-specific waste-disposal regulations.
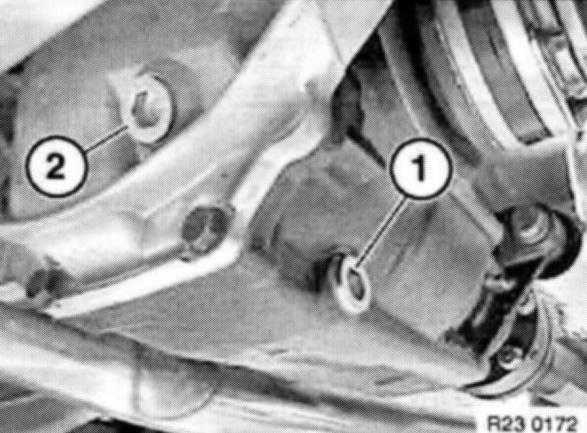
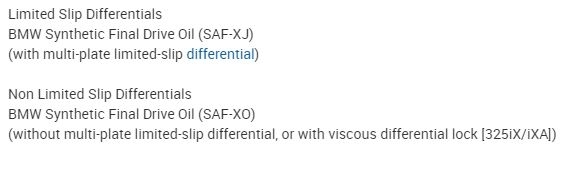
Pic 7
Note: Pay attention to all vehicle variants.
Release drain plug (1).
Unfasten filler screw (2).
Tightening Torque, refer to Technical Data 33 11 3AZ.
Allow differential oil to escape.
Screw in drain plug (1) and tighten down.
Add differential oil until overflowing.
Allow differential oil to drain off.
Screw in filler plug (2) and tighten down.
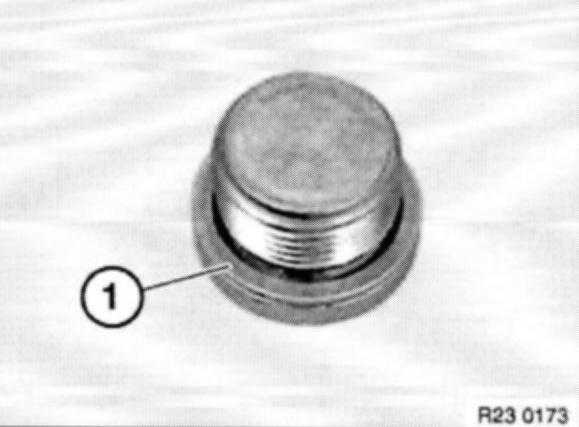
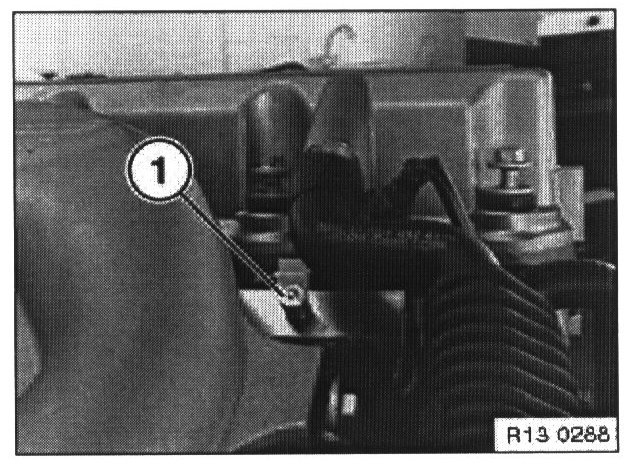
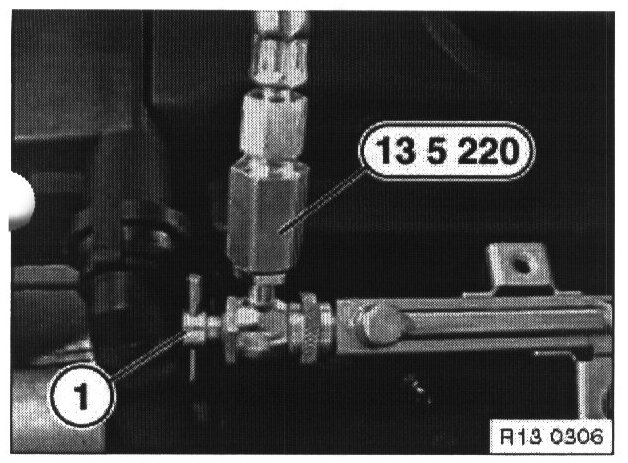
pic 8
Installation:
Replace sealing ring (1).
Pic 9 shows types required.
_________________________________________
Let me know if this helps or if you have other questions.
Joe
Images (Click to enlarge)
May 14, 2019 at 6:57 PM