Rear main seal
Sorry-long and boring-but thorough!
We will skip all the way through draining, dropping the pan.
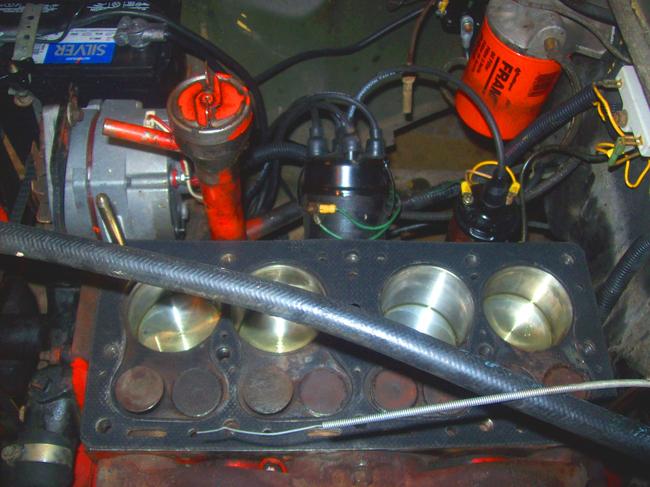
The rear main is the last cap on the engine block, closest to the flywheel (duh!).
We only need to remove this "last cap" that supports the crankshaft.
Do not even think about turning the crank over at all until we are all back together.chock your wheels, be in "neutral" with the transmission.
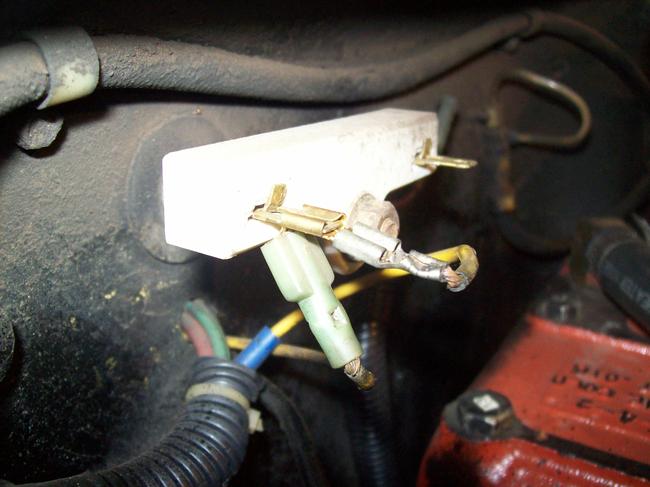
Take a minute to look at the design of the cap and how it is installed on the block- take a picture, if need be.
Using a 1/2 drive socket of the proper size, a 4" or so extension and a 1/2 drive ratchet. Back the two bolts out, till they are "hanging" by their last thread
Now, with your fingers, back 'em out all the way, - but leave them in the holes almost touching the block
They are now your "handles".
With one hand, grab both bolts and squeeze 'em together (hard!).
Gently-gently-gently rock the bolts fore and aft and sideways until the cap breaks loose
Gently lower the cap, do not turn it upside down! - (slinging, snatching it, or dropping it, will result in the "half moon" bearing half falling out/getting bent/getting dirty).
The other half of the bearing is still in the block above the crank it stays there. Moving the crank might move the bearing, so do not.
Warning (sort of) the lower bearing half could stick to the crank/or fall out, even being careful, it might fall out. If it did not get damaged, wipe it off really good and put it back in the cap. It should be obvious how it fits in (there is a groove that keys it in), the edges should be flush on both sides of the cap.
A "so called" good bearing will be smooth (it still may be worn) , if it has deep gouges in it, the rest of you bearings may be in the same boat, this maybe a sign of lack of oil lubrication. It is not a real good sign.
Yes, you can remove the bolts from the cap, once the cap is under your control
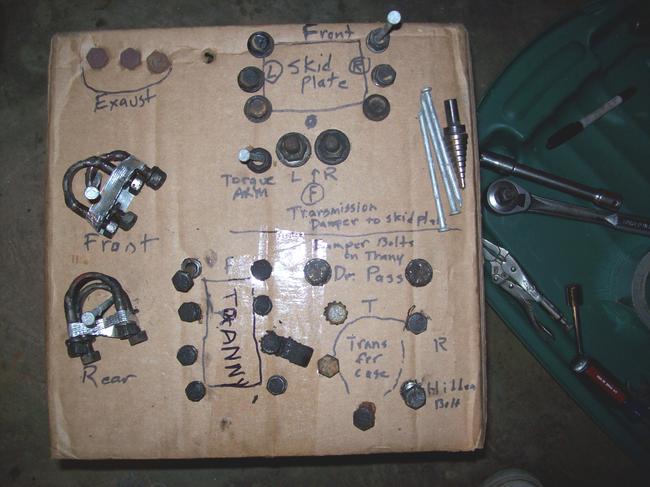
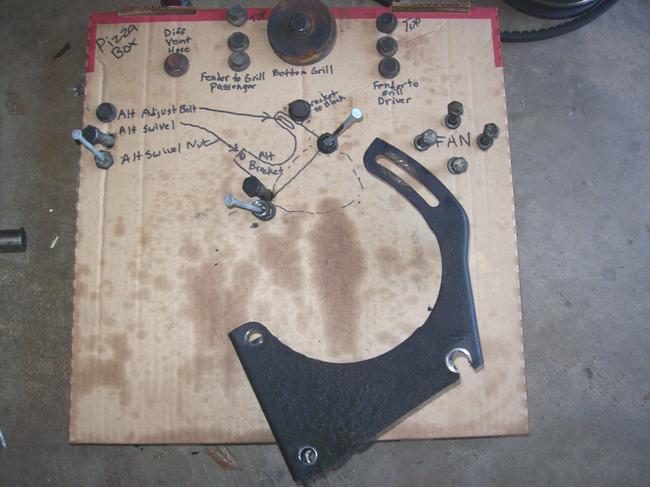
I always put bolts/ washers/ etc., back in the same holes and in the same direction, if at all possible, that they came out of. I use cardboard/ boxes/etc., to keep things in order. Normally, on the floor invites the kids or the dog to kick through them.
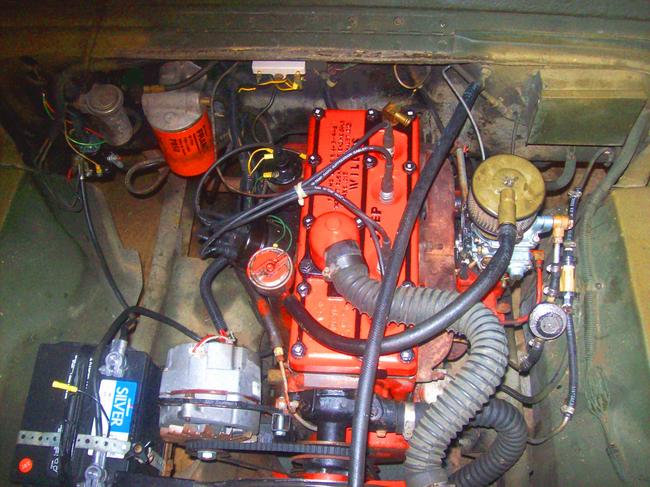
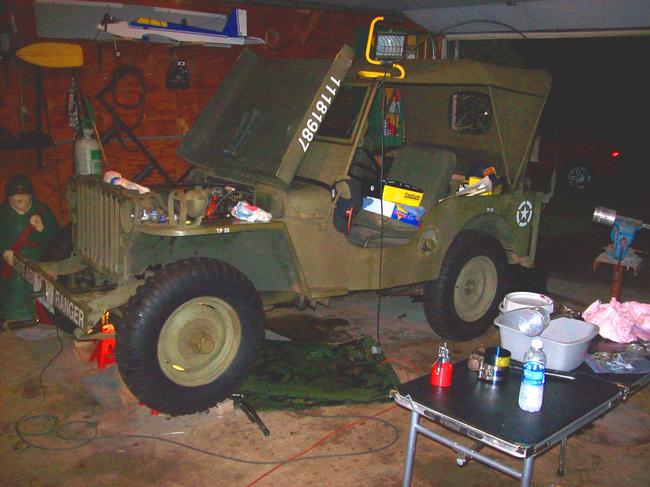
Below, see my pictures my "system" of transmission and timing chain repairs that i did to mine.
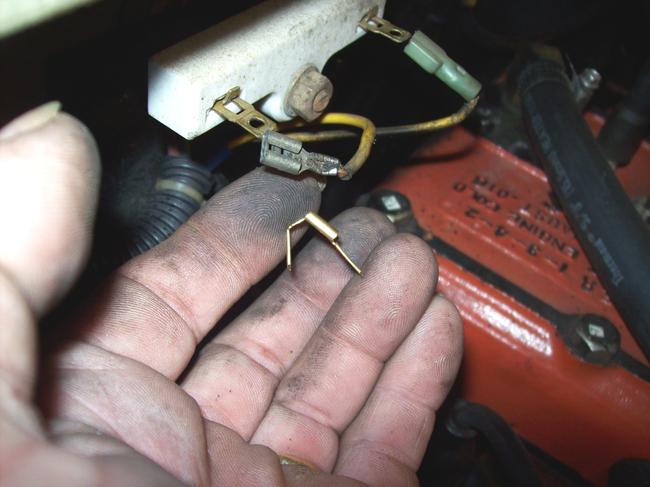
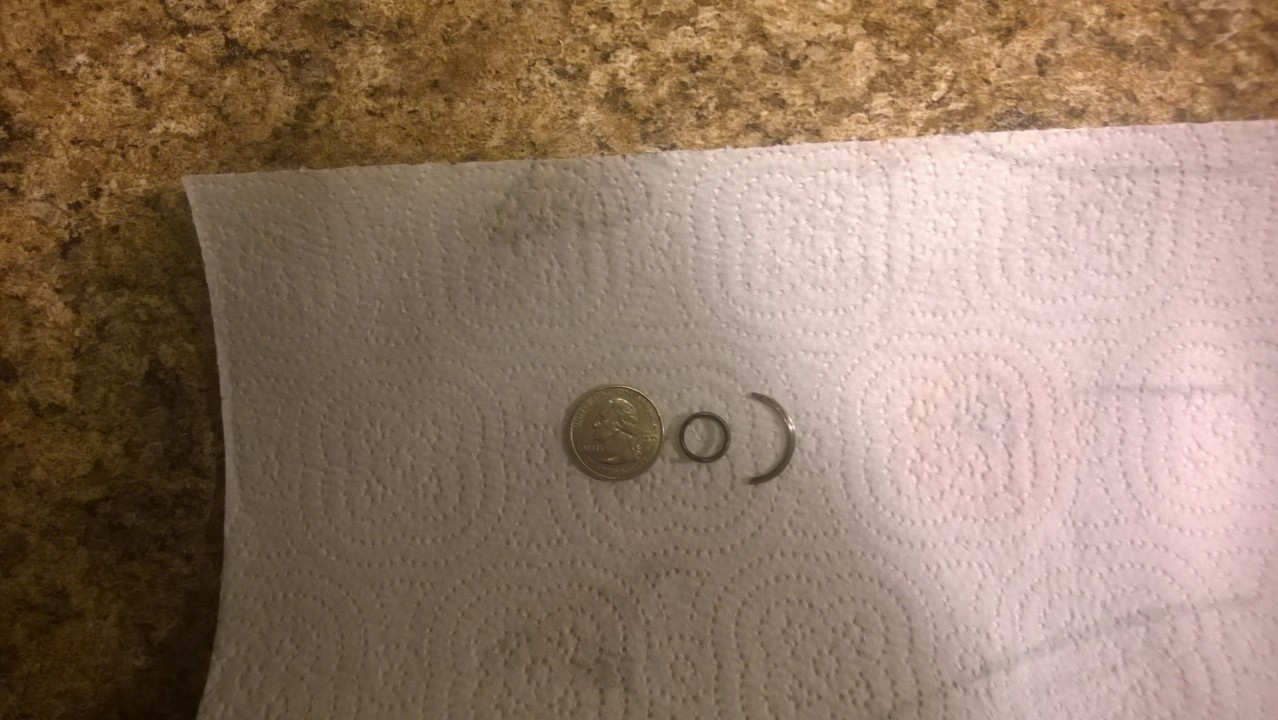
You will now see the rubber "ears" of the bottom half of the seal in the cap. Look at the shape of the ends of the actual seal part (not the ears).
The other half is in the block still, it has no ears. it has a definite shape that matches up with the bottom half (your new seal instructions may show you which way to "face the seal"- it may be written on the new seal).
This two piece seal (as with some one piece seals) is made to be directional. meaning, that when your crank is turning (in our case) clockwise, oil "wants" to push through the seal anyway. The seal has "fins" or raised "turbine like" diagonal hatches which sort of "sweep" the oil back inwards as the crank turns.
This is why it is going to be so important to get the upper half installed correctly.
The seal in the cap is a "no brainer" as far as direction-the one in the block requires some "thinking.
Lets use some brake cleaner on area on the block where the cap came from.
Clean the cap as well. Do not knock out the bearing half.
Remove the old seal from the cap clean some more if need be.
Install the new lower half seal (dry, when you put it in the cap).
With a very, very, very thin coat of Vaseline lubricate the half moon bearing surface a thin film, not a gob.
The same goes for the half moon rubber part of the seal. do not get any near/or on. The rubber "tips" that will "mate up" with the upper seal (these tips will soon have RVT silicone on them to seal them to the upper half of the seal) Vaseline/oil will not all them to bond. Lay it to the side. We have more to do on it later.
We will now extract the upper half.
Ever so carefully, with a small punch/piece of a brazing rod/etc., center up on one side of the rubber seal in the block. careful not to be on the block at all.
With a hammer, drive the seal in about a 1/4-1/2 inch.
The other side of the seal will protrude out of the other side. Grab it with some pliers remember, this puppy is "rotating out" pulling straight down will not get it out.
"inching it out", a little at a time, with the pliers close to the block is the trick.
Stop along the process and look at its direction (how it faces) so you will understand.
Now it is out!
Let's clean some more with the brake cleaner.
Now grab the new upper seal and give it a thin film of Vaseline- rotate/push it into the block with your fingers. remember it sort of has to start in the hole, but will "kind of" looking like it is the lower seal ( it will be a half circle on the lower side of the crank, in order to get it started in its hole).
Insure front is front and back is back.
If you get it in so far and it just do not want to go anymore with your fingers. you can use "smooth jawed" pair of pliers to continue pushing. i recommend pushing about a 1/4 inch at a time, 1/4 inch from the block-as not to "fold it over" by taking to big a bite at a time.
It is in!
It is flush/close to flush/if it protrudes slightly and evenly on both sides (just a little bit) that is fine. This will be a tight compression fit to the other half.
Once again, clean the seal ends with brake cleaner, the Vaseline got it to slide in, it now needs to come off for our RVT silicone to work right
Okay, now we are ready to assemble.
The new seal will keep the oil in around the shaft.
The cap itself (once installed) is gonna create a seam split/a tight fitting crack where it meets the block.
Yes, oil can squeeze through there.
So we are going to fix that!
On the block, where the cap "tucks in" there will be a step/rail/short wall that sandwiches it side to side.
We must add a teeny-weeny bit of silicone to the inside of this "wall" (the little corner) the full length of the little corner, do the same for the other side of the block.
Back to the cap.
Continue a by applying the RVT silicone on the flat machined surface around the bolt holes on the cap.
We must add a teeny-weeny bit of silicone to the ends of the seal in the cap (just where it mates up with the other half).
The amount of RVT silicone you use on a surface should be about the same thickness as the cardboard on your "corn flakes" box, a bit more will not hurt.
The cap will squish it and form a seal, most of it will squish out and get in the inside of the motor , so let's not use half a tube.
Time to get this on the road.
Insert your bolts into the cap, start the bolts evenly screw them up all the way by hand (if possible) and evenly the whole way.
Three things might happen now:
1) the cap will fit/seat, just with the finger tight bolts.
2) with the bolts tight by hand, a "love tap" with a block of wood and hammer in the center of the cap, might seat it.
3) alternating from one bolt to the other, a millionth of a turn each time, might seat it (i prefer the other two).
Once seated, grasp the head of your ratchet like a doorknob (do not lever using the handle) and "snug it" hard as you can with only that pressure.
Look at the cap with a good light, insure it is not "cocked" (backwards-ha!) All looks fine. now then, set torque wrench on 20 ft/lbs. Insure you are looking at the right scale (most have newton meters on one side and ft/lbs on the other (a YouTube class might aid you on setting the torque wrench correctly).
Torque each bolt to 20 ft/lbs, a "clicker type" torque wrench works better than an old needle type (but you must do what you must do!) I prefer doing "steps" if the torque spec is higher on my task.
Most clicker type torque wrenches "break" or "click" when the desired torque is reached. with mine, lower settings barely click, (i usually feel it break, as the click is so low, and may not be heard) so do not over do it.
So now, we must finalize with "80 ft/lbs" (which could have been done all at once, first go-round)(we will do this in a minute).
i like steps, just in case something went wrong, maybe i did not warp/break the item at this point in the game i could maybe "back out" with not damage.
Let's look at the cap again. Is all okay? Yes? Continue! torque both bolts to "80 ft/lbs" (we will not use additional steps to get there, as the bolt must turn a certain amount to reach proper torque) stop-stop-stop when it clicks.
I do not use "steps" with small torques like 50 ft/lbs and under, other than my initial snugging.
This is easier when building on an engine stand, underneath is a bit more challenging.
You have just installed the rear main seal
Inspect it again.
This whole deal can last for fifteen to thirty minutes, if you are with it. Take your time, you can go two hours if need be.
Oil pan procedure may come tomorrow!
It too has its quirks that you must pay special attention. To me, the oil pan is harder to do, as it is cumbersome.
The MEDIC
Images (Click to enlarge)
Sep 18, 2014 at 8:22 PM