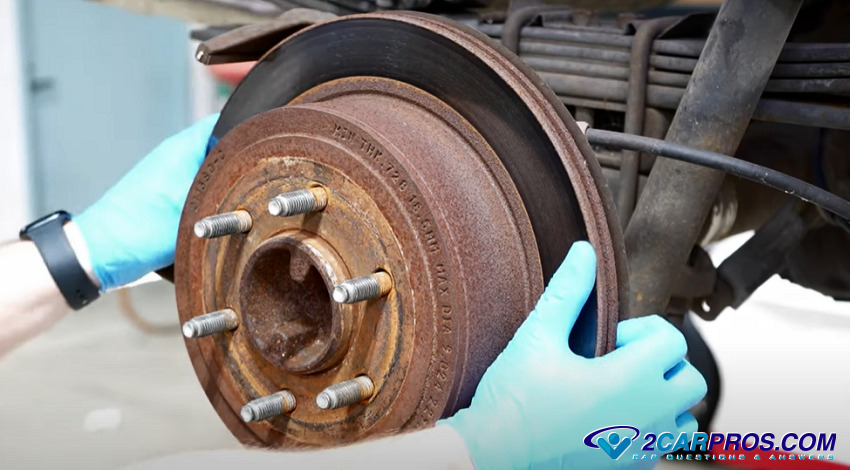
Much like a rear brake drum that gets stuck to the axle flange, a brake rotor is subject to the same type of problem due to the fresh metal on both the brake rotor and the bearing hub. There is no remedy for this due to the precision nature of the machined surfaces, when moisture is introduced during normal driving conditions rust will form causing the rotor to get stuck. In the is guide we will go over the problem and how to fix it so brake services can be performed.
What's the Reason?
Rotating machined surfaces must be a balanced, precision assembly for smooth operation. During the manufacturing process the fresh metal of the rotor and hub are tightening together when the wheel is installed. When driving in the rain or wet conditions water can get between these surfaces and cause corrosion which can adhere the rotor to the axle flange or bearing hub. Most of the time a simple tap in the right spot can break the rotor free, but if not follow the guide below to check out the different methods to get the job done.
Removing a Stuck Brake Rotor
Before we begin you will need some supplies and tools:
- Basic tool kit
- Large Hammer
- Floor jack
- Butane torch
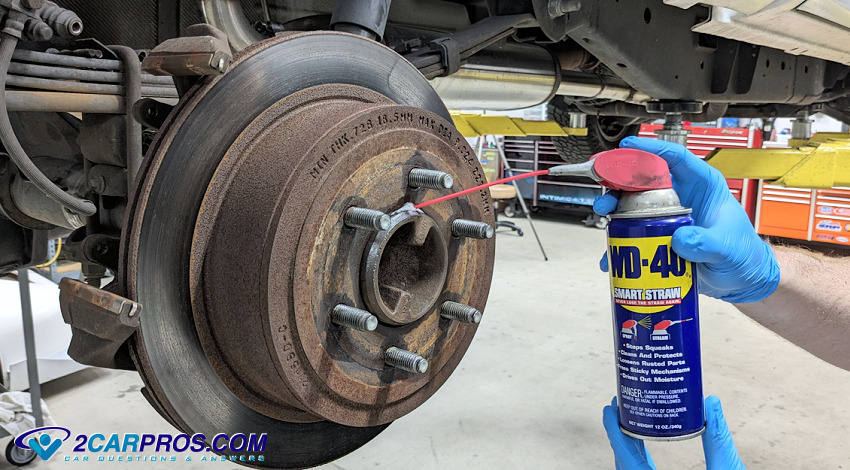
- Penetrating oil such as WD40
- Sand paper or wire brush
- Jack stands
- Safety goggles and work gloves
- Sunglasses or welding shield
Let's Jump In!
Park the car on level ground so it will not roll when using a hydraulic jack, leave the parking brake off and block the front wheels if you are working on the rear of the vehicle. Apply the parking brake if are working on the front of the car.
1. Raise the car up and place jack stands in a safe manner. Before the tire leaves the ground completely loosen the lug nuts one full turn and then continue raising the vehicle. Once there is clearance between the tire and the ground remove the wheel and lay it flat under the car for added safety.
2. Remove the brake caliper, brake pads and caliper mounting bracket which will need to be done during a normal brake service. This will expose the brake rotor fully while allowing access for removal.
3. On most foreign cars there will be two or more threaded holes (8mm x1.25 or 1.5 thread) on the brake rotor mounting flange to where bolts can be inserted and tightened effectively forcing the rotor from the bearing hub or axle flange. If your car does not have these continue with this guide.
4. Apply penetrating oil such as WD40 in and around the wheel stud holes and the bearing hub center and allow to sit for a few hours or overnight which is best.
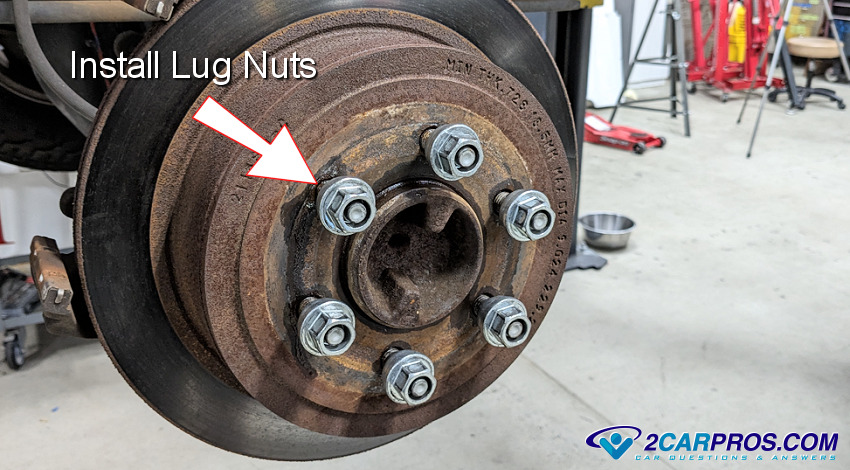
5. Reinstall the lug nuts to protect the wheel stud threads from getting damage while using a hammer to strike the rotor.
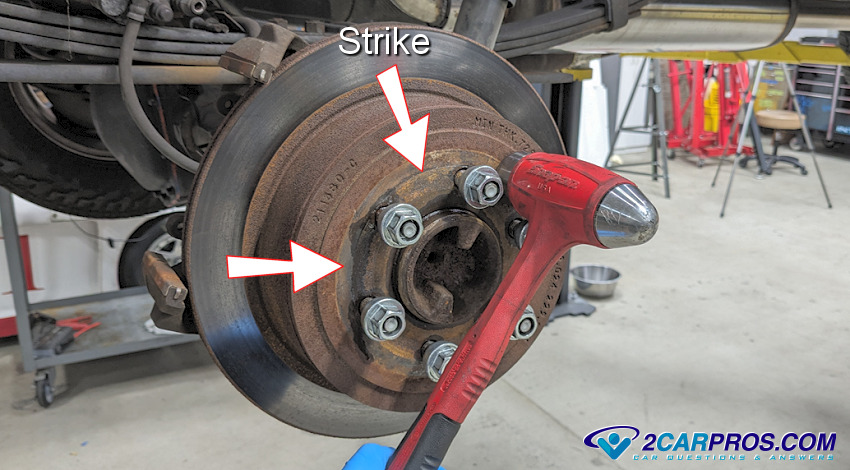
6. While wearing protective eyewear and gloves, use a large hammer to "shock" the rotor from the flange or bearing hub. Only strike the rotor between the wheel studs and around the axle center flange, do not strike the rotor in other areas because it is brittle and it can crack or chip.
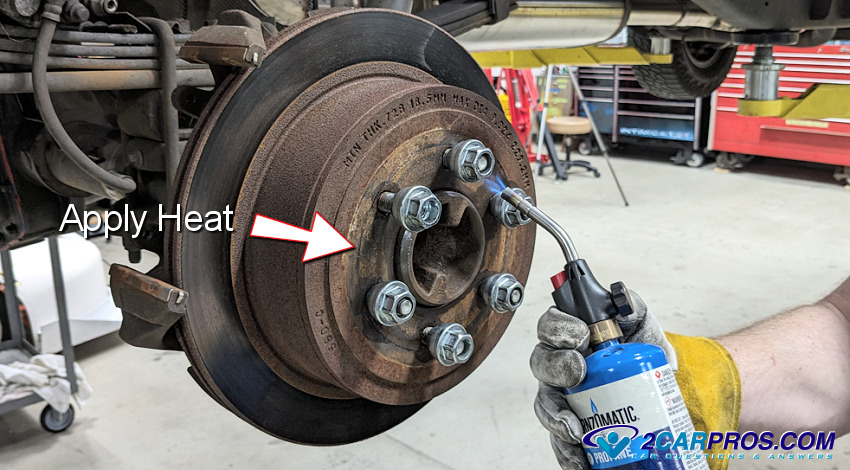
7. If the rotor is still stuck even after many strikes with a hammer heat is your best friend. This works very well because it can expand the rotor mating surface while dissolving rust. While wearing gloves and welding goggles light the butane torch and begin to apply heat around the center and wheel stud holes of the brake rotor, avoid over heating. Avoid heating the outer part of the rotor and the center of the bearing hub or axle flange. Once hot, use a hammer much like you id in the step above, this will break the rotor free. Use gloves to handle the rotor to protect yourself from the hot metal and allow to cool.
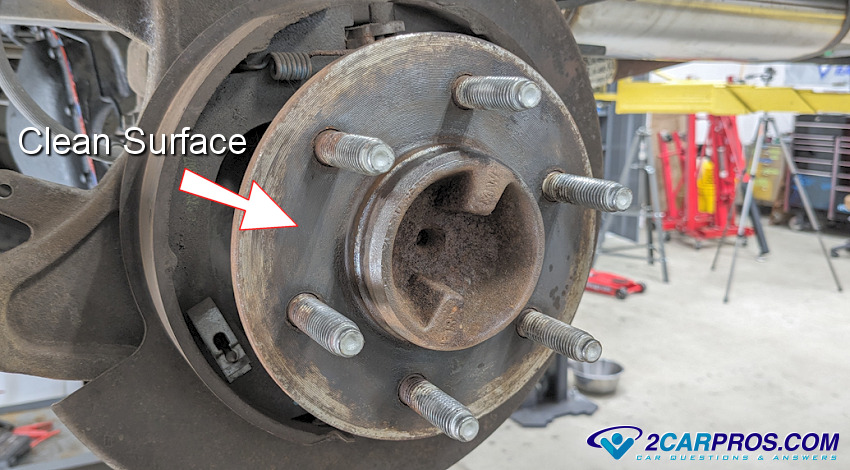
Clean Up
Once all surrounding parts have cooled, use sand paper or a wire brush to clean up any rust remaining on the rotor mounting flange. Avoid using oil or grease to help prevent the rust because when it heats up it can contaminate the brake pads as the wheel spins. Do not use paint or primer as well because it can disrupt the rotor run out and can cause the brakes to pulsate when applied.
Watch the Video!
Please watch this video of the job being done to glean additional helpful information.
Credits
This guide knowledge base was created by the 2CarPros Team. If you have a car repair question, you can ask the 2CarPros community for help. Please visit our 2CarPros YouTube Channel for more helpful repair videos.