Hi,
Replacing rear brakes and rotors isn't too hard. When you do it yourself, make sure to purchase lifetime parts so you'll never need to pay for them again.
First, here is a link that shows in general how it's done. You can use this as a guide. This video shows the job being done on a similar car but the process is the same.
https://youtu.be/PAjUx1Rct4Q
and
https://www.2carpros.com/articles/how-to-replace-rear-brake-pads-and-rotors
Here are the directions specific to your vehicle. The pics below correlate with the directions.
Procedures Brake Pads Replacement - Rear
BRAKE PADS REPLACEMENT - REAR
Brake Pads Replacement - Rear
Removal Procedure
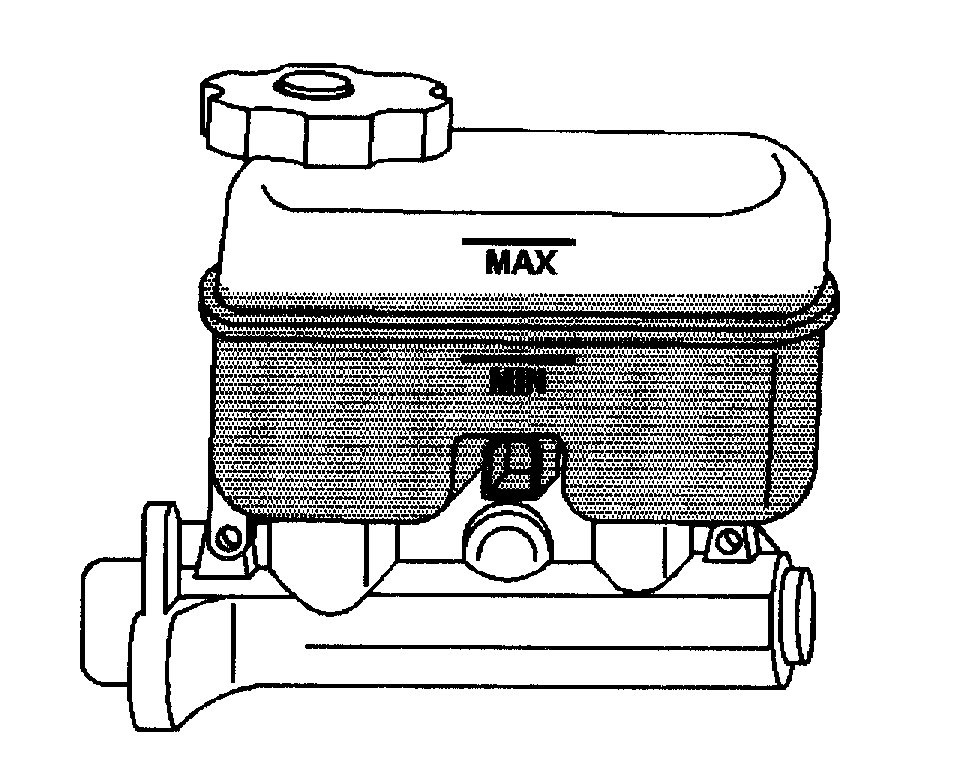
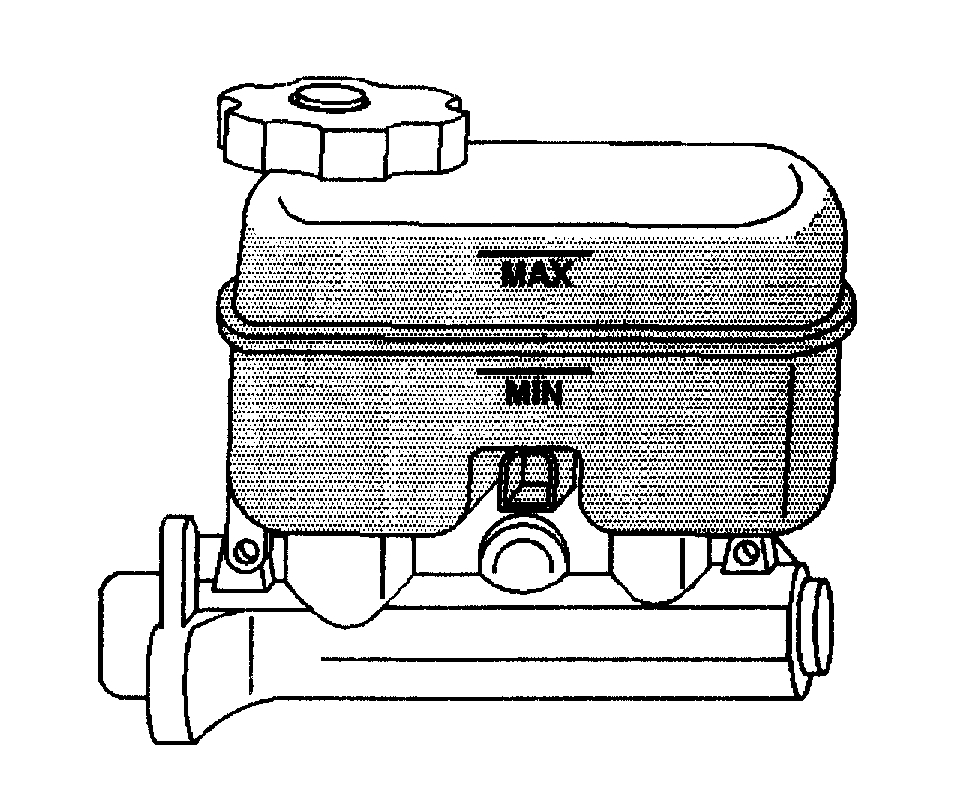
1. Inspect the brake fluid level in the brake master cylinder reservoir.
2. If the brake fluid is midway between the maximum full point and the minimum allowable level, no brake fluid needs to be removed from the reservoir before proceeding.
3. If the brake fluid level is higher than midway between the maximum-full and the minimum allowable level, using the appropriate tool, remove the brake fluid to the midway point before proceeding.
4. Raise the vehicle. Refer to Vehicle Lifting.
5. Remove the tire and wheel assembly.
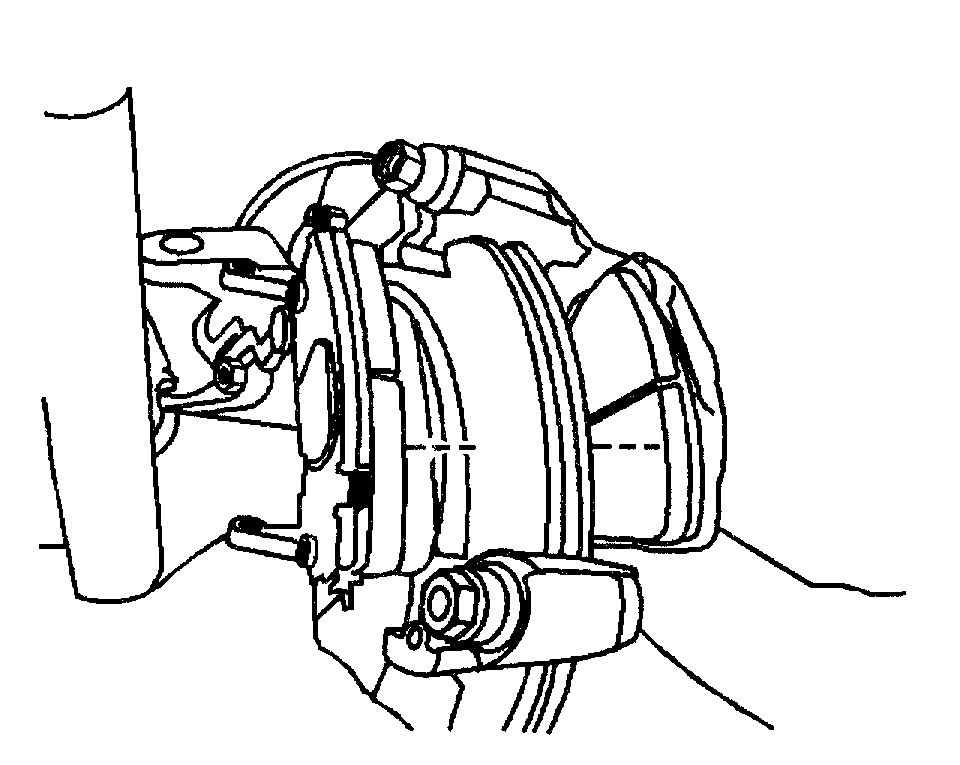
6. Install a large C-clamp over the top of the brake caliper housing and against the back of the outboard brake pad.
7. Slowly tighten the C-clamp until the piston is fully seated in the caliper bore.
8. Remove the C-clamp from the brake caliper.
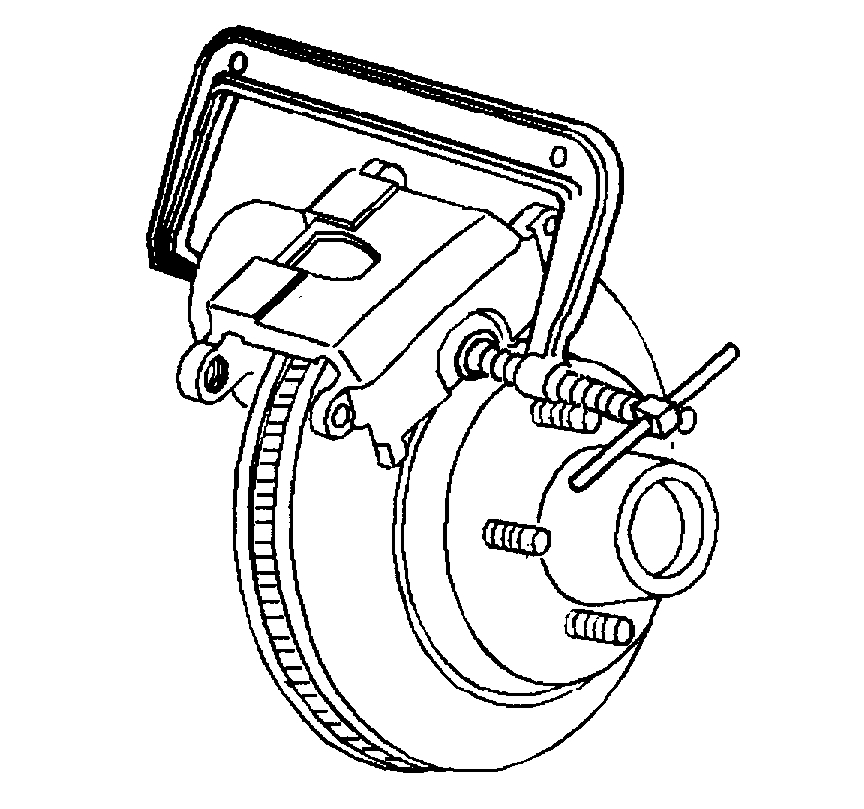
9. Remove the brake caliper assembly from the mounting bracket.
10. Using denatured alcohol, clean the Make pads and related parts.
11. Using non-lubricated, filtered compressed air, dry the brake pads and related parts.
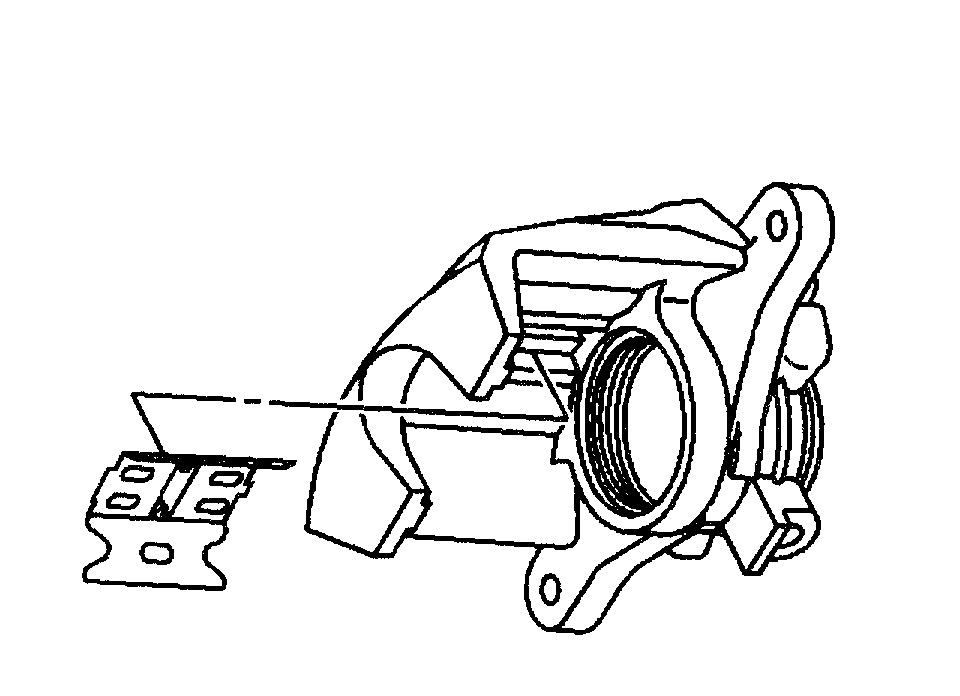
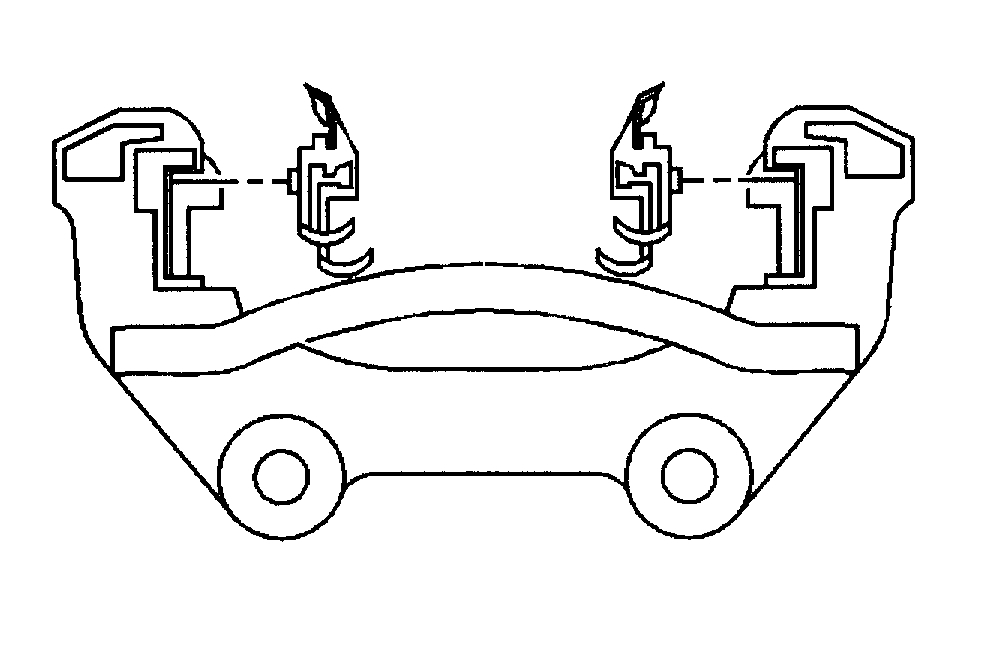
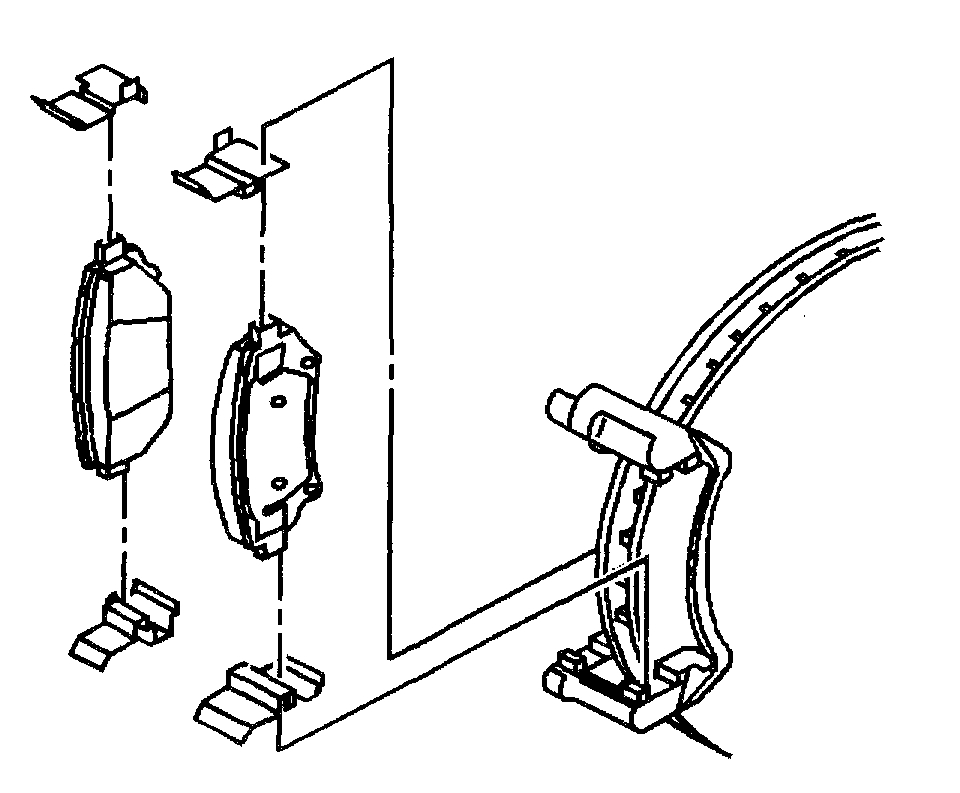
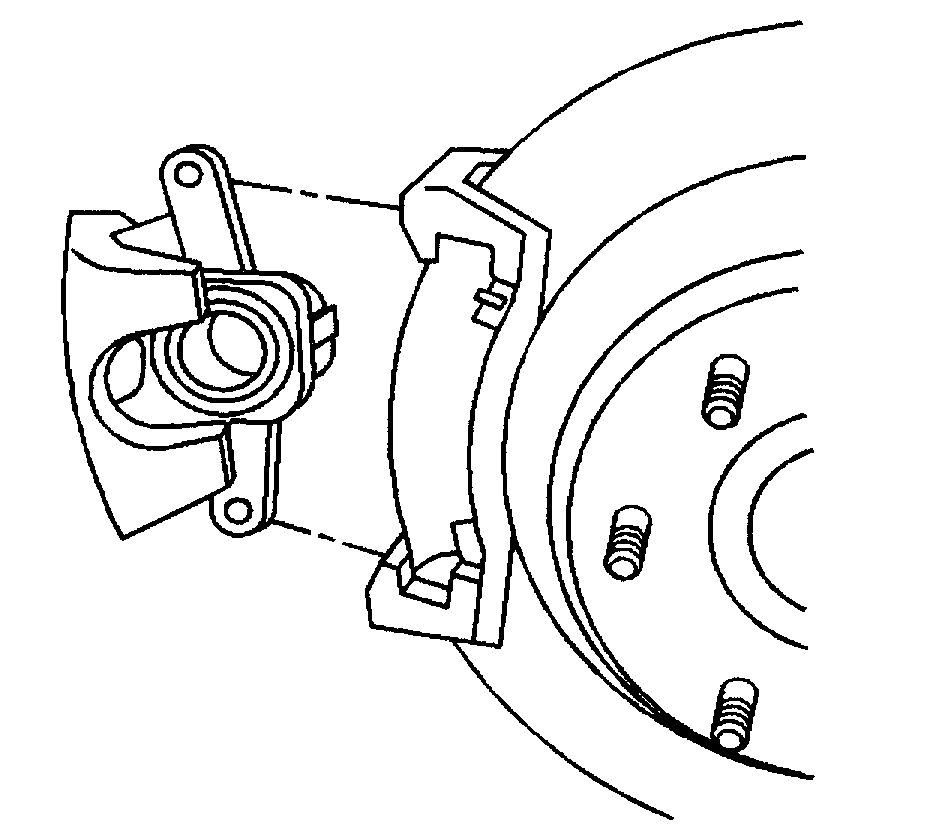
12. Remove the rear brake pads.
Important: DO NOT reuse the rear brake pad anti/rattle spring. Used the NEW brake pad anti/rattle spring.
13. Remove the rear brake pad anti/raffle spring from the brake caliper.
14. Remove the anti/raffles springs from the mounting bracket.
15. Inspect the brake caliper.
Installation Procedure
Important: When replacing the rear brake pads, DO NOT reuse the old anti/rattle springs use supplied in the brake pad kit.
1. Install the NEW anti/rattle springs on the mounting bracket.
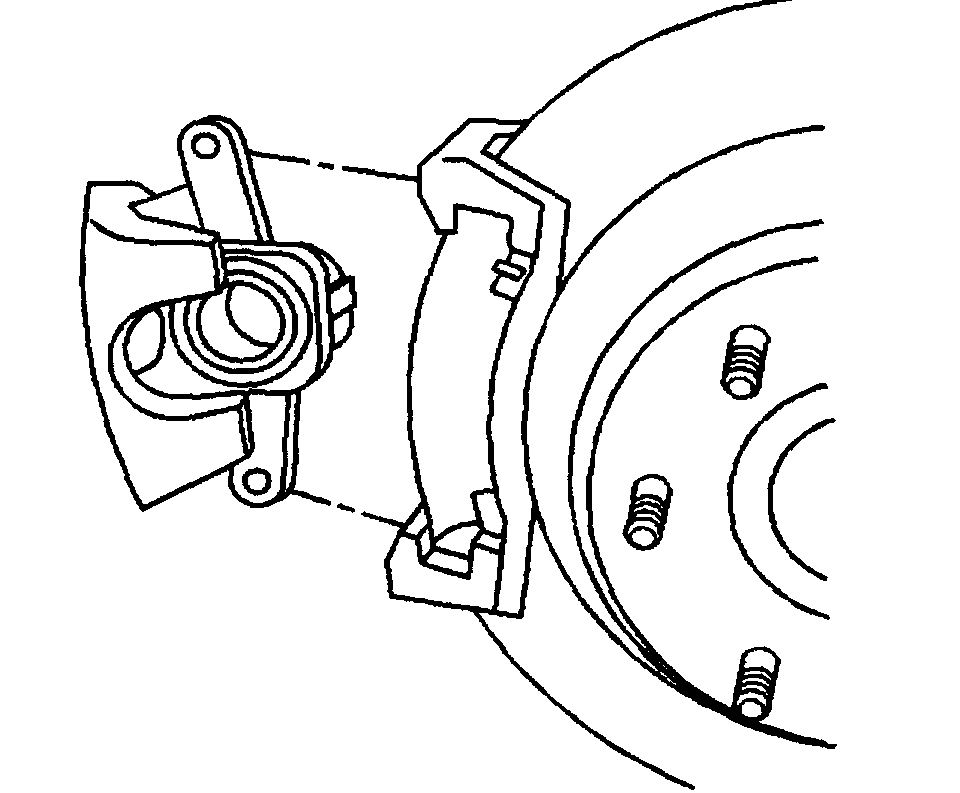
2. Install the rear brake pads on the mounting bracket.
3. Install the anti/rattle spring on the rear brake caliper.
4. Install the brake caliper assembly on the mounting bracket.
5. Lower the vehicle. Refer to Vehicle Lifting.
6. Fill the brake master cylinder to the proper level.
7. With the engine OFF, gradually apply the brake pedal to approximately 2/3 of its travel distance.
8. Slowly release the brake pedal.
9. Wait 15 seconds, then repeat steps 5-6 until a firm brake pedal is obtained. This will properly seat the brake caliper pistons and brake pads.
10. Burnish the new brake pads.
Brake Rotor Replacement - Rear
Vehicle Brakes and Traction Control Disc Brake System Brake Rotor/Disc Service and Repair Procedures Brake Rotor Replacement - Rear
BRAKE ROTOR REPLACEMENT - REAR
Brake Rotor Replacement - Rear
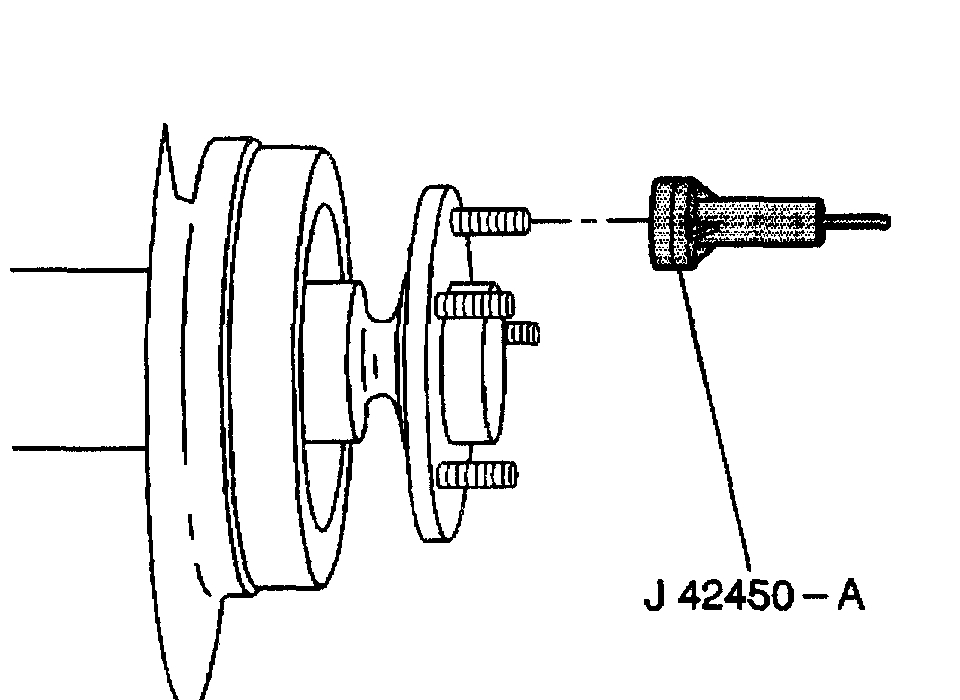
Tools Required
J42450-A Wheel Hub Resurfacing Kit
Removal Procedure
Notice: Refer to Brake Caliper Notice in Service Precautions.
Important: Do not disconnect the brake hose from the caliper.
1. Remove the brake caliper.
2. Remove the brake pads.
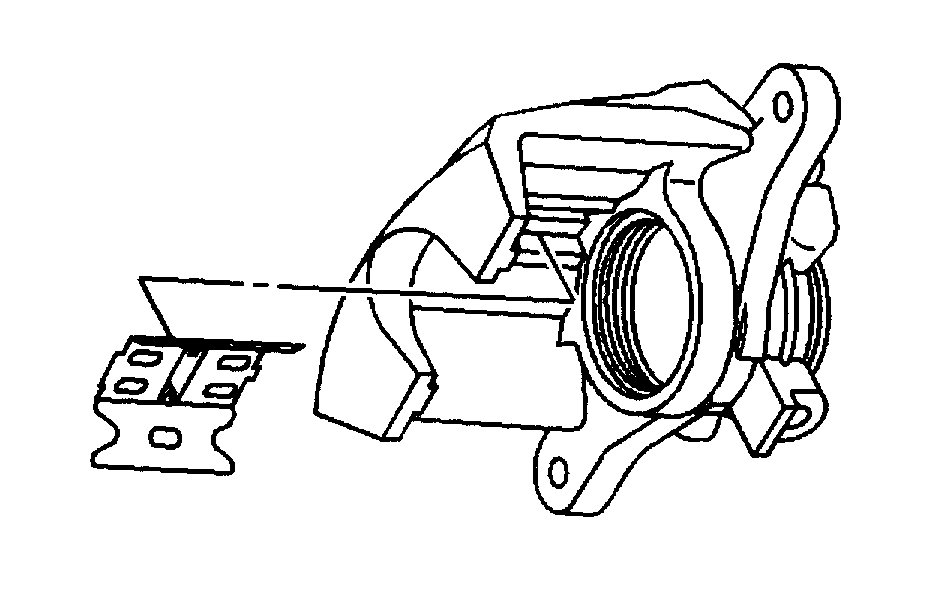
3. Remove the brake caliper mount.
4. Remove and dispose of the sheet metal rotor retainers.
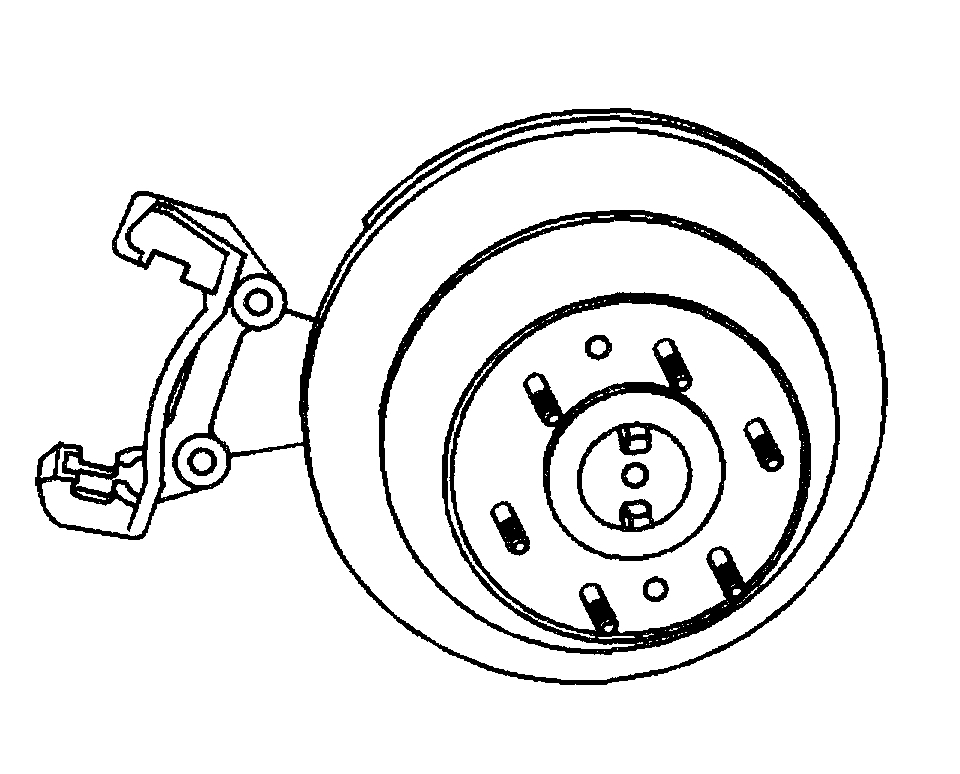
5. Remove the brake rotor.
6. Inspect the brake rotor.
7. Refinish the brake rotor if necessary.
Installation Procedure
Caution: Do not move the vehicle until a firm brake pedal is obtained. Failure to obtain a firm pedal before moving vehicle may result in personal injury.
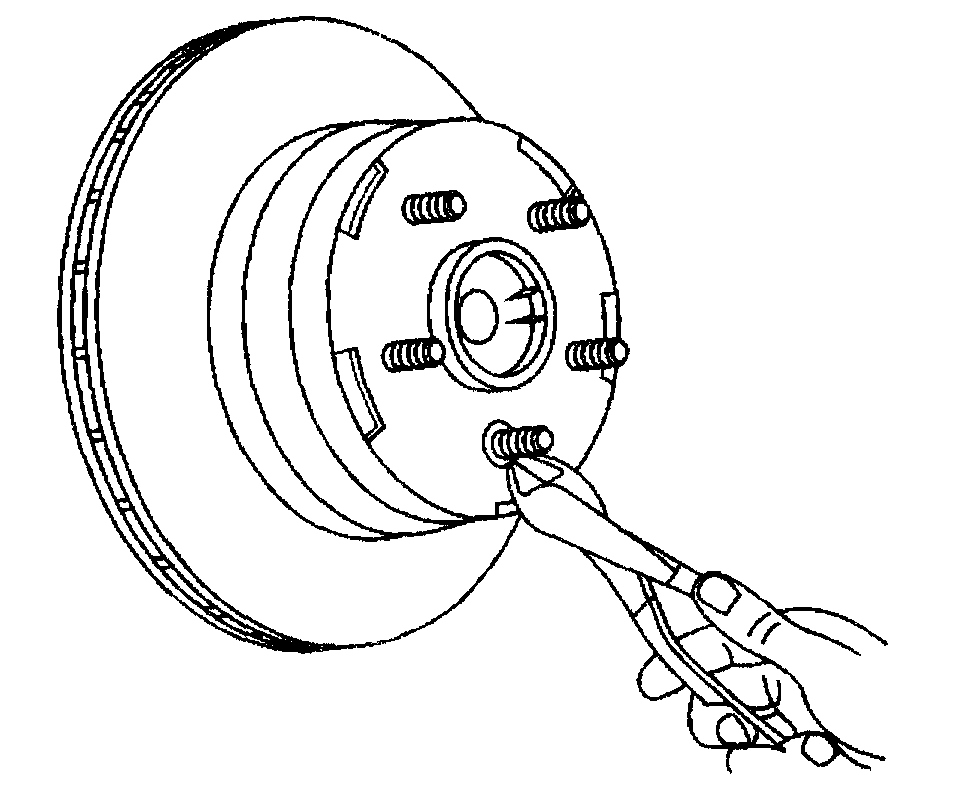
Notice: Whenever the rotor has been separated from the axle flange, clean any rust or foreign material from the mating surface of the axle flange and brake rotor. Failure to do this may result in increased lateral runout of the rotor and brake pulsation.
1. Using the J42450-A, clean the axle flange.
2. Install the brake rotor.
3. Install the brake caliper mount.
4. Install the brake pads.
5. Install the brake caliper.
6. Burnish replaced or refinished rotors.
Check out the diagrams (Below). Please let us know what you find.
Images (Click to make bigger)
Tuesday, March 16th, 2021 AT 7:26 PM