A turn signal switch is designed to activate the directional signals either right or left by the driver when desired.
What Goes Wrong?
The turn signal switch is made of several plastic parts and electrical connectors and may or may not be constructed with a wiring harness. When this part ages the plastic can become brittle and crack or the electrical connections can overheat and melt or become corroded stopping the switch operation. Mechanical failures can cause the switch to not cancel after the turn has been completed. A bad turn signal switch may cause the brake lights to stop working as well.
What Does it Cost?
A directional or turn signal switch can cost between $24.00 and $130.00 depending on design and configuration which can be purchased on Amazon or RockAuto, labor time at the shop will range from 1.5 to 2.5 hours, if exact times or procedures are needed you can ask the 2CarPros community to supply you with the information (free), or consult an online resource such as AllData DIY (pay), this guide and video will be sufficient in this specific case. In some cases the steering wheel will need to be removed so keep that in mind when doing the repair.
Lets Jump In!
If you have a ignition switch off there is no danger of blowing a fuse when performing
the repair, some mechanics like to disconnect
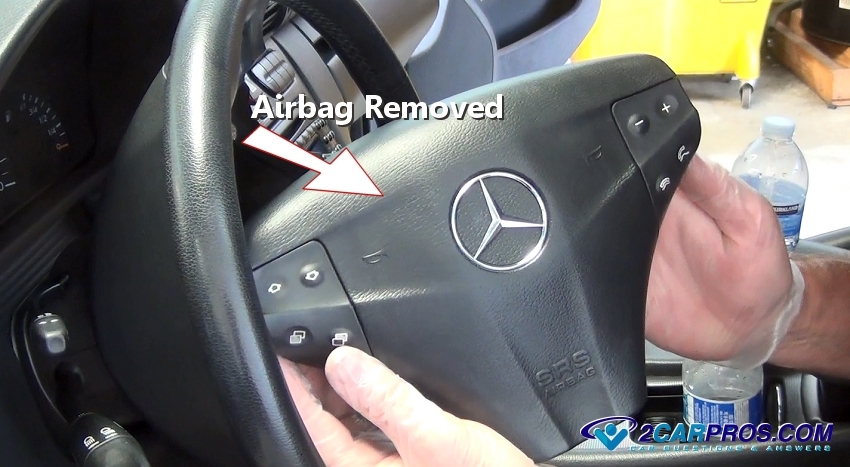
the battery when doing any kind of electrical repair. In the example below the
steering wheel needs to be removed before the job can be done, the
airbag must be removed first.
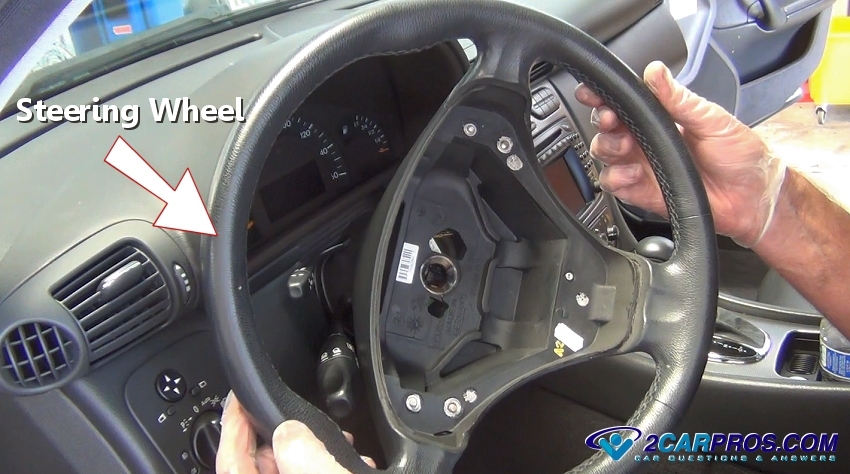
The steering wheel removal is
next, on this application the steering wheel will slide off without the need of
a puller (mostly European vehicles). If there is a question as to which style your
car has please ask the 2CarPros community.
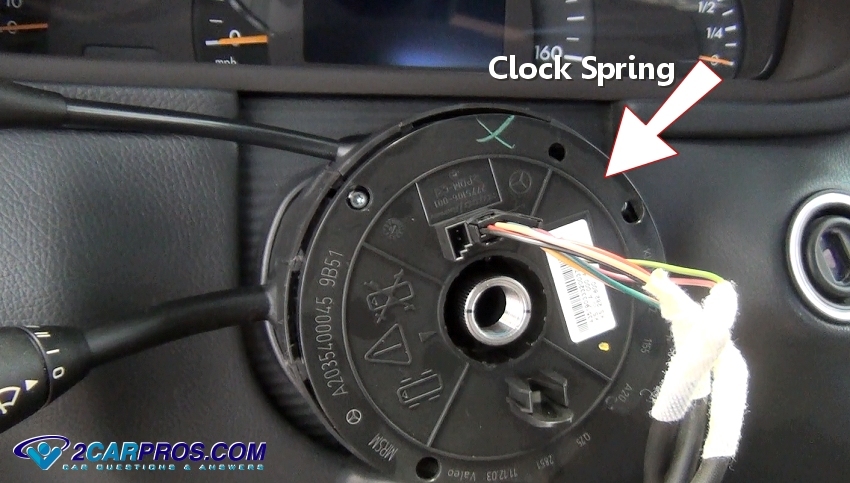
Beneath the steering wheel the electrical system clock spring or spiral wire
is next, this part is designed to facilitate the steering wheel controls and horn
operation while the wheel is in motion, it can be held in place by using mounting
screws which will allow you to
remove the clock spring.
There can be a retainer plate and fascia pieces that need to be removed to access
the turn signal switch, this will vary and may not be needed for some applications,
simply grasp the pieces and remove them, they should pull right off.

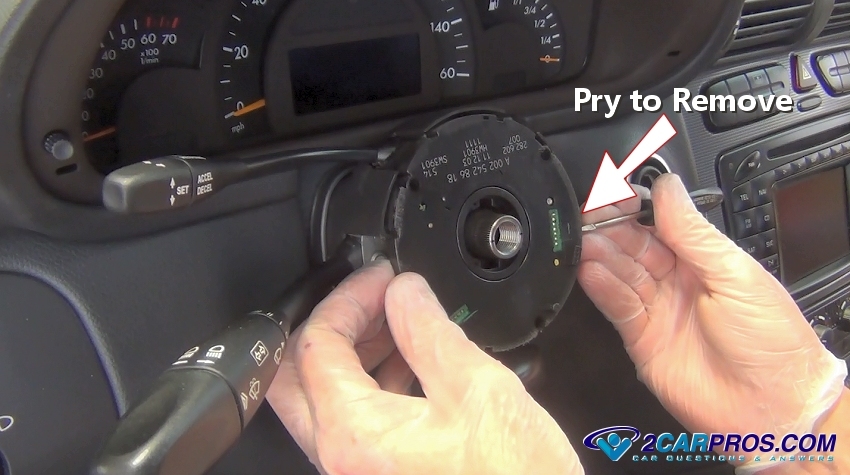
After removing the retainer plate mounting screws use a small screwdriver and
gently pry the plate from the column, it should lift straight off.
Watch the Video!
Please watch this video of the job being done, then continue down the guide to glean additional helpful information.
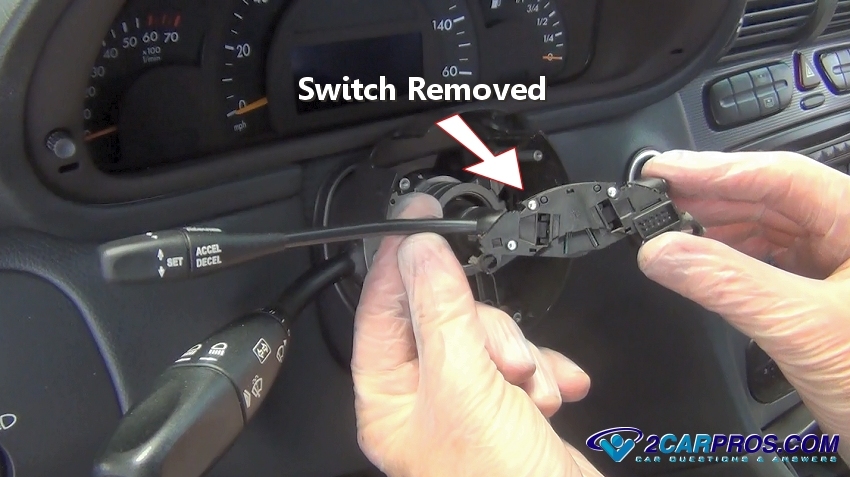
In this particular application the cruise control switch is attached to the turn
signal switch. remove the mounting screws and remove the cruise control switch to
gently pull it from the column.
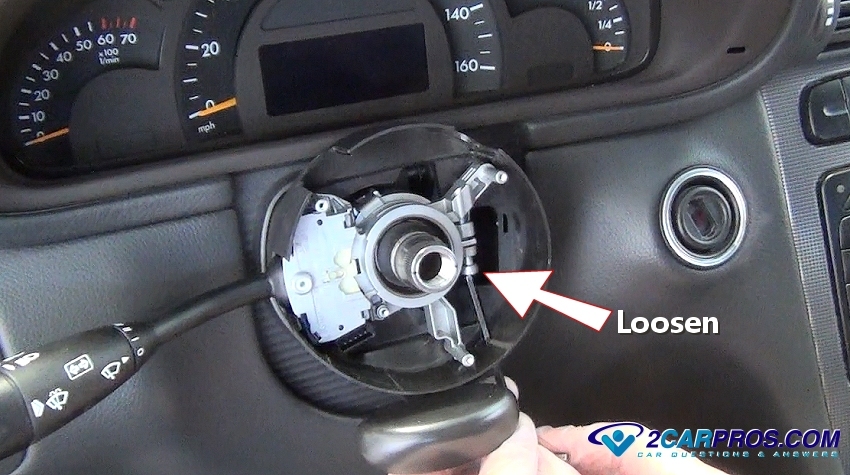
The directional switch is now exposed and ready for replacement, loosen and remove
the turn signal switch mounting bolts or screws, in this case the switch is held
in place by a squeeze clamp.
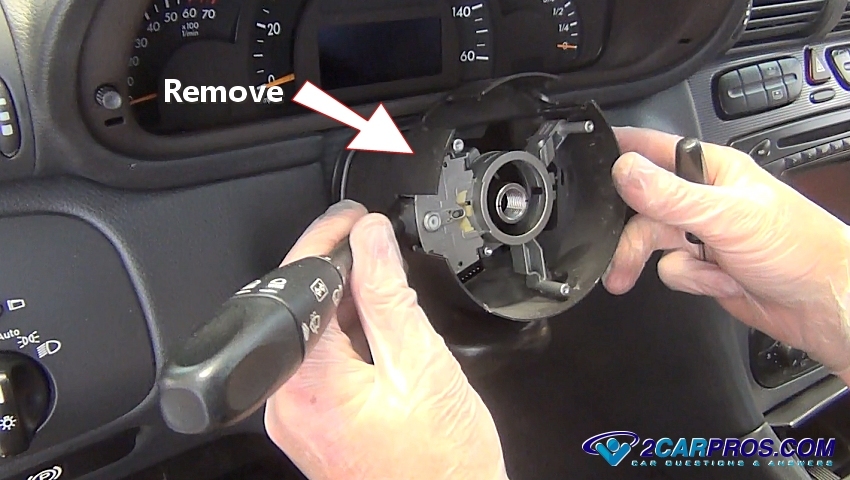
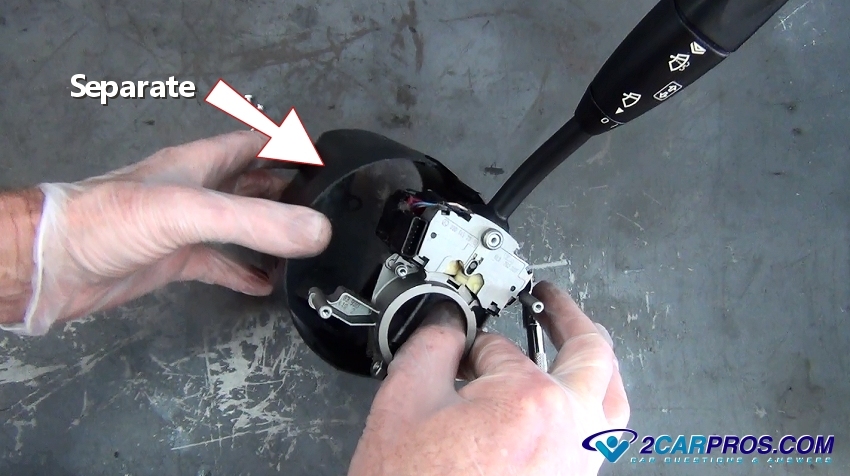
Gently grasp the switch and column bowl assembly and pull it outward to remove
it from the column.
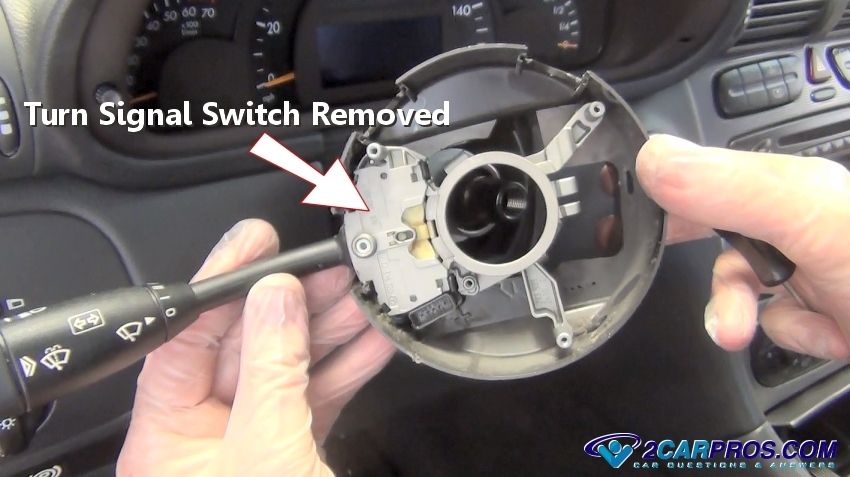
Once the switch has been removed, inspect wiring connections and terminals for
corrosion, some turn signal switches are designed with a wiring harness attached
which will need to be disconnected near the bottom of the column before removal.
From the backside of the column bowl remove the switch mounting bolts using a
Torx or screwdriver, this will allow you to change out the switch.
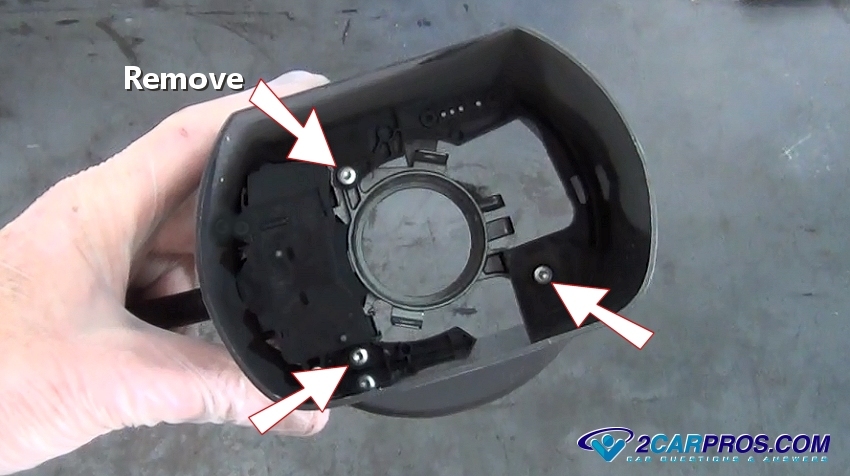
Remove the switch from tjhe steering column bezel.
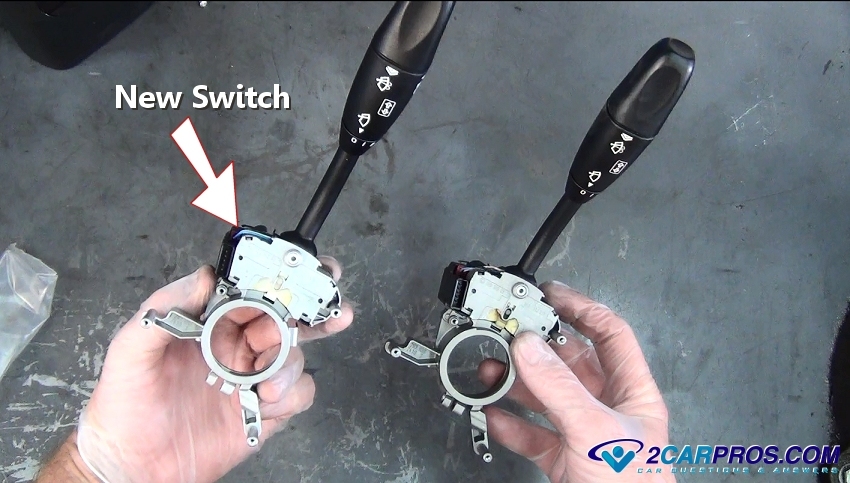
Compare the new switch to the old unit, they should match identically.
Reinsert the new switch into the bezel, install and tighten screws by hand to
avoid cross threading, then tighten evenly.

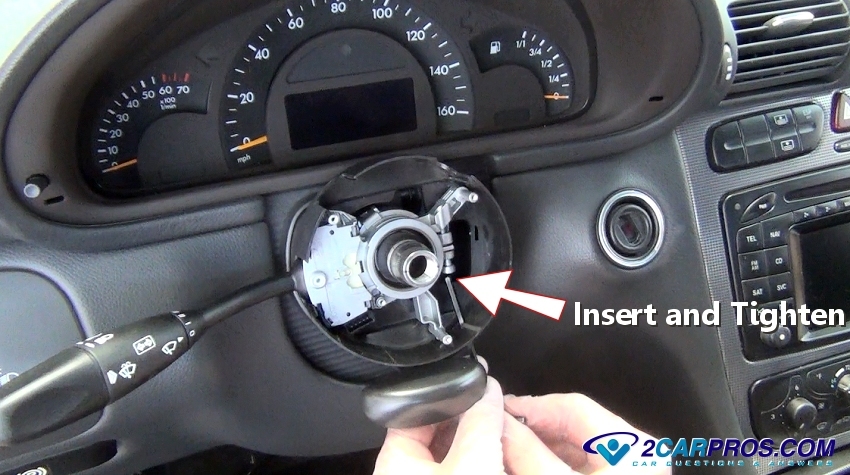
Gently place the bezel and new switch over the steering column, after pushing
the switch into place, insert and tighten the mounting screws or bolt(s). Re-install
fascia pieces, move the top plate back into position and gently lower it into the
column, reverse the previous steps to complete the job.
Questions?
If you have a car repair question, you can ask the 2CarPros community for help. We hope this guide helped you understand the repair. Please visit our 2CarPros YouTube channel for more helpful repair videos.