How to Replace an Airbag

Need to remove or replace your vehicle's airbag? Though this system does inflate rapidly when activate there is no danger when working with airbag systems once the car battery is disconnected. Let's jump right in!

How does it work?

An automotive airbag safety system is designed to help keep passengers safe in the event of an accident by inflating itself when a car strikes an object at speeds above 8 to 14 MPH. It also automatically deflates at temperatures of above 200°F in case of fire to allow the occupant to exit the vehicle.

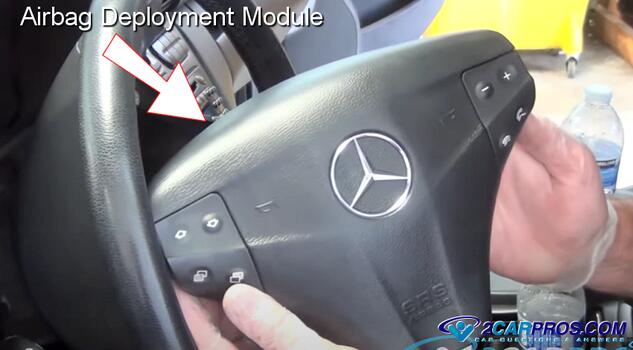
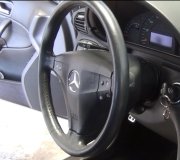
An airbag inflation module is located at the center of the steering wheel which contains the nylon style airbag and inflation capsule. The steering wheel airbag is contained within a trim cover which is designed with a molded seam which tears open as the airbag deploys.

driver side air bag

There are four or more impact sensors around the vehicle which send a signal to the main SRS (safety restraint system) computer in case of an accident. An electrical signal is then sent to discharge rapidly expanding gases through an orifice located at the rear of the airbag which immediately fills to instantly cushion the impact of the head and torso to prevent injury.

The frontal passenger side airbag operates in much of the same manner as the drivers side with the exception of a weight sensor located in the passenger seat which detects the presents of a person or infant sitting in the seat. The technology behind this infant or toddler detection has been advanced throughout the automotive industry with the use of weight sensors informing the system if someone is sitting in the seat weighing 75 pounds or less which automatically disables the passenger side bag.

passenger airbag

Even with the technological advancements passengers should set back away from the airbag and not lean forward when they drive or ride to avoid any adverse effects of the airbag deployment in the event of an accident. Some cars and trucks are equipped with a manual control switch that will disable the system for small children and infant seats.

air bag control switch

Side door air impact bags were introduced to aid further safety measures which is located inside the seat, door panel or side molding. Some side airbags can be located in along the roofline, back seat or the inboard edge of the door sill. The initial airbag system was enhanced and replaced with the supplemental restraint system or SRS which was introduced in the S-Class Mercedes-Benz in 1980, Porsche was the first to introduce the passenger side airbag.

side air bag

What Goes Wrong?

If an airbag warning light is on while driving the airbag safety system has been disabled and will not activate in the event of an accident which is dangerous. Your vehicle goes through a diagnostic check when the ignition key is turned on to ensure the system is operational. If the computer detects a problem it will shut down the system while illuminating the airbag warning light. This warning light will illuminate when:

  • The fuse is blown
  • One of the air bag connectors is still disconnected after a repair
  • The airbag safety module has detected a problem
  • An airbag has deployed
  • A sensor wring is damaged
  • Short in the wiring harness

  airbag warning light

Why Does The Airbag Need to Be Removed?

There are primarily two reasons an airbag needs to be removed or replaced. The first and most obvious is that the car has been in an accident and the airbag has deployed in which case replacement is required because they cannot be reused. The next is a repair that requires the removal of an airbag that needs to be done such as a turn signal switch which is located behind the steering wheel. Other repairs include the removal of a side air bag such as a window regulator replacement job. As you can see by the image below the side airbag stands in the way of the window regulator.

airbag cartridge

Before You Begin Removing the Airbag

Begin with the vehicle on level ground with the transmission in park, set the emergency brake.

Performing a removal and replacement is not too difficult and can be done using everyday tools. This job will take about an hour. Disconnect the battery's negative cable to disable the system for about 5 minuets before work begins and leave it disconnected until the repair job is completed. This will help prevent electrical short circuits and accidentally deploying the unit while the job is being done. Though appearances may vary the process is similar for most vehicles.

We will give you a list of tools and supplies including specific parts and manuals at the end of this guide.

Step 1: Remove the Airbag Mounting Bolts

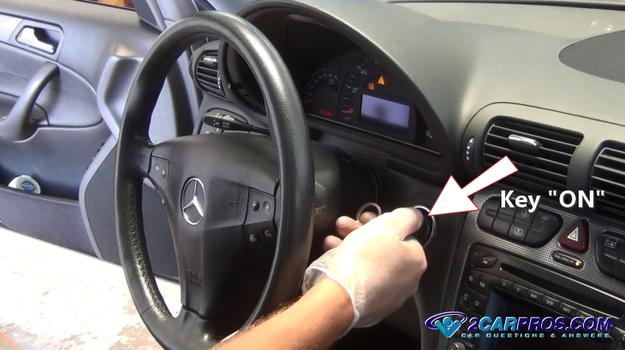
While the battery is disconnected turn the ignition switch to the on position. This will unlock the wheel and allow you to move it in either direction and help you access the mounting bolts or release clips (On Gm vehicles) which are located on the backside of the steering wheel cover.

turn ignition switch on

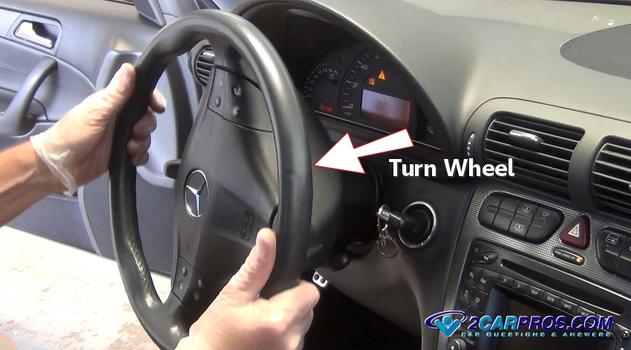
Now grasp the steering wheel and turn it 90° locating the first mounting bolt or clip upward.

turn steering wheel

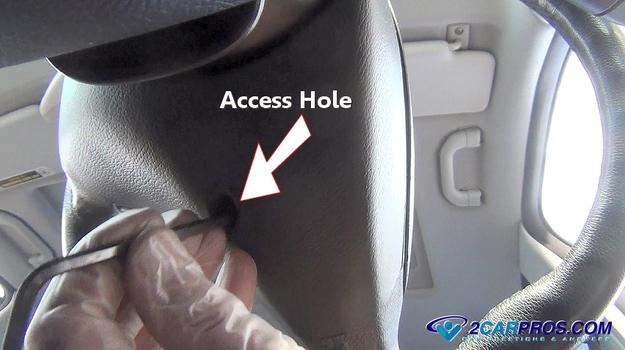
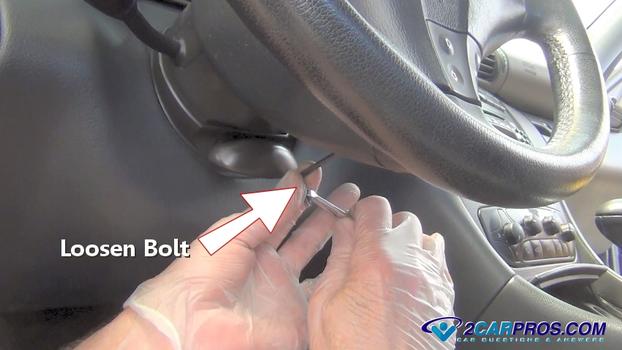
Look behind the steering wheel to find the access holes where the bolts are located. Some manufacturer's have slots which give access to a retainer clip or ring which requires a screwdriver to release.

steering wheel access hole

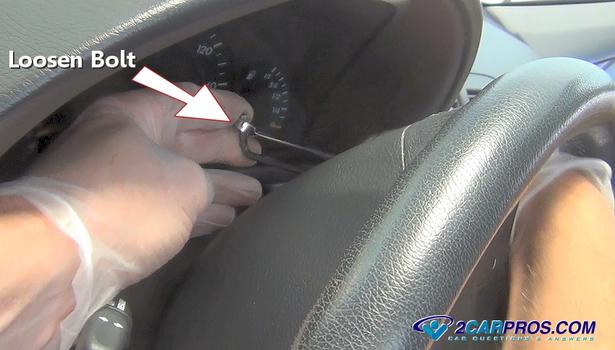
After locating the access hole loosen the mounting bolts or clips which will release one side of the airbag. For some applications the bolts will be retained in the wheel and will not come out which is normal.

remove air bag mounting bolt

Once one side has been removed or released turn the steering wheel in the opposite direction 180°. Then locate and loosen or remove the opposing mounting bolt or retainer clip.

remove air bag mounting bolt

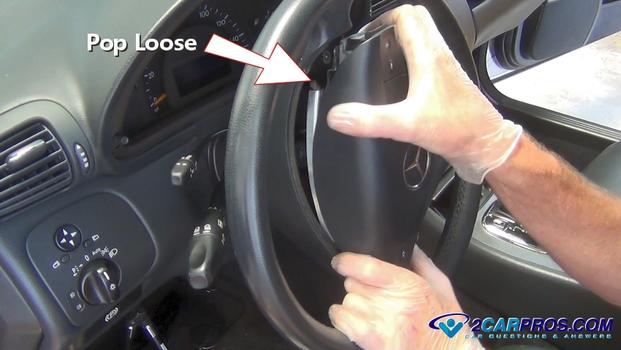
Gently grasp the assembly while pulling it away from the steering wheel. Be careful to not pull it out quickly because the wiring harness connector for the horn and deployment controls will still be attached to the backside which you don't want to damage.

pop airbag loose

Step 2: Disconnect Wiring Connectors

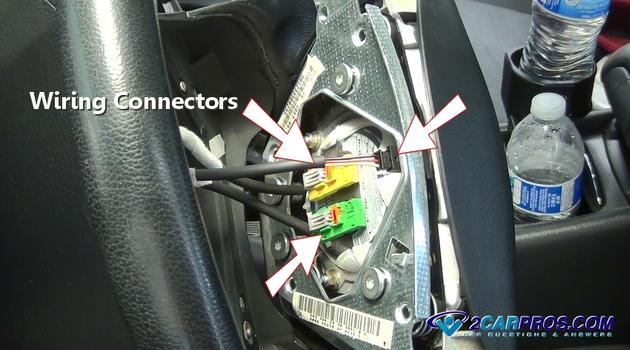
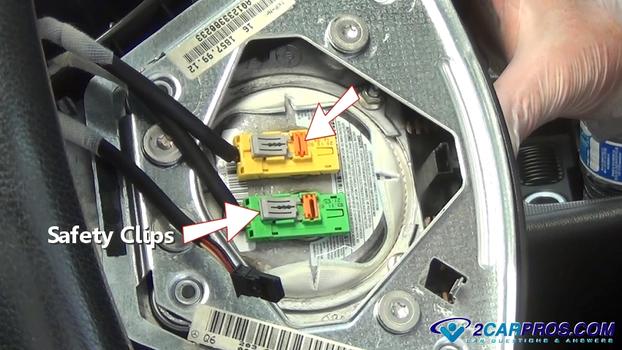
On the backside of the airbag will be the wiring connectors. These connectors are for the first and second stage deployment and are color coded one green and one yellow, the horn connector is black.

airbag wiring connectors

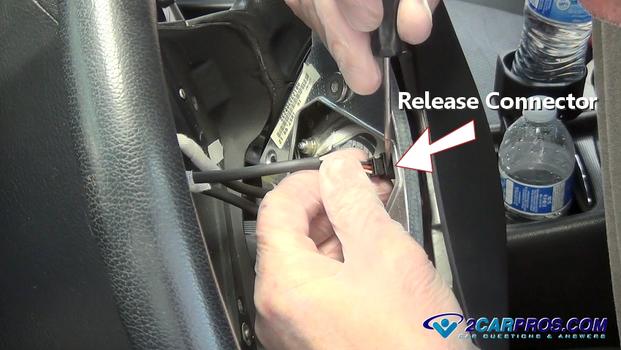
Using a small pick or screwdriver carefully release the horn pad connector and pull it away from the airbag. This safety clip is made of plastic so be gently as not to break it.

release horn pad connector

Watch the Video!

Please watch this video of the job being done, then continue down the guide to glean additional helpful information.

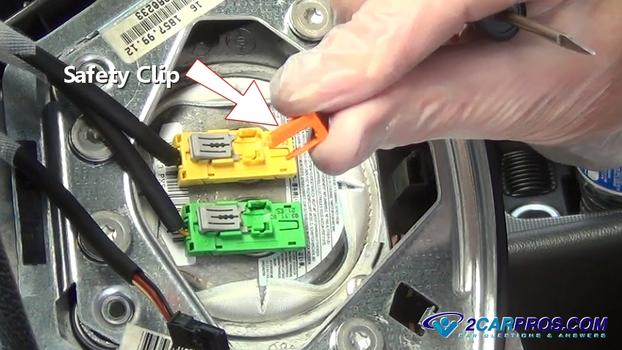
Wiring connectors can have one or more safety clips or operations to remove the connector. This connector has two separate devices one orange and one grey on each connector.

airbag safety clips

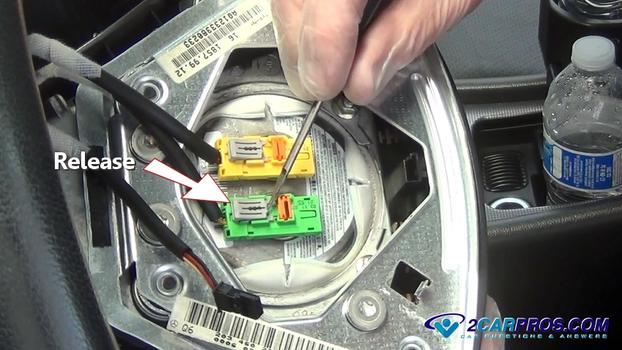
Use a small pick or screwdriver to release the primary safety clip by pushing it downward. Each manufacturer has a different method of release so push in all directions until it unlocks.

release aribag safety clip

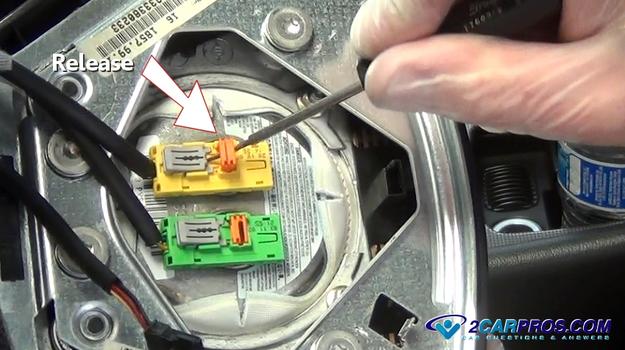
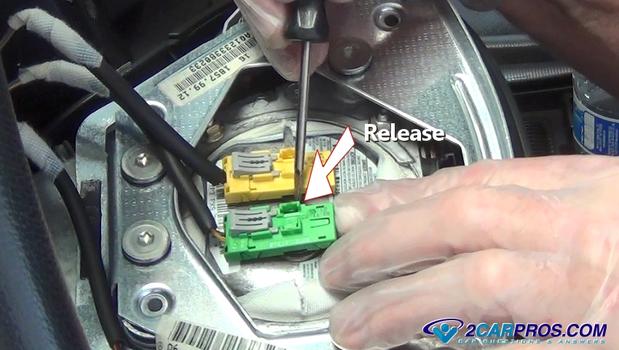
Once the primary safety clip has been released gently pull up on the secondary clip. This will help you remove the clip from the connector.

release secondary airbag safety clip

After the clip has been released grasp it and remove it from the connector.

secondary airbag safety clip

Now the connector is ready to be removed. While pulling up slightly use a small pick to release the tang (barb) on each side of the connector while gently pulling upward. You may need to gently rock the connector back and fourth a little to aid in its disconnection.

release airbag mounting clip

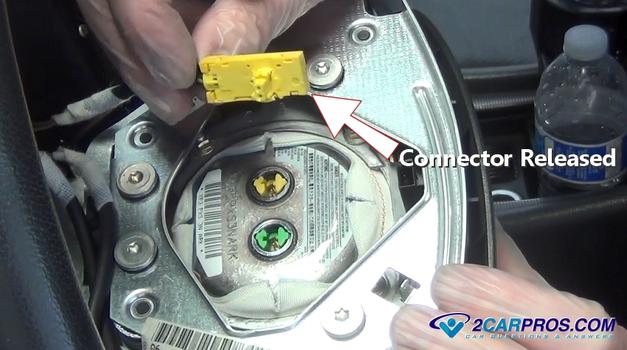
The connector will now be removed, inspect it for damage or corrosion.

airbag-electrical-connector-released

Step 3: Removing the Airbag

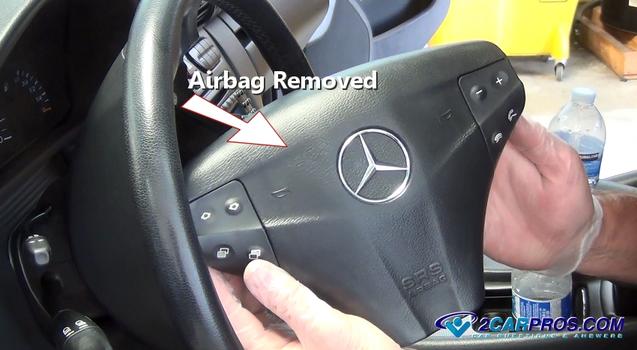
After removing the electrical connectors inspect the control switches and horn pad for damage. If replacing the unit because of deployment inspect and match the electrical connectors, they should be identical. Once repairs are completed such as removing the steering wheel to replace the turn signal switch, cruise control or ignition switch simply reinstall the airbag by reversing these steps. Most electrical connectors produce an audible click to confirm their proper installation.

After the repair is complete turn the ignition key to the on position and start the engine to straighten the steering wheel, the airbag warning light should be off. If when the repair is complete and the light is on disassemble to check the connections.

airbag removed

In the following video we will show you how to remove an airbag and disconnect the electrical connectors which can be tricky if you don't know how. Please watch the video below and follow information in this guide for tips and information.

Questions?

Our certified technicians are ready to answer car repair questions for free. We hope you saved money and learned from this guide. We are creating a full set of car repair guides. Please subscribe to our 2CarPros YouTube channel and check back often for new videos which are uploaded regularly.

Article published