A steering wheel is designed to control the car in either direction and holds the drivers side airbag, many times the steering wheel will need to be removed to service additional items such as the turn signal or wiper control switch. There are two types of steering wheel removals, one of which may require a steering wheel puller, other than that they are pretty much the same.
Let's Jump In!
Start by removing the negative battery
cable to help prevent electrical short circuits and accidental airbag deployment
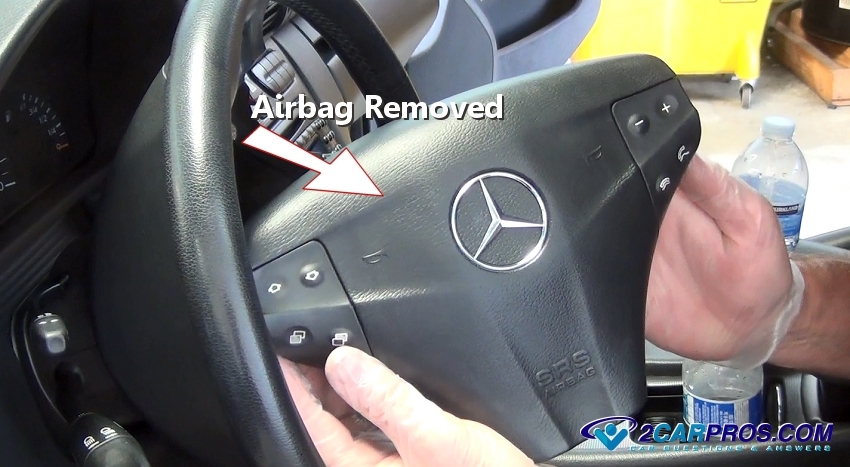
while the job is being done. To remove the steering wheel the center must be exposed,
this is done by removing the
airbag which can be done by removing the mounting bolts or screws from behind
the steering wheel.
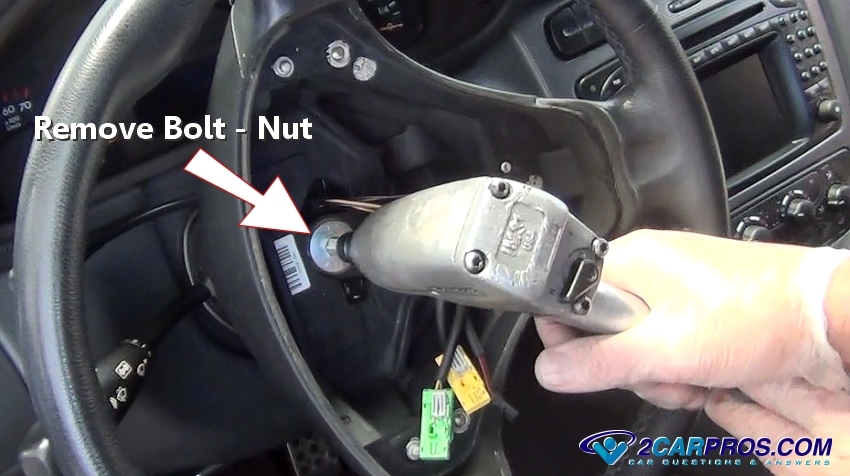
Locate the steering wheel mounting bolt or nut, usually if the wheel is held
on by a bolt, no puller is required. An air impact gun makes this step easier but
is not necessary, loosen the bolt by turning it counterclockwise.
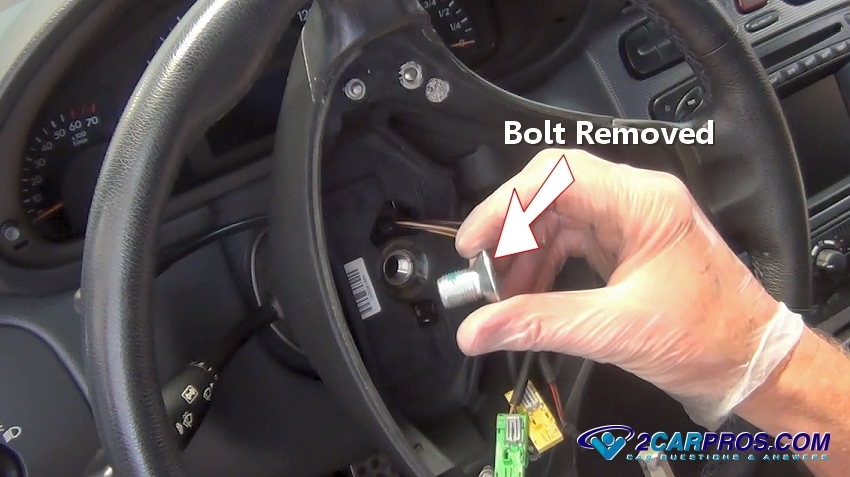
Once the bolt has been removed, inspect threads for damage and store the bolt
in a safe place. These fasteners are specific for each manufacturer so replacements
can be troublesome.
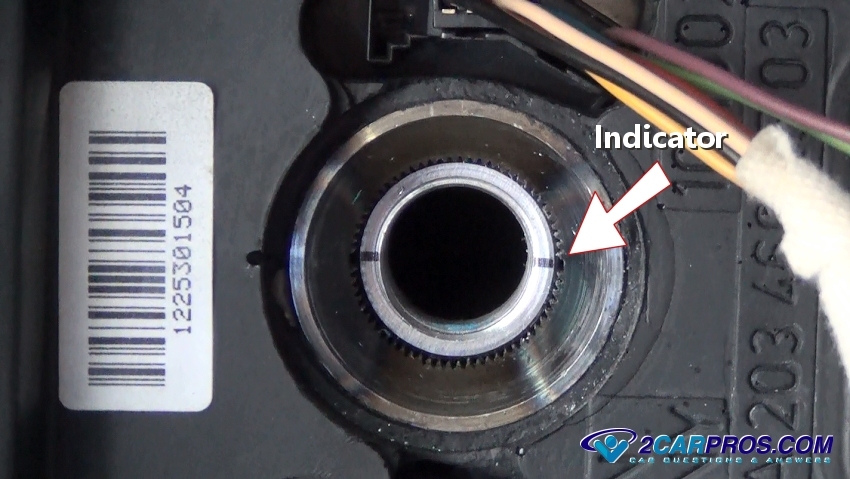
To locate the steering wheel correctly upon the steering shaft, look for an alignment
indicator which is used when the wheel is re-installed, if no marks are found create
a visible mark for your own reference, some steering shafts are equipped with a
flat spot so no marks are needed.
Watch the Video!
Please watch this video of the job being done, then continue down the guide to glean additional helpful information.
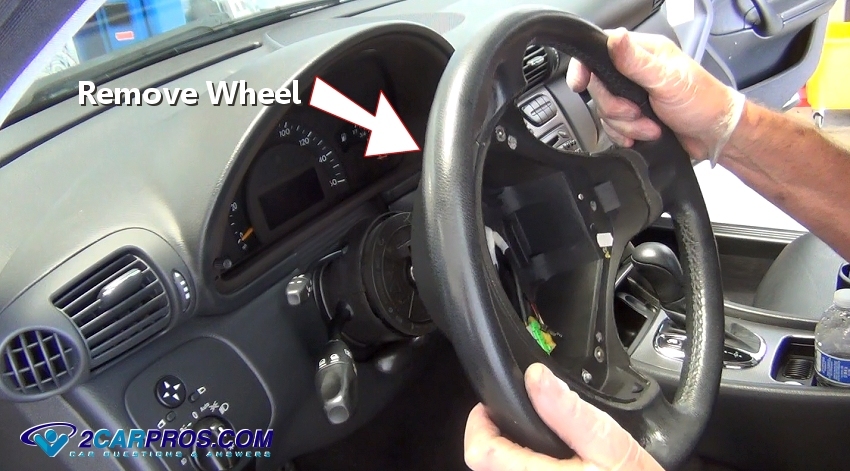
Firmly grasp the wheel and pull outward, it will side off the steering shaft
and become free, if your steering wheel requires a puller there will be two threaded
bolt holes near the main mounting nut.
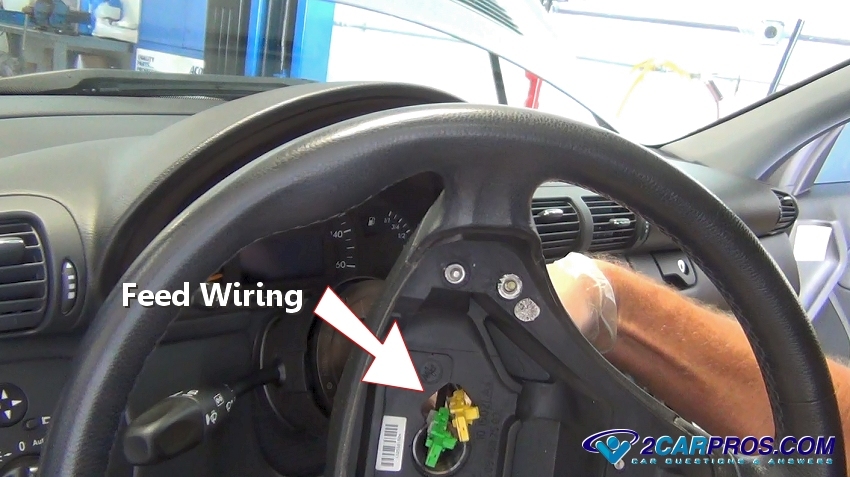
Once the wheel is loose, carefully feed the wiring harness and connectors through
the access hole in the center of the wheel.
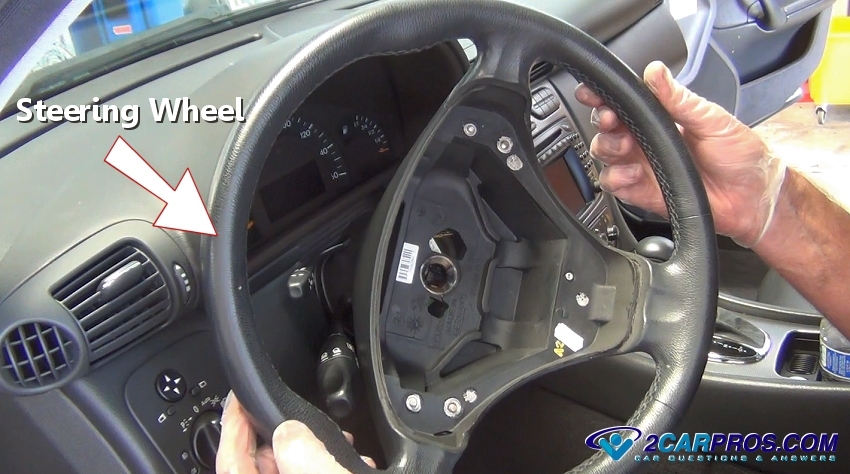
After further repairs are completed, or if you are replacing the steering wheel,
match the steering wheels to each other.
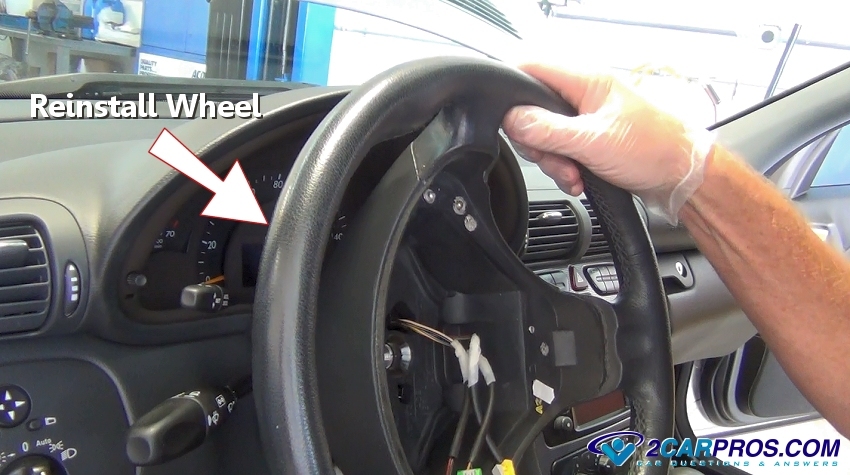
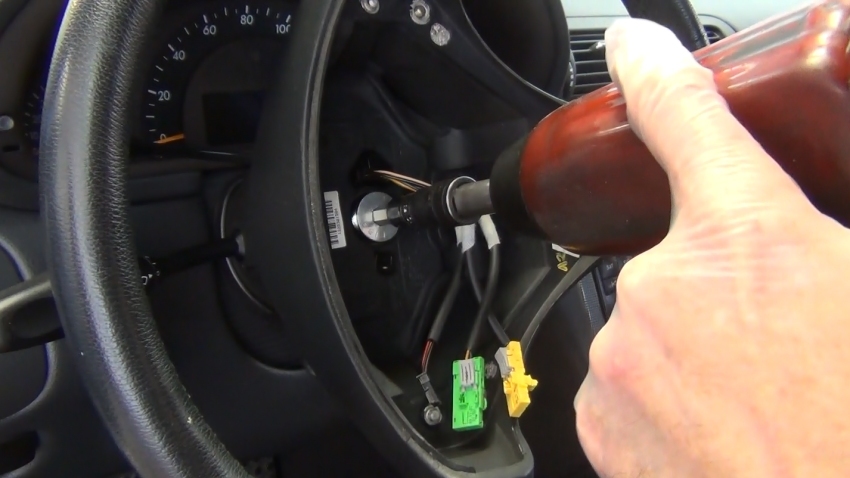
The steering wheel is ready to be re-installed, gently feeding the wiring and
connector through the access hole in the wheel. While noting the alignment marks,
gently place the steering wheel onto the column shaft.
The indicator marking should be aligned to avoid the steering wheel being offset
while driving straight.
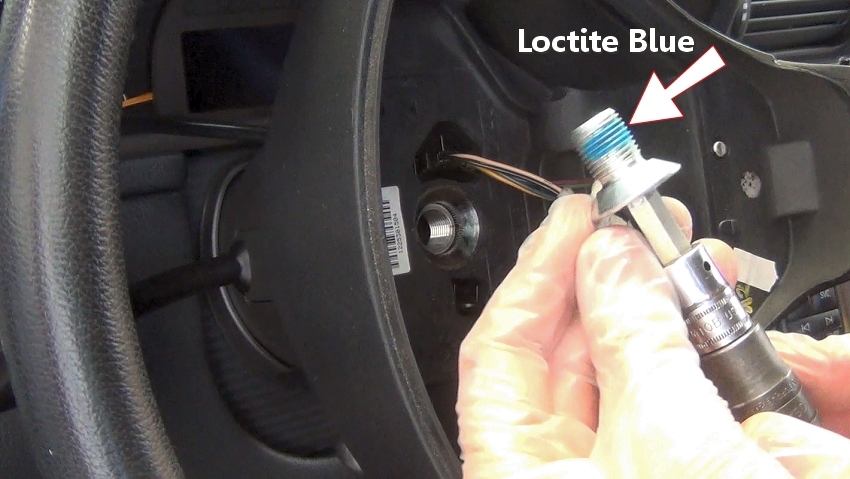
Apply a thin layer of lock tight (blue) on the mounting bolt, this will prevent
the bolt from backing out and becoming loose.
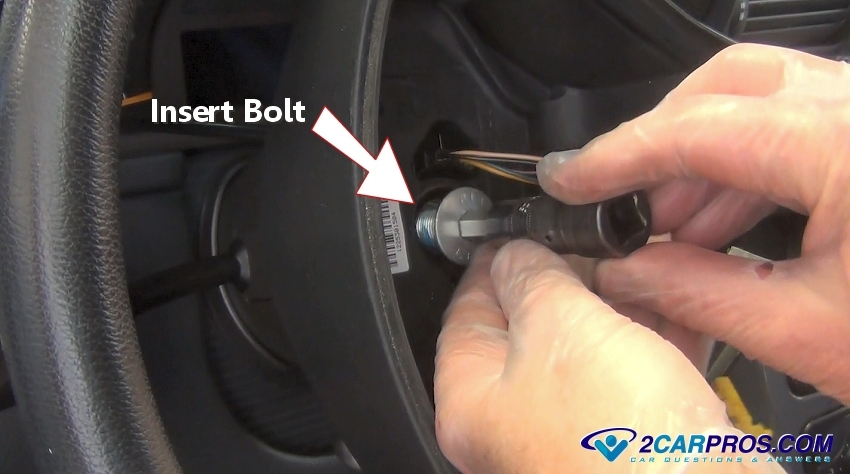
Insert the mounting bolt or nut by hand to avoid cross threading.
Tighten the mounting bolt or nut to the manufacturer's recommendation, usually
50 to 60 foot pounds of torque.
Questions?
Our certified technicians are ready to answer steering wheel removal questions for free. We hope you saved money and learned from this guide. We are creating a full set of car repair guides. Please subscribe to our 2CarPros YouTube channel and check back often for new videos which are uploaded regularly.