
Introduction
A clutch pilot bearing is used to support the input shaft of the transmission. Replacing a pilot bearing should be included when replacing a clutch assembly which will help the clutch disengage. Before you begin the transmission will need to be removed along with the removal of the clutch assembly.
Pilot Bearing Removal
1. Obtain a Pilot Bearing Removal Tool: To remove the pilot bearing you must have a removal tool which you can buy from Amazon starting at $34.00 or you can rent one at your local auto parts store, it would be difficult to do the job without it.
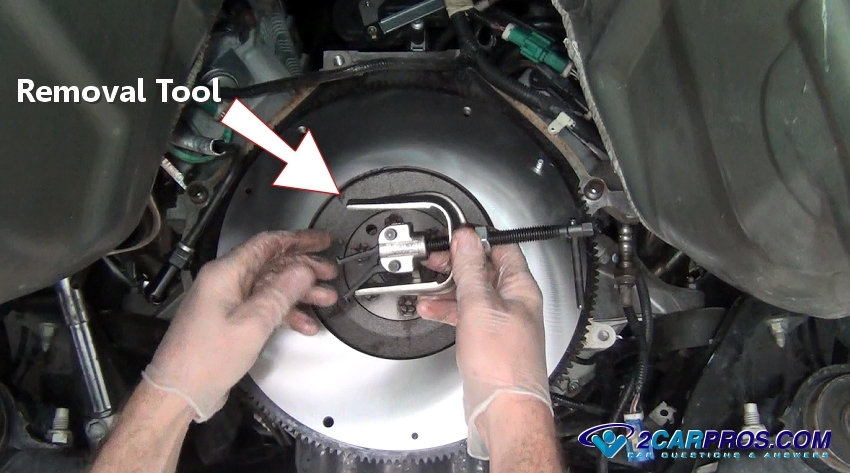
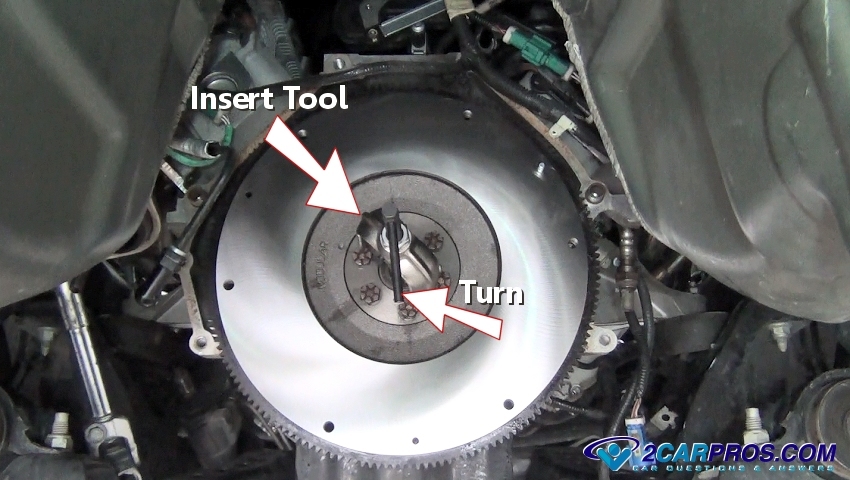
2. Insert the Removal Tool: With the jam nut fully backed off insert the tool into the pilot bearing. Then turn the handle clockwise to spread the tool fingers outward behind the bearing. The body of the tool will rest against the flywheel which will support the pulling process.
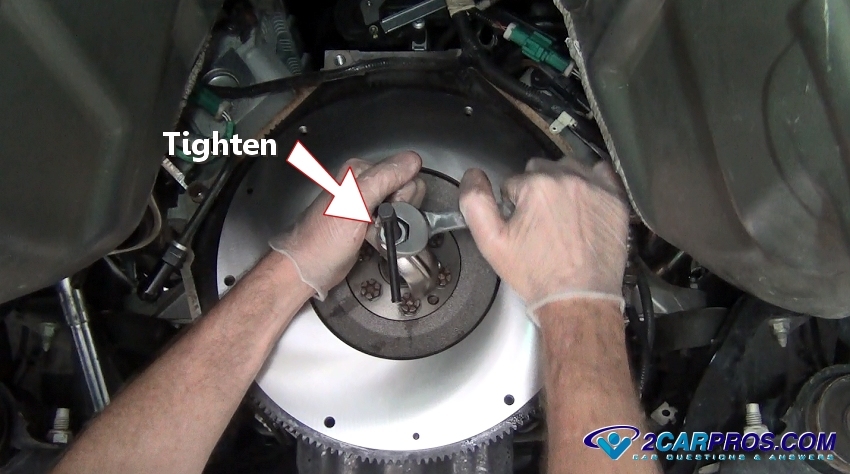
3. Pull The Pilot Bearing Outward: Grasp the tool firmly and use a wrench to tighten the jam nut you will hear a small "pop". This will signal that the bearing is starting to move outward from the crankshaft. At this point the nut will get easier to move along with the wrench. Continue this action until the bearing is fully removed.
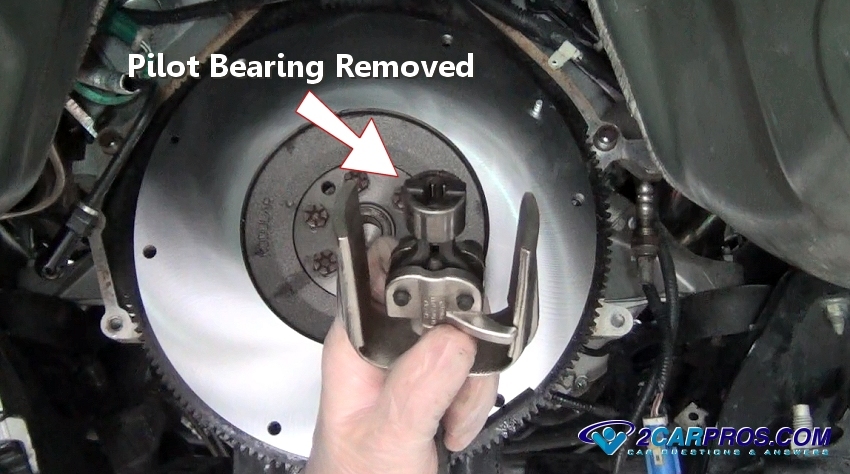
4. Inspect the Pilot Bearing: Once the bearing has been removed inspect the end of the crankshaft and bearing which will be held in the tool. Release the bearing by turning the tool handle counterclockwise. Use a shop towel to wipe clean the end of the crankshaft where the new bearing will be installed. You want this surface to be free from dirt and grease to keep the bearing in place during its operation.
5. Match the New Pilot Bearing: Inspect both the new and old bearings to make sure the inside and outside diameters are the same. There can be no exceptions because the new bearing will either not fit into the crankshaft or it will not allow the transmission input shaft to fit inside if it which in turn will not allow the transmission to be reinstalled. To make sure the pilot bearing will work, fit the bearing over the input shaft while the transmission is removed.
6. Install the New Pilot Bearing: An old automotive trick is to put the bearing in the freezer for about 30 minutes to shrink it slightly to help ease the installation process. Then gently set the bearing into the end of the crankshaft. Using a hammer and metal drift gently tap the bearing into place. You will get a solid feeling in the hammer when the bearing is fully installed. Do not over strike the bearing to avoid damaging it.
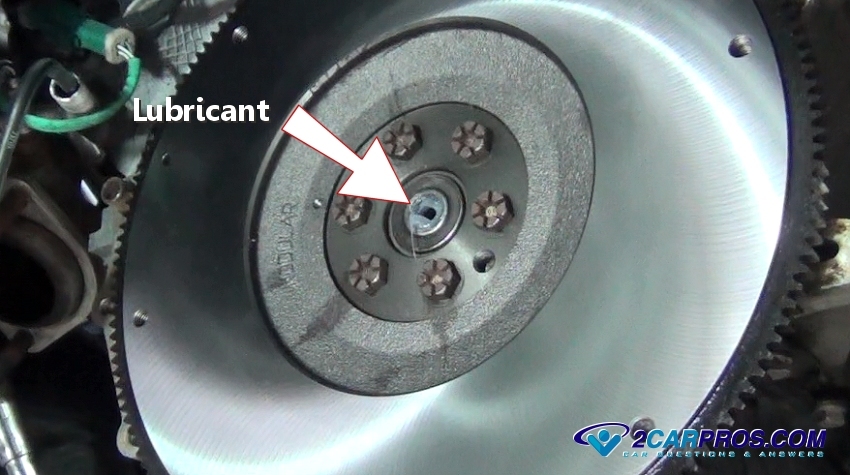
7. Lubricate the Pilot Bearing: The pilot bearing must be lubricated to ensure its proper operation. Use a small amount of axle bearing or silicone based grease and apply it to the inside the bearing. Do not add an excessive amount of grease to avoid getting it onto the clutch disc, flywheel or pressure plate. Now the clutch is ready for replacement and the transmission to be re-installed.
Watch the Video!
Please watch this video of the job being done to glean additional helpful information.
Credits
This guide knowledge base was created by the 2CarPros Team, and by Ken Lavacot: Automobile repair shop owner and certified master automobile technician of over 30 years. If you have question or need help please ask one of our experts we are happy to help. Please visit our 2CarPros YouTube Channel for additional car repairs.