An engine cooling system thermostat is used to regulate the temperature at which the engine operates and is located at the engine radiator hose inlets or outlet depending on design.
What Goes Wrong?
Like any mechanical device, over time, a thermostat can fail, if the thermostat is stuck closed coolant can not flow into the radiator which will result in engine overheating, if the thermostat is stuck open the engine will not reach operating temperature which will cause the heater to stop working and a check engine light to come on.
What Does It Cost?
Typically replacement parts will cost between $18.00 and $40.00 on Amazon (US) and will require the cooling system to be drained and the removal of the thermostat housing. Labor time can be between .8 and 2.0 hours at a shop or dealer. If exact times or procedures are needed you can ask our experts to supply you with the information (free), or consult an online resource such as AllData DIY (pay) but this guide and video will be sufficient in most cases.
Lets Jump In!
Precautions: Engine coolant is toxic and can be fatal to animals and children so use caution when handling. Do not open the cooling system when the engine is hot.
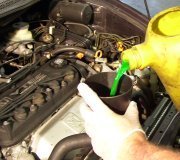
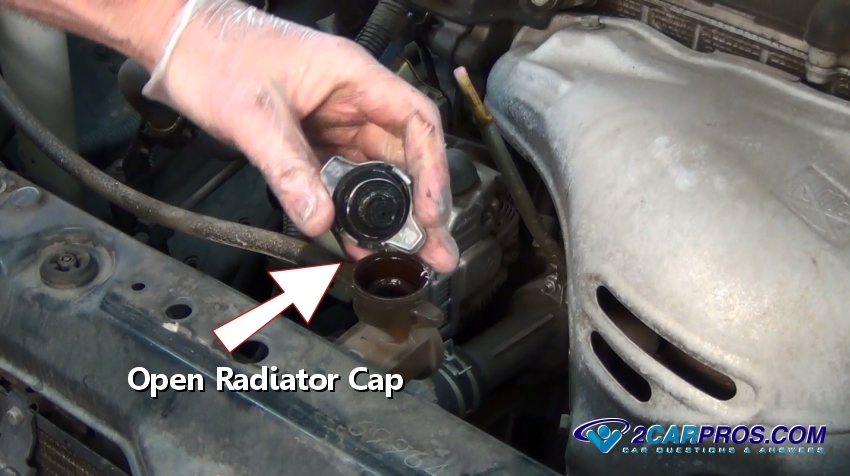
With the engine cold, slowly open the radiator cap to relieve pressure inside
the radiator and cooling system.
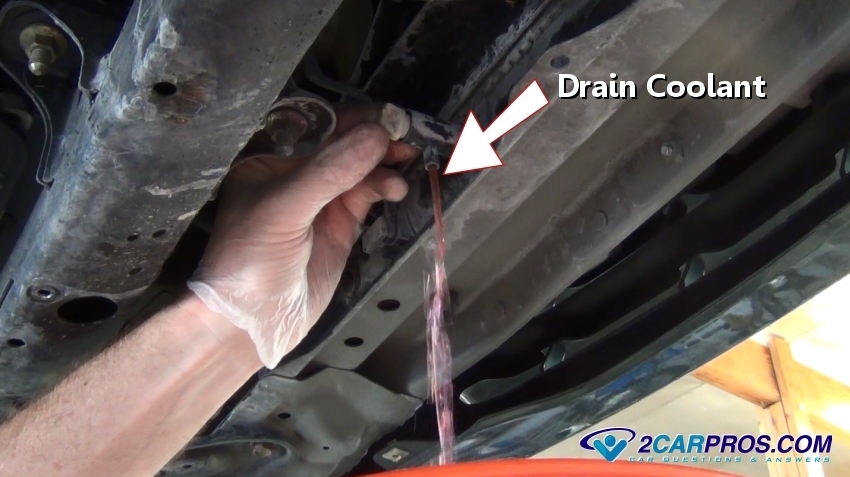
Remove the vehicle's under shielding to locate the radiator drain valve, loosen
the valve to begin draining the coolant, close the valve once complete, if a drain
plug is not found remove the lower radiator hose to drain the coolant.
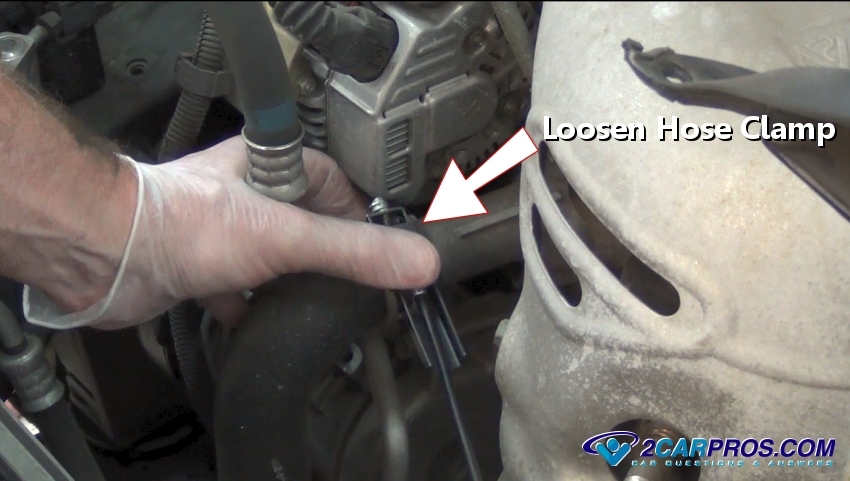
The thermostat is located in the lower radiator inlet of the engine, loosen the
hose clamp which holds the radiator hose to the thermostat housing and remove the
radiator hose.
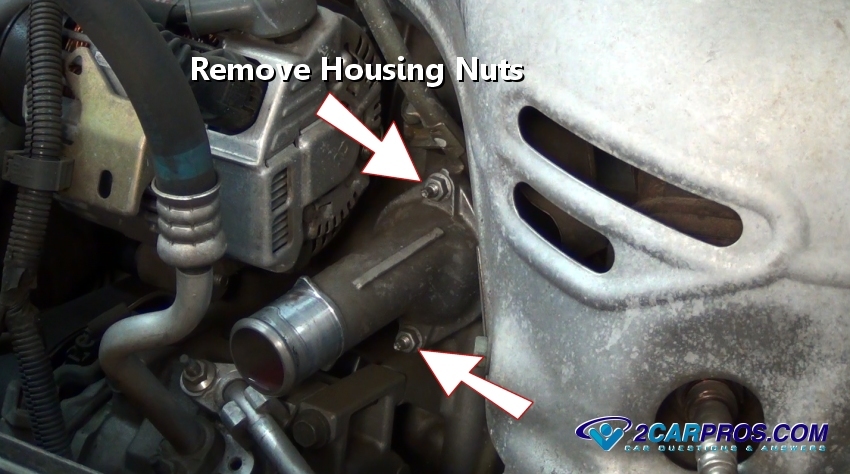
Use a wrench or a socket to remove the housing mounting nuts or bolts.
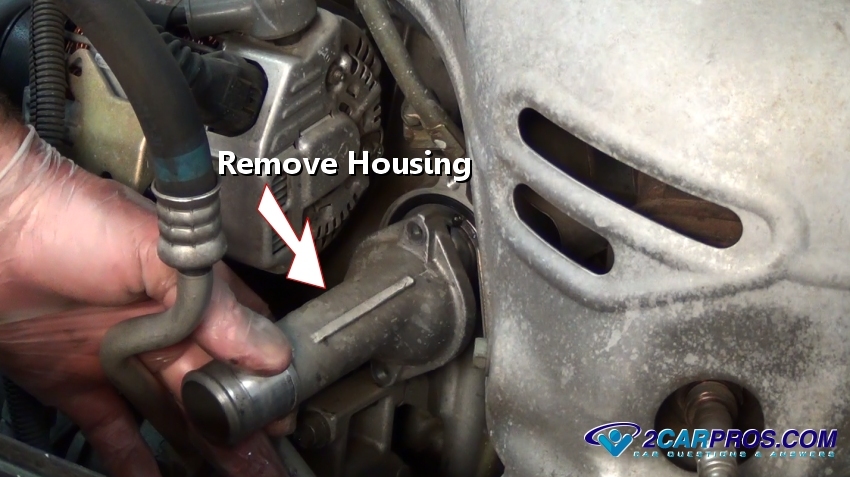
Gently tap on the housing using a small hammer to break the seal loose and remove
the housing, the thermostat will now be exposed.
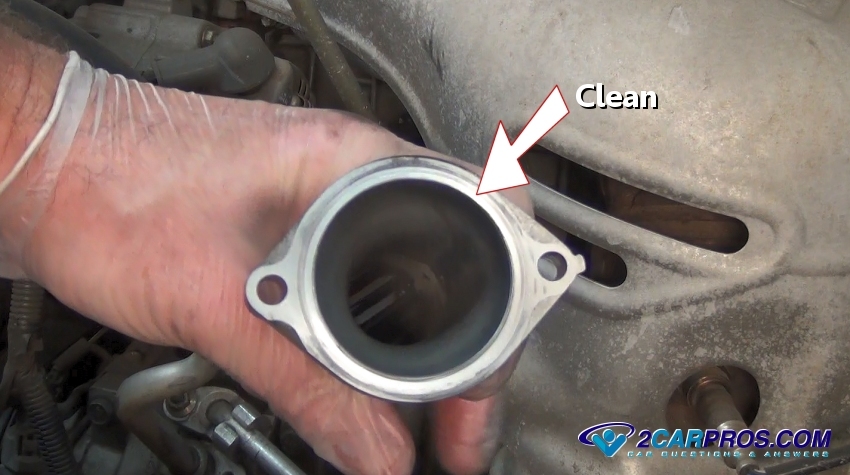
Once the housing has been removed, clean the gasket sealing surface and inspect
for corrosion which will impede the new gaskets ability to seal correctly.

The thermostat might be stuck in the block or intake manifold so pliers may be
needed to remove, note the direction of the thermostat, the spring always goes towards
the engine.

Watch the Video!
Please watch this video of the job being done, then continue down the guide to glean additional helpful information.
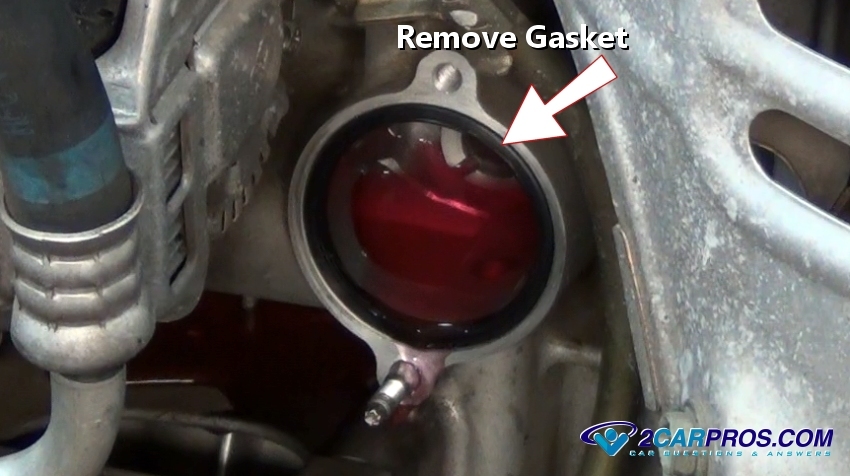
Here is what it looks like when the thermostat is removed and the sealing gasket
or O ring exposed. Clean the area using a shop towel and remove all debris which
will enable the new gasket to seal completely.
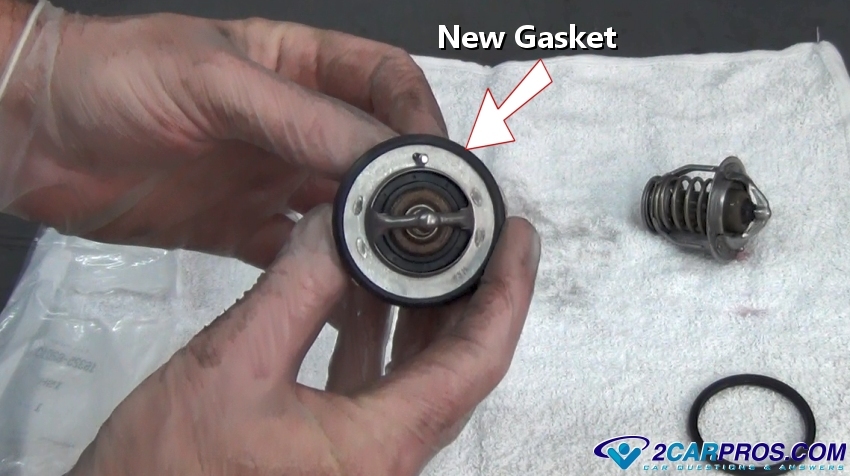
Match the new thermostat to the old unit, designs may vary so if there is a large
difference recheck the application information.
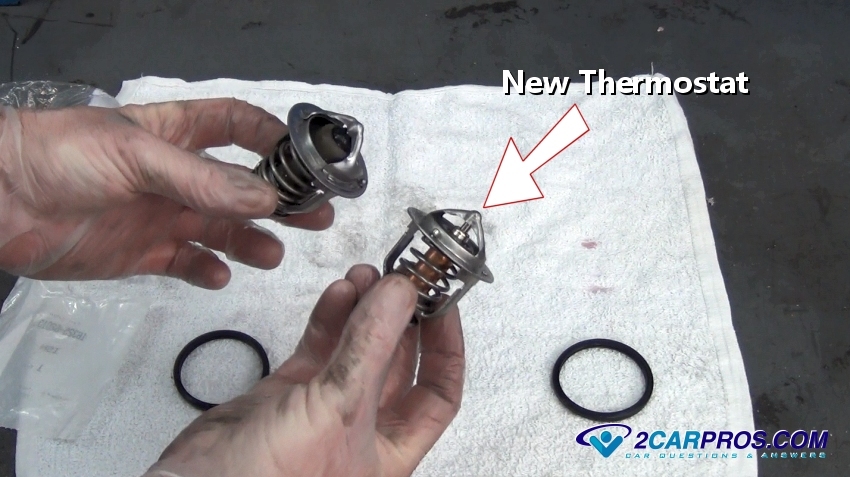
On this application the sealing O ring is installed onto the thermostat itself,
this design will vary, but the principle is the same.
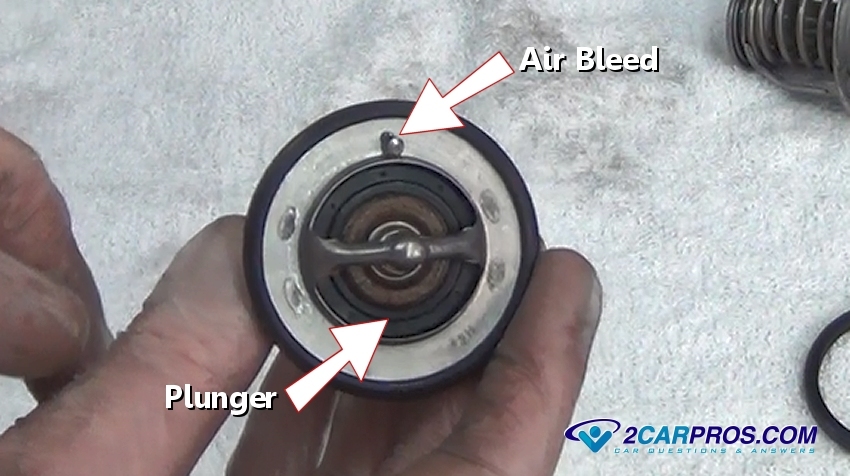
On some thermostats there is an air bleed valve on the face of the thermostat
body. This allows air to escape from the block when refilling the cooling system
and must be located at the top of the thermostat. The plunger is the part that opens
to allow the coolant to flow.
Once the sealing surfaces are clean, install the new thermostat with the bleed
hole facing upwards and the spring toward the block or intake manifold, push the
thermostat into place.

Before reinstalling the thermostat housing, clean the sealing surface using a
gasket scraper or sand paper.
Reinstall the housing onto the block or intake manifold, install mounting bolts
or nuts and tighten to spec, in this case it is 12 foot pounds of torque.
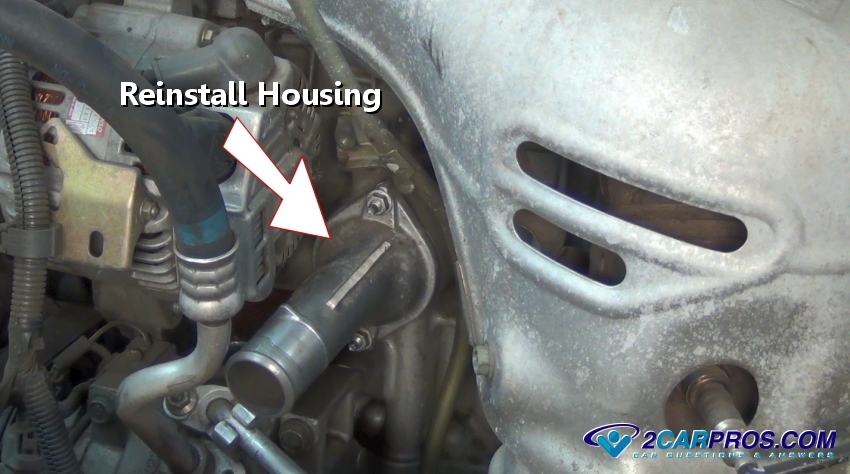
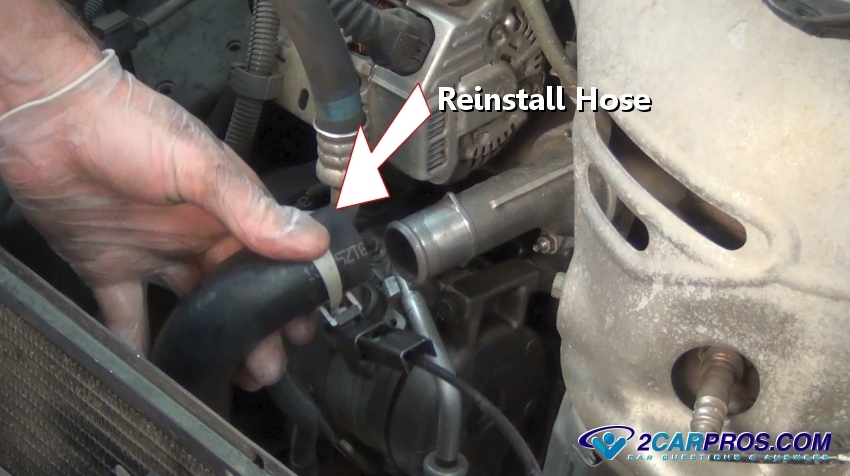
Reinstall the radiator hose and you are all set,
refill the cooling system
and start the engine, while the engine is warming up check for coolant leaks.
Additional Thermostat Replacement Videos
Questions?
Our certified technicians are ready to answer engine cooling system thermostat questions for free. We hope you saved money and learned from this guide. We are creating a full set of car repair guides. Please subscribe to our 2CarPros YouTube channel and check back often for new videos which are uploaded regularly.
Article published 2022-03-09