Most radiator hoses are made out of silicone based rubber that offers resistance to hardening and cracking. Hoses can also show signs of bulging when they get close to failure, others can fail with no warning. High quality radiator hoses have multiple-ply construction with a fabric mesh reinforcement depending on the application.
Hoses Need to be Replaced When
- Showing signs of bulging
- Cracked and dry
- Hoses are more than 8 years old
Tools and Supplies Needed
- Flashlight
- Jack stands
- Floor jack
- Coolant
- Hose clamps
- Replacement radiator hose
- Fluid catch basin
- Pliers/channel locks hose clamp removal tool
- Screw driver set
- Pick Tool
Best Practices
- Always clean the hose fitting before installing the new hose.
- Recheck the cooling system after a couple of days to ensure proper operation.
- Use new hose clamps.
Let's Jump In!
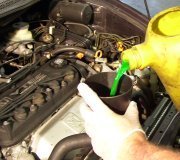
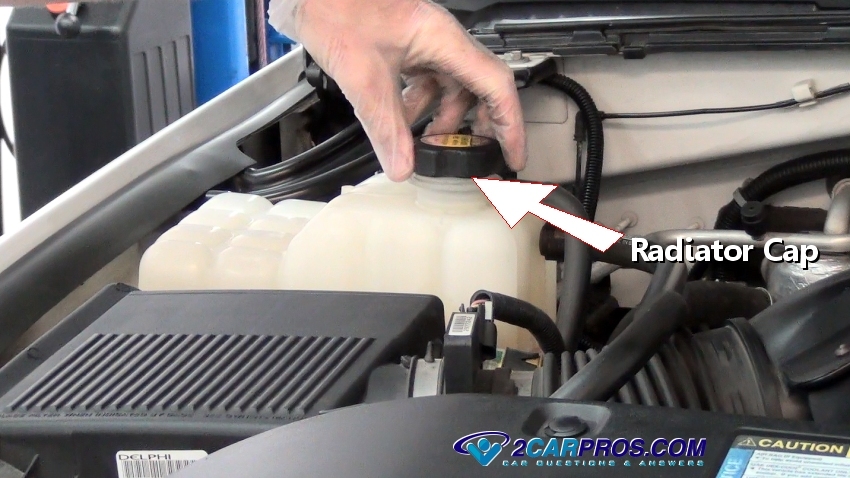
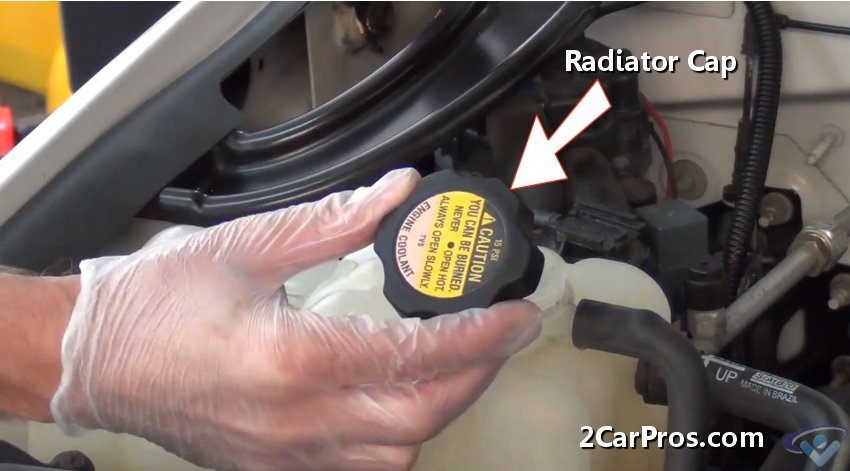
Open the radiator cap to release any residual pressure and to allow the coolant
to flow freely when drained.
Locate the radiator drain plug which is where the system coolant will be drained
from, some cooling systems do not have a drain valve, the lower radiator hose should
be used to drain the system.

Loosen the drain plug allowing the coolant to flow into a catch basin, tighten
the drain plug once the coolant has completely drained.

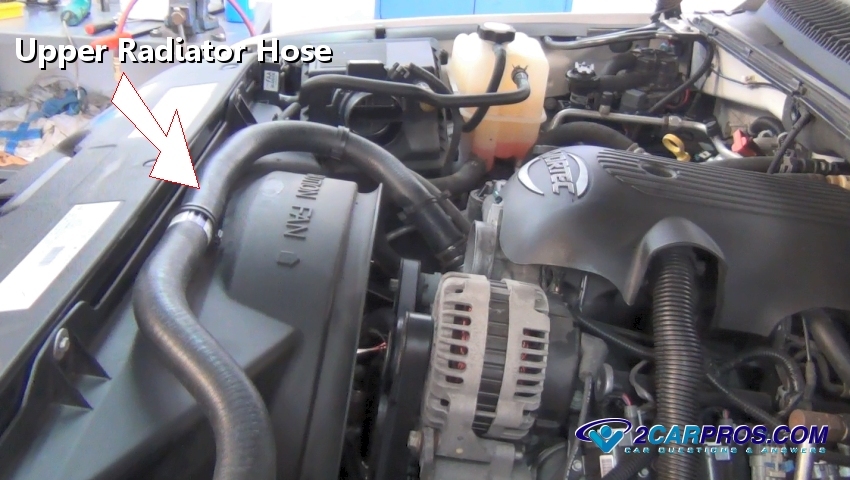
Identify the radiator hose that needs to be replaced.
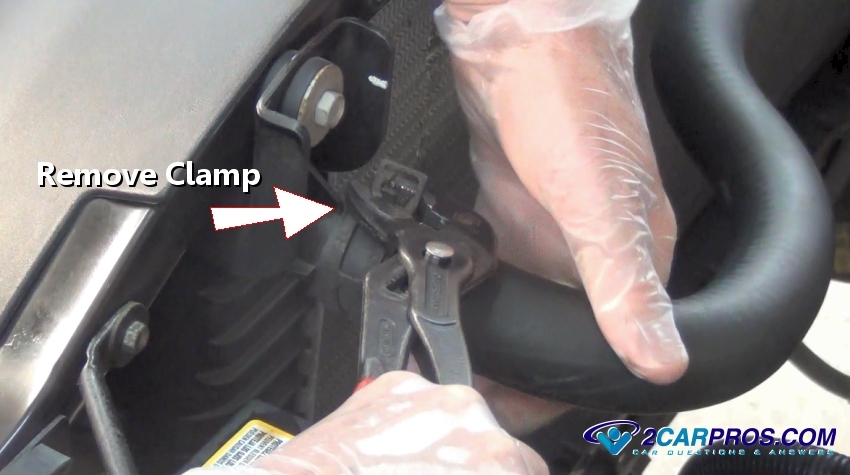
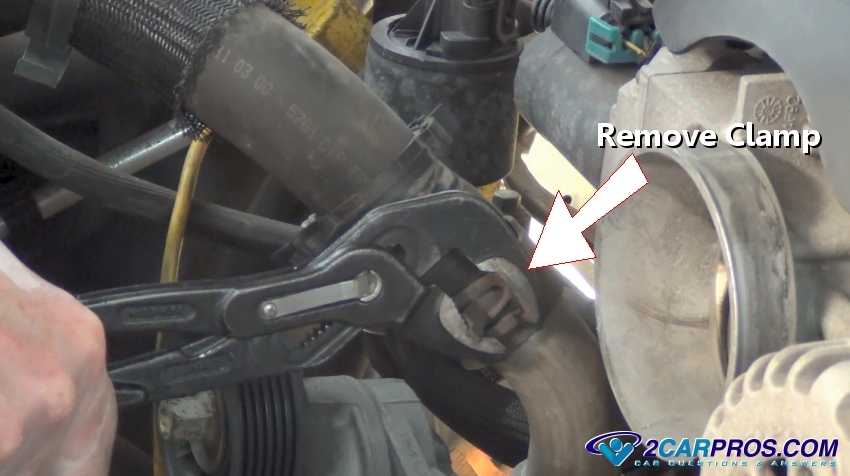
At each end of the hose clamps are used to secure the hose to the radiator and
engine. Use pliers, channel locks or a hose
clamp installation tool can be used to loosen the clamp, a twisting motion will
help loosen the seal of the hose.
Watch the Video!
Please watch this video of the job being done, then continue down the guide to glean additional helpful information.
Remove the remaining hose clamps at the opposite end of the hose.
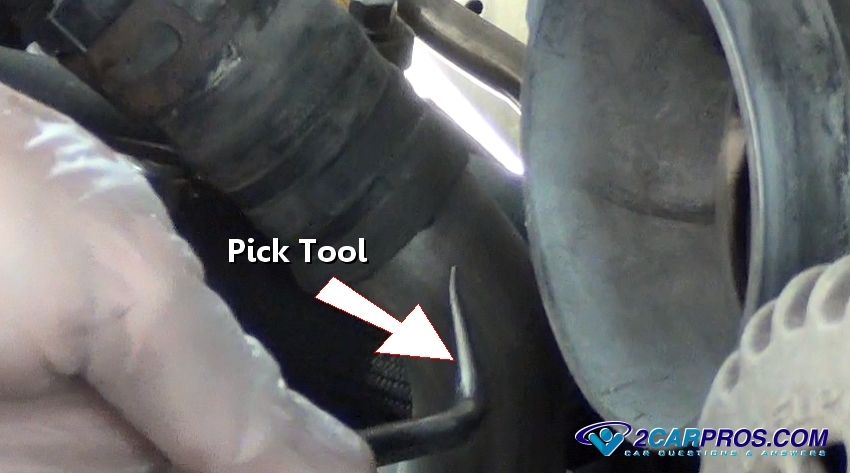
After the hose clamps have been removed from the clamping area, use a pick or
screw driver to "break" the seal by forcing it between the hose and fitting.
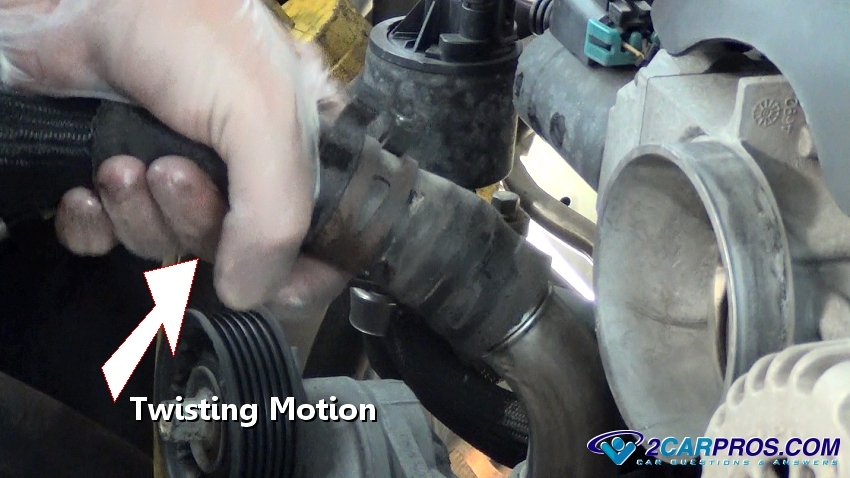
Grasp the hose and twist the hose which will fully release the hose seal.
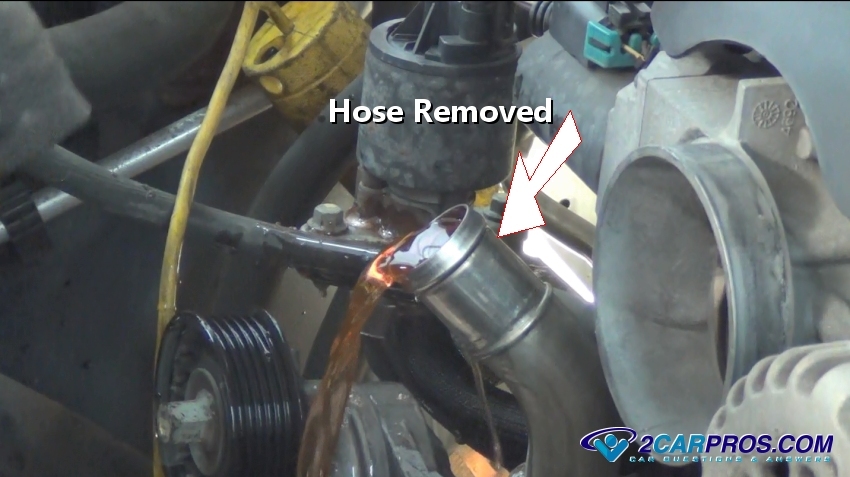
The hose will pull off the fitting, a small amount of coolant maybe present which
is normal. A small amount of coolant can be trapped on top of the closed thermostat.
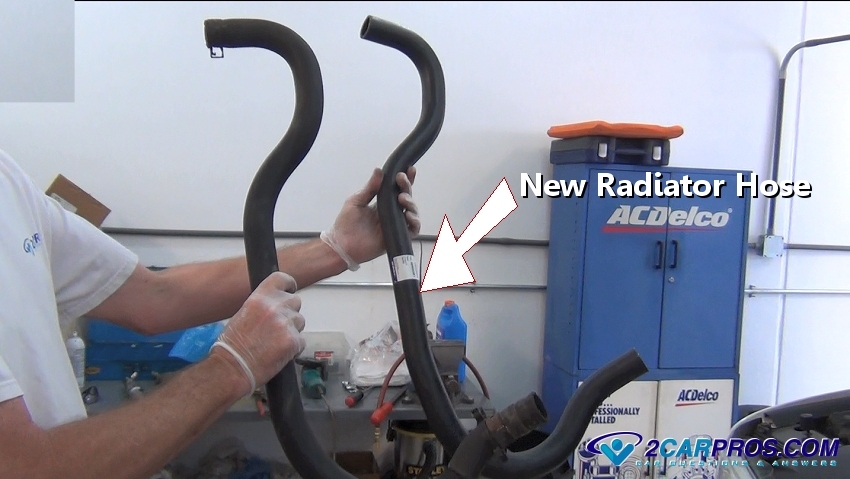
Match the new radiator hose to the old hose to ensure a proper installation.
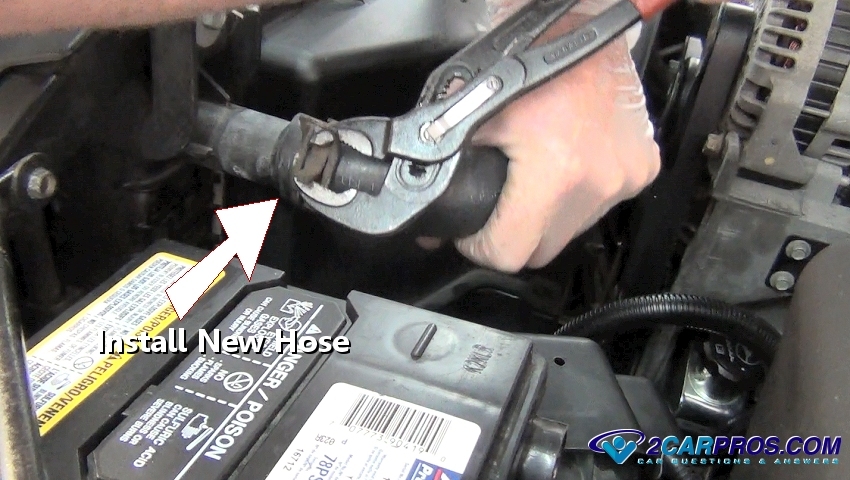
After transferring the hose clamps to the new hose and cleaning fitting ends,
push the new hose onto the fitting while squeezing the clamp open, repeat this for
action the opposing hose end. Replace any clamps that are broken or worn.
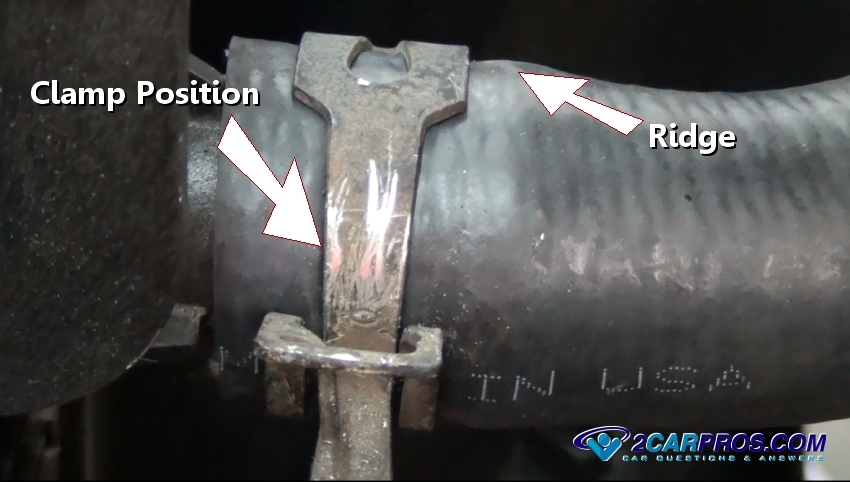
When installing the hose clamps position the clamp in front of the fitting ridge,
this ridge is designed to help the hose and clamp stay secure under pressure. The
alignment of the clamp should be "square" (not crooked) to hold pressure needed
to successfully seal.
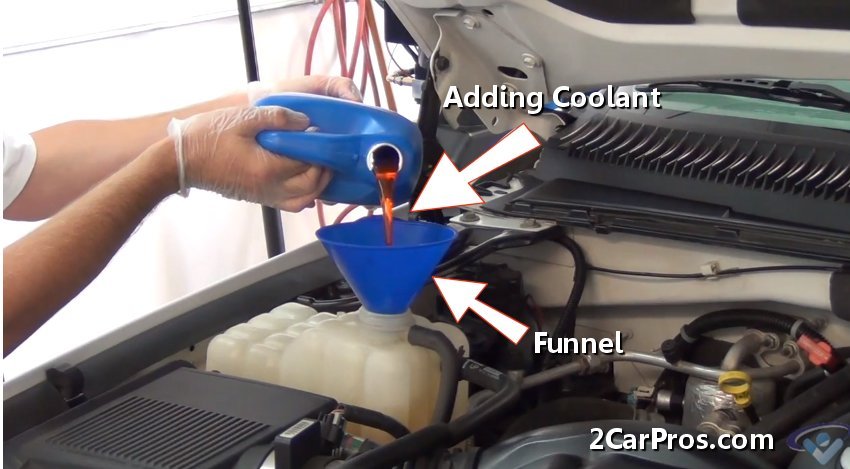
Once the new hose or hoses have been replaced,
refill the radiator with coolant.
Start the engine and allow to warm up to operating temperature which will allow
the thermostat to open, continue adding coolant until the level is between the indicator
lines on the coolant reservoir.
Reinstall the radiator cap and tighten, allow the engine to run while checking
for leaks. If leaks are present release the system pressure and reposition the clamp.
Questions?
Our certified technicians are ready to answer radiator hose replacement questions for free. We hope you saved money and learned from this guide. We are creating a full set of car repair guides. Please subscribe to our 2CarPros YouTube channel and check back often for new videos which are uploaded regularly.
Article published 2022-03-10