A radiator removes heat from the engine through thermal heat exchange using coolant as a conductor and is usually located in the front of the vehicle under the hood. A cooling system consists of many parts including a thermostat, water pump and cooling hoses. A radiator is manufactured with a thin aluminum core coupled with plastic tanks which are prone to coolant leaks. When removing the radiator leaving the cooling fans attached and transferring them onto the new radiator while on the bench could be more efficient. While the radiator is removed use a garden hose to clean the area including the air conditioner condenser.
Tools and Supplies Needed
- Replacement radiator
- Engine coolant
- Socket set
- Wrench set
- Hose clamp removal tool or channel locks
- Shop towels
- Fluid catch basin
- Protective eyewear and gloves
Best Practices
- Disconnect battery cable to avoid short circuits.
- Replace the thermostat when changing a radiator.
- Flush the cooling system and install new coolant to protect gaskets and internal engine parts.
- Replace upper and lower radiator hoses.
- Inspect the cooling fan operation.
- Inspect and remove debris such as plastic bags in front of the front grill area.
Let's Jump In!
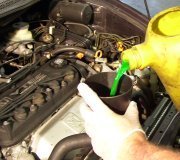
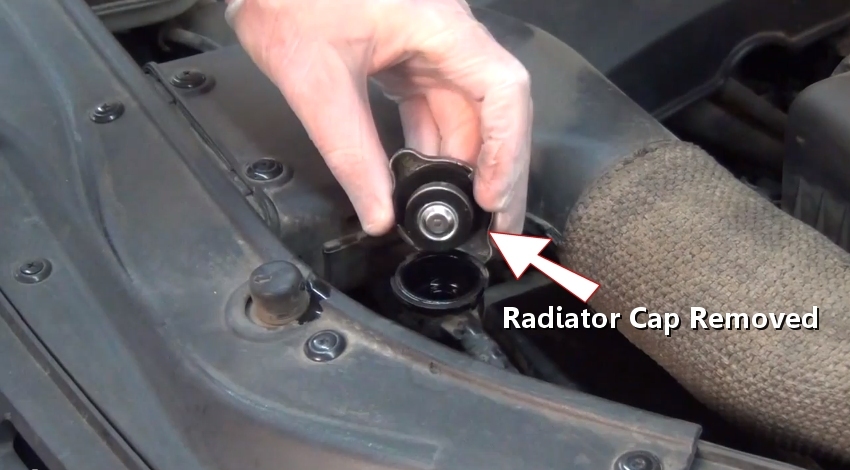
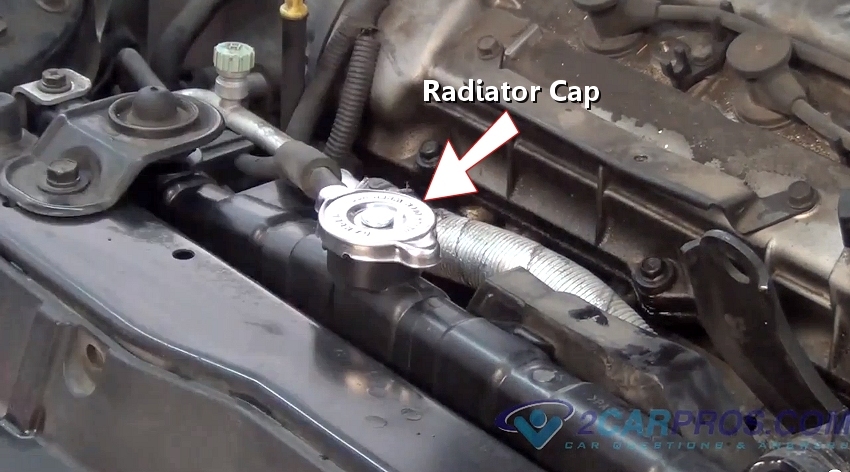
With the engine cold (only) locate and remove the radiator cap, a small amount
of pressure maybe released when loosened.

Once the cap has been turned counter clockwise while pushing downward, lift the
cap from the radiator.
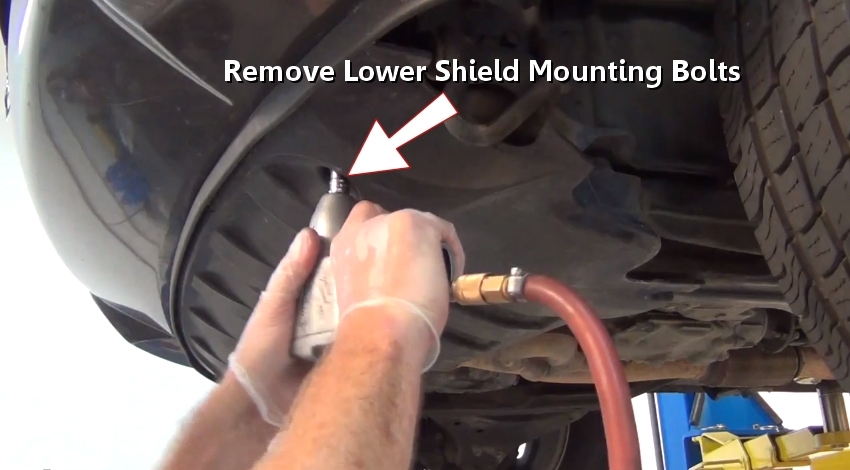
Remove lower shield mounting bolts while removing shielding. This will allow
access the bottom of the radiator.
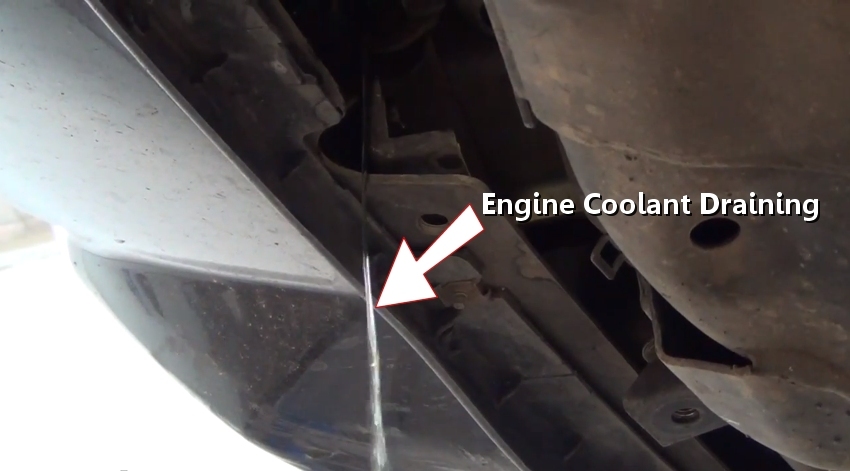
After removing the lower shielding, locate the radiator drain plug and start
to loosen.
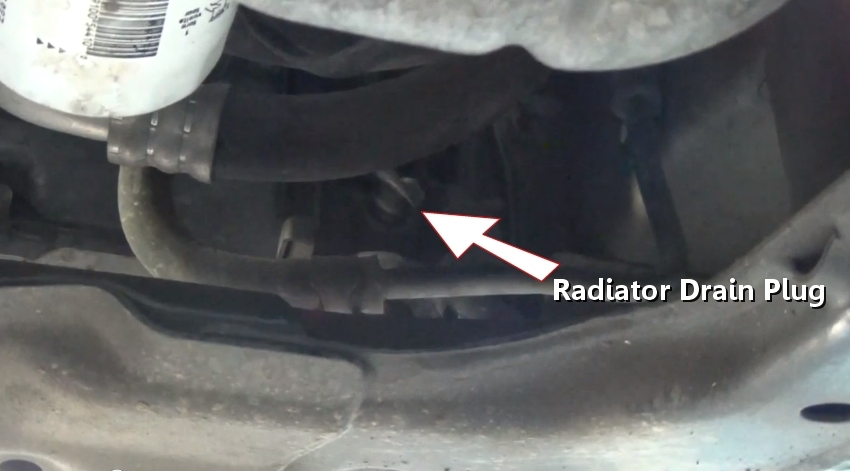
Coolant will start draining from the radiator drain. Use a catch basin to collect
the coolant to be recycled.
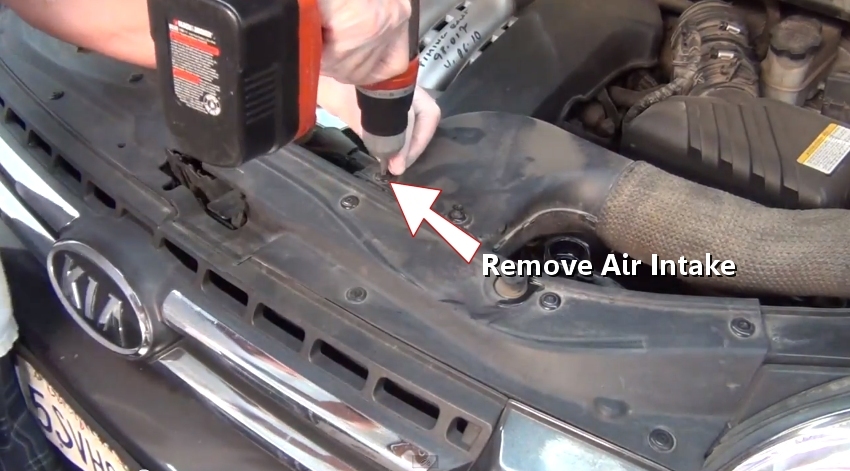
Remove the mounting bolts or clips holding the air intake and the plastic fascia
over the radiator and lift the cover from the engine bay. Also move the air intake
away from the work area.
Locate and remove coolant reservoir mounting bolts.
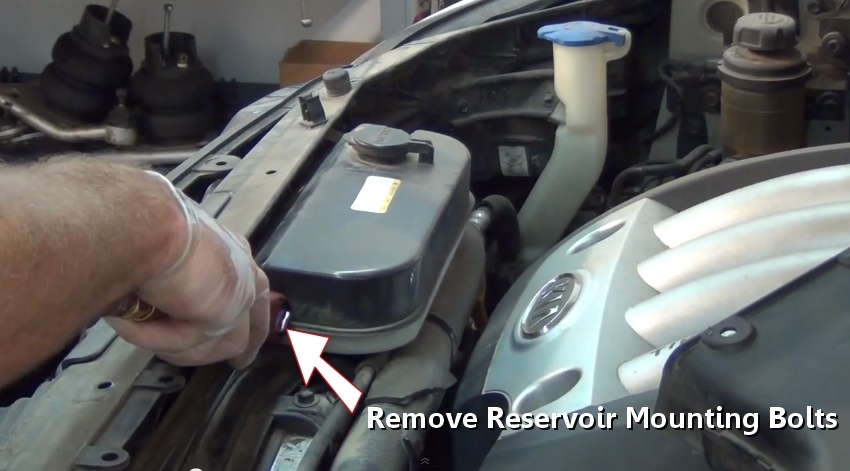
Remove the coolant overflow tube from the radiator neck. This hose can become
stuck so a twist could be necessary. Once free, remove the coolant reservoir from
the engine bay.

Watch the Video!
Please watch this video of the job being done, then continue down the guide to glean additional helpful information.
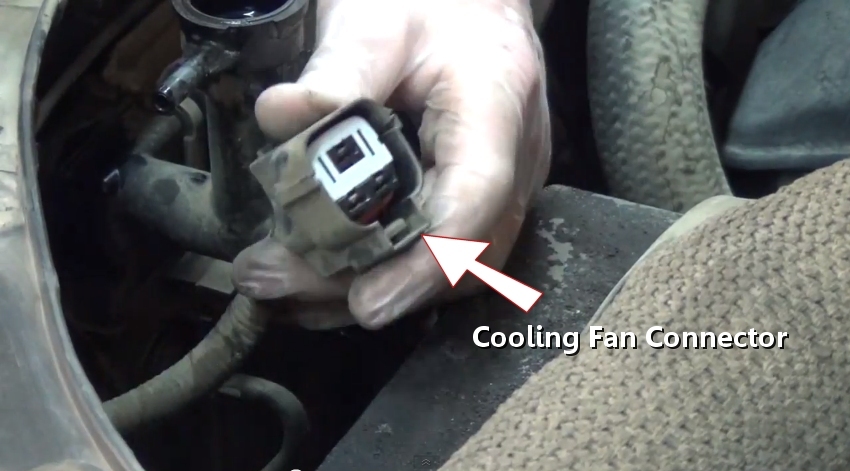
Locate and disconnect the cooling fan electrical connector.
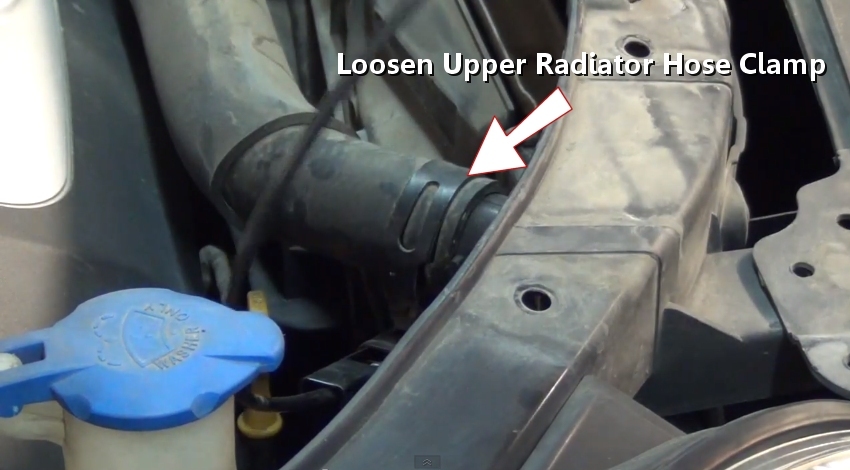
Using a hose clamp removal tool or
channel locks loosen the upper radiator hose clamp.
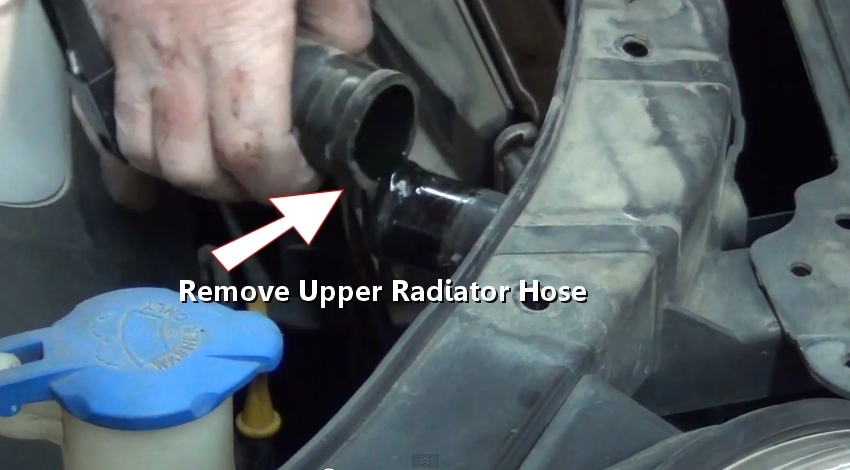
Grasp the upper hose and twist to remove.
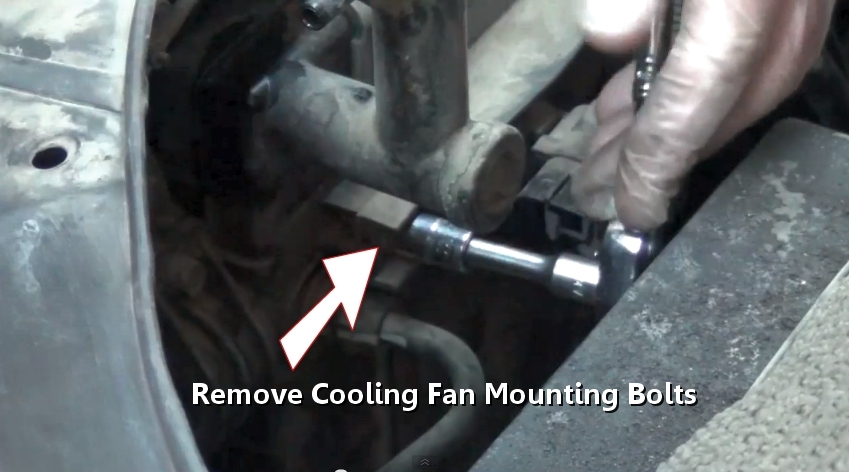
Next, remove all cooling fan mounting bolts.
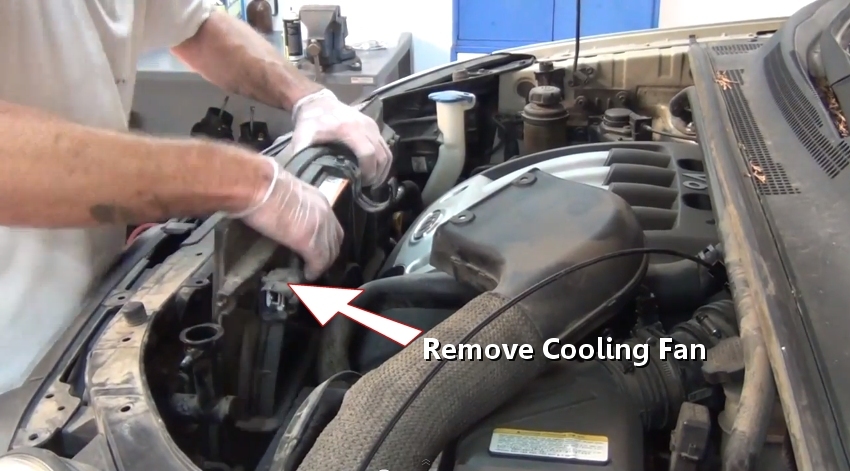
After the cooling fan mounting bolts have been removed, gently lift out the fan
and housing, sometimes the cooling fan will need to be removed with the radiator.
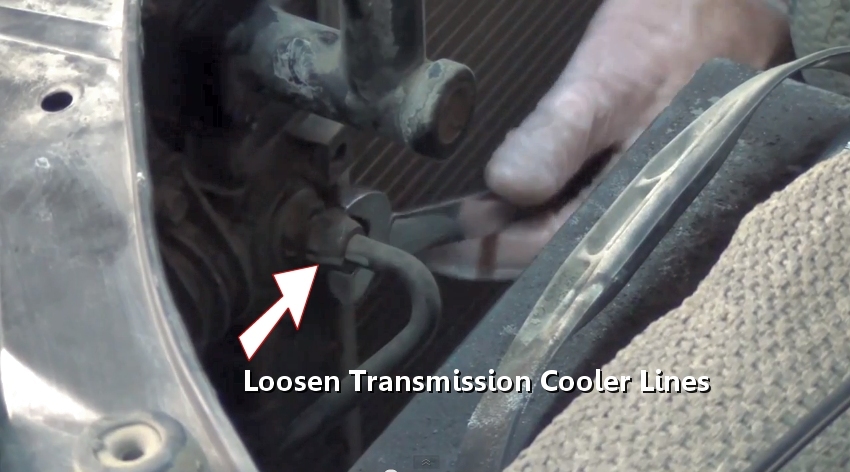
Using a wrench loosen and remove the automatic transmission cooler lines from
the radiator, there should be two of them, this is for automatic transmission cars
only.
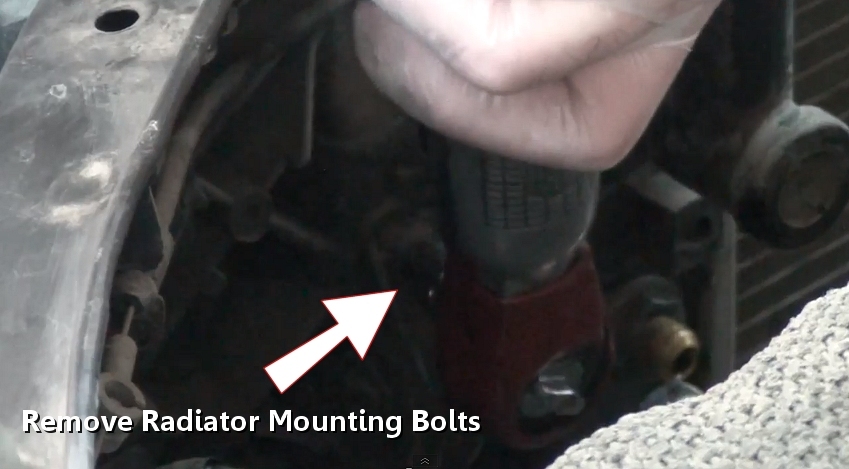
Once the transmission lines have been removed, locate the radiator mounting bolts
and remove.
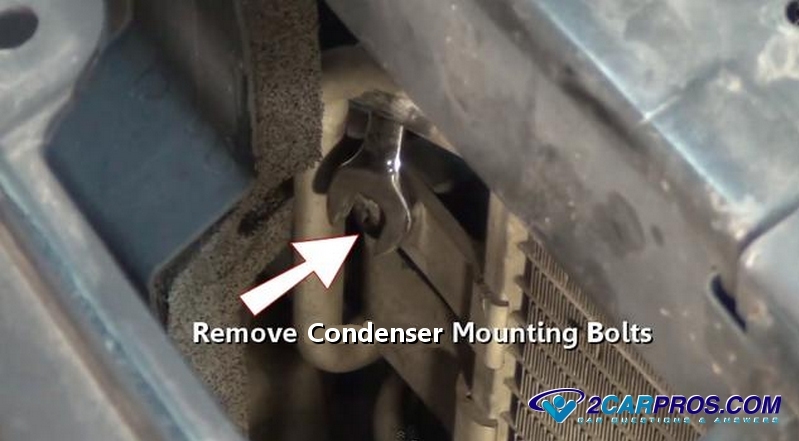
After the radiator mounting bolts have been removed, move the radiator forward
to remove the air conditioner condenser from the radiator. This condenser will remain
in the engine bay so vacuum down and recharge is not necessary. Some condensers
are held independently of the radiator in which case you can skip this step.
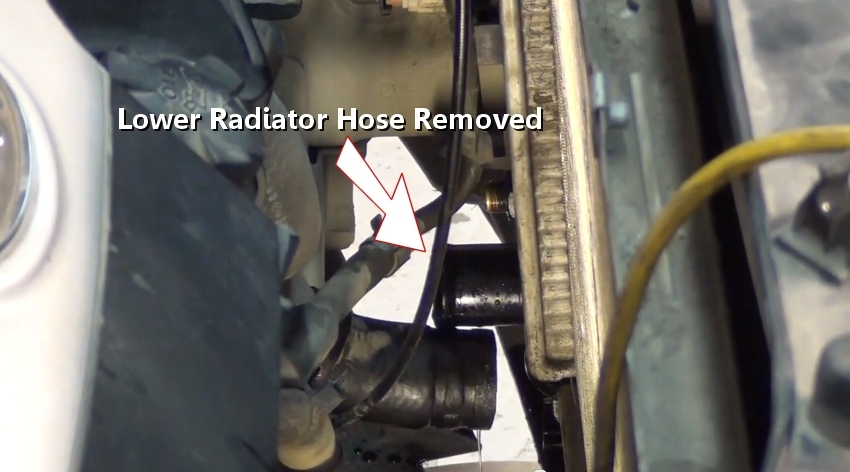
Using a hose clamp removal tool or channel locks loosen and remove the lower
radiator hose. A small amount of coolant might leak from the hose, be ready with
a fluid catch basin.
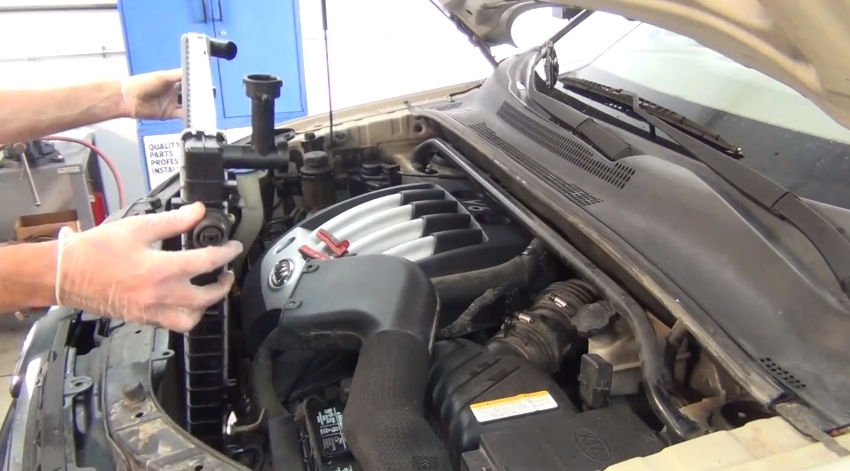
Double check all hoses, mounting bolts and clips have been removed, gently lift
the radiator from the engine bay.

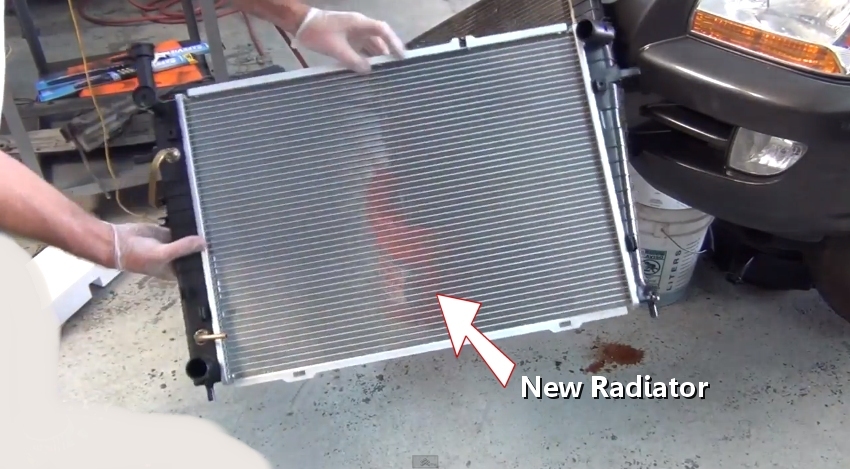
Once the old radiator has been removed, un-box the new radiator and match it
up to the old radiator. Look for mounting clips. mounts and transmission lines that
might need to be transferred over.
Gently install the new radiator. Be careful not to damage the radiator core while
installation is occurring.
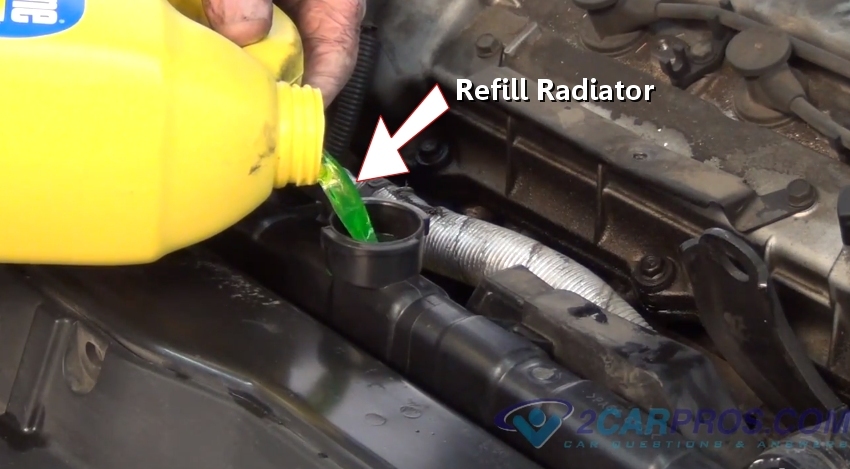
Once these steps have been completed, reverse the order to reinstall the new
radiator. Refill the system
with coolant and start the engine, allow the engine to warm up completely while
adding coolant until the thermostat opens.
Reinstall the radiator cap by pushing down and turning it clockwise until tight,
also check the coolant reservoir fluid level. After installing the radiator cap,
recheck the system for leaks, also
recheck the coolant reservoir after a couple of days of operation. Once driving
the vehicle, check the temperature gauge for
overheating.
Questions?
Our certified technicians are ready to answer radiator replacement questions for free. We hope you saved money and learned from this guide. We are creating a full set of car repair guides. Please subscribe to our 2CarPros YouTube channel and check back often for new videos which are uploaded regularly.
Article published 2022-03-10