Hi,
The directions I have are for left or right. I will include both sets of directions. The attached pictures correlate with the directions.
__________________________________________
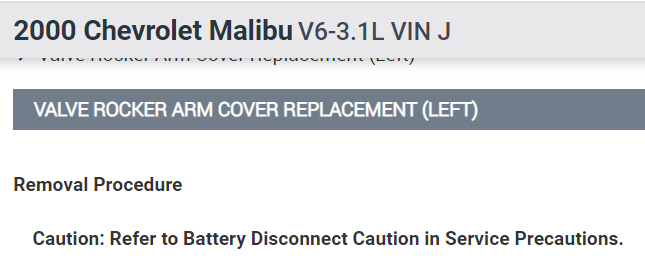
2000 Chevrolet Malibu V6-3.1L VIN J
Valve Rocker Arm Cover Replacement (Left)
Vehicle Engine, Cooling and Exhaust Engine Cylinder Head Assembly Valve Cover Service and Repair Procedures Valve Rocker Arm Cover Replacement (Left)
VALVE ROCKER ARM COVER REPLACEMENT (LEFT)
Removal Procedure
Caution: Refer to Battery Disconnect Caution in Service Precautions.
Pic 1
1. Disconnect the negative battery cable.
2. Partially drain the cooling system. Refer to Draining and Filling Cooling System in Cooling System.
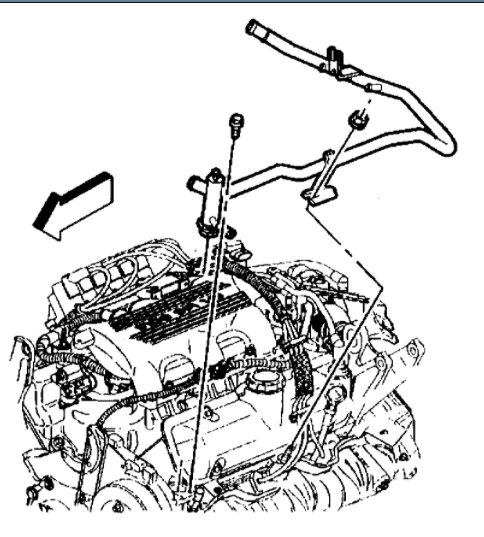
3. Remove the rear ignition wire harness at the upper intake manifold and at the spark plugs.
Pic 2
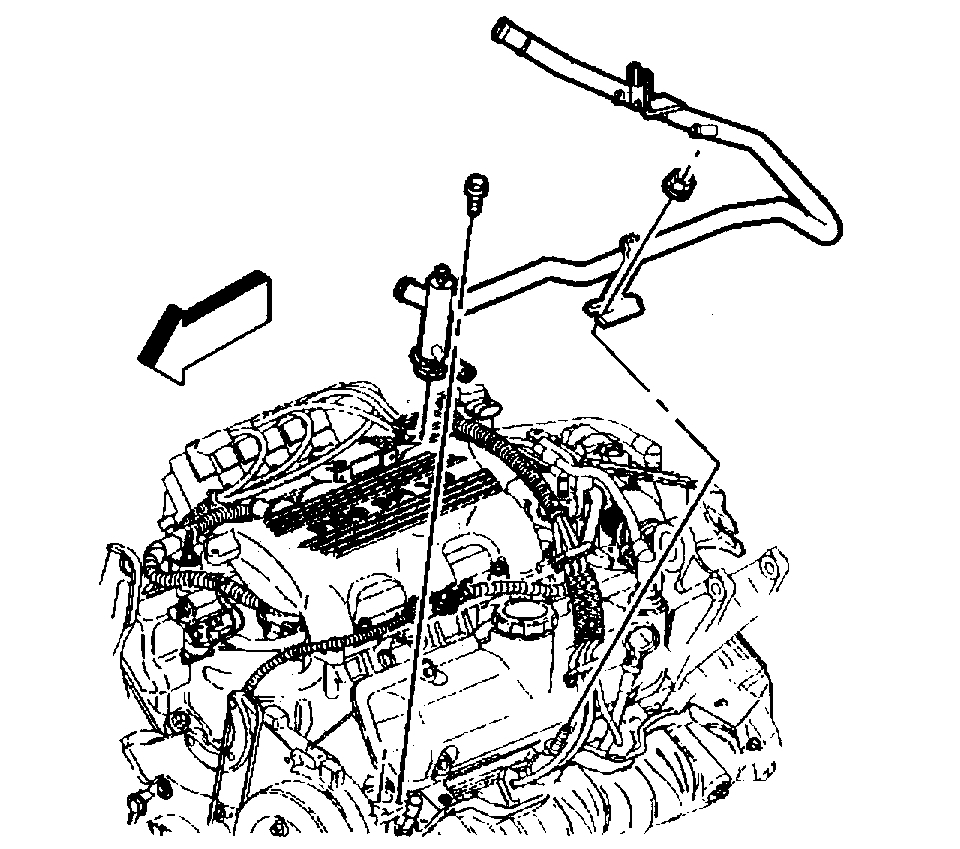
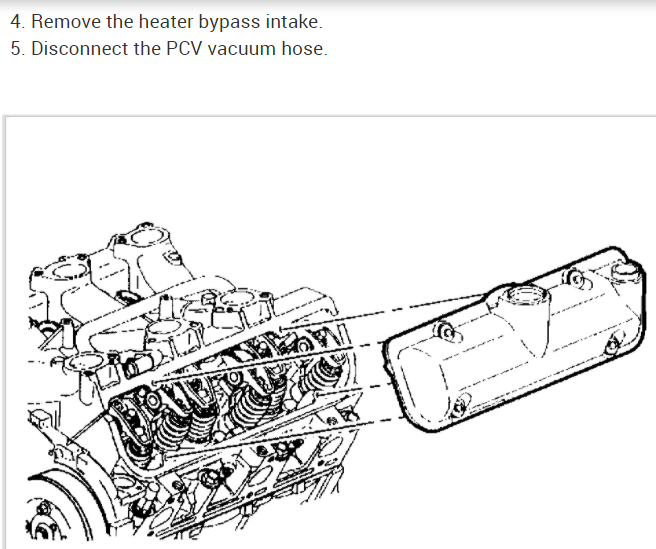
4. Remove the heater bypass intake.
5. Disconnect the PCV vacuum hose.
Pic 3
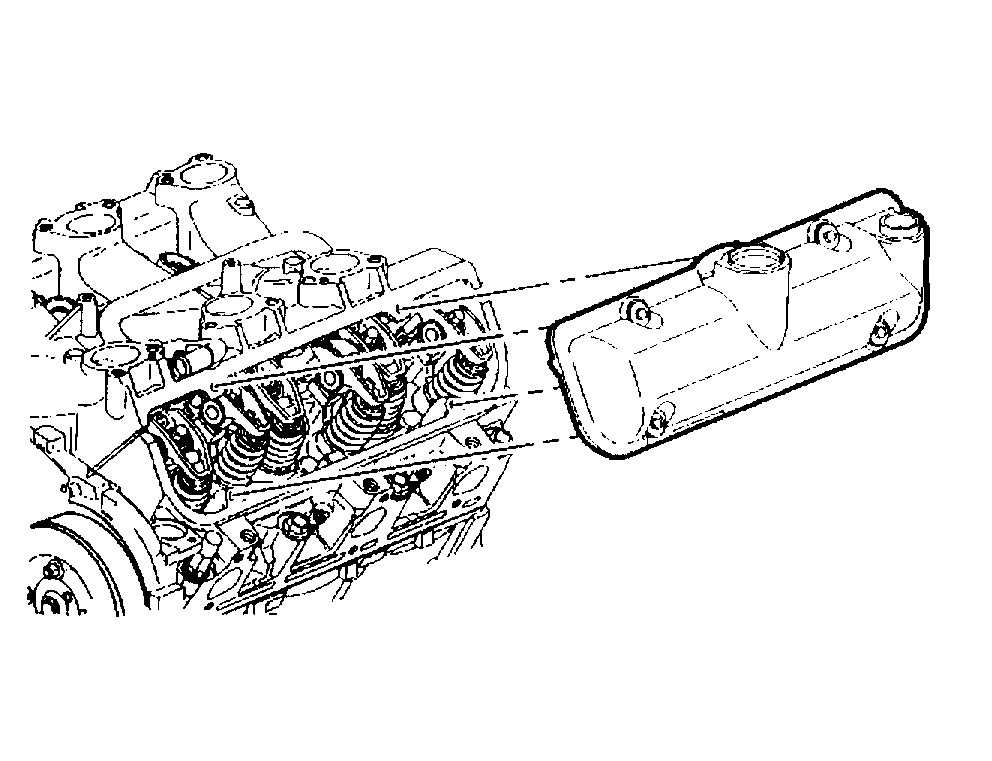
6. Remove the valve rocker cover bolts.
7. Remove the valve rocker cover. Bump the end of the valve rocker cover with the palm of your hand or a soft rubber mallet if the cover adheres to the cylinder head.
8. Clean the sealing surface on the cylinder head and the valve rocker cover with degreaser.
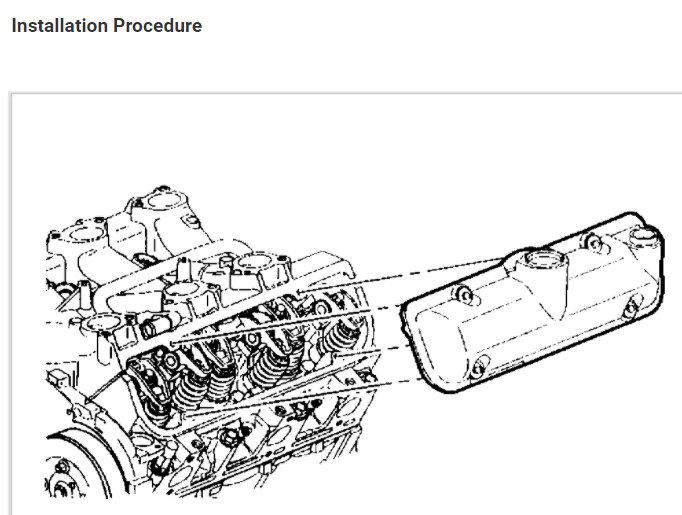
Installation Procedure
pic 4
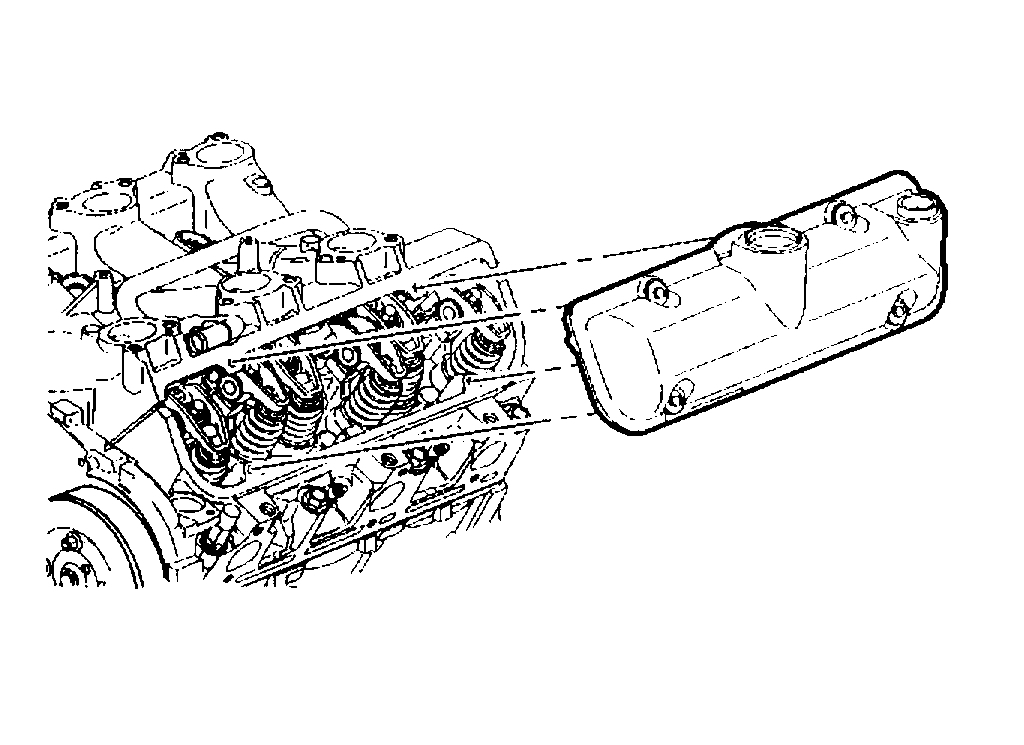
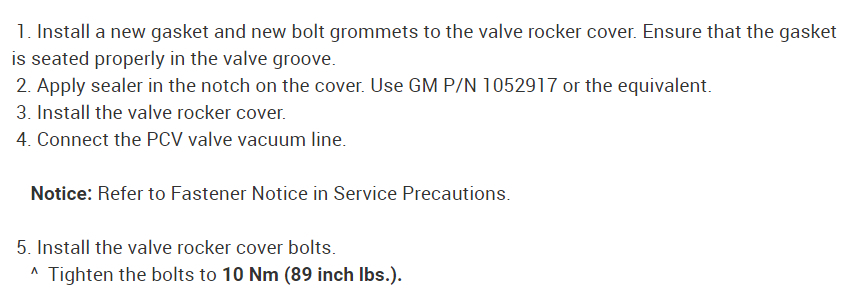
1. Install a new gasket and new bolt grommets to the valve rocker cover. Ensure that the gasket is seated properly in the valve groove.
2. Apply sealer in the notch on the cover. Use GM P/N 1052917 or the equivalent.
3. Install the valve rocker cover.
4. Connect the PCV valve vacuum line.
Notice: Refer to Fastener Notice in Service Precautions.
5. Install the valve rocker cover bolts.
Tighten the bolts to 10 Nm (89 inch lbs.).
Pic 5
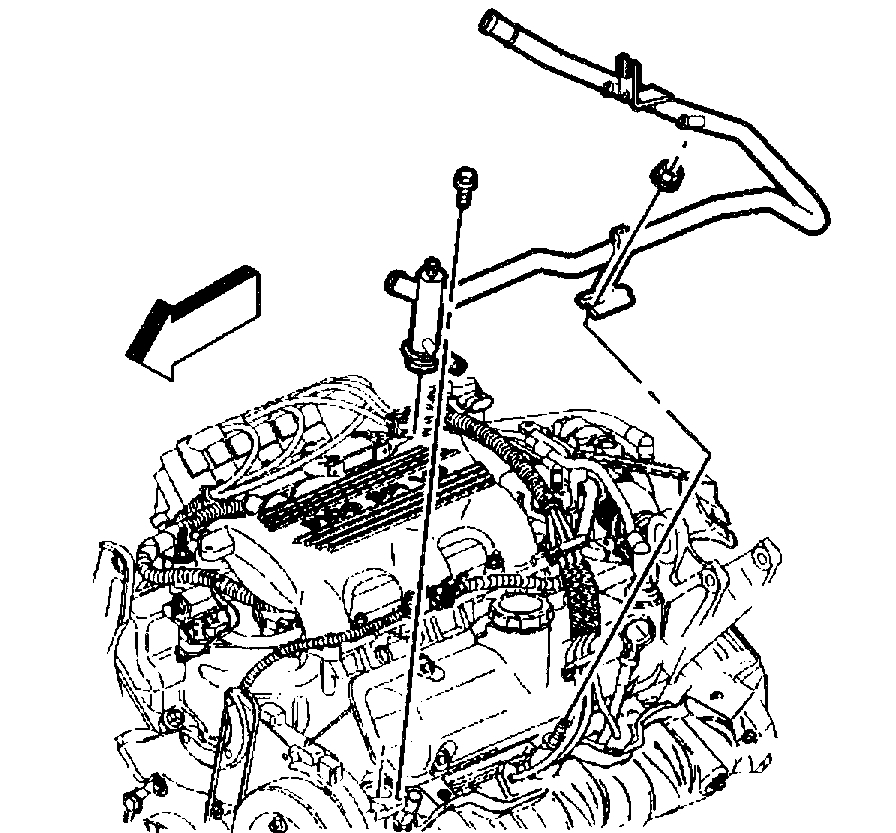
6. Install the heater bypass tube. Refer to Draining and Filling Cooling System in Cooling System.
7. Refill the cooling system.
8. Install the rear ignition wire harness.
9. Connect the negative battery cable.
_______________________________________________________
2000 Chevrolet Malibu V6-3.1L VIN J
Valve Rocker Arm Cover Replacement (Right)
Vehicle Engine, Cooling and Exhaust Engine Cylinder Head Assembly Valve Cover Service and Repair Procedures Valve Rocker Arm Cover Replacement (Right)
VALVE ROCKER ARM COVER REPLACEMENT (RIGHT)
Removal Procedure
Caution: Refer to Battery Disconnect Caution in Service Precautions.
1. Disconnect the negative battery cable.
2. Remove the drive belt. Refer to Drive Belt Replacement.
3. Remove the generator. Refer to Generator Replacement in Starting and Charging.
4. Remove the generator bracket. Refer to Generator Replacement in Starting and Charging.
5. Remove the right (rear) spark plug wires. Refer to Spark Plug Wire Harness Replacement in Powertrain Management.
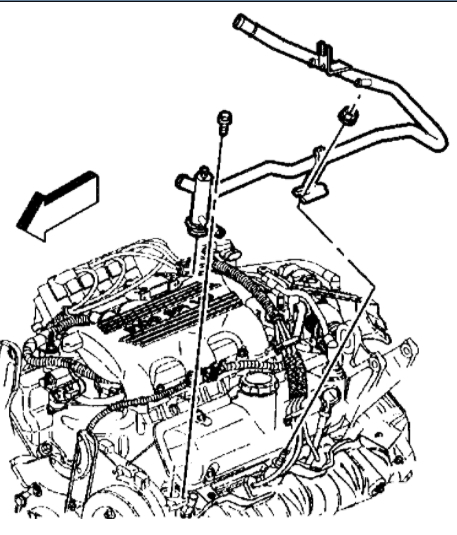
6. Remove the ignition coil bracket with the coils, the purge solenoid and the vacuum canister solenoid.
7. Remove the vacuum hose from the grommet in the right (rear) valve rocker arm cover.
8. Remove the Drive Belt Tensioner. Refer to Drive Belt Replacement.
Pic 6
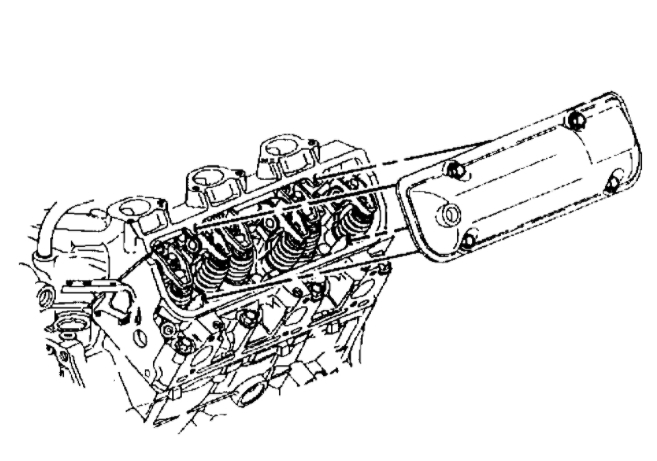
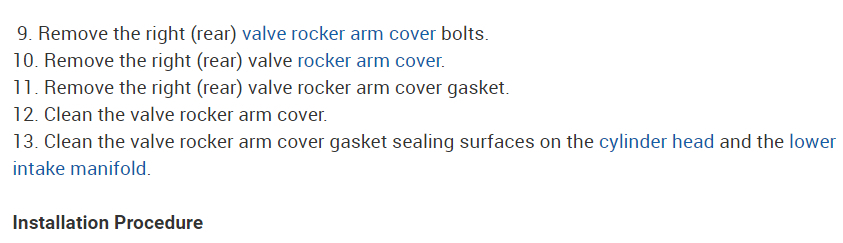
9. Remove the right (rear) valve rocker arm cover bolts.
10. Remove the right (rear) valve rocker arm cover.
11. Remove the right (rear) valve rocker arm cover gasket.
12. Clean the valve rocker arm cover.
13. Clean the valve rocker arm cover gasket sealing surfaces on the cylinder head and the lower intake manifold.
Installation Procedure
pic 7
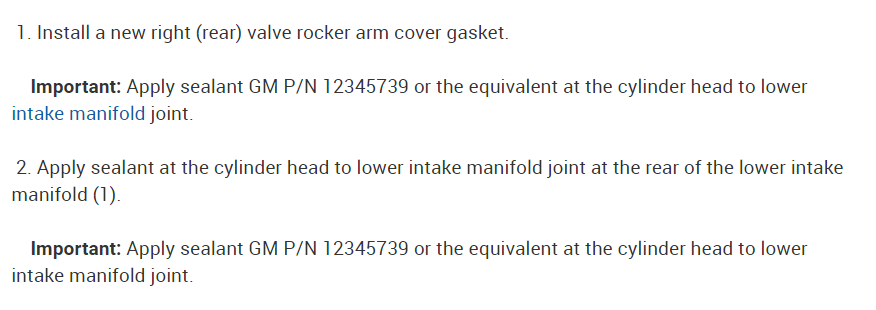
1. Install a new right (rear) valve rocker arm cover gasket.
Important: Apply sealant GM P/N 12345739 or the equivalent at the cylinder head to lower intake manifold joint.
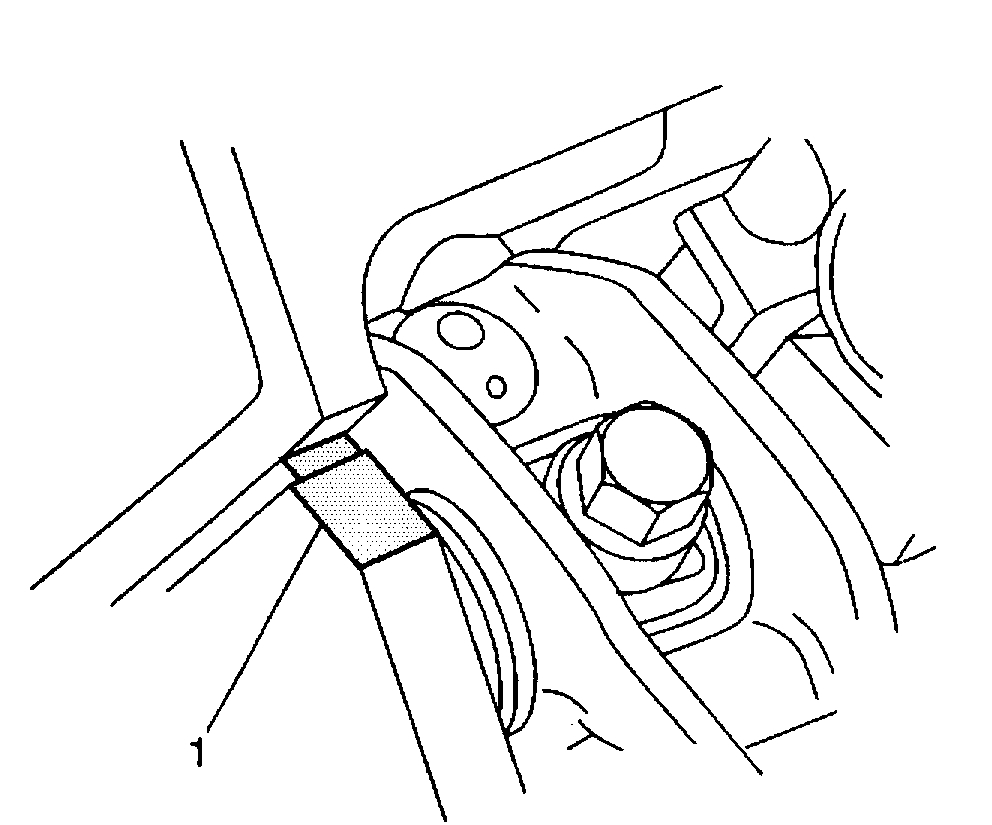
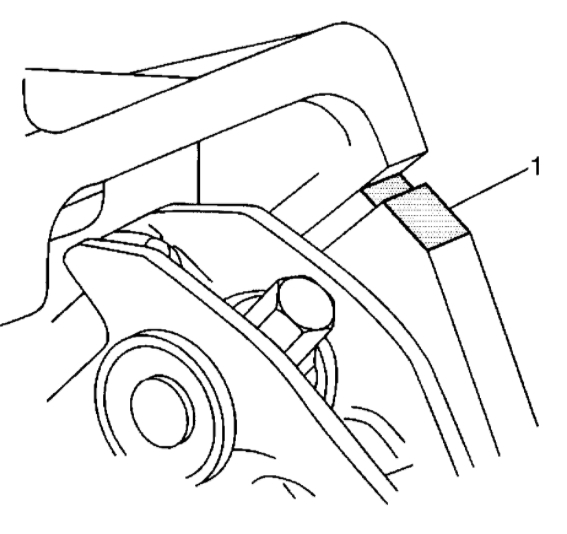
2. Apply sealant at the cylinder head to lower intake manifold joint at the rear of the lower intake manifold (1).
Important: Apply sealant GM P/N 12345739 or the equivalent at the cylinder head to lower intake manifold joint.
Pic 8
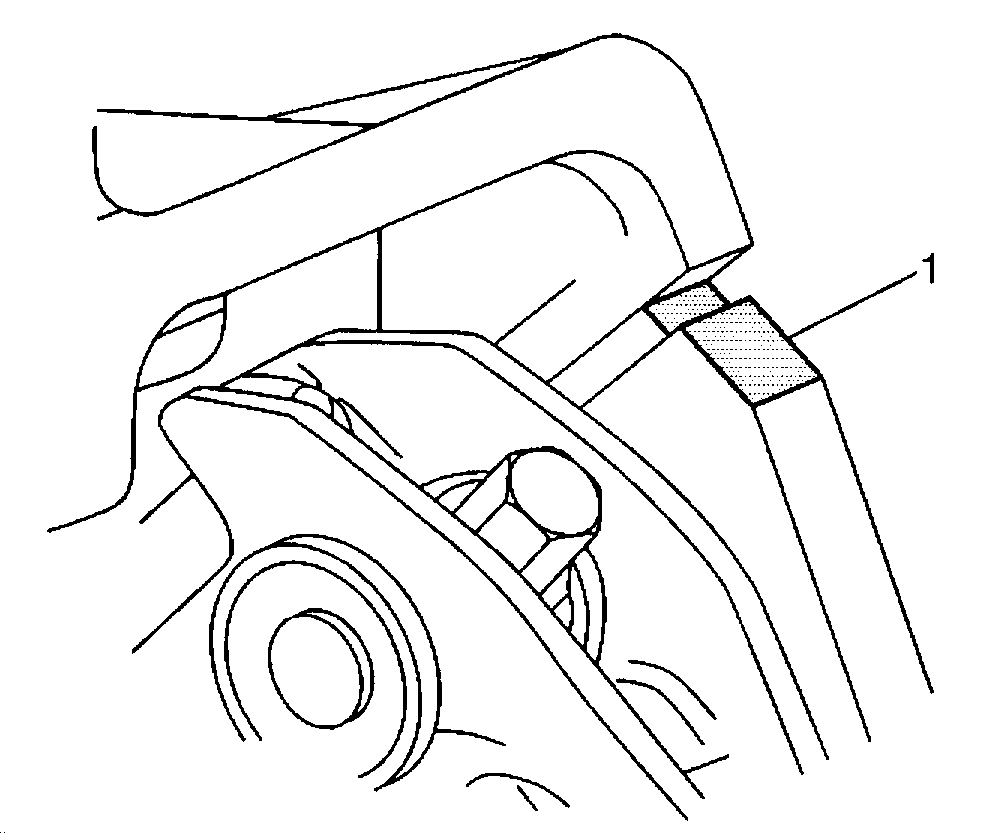
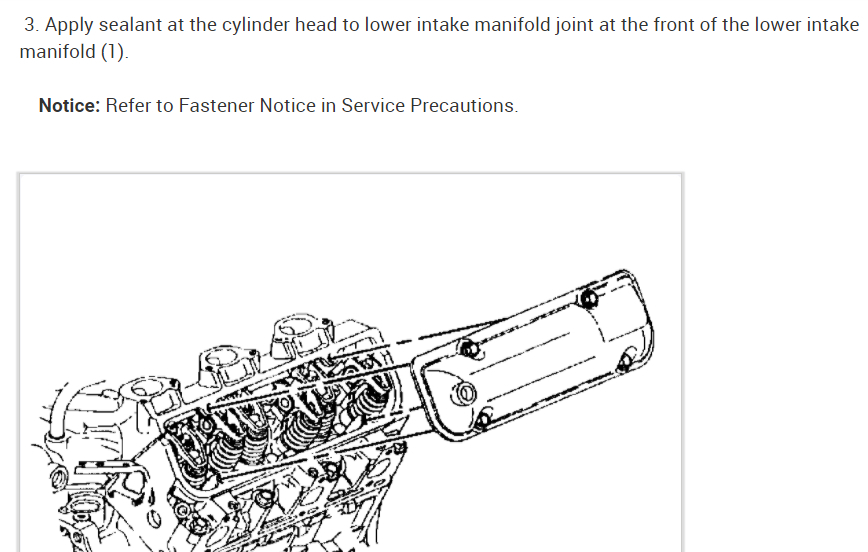
3. Apply sealant at the cylinder head to lower intake manifold joint at the front of the lower intake manifold (1).
Notice: Refer to Fastener Notice in Service Precautions.
Pic 9
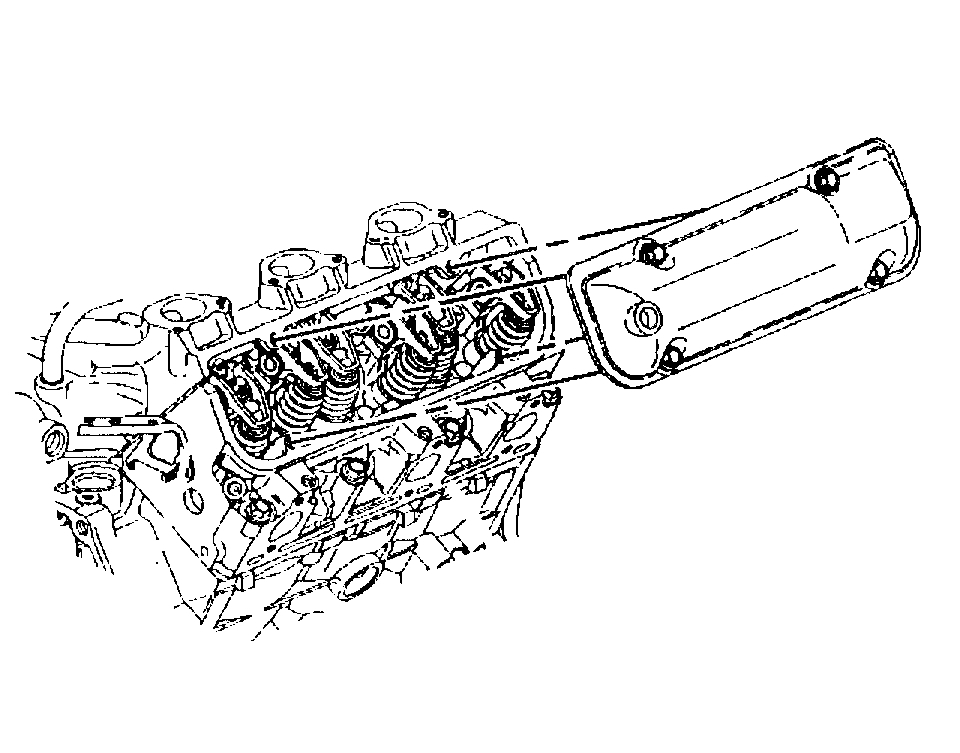
4. Install the right (rear) valve rocker arm cover.
Hand tighten the right (rear) valve rocker arm cover bolts.
Tighten the valve rocker arm cover bolts to 10 Nm (89 inch lbs.).
5. Install the vacuum hose to the grommet in the right (rear) valve rocker arm cover.
6. Install the ignition bracket with coils, the purge solenoid and the vacuum canister solenoid.
7. Install the right (rear) spark plug wires. Refer to Spark Plug Wire Harness Replacement in Powertrain Management.
8. Install the generator bracket. Refer to Generator Replacement in Starting and Charging.
9. Install the generator. Refer to Generator Replacement in Starting and Charging.
10. Install the drive belt. Refer to Drive Belt Replacement.
11. Connect the negative battery cable.
_____________________________
Let me know if this helps. If you have other questions, let me know.
Take care,
Joe
Images (Click to make bigger)
Saturday, December 5th, 2020 AT 9:03 PM