Welcome to 2CarPros.
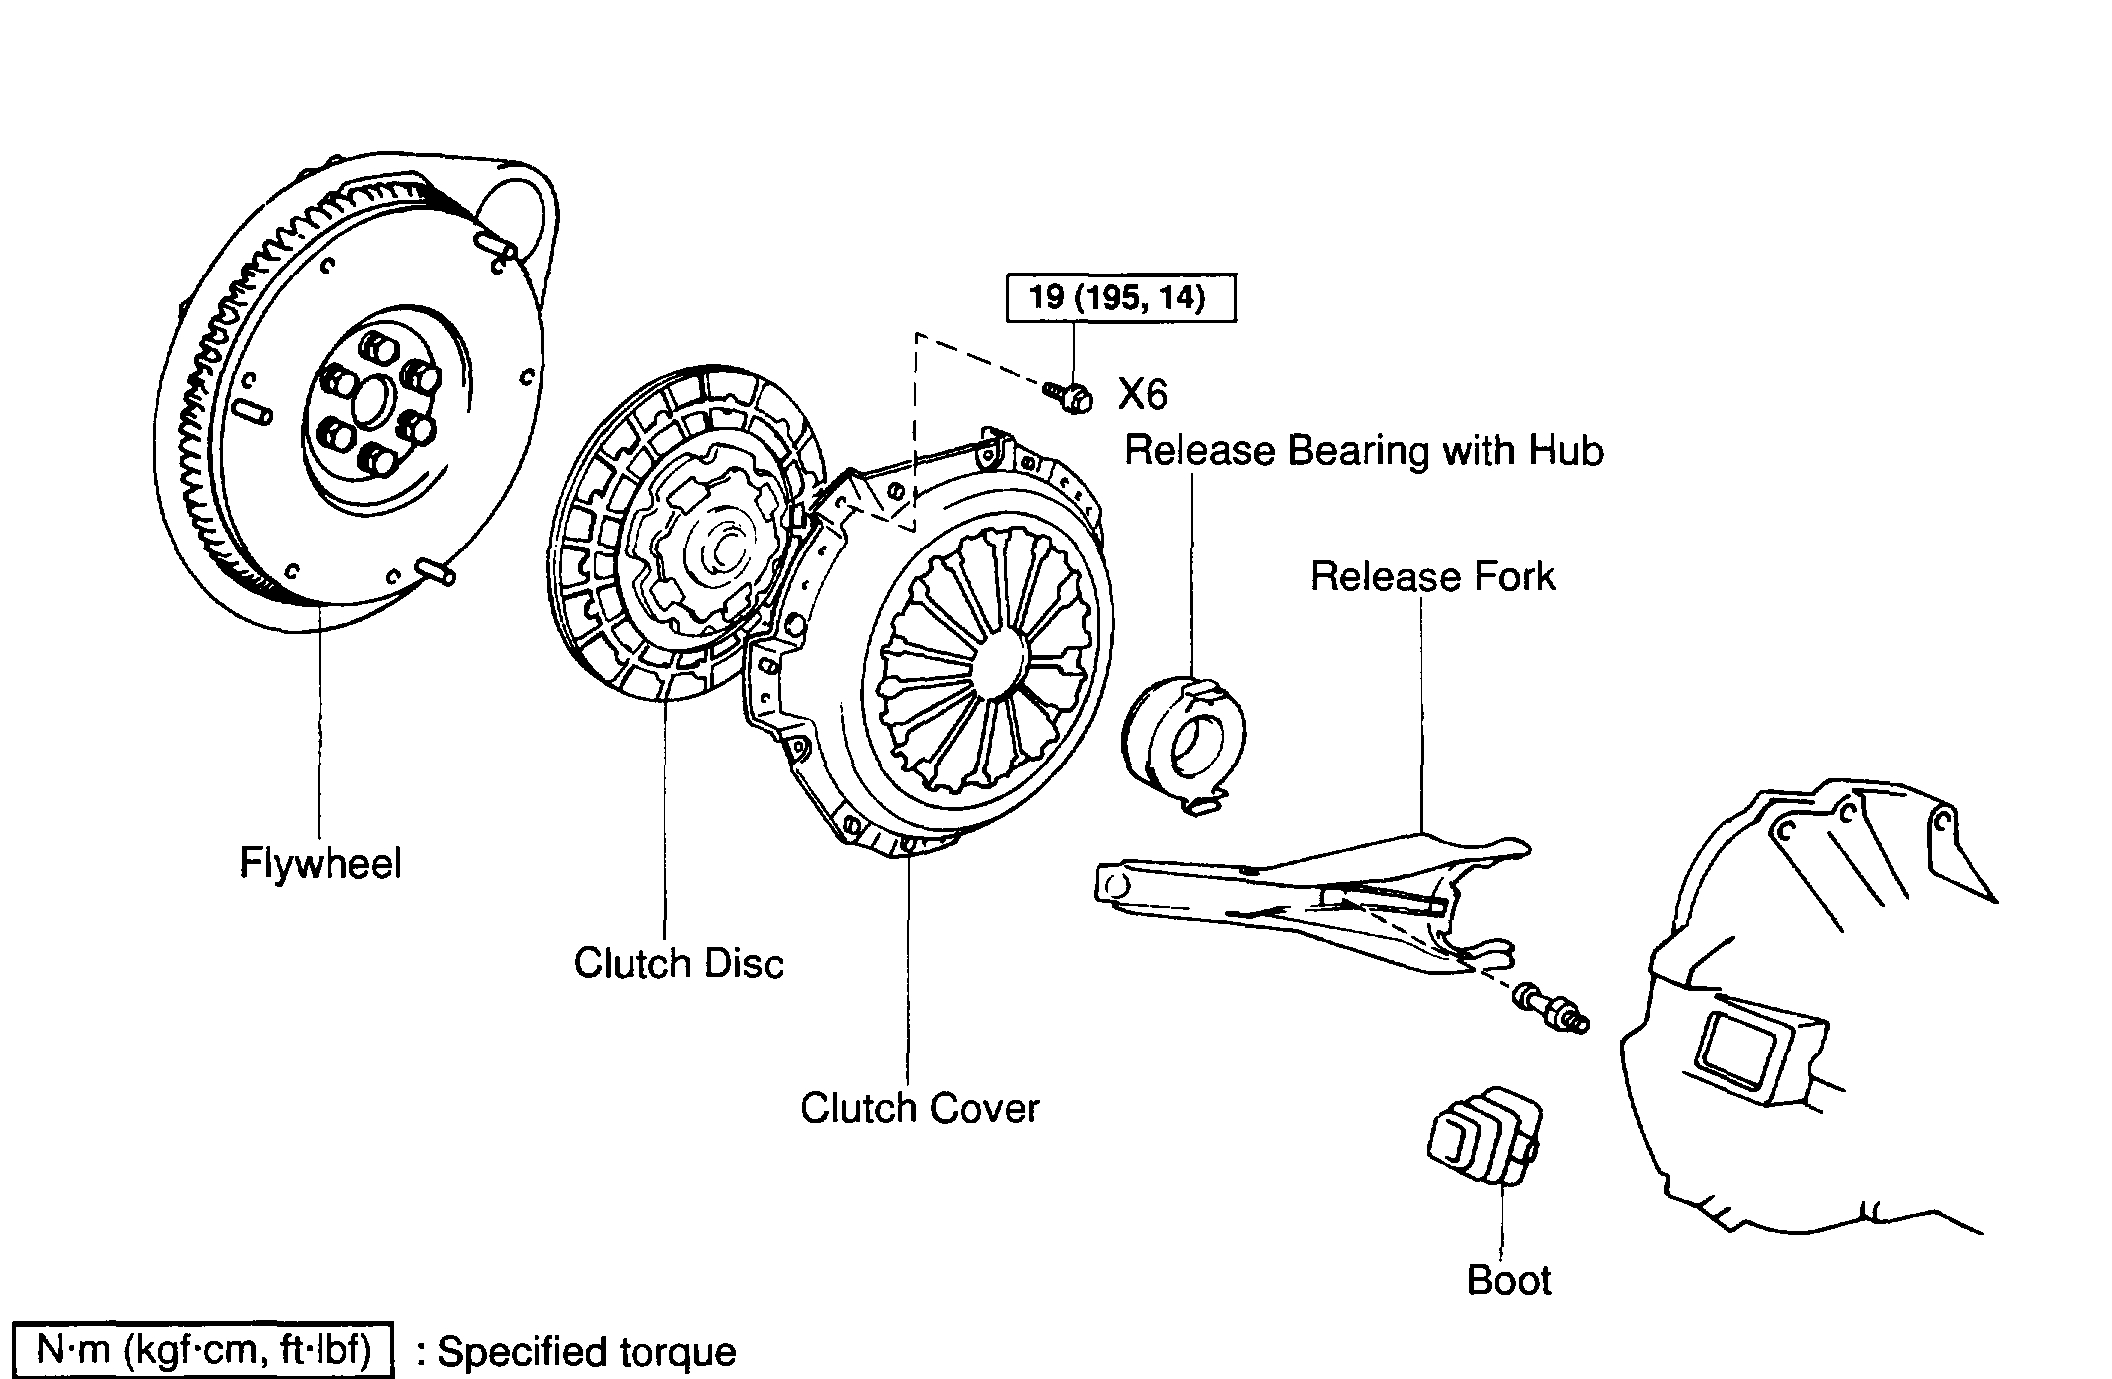
Here are the directions for removal and replacement of the clutch. The first picture is an exploded view of the system.
___________________________
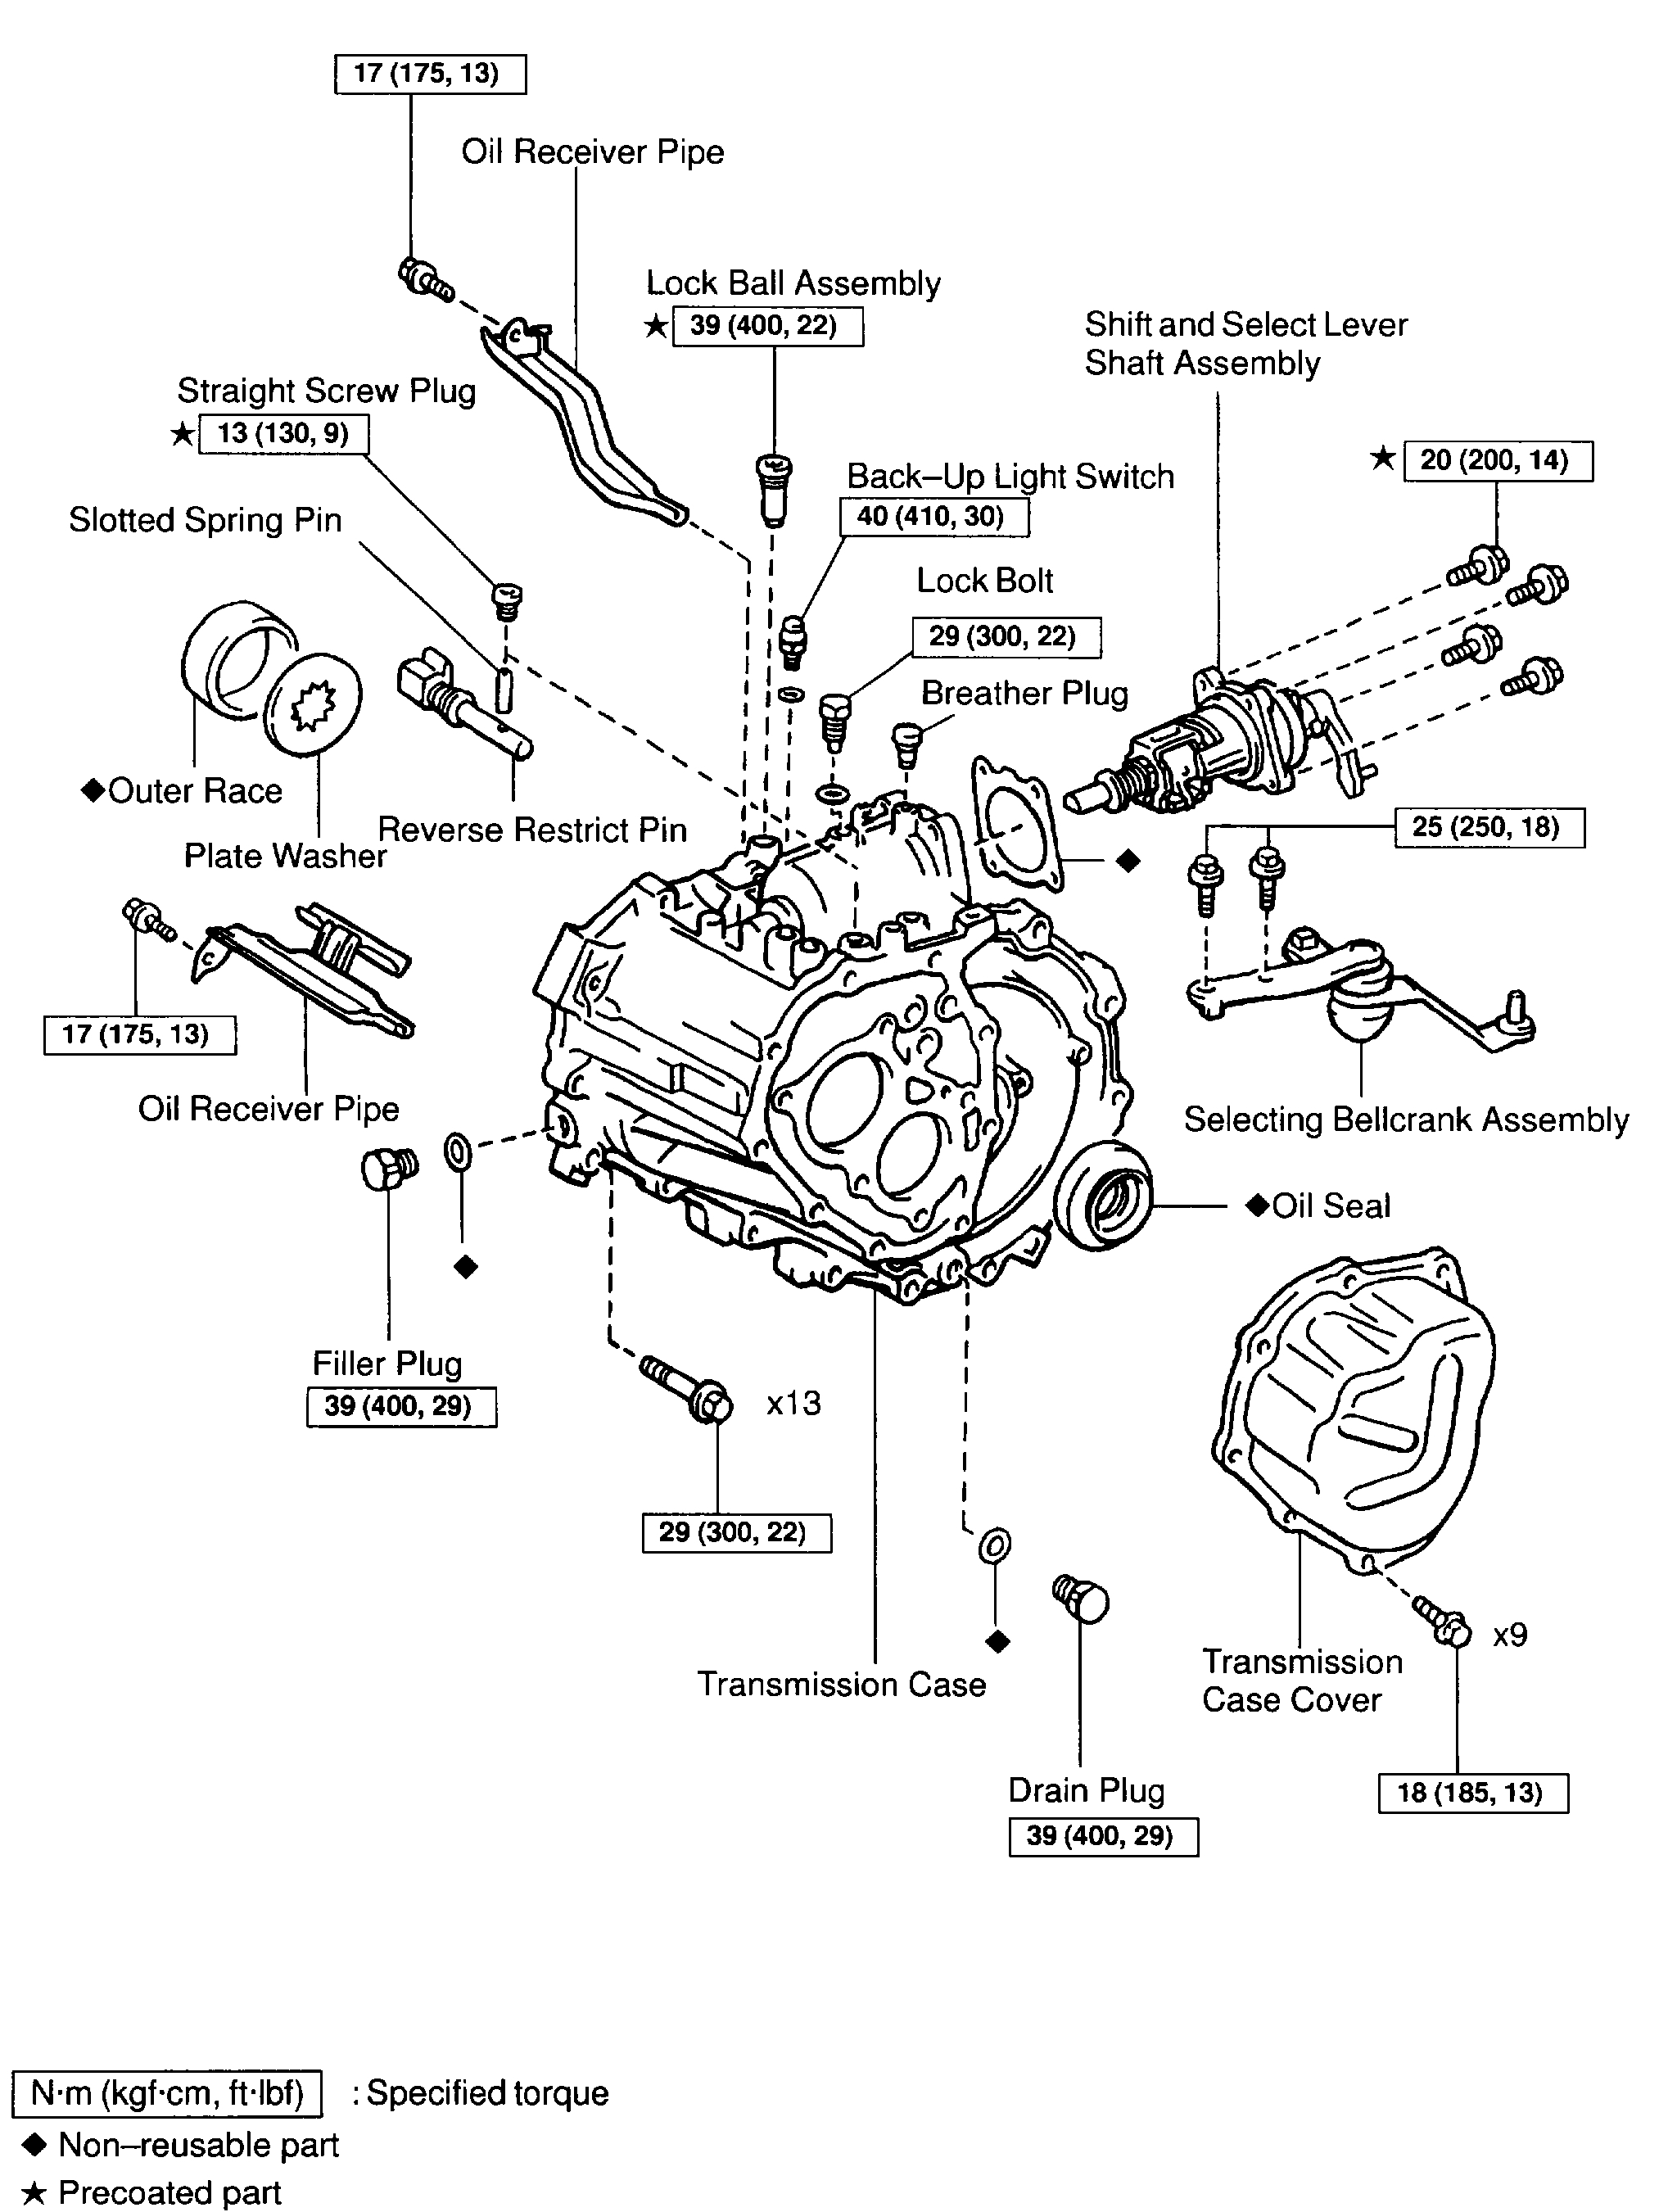
COMPONENTS
REMOVAL
pic 1
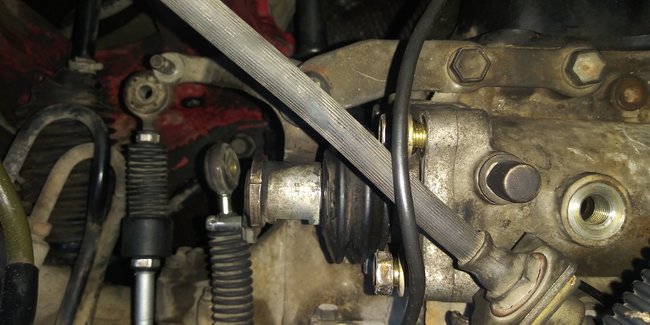
1. REMOVE TRANSAXLE FROM ENGINE
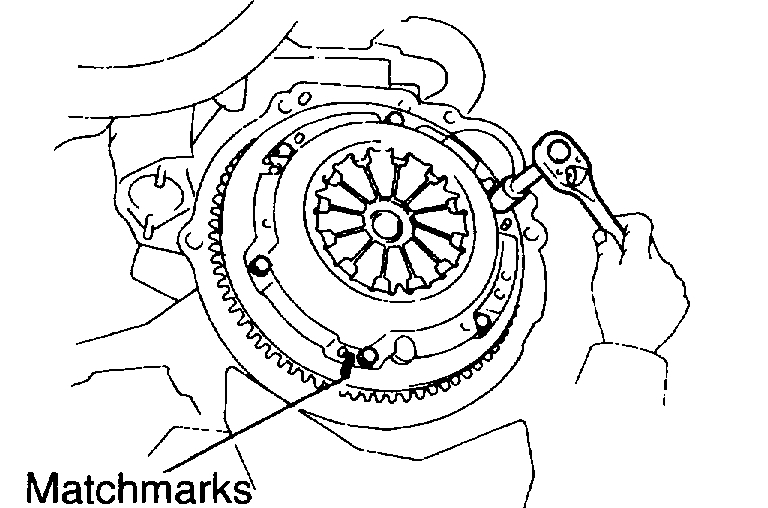
2. REMOVE CLUTCH COVER AND DISC
a. Place matchmarks on the flywheel and clutch cover.
b. Loosen each set bolt one turn at a time until spring tension is released.
c. Remove the set bolts, and pull off the clutch cover with the clutch disc.
NOTICE: Do not drop the clutch disc.
pic 2
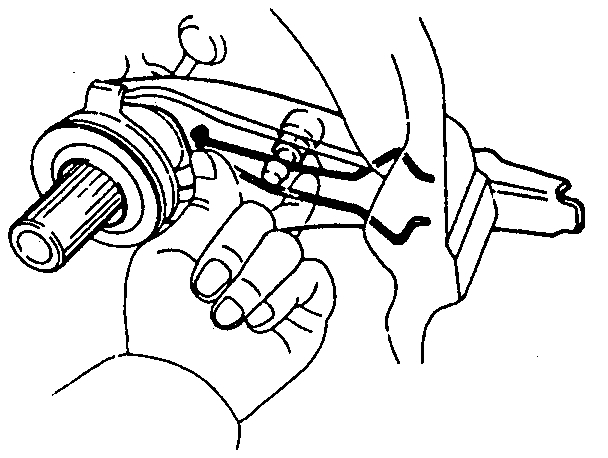
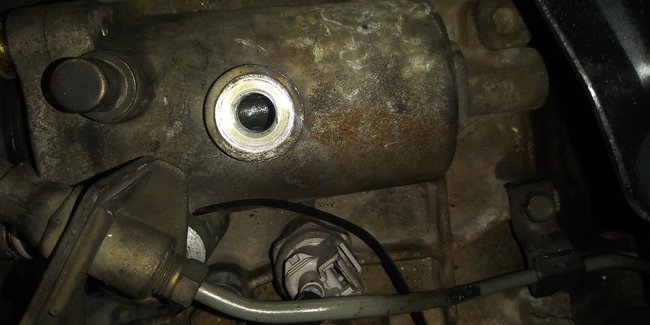
3. REMOVE RELEASE BEARING AND FORK FROM TRANSAXLE
Remove the release bearing together with the fork and then separate them.
INSPECTION
pic 3
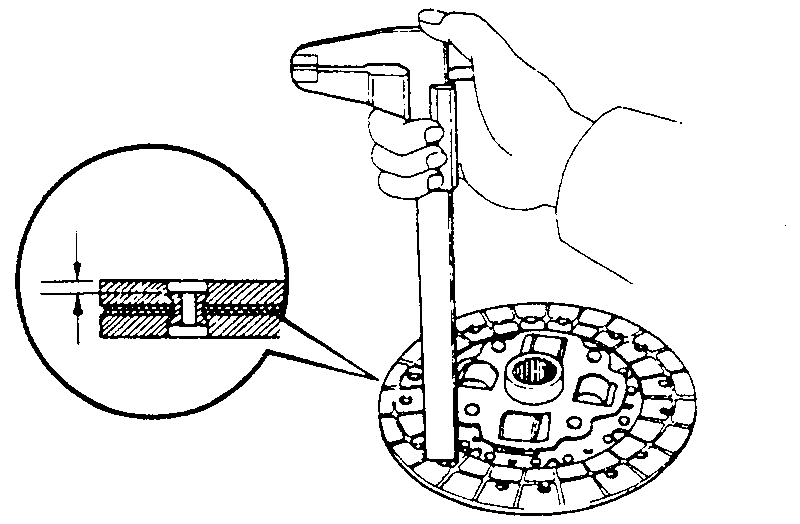
1. INSPECT CLUTCH DISC FOR WEAR OR DAMAGE
Using calipers, measure the rivet head depth.
Minimum rivet depth: 0.3 mm (0.012 inch)
If necessary, replace the clutch disc.
pic 4
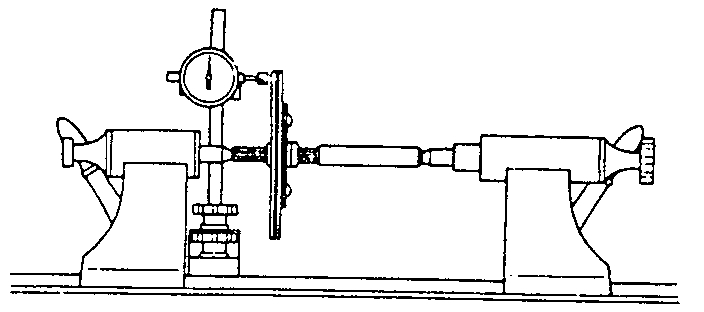
2. INSPECT CLUTCH DISC RUNOUT
Using a dial indicator, check the disc runout.
Maximum runout: 0.8 mm (0.031 inch)
If necessary, replace the clutch disc.
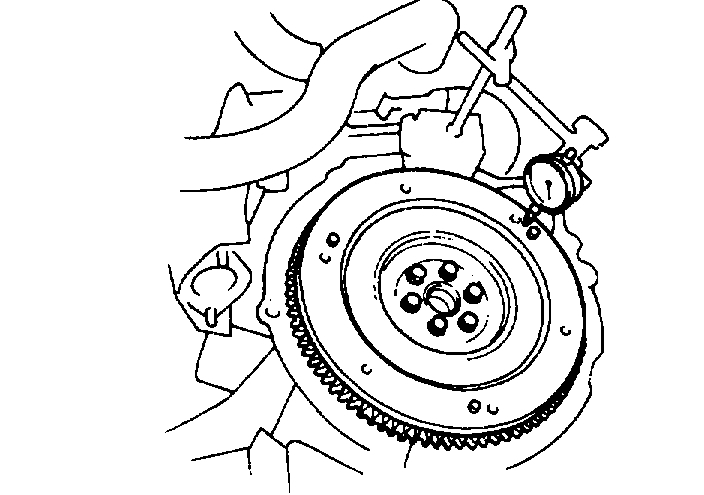
pic 5
3. INSPECT FLYWHEEL RUNOUT
Using a dial indicator, check the flywheel runout.
Maximum runout: 0.1 mm (0.004 inch)
If necessary, replace the flywheel.
pic 6
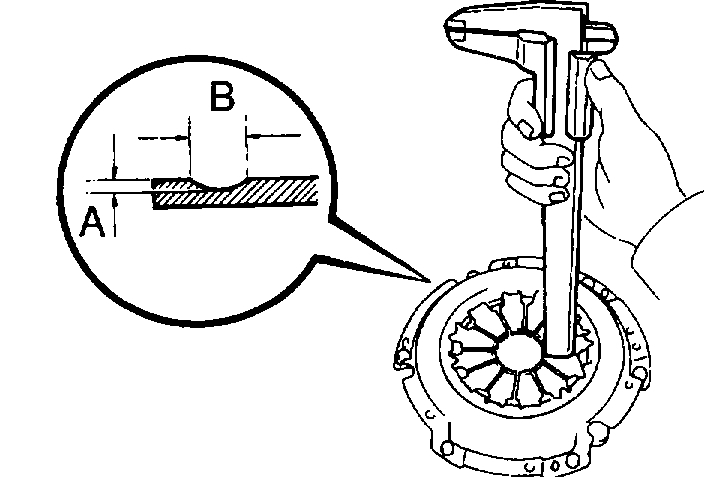
4. INSPECT DIAPHRAGM SPRING FOR WEAR
Using calipers, measure the diaphragm spring for depth and width of wear.
Maximum depth: A: 0.6 mm (0.024 inch)
Maximum width: B: 5.0 mm (0.197 inch)
If necessary, replace the clutch cover.
pic 7
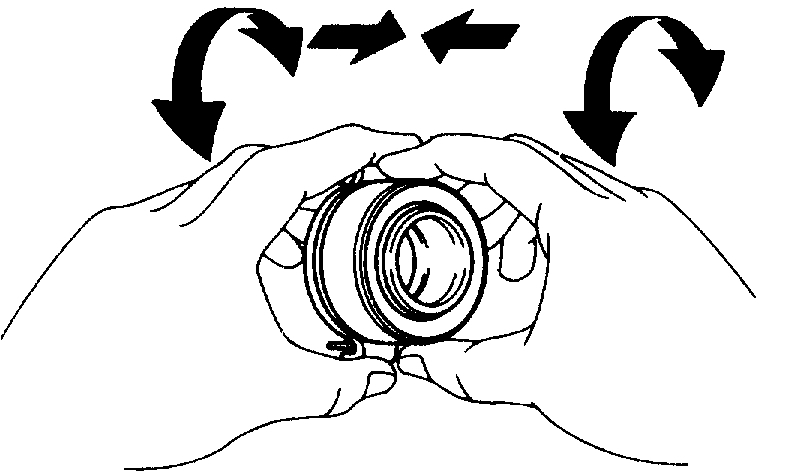
5. INSPECT RELEASE BEARING
Turn the bearing by hand while applying force in the axial direction.
HINT: The bearing is permanently lubricated and requires no cleaning or lubrication.
If necessary, replace the release bearing.
INSTALLATION
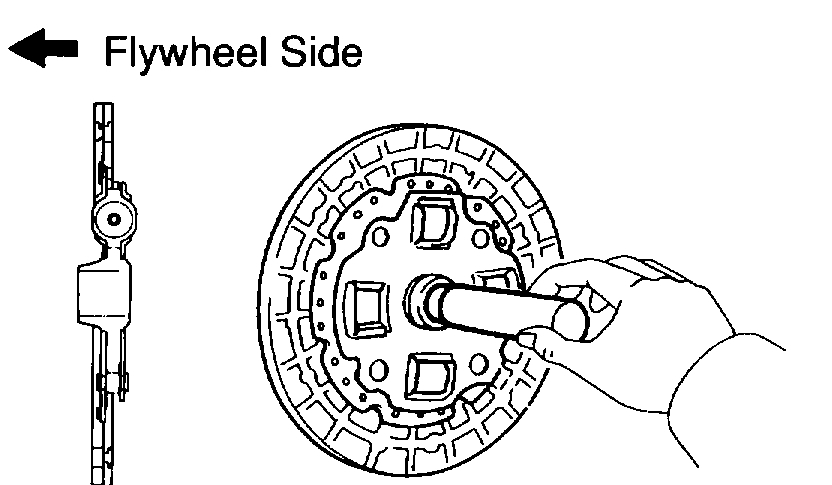
1. INSTALL CLUTCH DISC AND CLUTCH COVER ON FLYWHEEL
pic 8
a. Insert Special Service Tool (SST) in the clutch disc, and then set them.
SST 09301-00210
pic 9
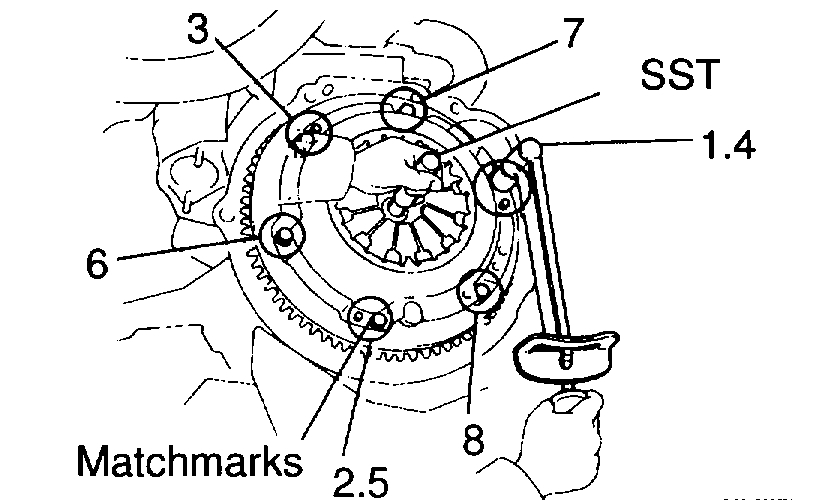
b. Align the matchmark on the clutch cover with the one on the flywheel.
c. Torque the bolts on the clutch cover in the order shown.
Torque: 19 Nm (195 kgf-cm, 14 ft. lbs.)
HINT: Temporarily tighten the No.1 and No.2 bolts.
pic 10
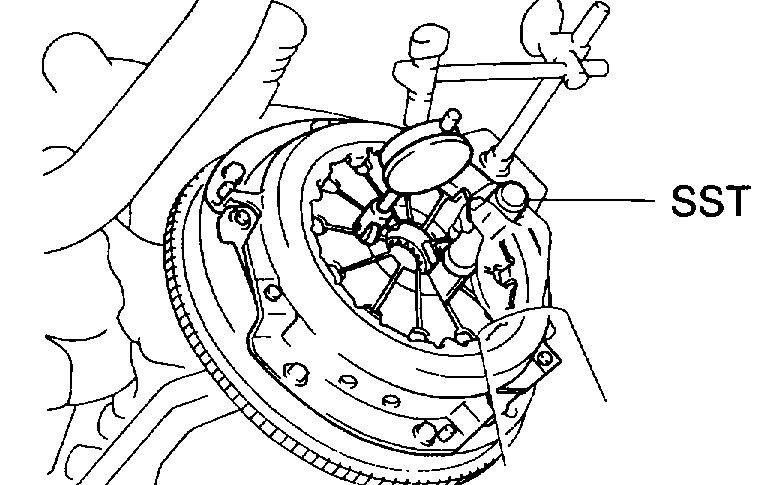
2. CHECK DIAPHRAGM SPRING TIP ALIGNMENT
Using a dial indicator with roller instrument, check the diaphragm spring tip alignment.
Maximum non-alignment: 0.5 mm (0.020 inch)
If alignment is not as specified, using SST, adjust the diaphragm spring tip alignment.
SST 09333-00013
pic 11
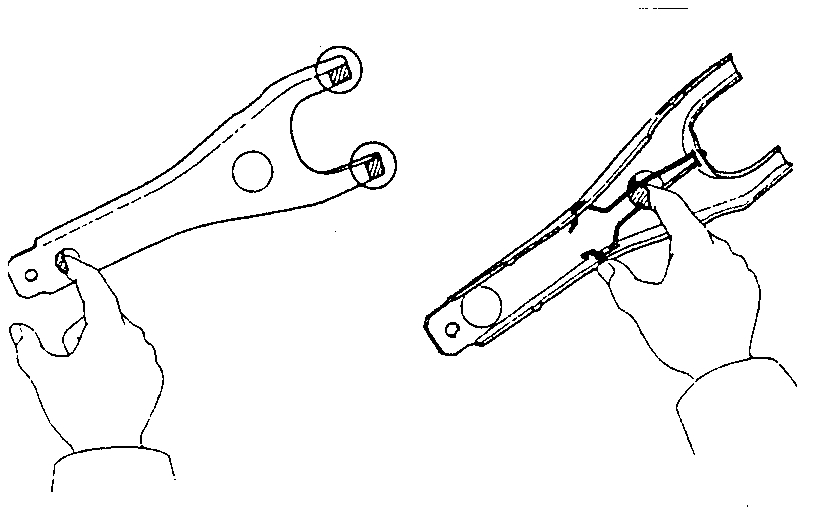
3. APPLY MOLYBDENUM DISULPHIDE LITHIUM BASE GREASE (NLGI NO.2)
a. Apply release hub grease to these parts:
^ Release fork and hub contact point
^ Release fork and push rod contact point
^ Release fork pivot point
pic 12
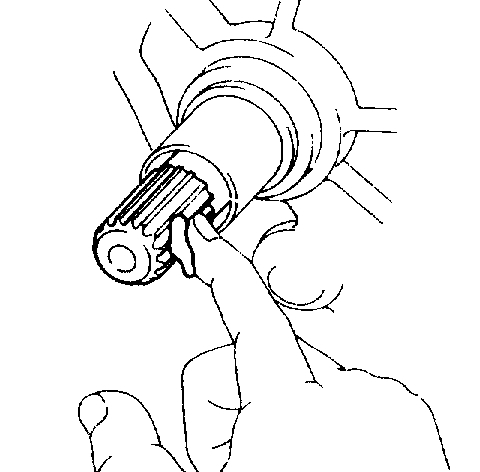
b. Apply clutch spline grease.
Clutch disc spline
HINT: Recommended grease part number 08887-01706 (100 g).
4. INSTALL RELEASE BEARING AND FORK TO TRANSAXLE
Install the bearing to the release fork, and then install them to the transaxle.
5. INSTALL TRANSAXLE TO ENGINE
______________________________________
Let me know if this is what you needed or have other questions.
Joe
Images (Click to enlarge)
May 19, 2019 at 6:44 PM