Hello,
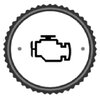
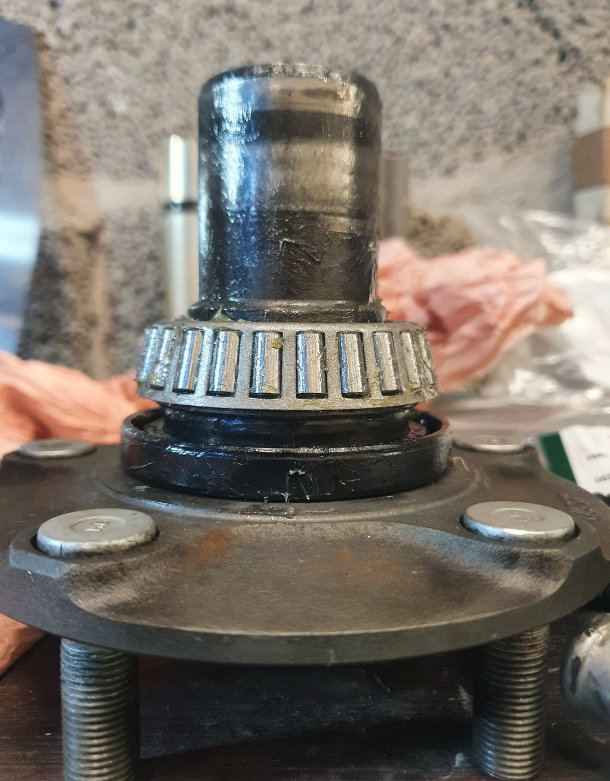
The outer bearing should not have just fallen off; it is tight on the hub held in with a spacer ring. See image 1 below
Fit the new races as these are machined as a set with the bearings
How to procedure
1. jack up rear wheel and insert jack stand.
2. remove lug nuts and wheel.
3. unbolt 2 13 15 mm bolts that hold the caliper assembly to the hub carrier. Remove the entire caliper assembly in one piece, no need to remove pads, etc.
4. Remove rotor from hub, it simply pulls out away from the hub.
5. No need to remove parking brake drum pads .
6. At the bottom of the hub carrier there is a bolt. This not only retains the hub/carrier assembly, but also controls alignment. hark the bolt head flange and the carrier body so you can align them in the same position on reassembly.
7. Loosen the bottom bolt. Do not remove, just loosen.
8. You will need a hub puller. Remove the nut from the center of the hub (27mm). Pull the hub out. As you do this the carrier assembly will begin leaning out towards you, rotating downward.
Once you pull the hub, the half shaft is now free, pull it up and out of the way. ( i used a small bungee).
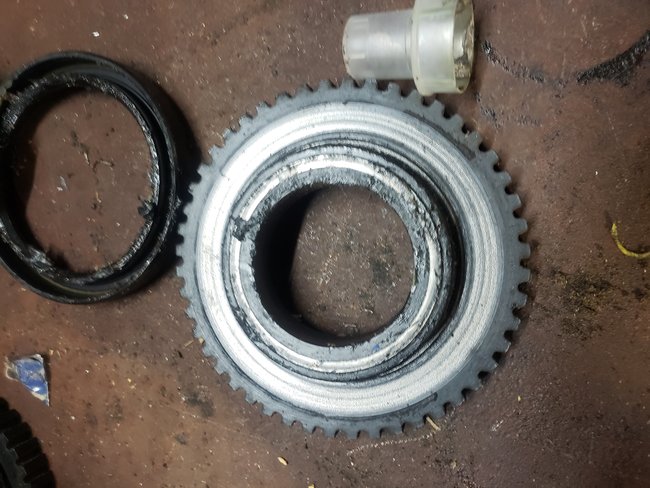
9, Use a socket or punch and insert from the outside (wheel side) and tap out the wheel speed sensor ring (looks like a gear with teeth on the outside. once the carrier rotated downward you can see it by looking down into the backside of the carrier).
10. Pull the seals and inner bearings from the carrier...Note which is which. They are different.
There will be a tube type spacer in the center of the carrier between the bearings. note its position, the inner bearing has a smaller diameter face, the tube has two different size ends, each corresponding to the bearing is faces. See image 1
There will also be a small washer (shim) against the inner face of the outer bearing... do not lose it.
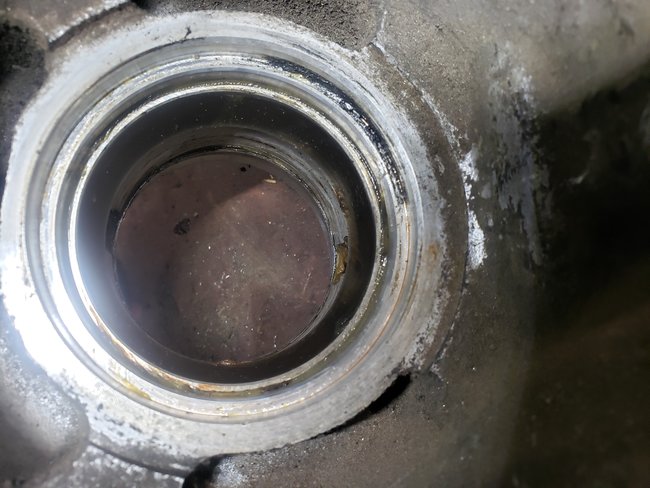
11.Now clean the inside of the carrier...
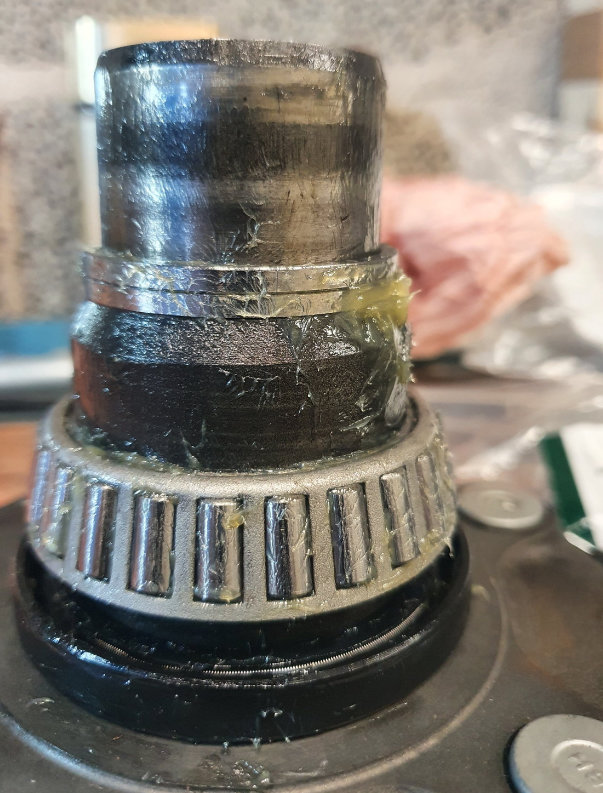
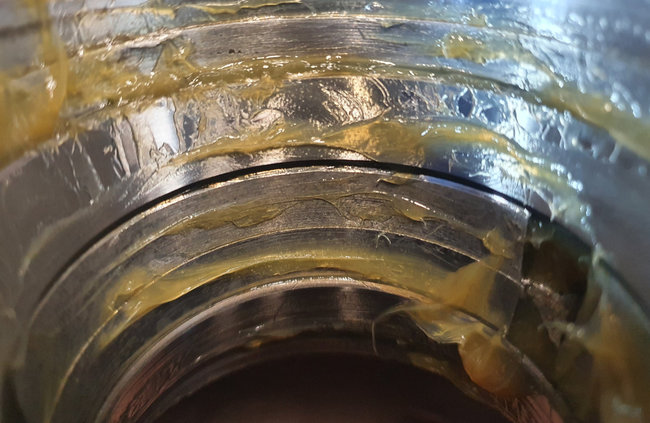
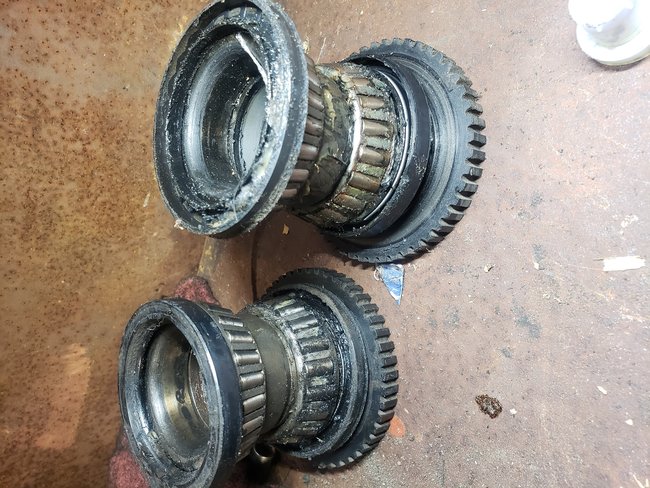
12.you will see a channel cut out of the carrier between the two outer bearing races. use a punch and set it into this channel get to the back edge of the bearing race and tap it out with the punch and a hammer. there are 2 channels 180 degrees apart... tap one side then the other and the race will come out. repeat for the other side going in the opposite direction. See image 2 and 3. Take note of installed race depth, compare before and after
Installation is the opposite of removal.
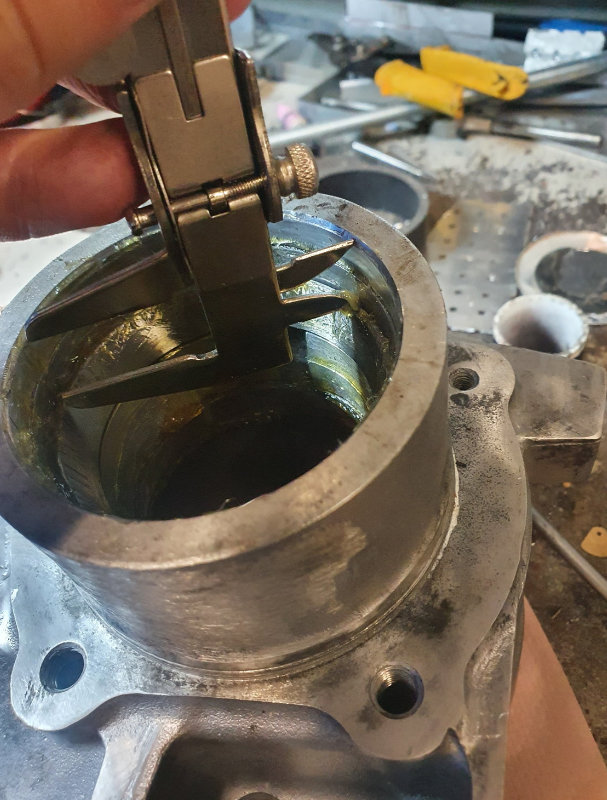
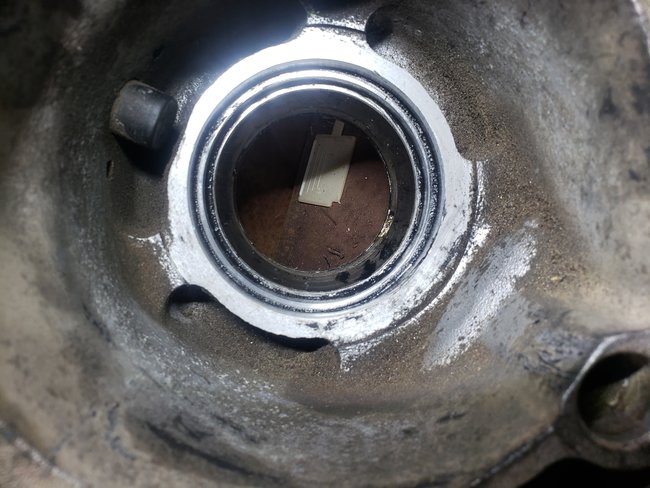
1.After tapping the races in, install the seal then bearing on the hub shaft.
You will need to tap the outer bearing home on the shaft. See image 4
2.Install the hub into the carrier and seat the seal into the carrier. let the carrier rotate downward. use a wood block to set the lug nut studs on... they will now be facing straight down.
3. You will need to drop in the spacer and shim from the inside (now facing up).
4. Now install the inner bearing. drop in onto the hub shaft and tap it home with either BIG socket, or a punch.
5. install the inner seal
6. drop the wheel speed sensor onto the hub shaft tap it onto the shaft and make sure it is seated.
Once this assembly is in place, make sure there is no play by trying to pull the hub out then pushing it back in, there should be no play.
Make sure to grease the bearings before installing. the same for the seal lips....
7. Rotate the assembly up and insert the half shaft inside the hub. When the shaft stops, start rotating the hub to align the splines of the hub and half shaft. the half shaft will then slide all the way in.
8. Install and tighten nut.
9. Align bottom bolt to mark and tighten nut.
10. install rotor.
11. Drop brake assembly back onto rotor and tighten two bolts on backside of carrier/ caliper assembly.
12. Plug in wheel speed sensor.
13. Re install wheel.
14. Raise vehicle, remove jack stand, and lower onto tire.
Hope this helps.
Cheers, Boris
Images (Click to enlarge)
Sep 9, 2022 at 8:17 AM