Good afternoon,
I attached the bleeding procedure for you of the system. This sounds like the hose collapsed and seized the caliper. You replaced the parts but the bleeding requires a scan tool to open the valves in the ABS unit.
https://www.2carpros.com/articles/how-to-bleed-or-flush-a-car-brake-system
https://www.2carpros.com/articles/brake-caliper-replacement
Roy
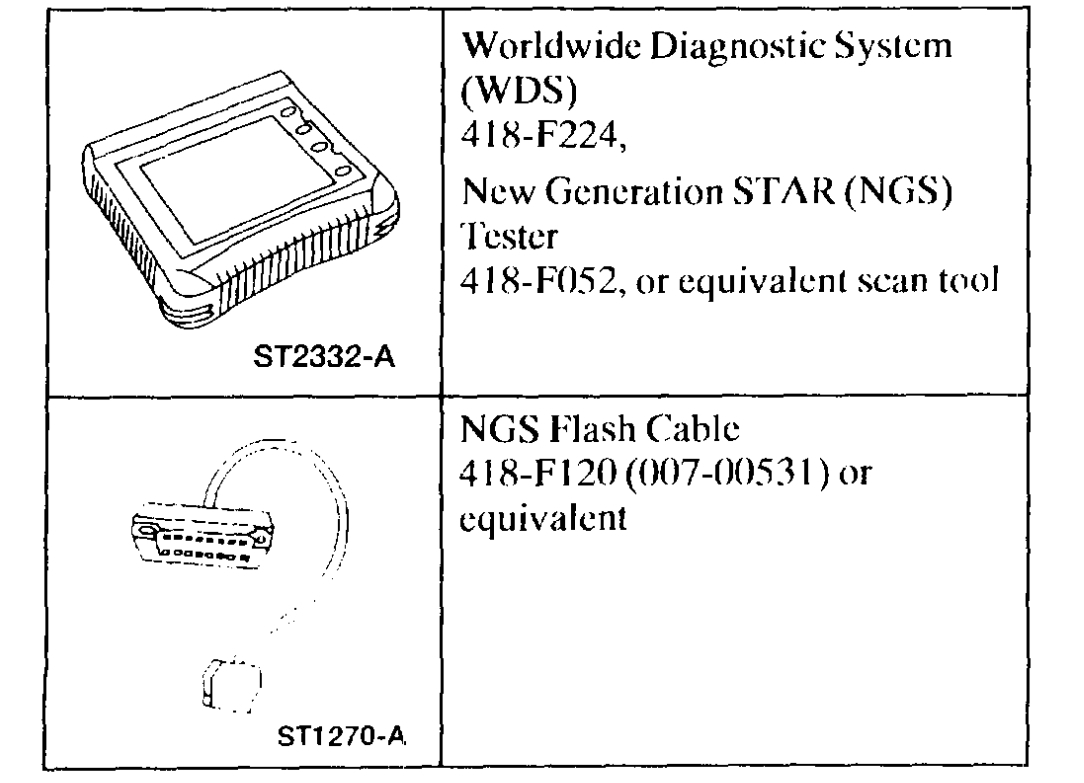
Special Tool(s)
Master Cylinder Priming-In-Vehicle or Bench
WARNING: Brake fluid contains polyglycol ethers and polyglycols. Avoid contact with eyes. Wash hands thoroughly after handling. If brake fluid contacts eyes, flush eyes with running water for 15 minutes. Get medical attention if irritation persists. If taken internally, drink water and induce vomiting. Get medical attention immediately.
CAUTION: Do not allow the brake master cylinder reservoir to run dry during the bleeding operation. Keep the brake master cylinder reservoir filled with the specified brake fluid. Never reuse the brake fluid that has been drained from the hydraulic system.
CAUTION: Brake fluid is harmful to painted and plastic surfaces. If brake fluid is spilled onto a painted or plastic surface, immediately wash it with water.
NOTE: When any part of the hydraulic system has been disconnected for repair or replacement, air can enter the system and cause spongy brake pedal action. This requires bleeding of the hydraulic system after it has been properly connected. The hydraulic system can be bled manually or with pressure bleeding equipment.
NOTE: When the brake master cylinder has been replaced or the system has been emptied, or partially emptied, it should be primed to prevent air from entering the system.
imageOpen In New TabZoom/Print
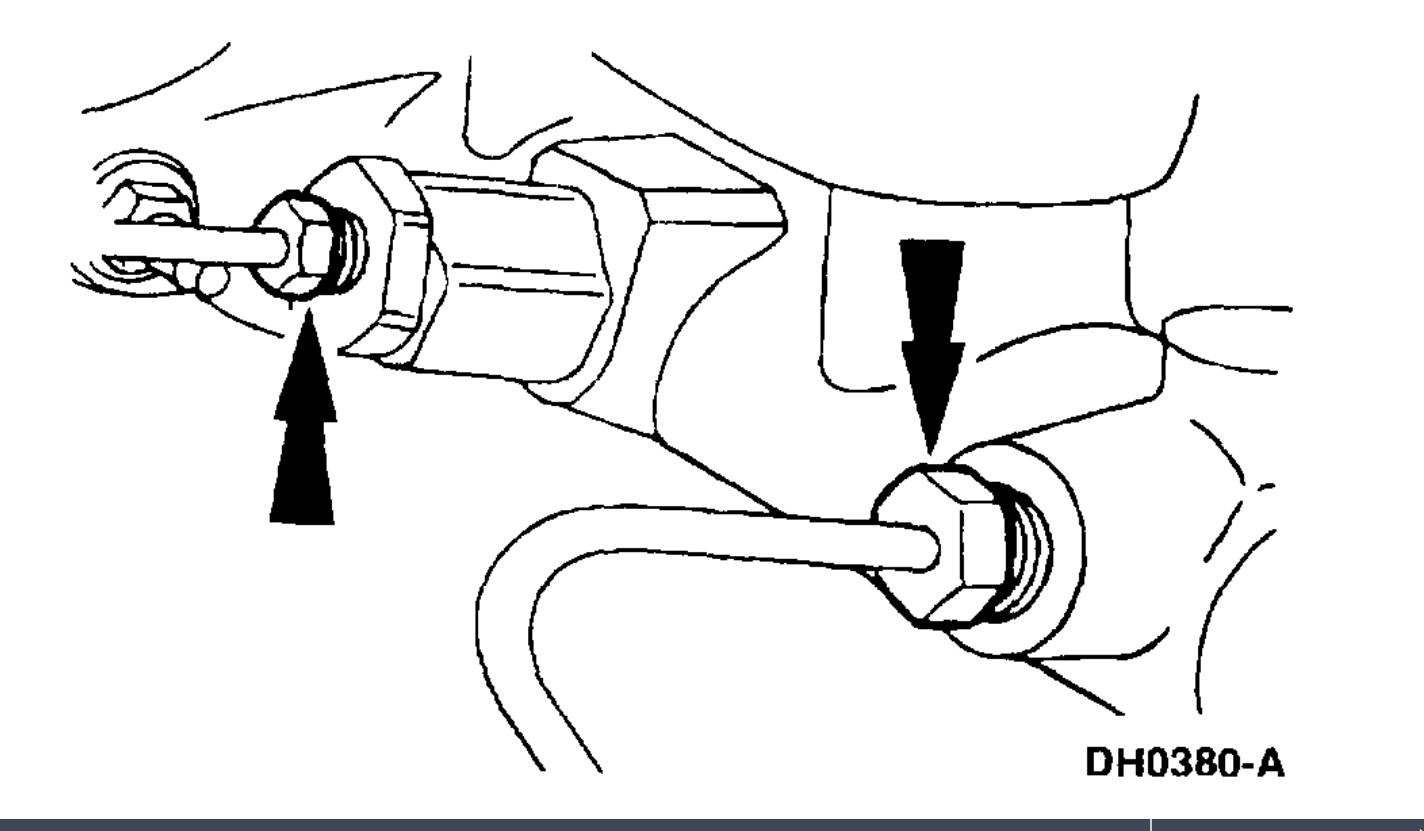
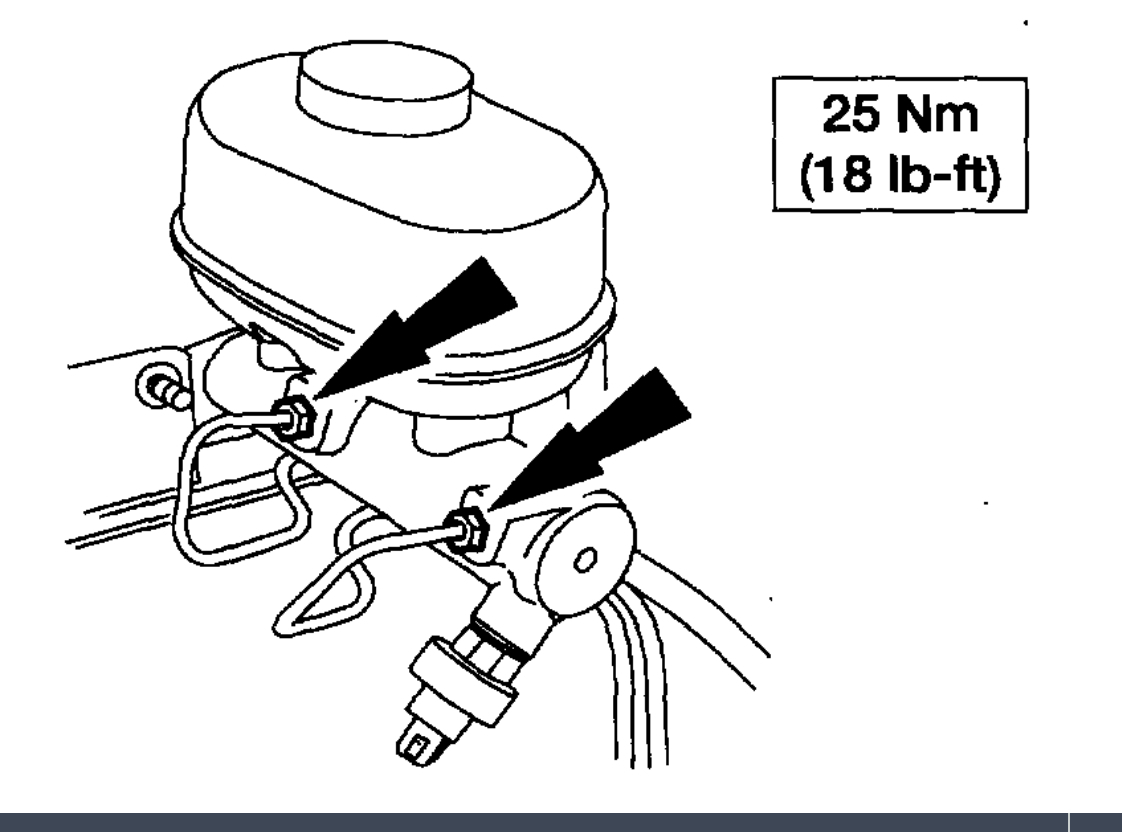
1. For in-vehicle priming disconnect the brake lines.
imageOpen In New TabZoom/Print
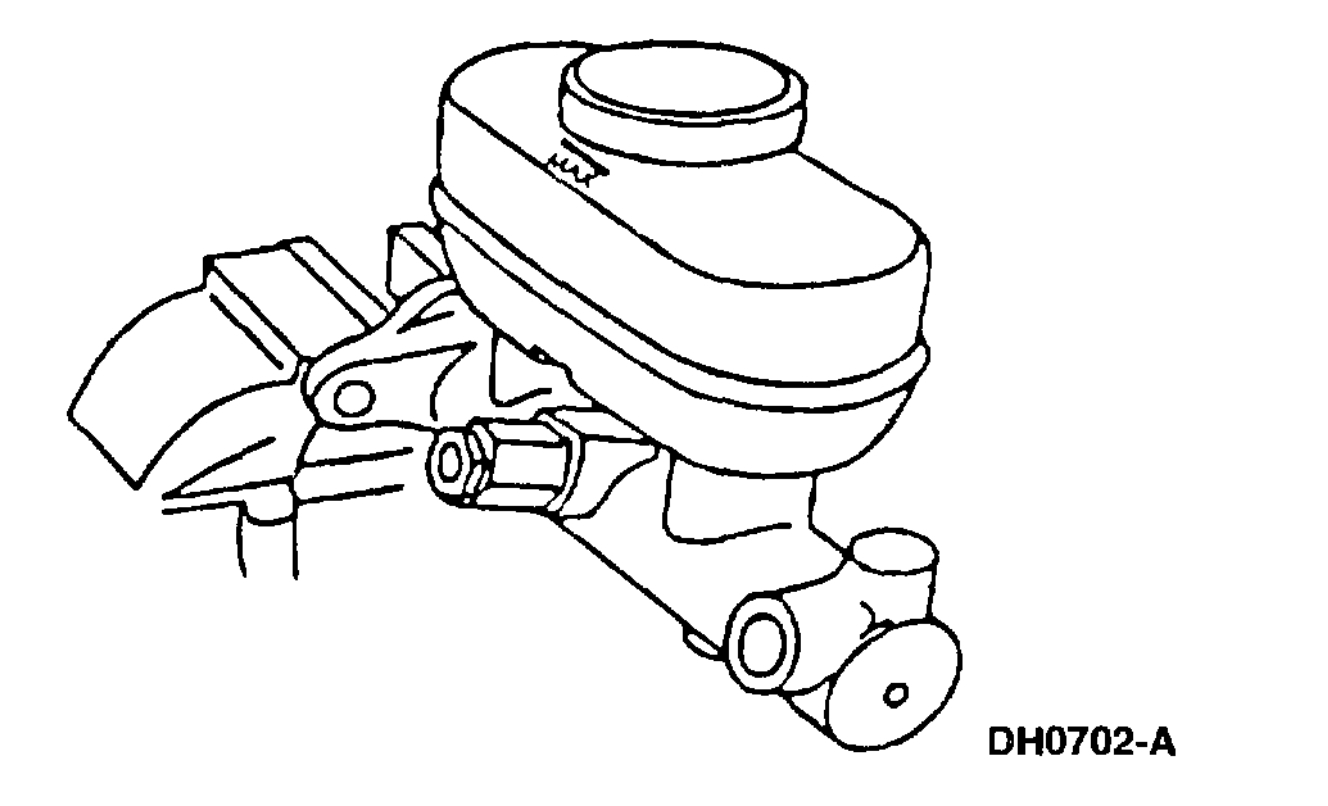
2. For bench priming mount the brake master cylinder in a vise.
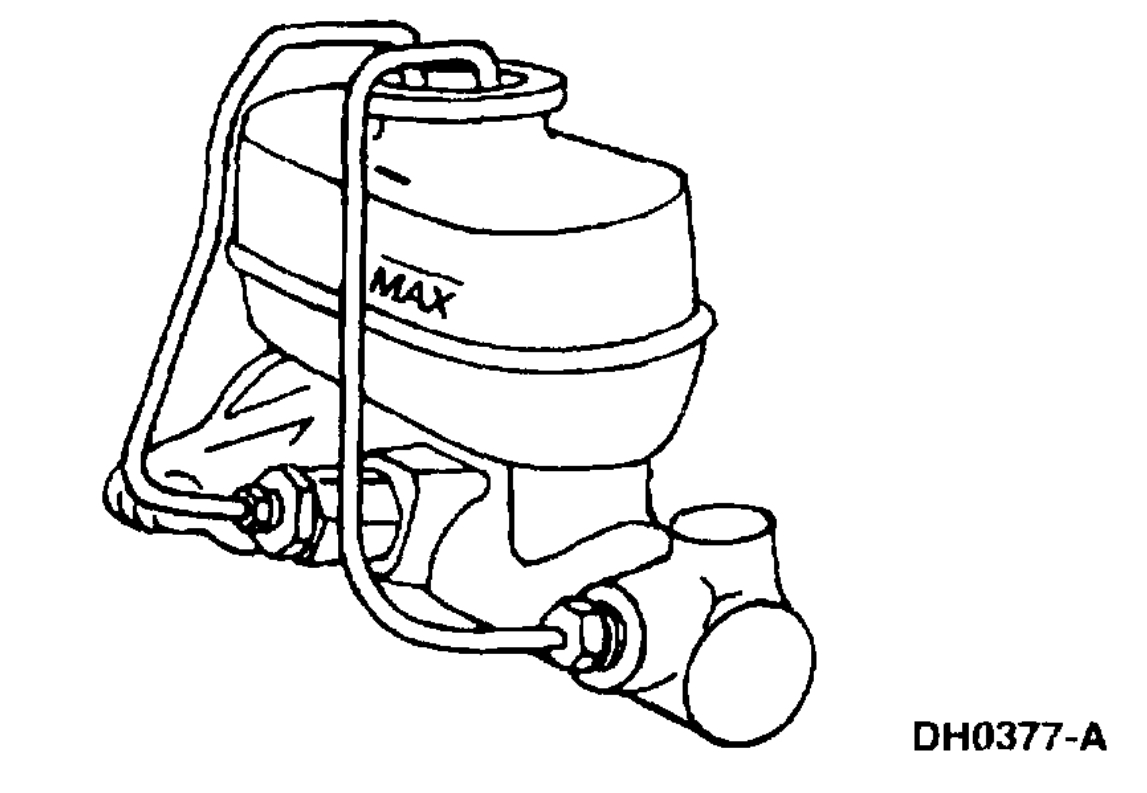
imageOpen In New TabZoom/Print
3. Install short brake tubes with the ends submerged in the brake master cylinder reservoir, and fill the brake master cylinder reservoir with High Performance DOT 3 Motor Vehicle Brake Fluid C6AZ-19542-AB or equivalent DOT 3 fluid meeting Ford specification ESA-M6C25-A.
4. Have an assistant pump the brake pedal, or slowly depress the primary piston until clear fluid flows from both brake tubes, without air bubbles.
5. If the brake master cylinder is being primed at the bench, install it in the vehicle.
imageOpen In New TabZoom/Print
6. Remove the short brake tubes, and install the brake outlet tubes.
7. Bleed each brake tube at the brake master cylinder as follows:
1. Have an assistant pump the brake pedal, and then hold firm pressure on the brake pedal.
2. Loosen the rearmost brake tube fittings until a stream of brake fluid comes out. While the assistant maintains pressure on the brake pedal, tighten the brake tube fitting.
3. Repeat this operation until clear, bubble-free fluid comes out.
4. Refill the brake master cylinder reservoir as necessary. Repeat the bleeding operation at the front brake tube.
Four Wheel Anti-Lock Brake System (4WABS) Hydraulic Control Unit (HCU)
NOTE: This procedure only needs to be performed if the 4-wheel anti-lock brake (4WABS) hydraulic control unit (HCU) has been replaced or if air is suspected in the HCU.
imageOpen In New TabZoom/Print
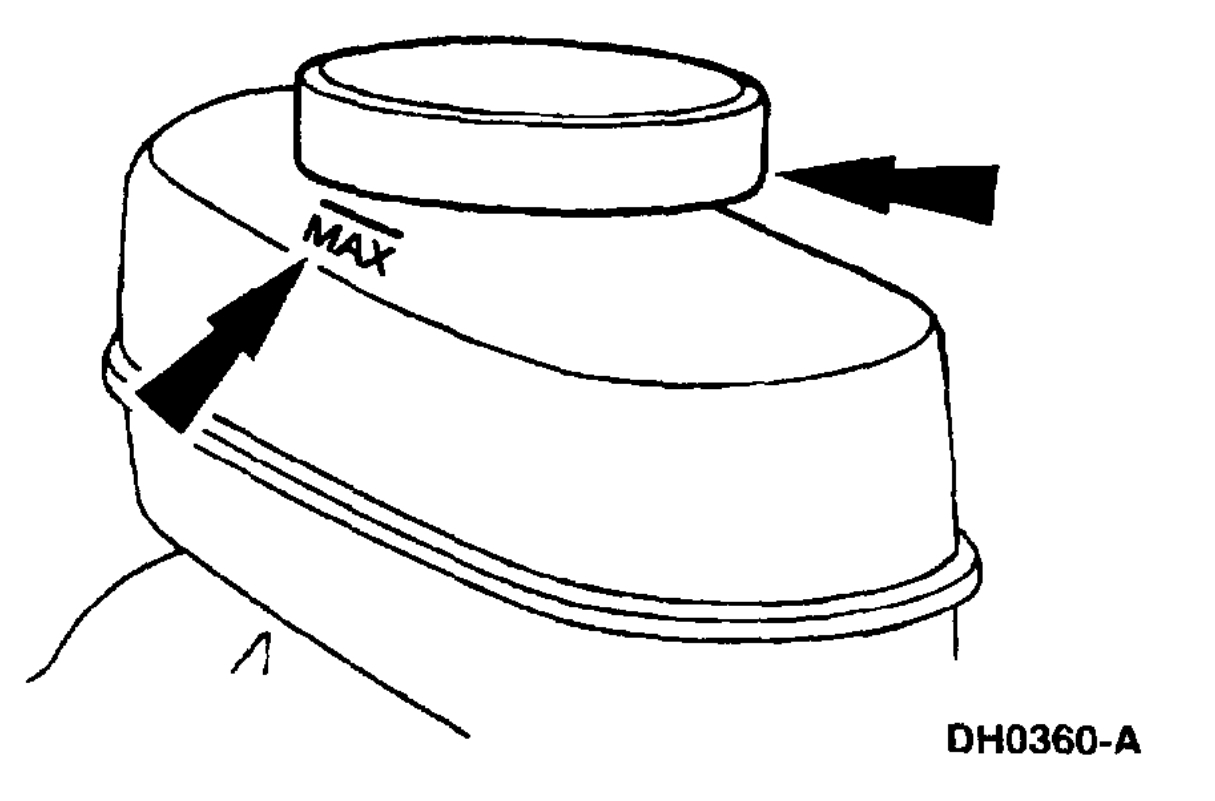
1. Clean all dirt from and remove the brake master cylinder filler cap, and fill the brake master cylinder reservoir with the specified brake fluid.
imageOpen In New TabZoom/Print
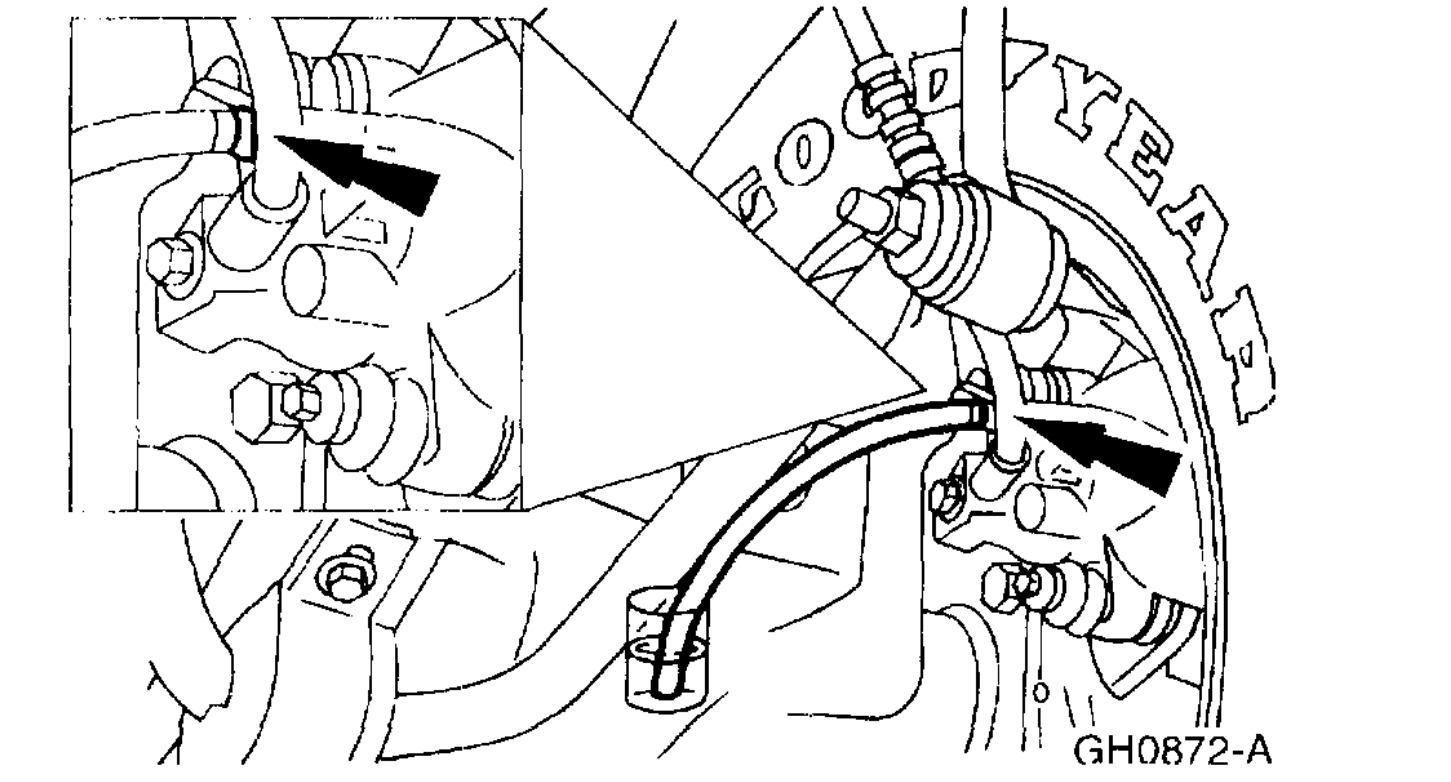
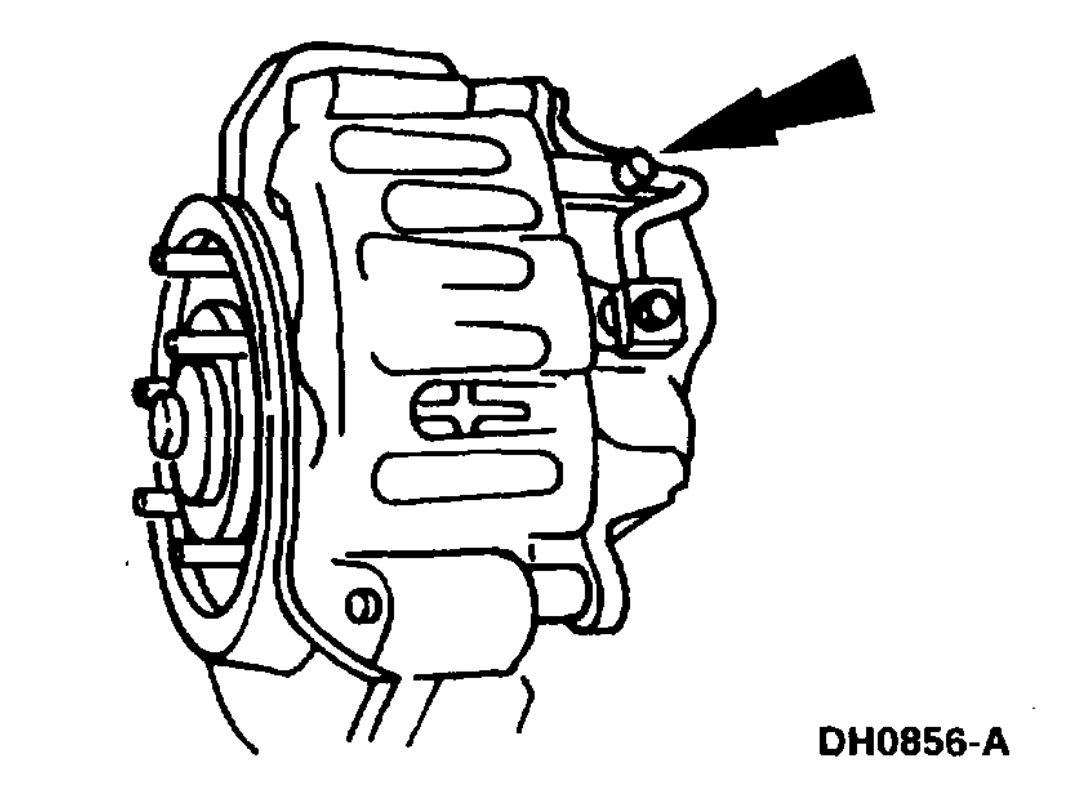
2. Connect a clear waste line to the RH rear bleeder screw and the other end in a container partially filled with recommended brake fluid.
3. With the RH rear bleeder screw open, cycle the brake pedal until no more air is seen in the waste line.
imageOpen In New TabZoom/Print
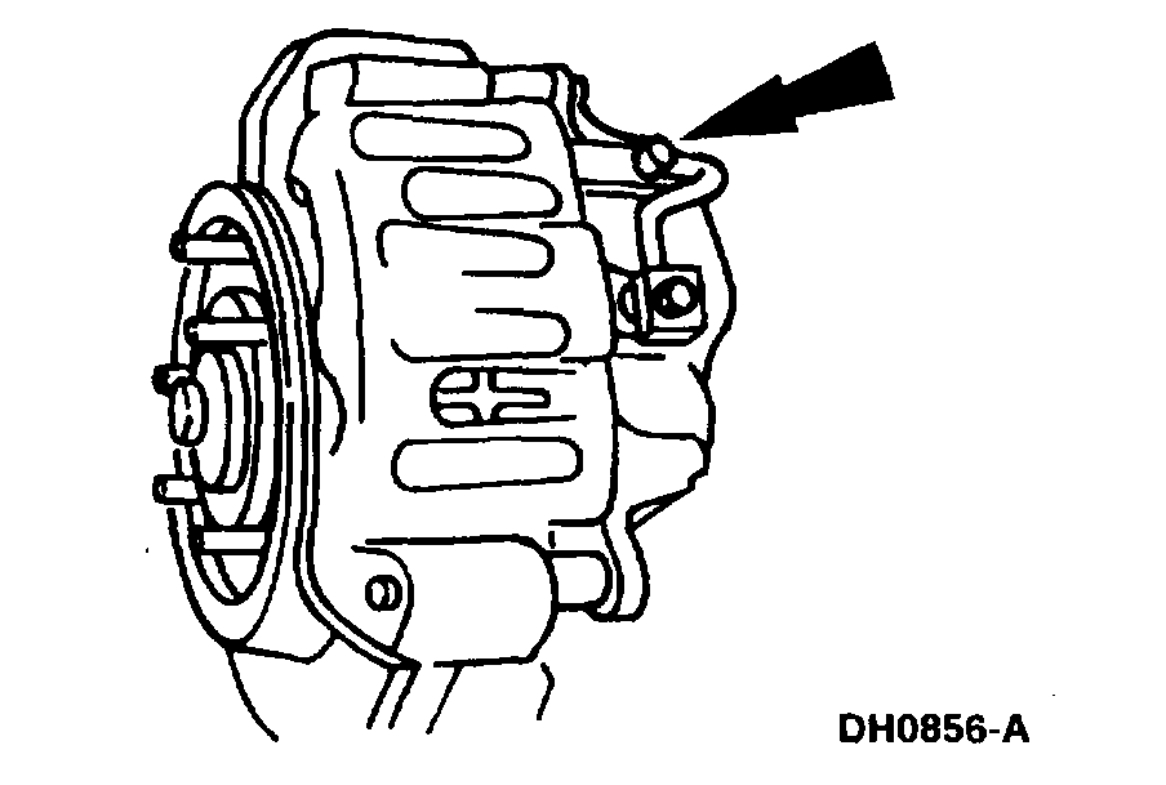
4. Tighten the RH rear bleeder screw, and disconnect the waste line.
imageOpen In New TabZoom/Print
5. Repeat Steps 2, 3 and 4 for the LH rear bleeder screw, the RH front disc brake caliper bleeder screw, and the LH front disc brake caliper bleeder screw, in that order.
imageOpen In New TabZoom/Print
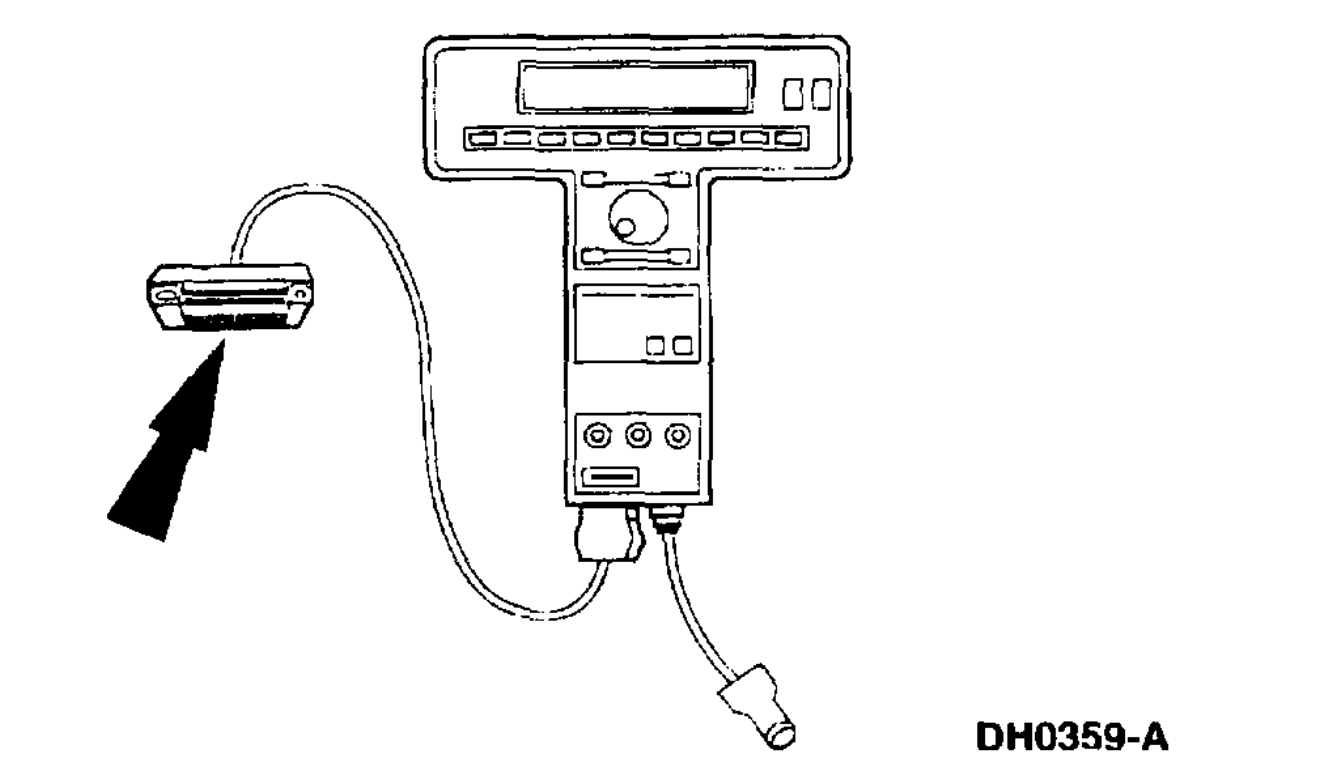
6. Connect the scan tool DCL cable adapter into the vehicle data link connector (DLC) under the dash, and follow the scan tool instructions.
7. Repeat the system bleed procedure as outlined in Steps 1 through 5.
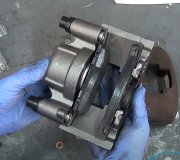
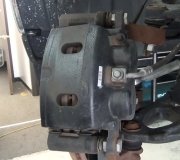
Caliper
imageOpen In New TabZoom/Print
1. NOTE: It is not necessary to do a complete brake system bleed if only the disc brake caliper was disconnected.
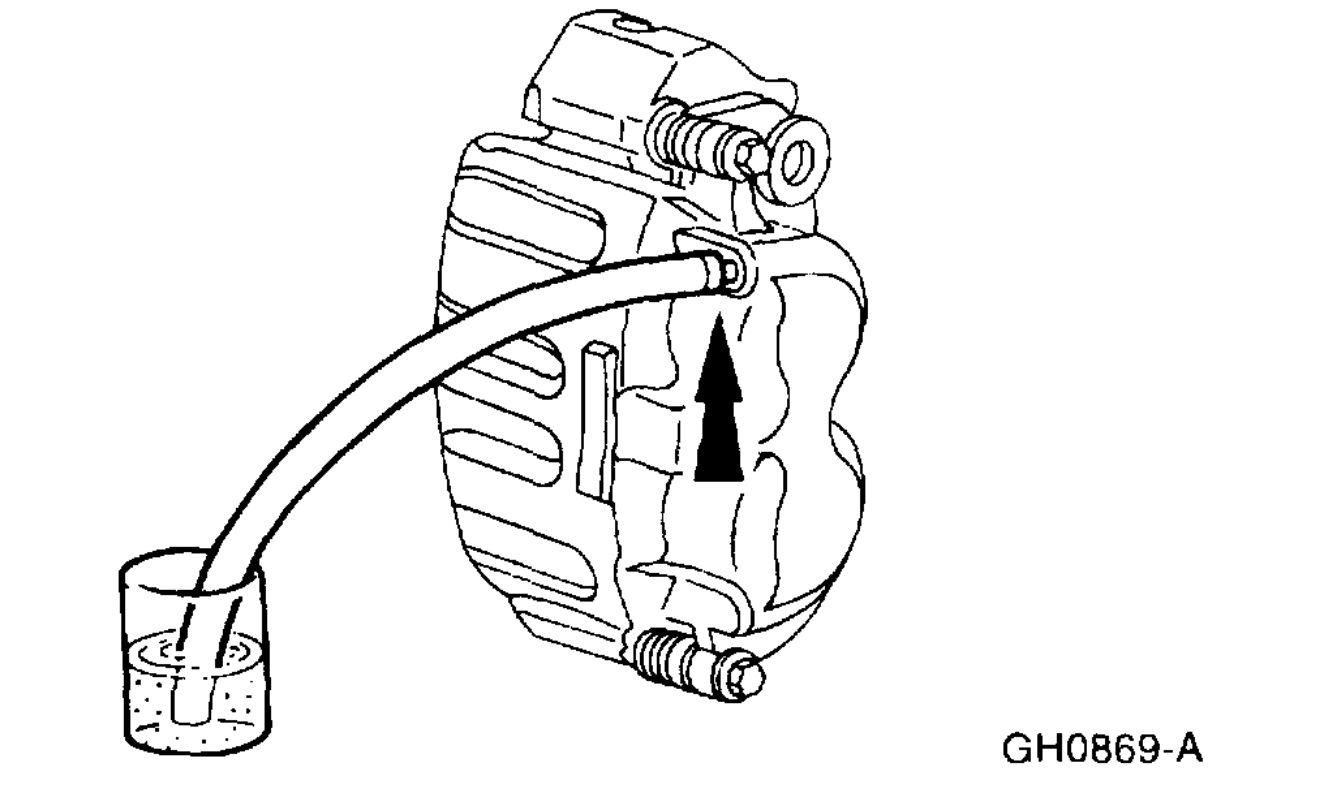
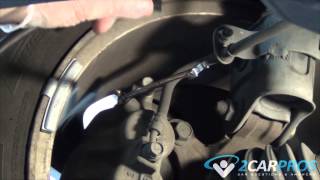
Place a box end wrench on the disc brake caliper bleeder screw. Attach a rubber drain tube to the disc brake caliper bleeder screw, and submerge the free end of the tube in a container partially filled with clean brake fluid.
2. Have an assistant pump the brake pedal (BP) and then hold firm pressure on the brake pedal.
3. Loosen the disc brake caliper bleeder screw until a stream of brake fluid comes out. While the assistant maintains pressure on the brake pedal, tighten the disc brake caliper bleeder screw.
- Repeat until clear, bubble-free fluid comes out.
- Refill the brake master cylinder reservoir as necessary.
imageOpen In New TabZoom/Print
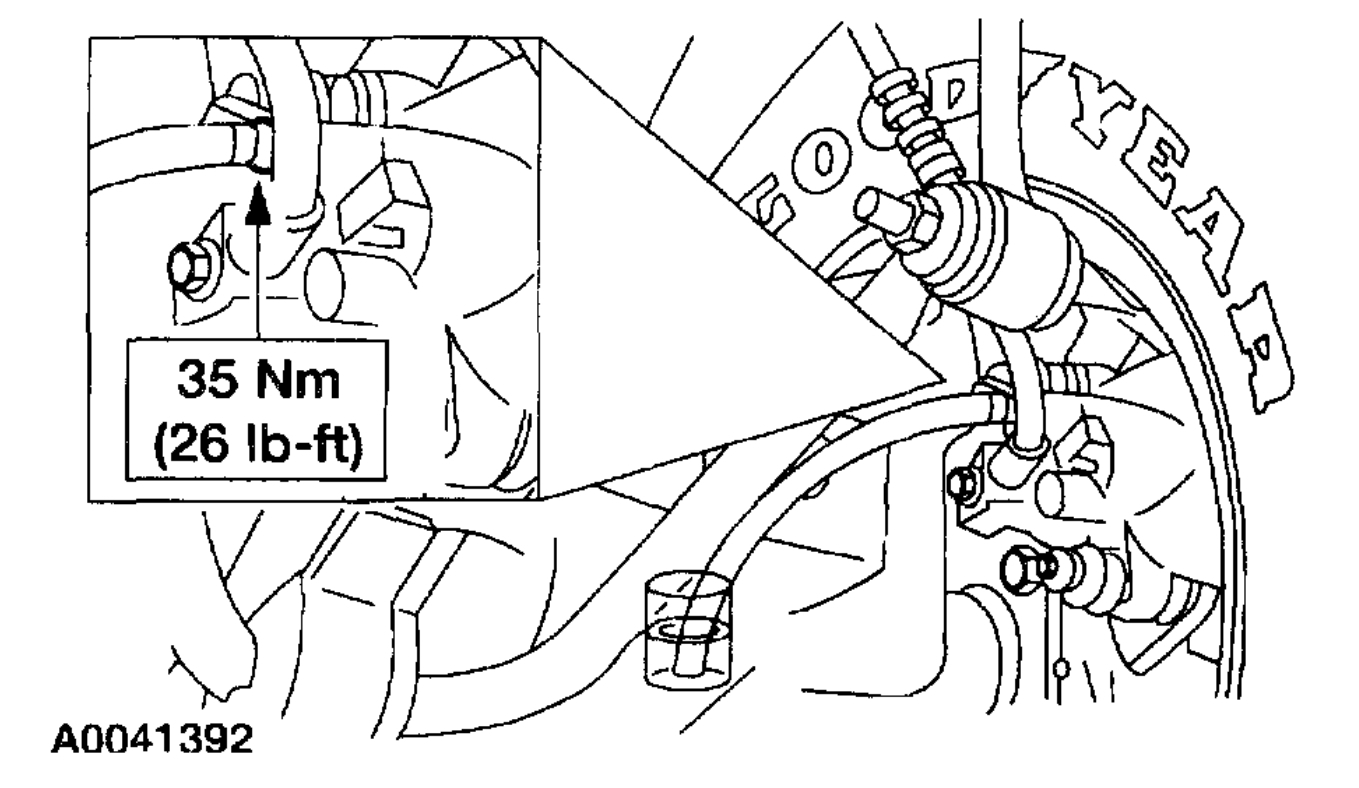
4. Tighten the disc brake caliper bleeder screw. Refer to Specifications.
Images (Click to make bigger)
Sunday, March 14th, 2021 AT 3:44 PM