Fuel tank installation

Tiny
AUSTINO
  • MEMBER
  • 2003 JAGUAR S-TYPE
  • V6
  • 2WD
  • AUTOMATIC
  • 30 MILES
I am trying to install my fuel tank. Can you please send me a diagram or video explaining how to install the fuel tank? Please note that the vehicle is a left hand drive vehicle. Thanks for a speedy response.
Monday, August 20th, 2018 AT 8:11 AM

3 Replies

Tiny
STEVE W.
  • MECHANIC
  • 13,035 POSTS
If the old tank is still in the car you get it out by starting in the interior. You need to remove the rear seat, rear floor trim and the carpeting. That allows access to the two cover plates of the fuel pump and transfer pump. Once you have access to those you can disconnect the pumps wiring on both sides and disconnect the fuel lines and vents from the main pump side (passenger). If the tank has fuel in it you will want to drain the tank out prior to doing this as the tank is going to be tipped forward and it could leak.

Next you will be putting the car on a lift or as high as you can using a jack and stands. Be sure to block the wheels as one of the first items you need to remove is the driveshaft. Once the shaft is out you disconnect the fuel filler pipe. Next you remove the tank heat/debris shield. With it out of the way you can get to the electrical connector and the EVAP line connection at the corner of the tank. Once that is completed you support the tank and remove the rear tank strap bolts. Then lower the tank while making sure that any wires/hoses do not catch or hang up. Then reverse the process to install the new one.

If that is your new tank, you will want to install the pumps and connect up those parts before installing the tank. It gets installed as a module. You can install them later through the access ports but it is easier to do with the tank out as there is more room and access to the transfer lines and retainer rings.

First five images are the tank removal/install. The last three are the access portals, there is one on each side, access is the same for both, just mirror images. You will need access on both sides to get to the transfer pump harness and the main pump module lines and electrical connections. Before you install the tank you may want to check any lines or items that run over it for damage/corrosion. You will not have better access than with the tank out.
Was this
answer
helpful?
Yes
No
Monday, August 20th, 2018 AT 9:04 AM
Tiny
ASEMASTER6371
  • MECHANIC
  • 52,797 POSTS
Good afternoon.

Below are the steps and pictures for you.

Roy

Removal

1. Warning:
- place the vehicle in a quarantined area and arrange no smoking/petrol fume signs about the vehicle.
- Before any work is carried out on the fuel system, ground the vehicle to earth and maintain the ground connection until the work is complete.
- Do not smoke or carry lighted tobacco or open flame of any type when working on or near any fuel related components. Highly flammable vapors are always present and may ignite. Failure to follow these instructions may result in personal injury.
- The fuel system remains pressurized for a long time after the ignition is switched off. The fuel pressure must be relieved before attempting any repairs. Failure to follow these instructions may result in personal injury.
- After carrying out repairs, the fuel system must be checked visually for leaks. Failure to follow these instructions may result in personal injury.
- This procedure involves fuel handling. Be prepared for fuel spillage at all times and always observe fuel handling precautions. Failure to follow these instructions may result in personal injury.
- If taken internally do not induce vomiting, seek immediate medical attention. Failure to follow these instructions may result in personal injury.
- If fuel contacts the eyes, flush the eyes with cold water or eyewash solution and seek medical attention.
- Wash hands thoroughly after handling, as prolonged contact may cause irritation. Should irritation develop, seek medical attention.

Drain the fuel tank.

2. Remove the driveshaft.

ImageZoom/Print

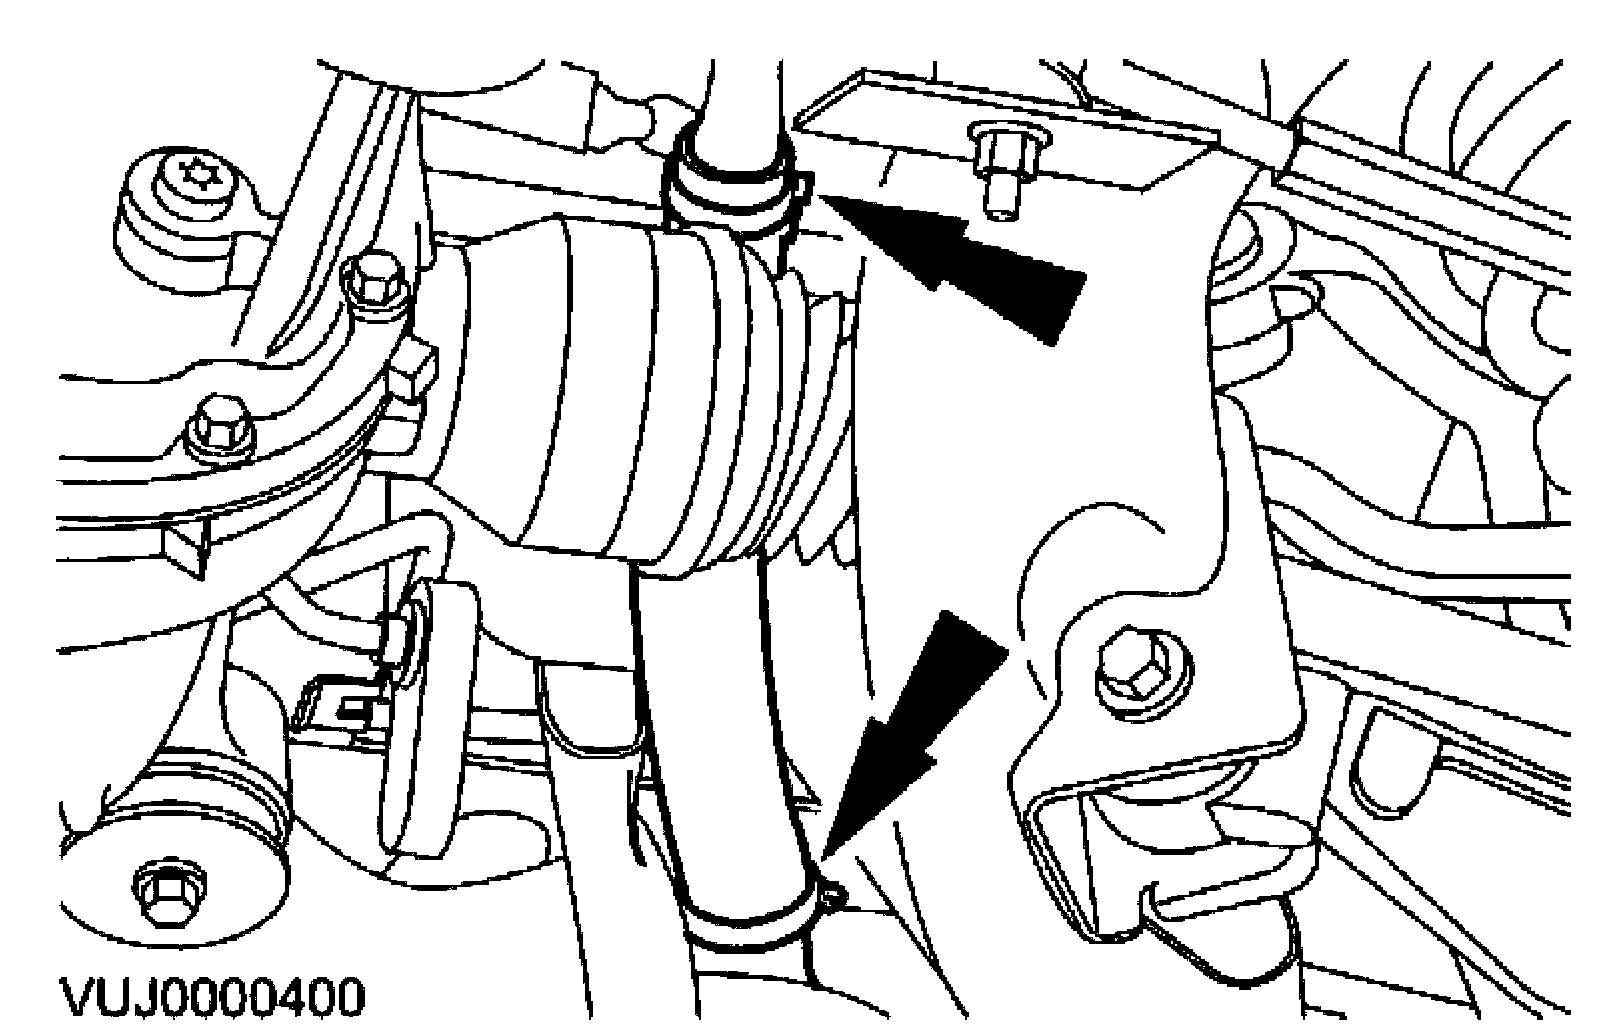
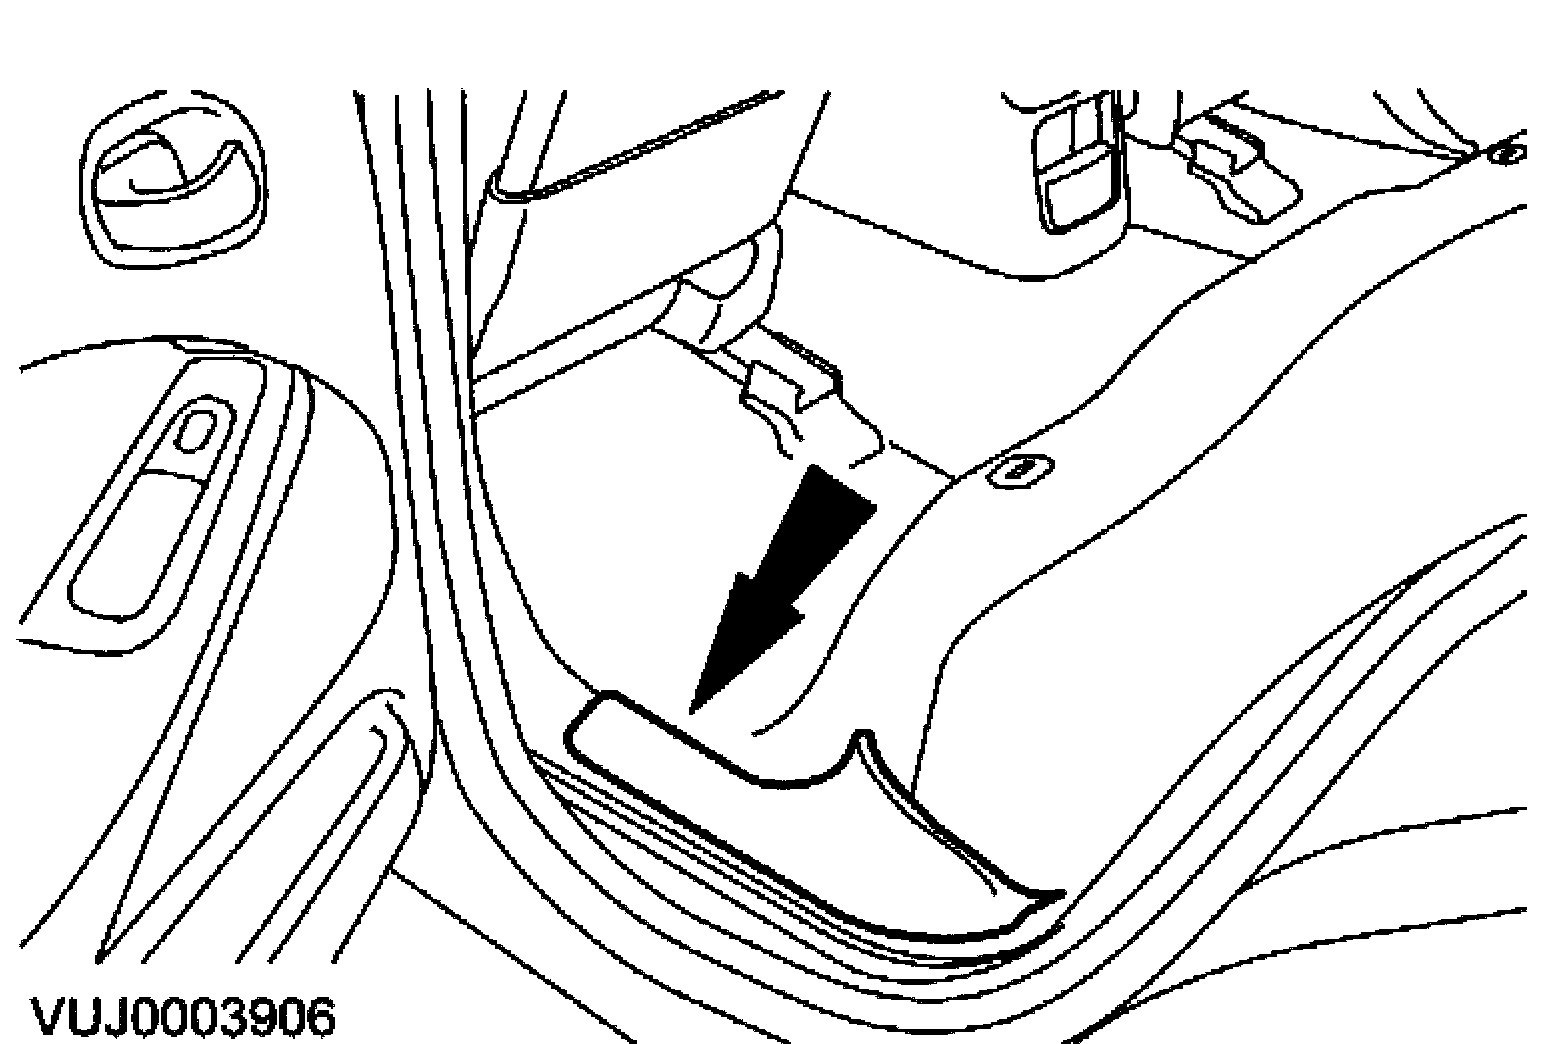
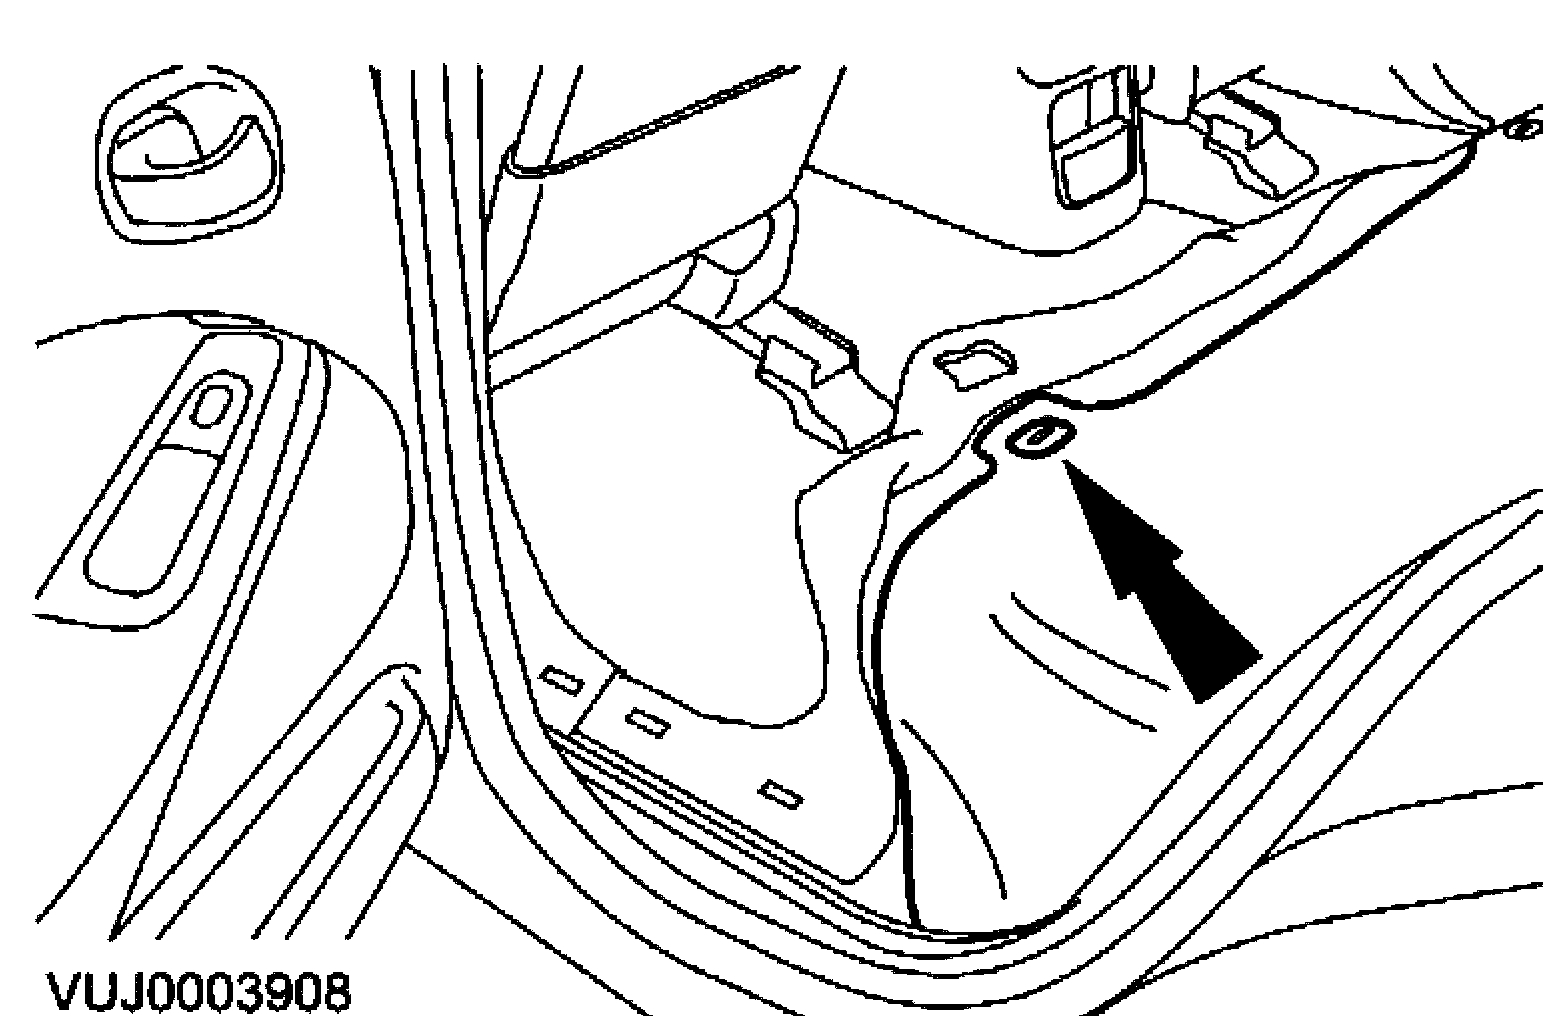
3. Remove the fuel tank filler pipe to fuel tank hose.

ImageZoom/Print

4. Remove the fuel tank heatshield.
1. Remove the fuel tank heatshield retaining nuts.
2. Remove the fuel tank heatshield.

ImageZoom/Print

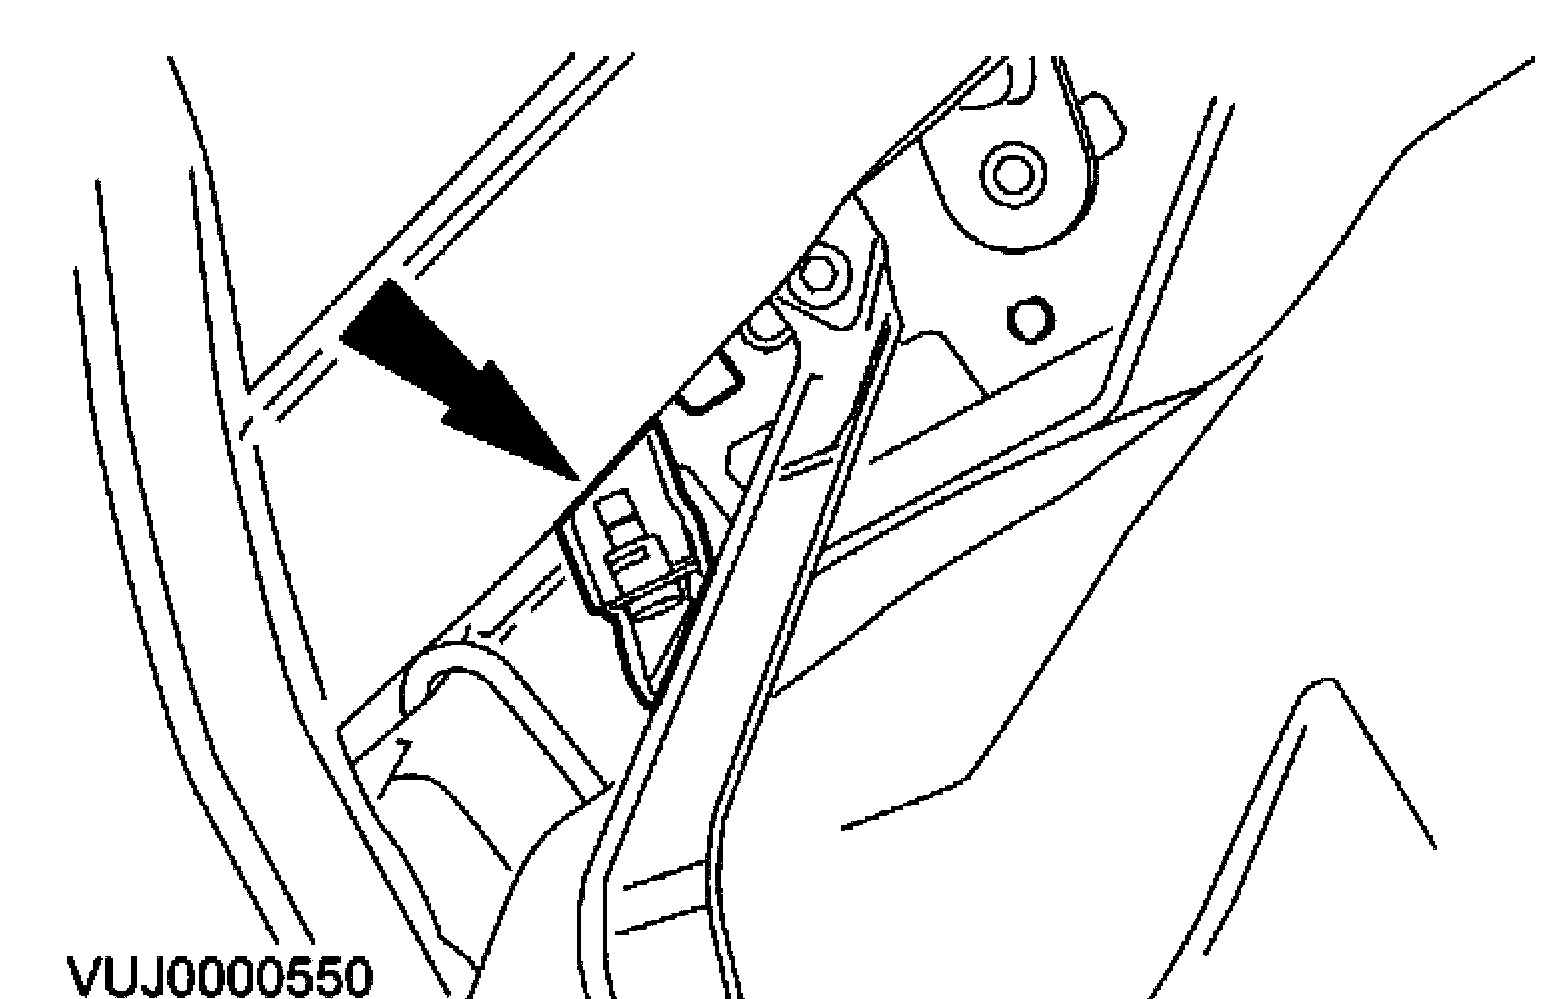
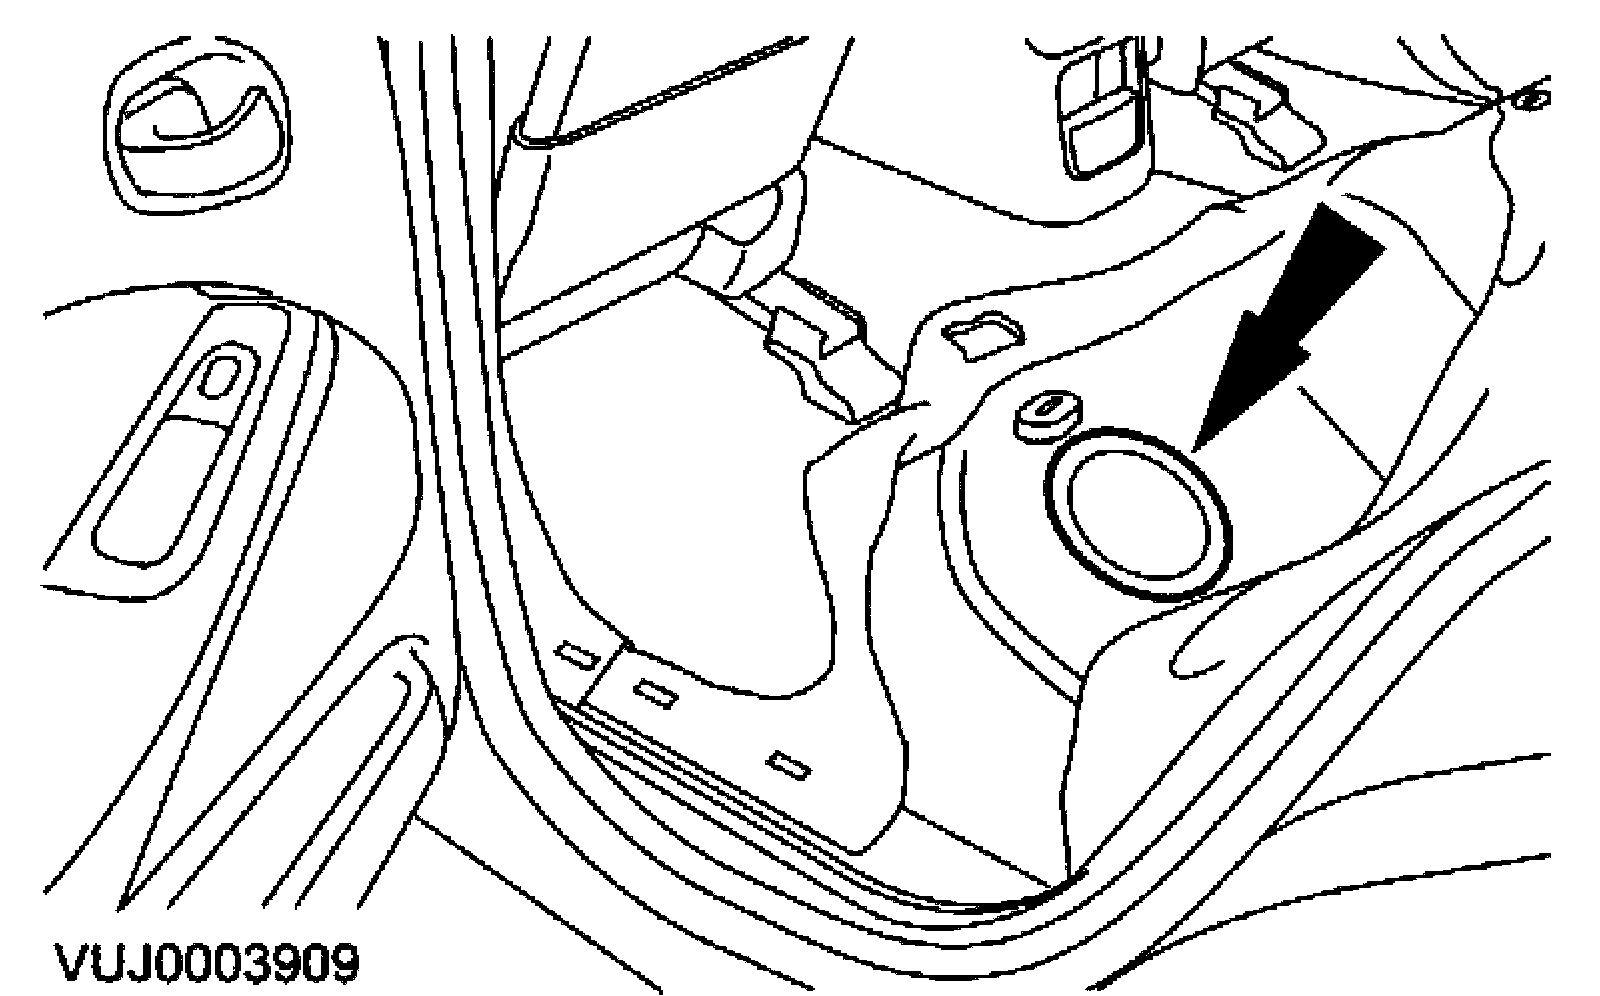
5. Disconnect the fuel tank electrical connector.

ImageZoom/Print

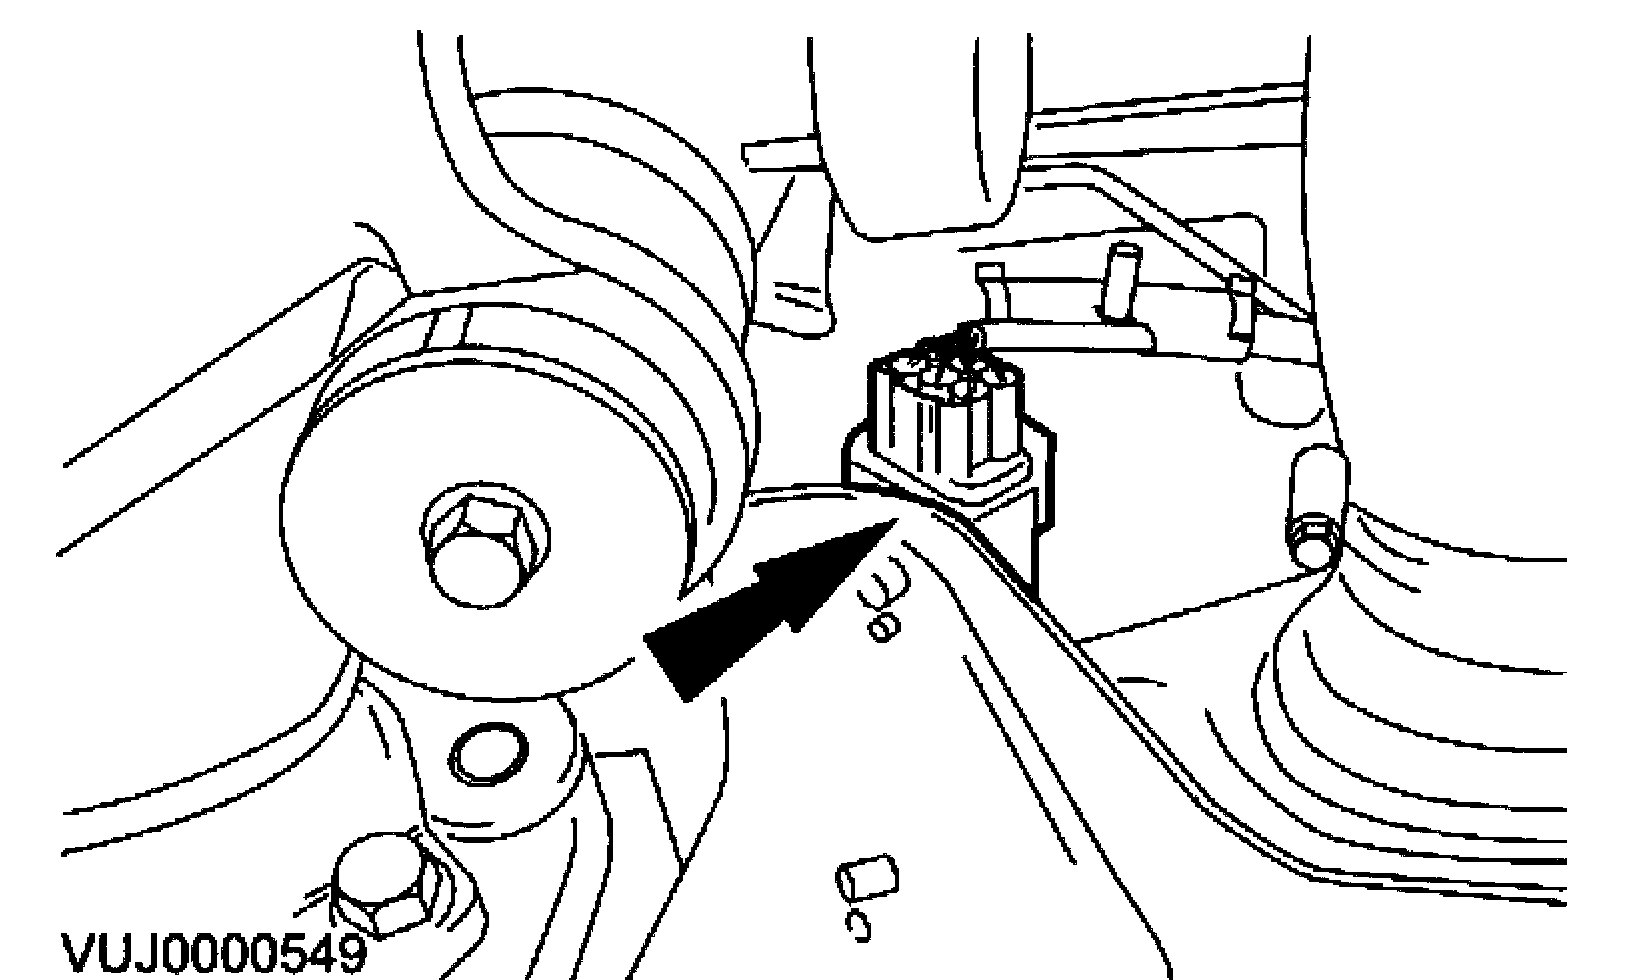
6. Disconnect the evaporative emission pipe.

ImageZoom/Print

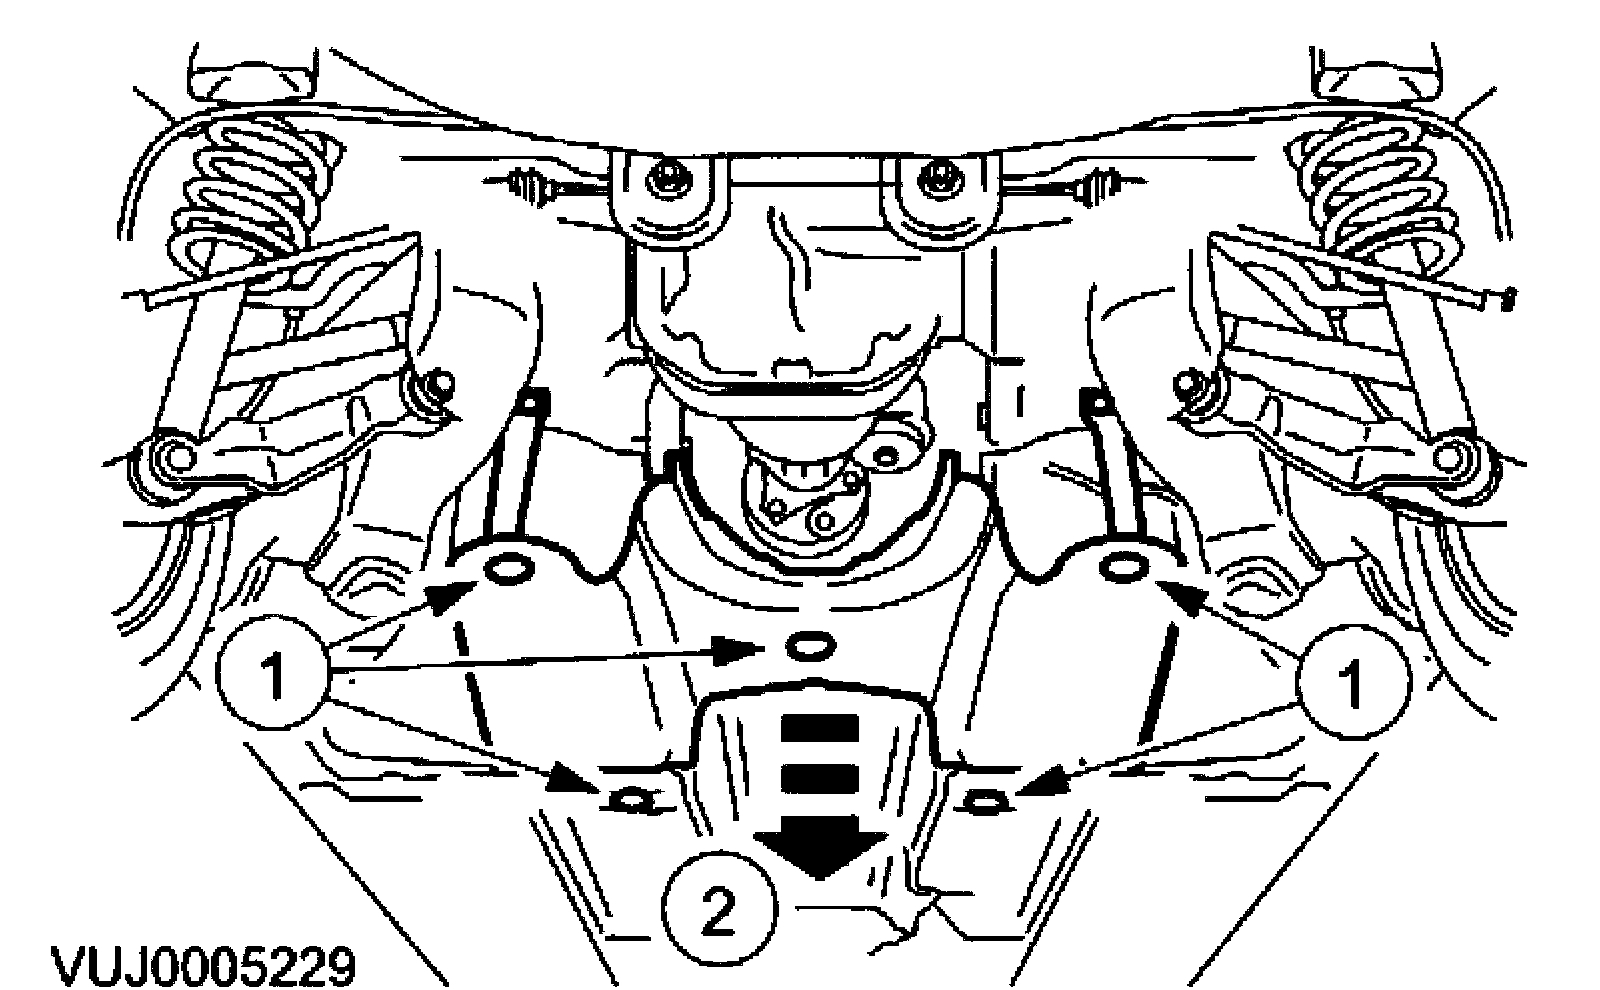
7. Caution: When supporting the fuel tank, use a suitable packing material to prevent damage to the underside of the fuel tank.

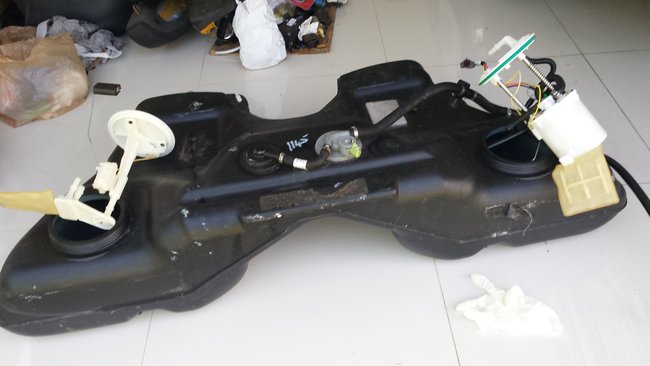
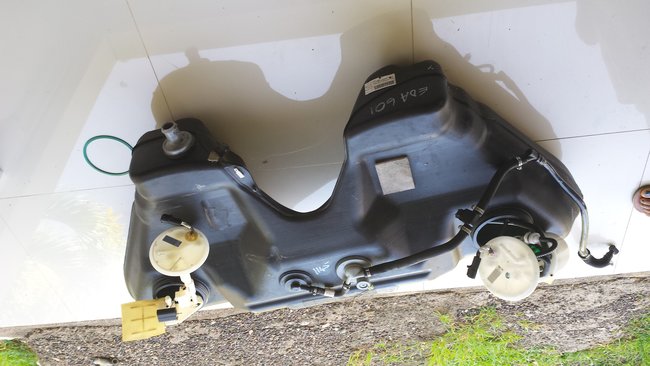
Remove the fuel tank.
- Detach the fuel tank support straps.
Was this
answer
helpful?
Yes
No
Monday, August 20th, 2018 AT 9:16 AM
Tiny
AUSTINO
  • MEMBER
  • 199 POSTS
Good afternoon. Thank you, but I am not seeing the images. Please resend.
Was this
answer
helpful?
Yes
No
Monday, August 20th, 2018 AT 9:19 AM

Please login or register to post a reply.

Sponsored links