Okay, steps below:
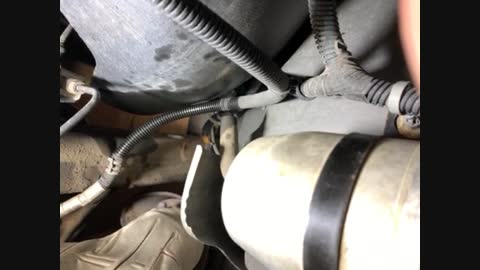
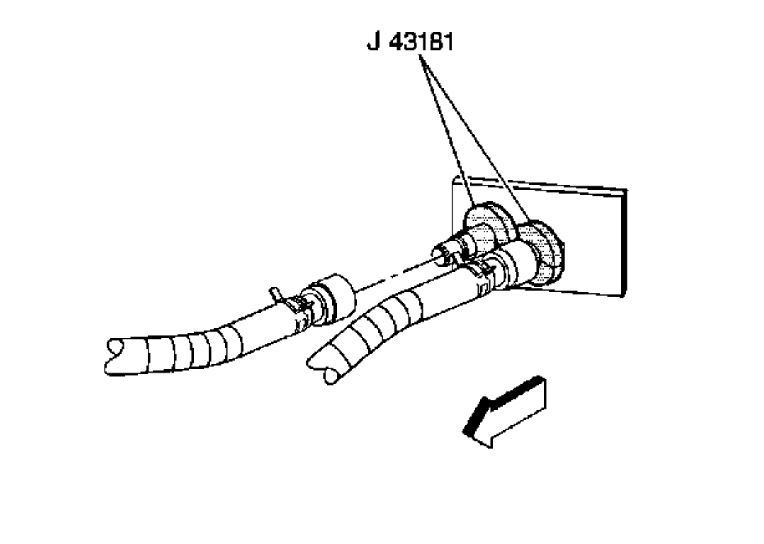
1. Install the J 43181 to the heater core pipe.
2. Close the tool around the heater core pipe.
3. Firmly pull the tool into the quick connect end of the heater hose.
4. Firmly grasp the heater hose. Pull the heater hose forward in order to disengage the inlet hose from the heater core.
3. Using the J 43181 disconnect the surge tank outlet hose from the heater core.
1. Install the J 43181 to the heater core pipe.
2. Close the tool around the heater core pipe.
3. Firmly pull the tool into the quick connect end of the heater hose.
4. Firmly grasp the heater hose. Pull the heater hose forward in order to disengage the surge tank outlet hose from the heater core.
4. Remove the upper intake manifold sight shield. Refer to Upper Intake Manifold Sight Shield Replacement (See: Intake Manifold > Removal and Replacement) .
5. Remove the battery. Refer to Battery Replacement (See: Battery > Removal and Replacement > Battery Replacement) .
6. Remove the accumulator. Refer to Air Conditioning Accumulator Replacement (Non-HP2) (See: Accumulator HVAC > Removal and Replacement > Air Conditioning Accumulator Replacement) .
7. Remove the instrument panel to the service position. Refer to Instrument Panel Service Positioning (without SLT) (See: Dashboard / Instrument Panel > Removal and Replacement)Instrument Panel Service Positioning (with SLT) (See: Dashboard / Instrument Panel > Removal and Replacement) .
imageOpen In New TabZoom/Print
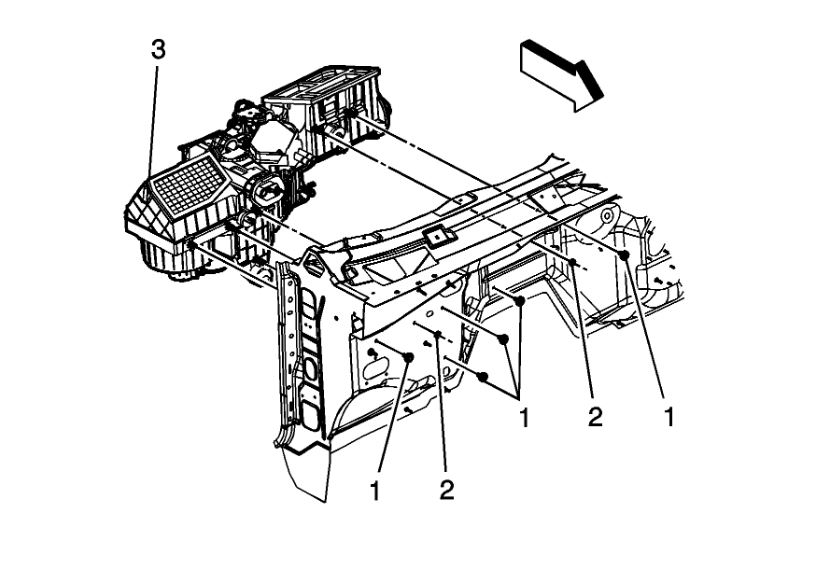
8. Remove the nuts (2) from the HVAC module (3).
9. Remove the bolts (1) from the HVAC module (3).
10. Remove the HVAC module (3).
Air Conditioning Evaporator Core Replacement
Removal Procedure
imageOpen In New TabZoom/Print
1. Remove the HVAC module. Refer to HVAC Module Assembly Replacement (See: Housing Assembly HVAC > Removal and Replacement > HVAC Module Assembly Replacement) .
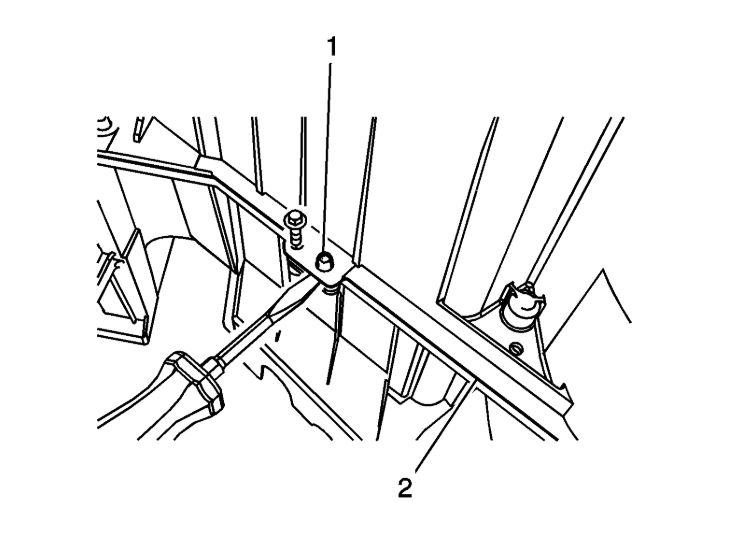
2. If equipped remove the heat stakes (1) from the HVAC module (2) with a screw driver and a hammer.
3. Disconnect all wiring connections from blower motor, blower motor control module and sensors. Also, remove all wiring from retainers before removal.
imageOpen In New TabZoom/Print
4. If equipped remove the screws from the HVAC module assembly.
5. Remove the evaporator cowl gasket from the evaporator.
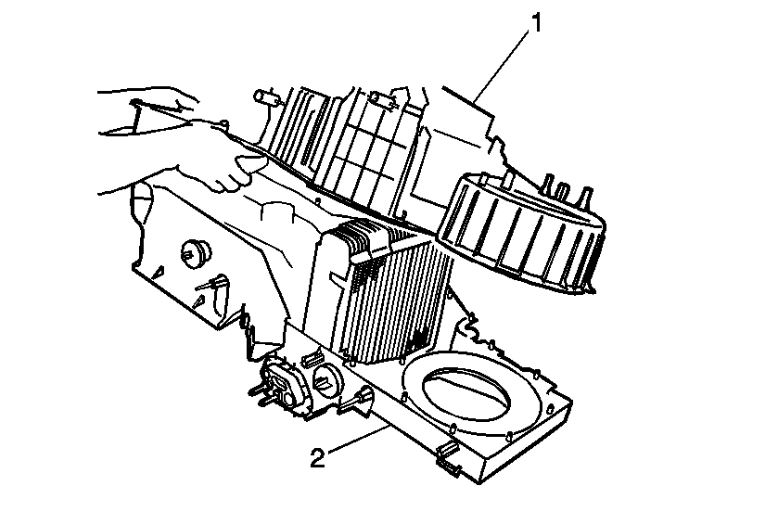
6. Separate the upper HVAC module assembly (2) from the lower HVAC module assembly (1)
imageOpen In New TabZoom/Print
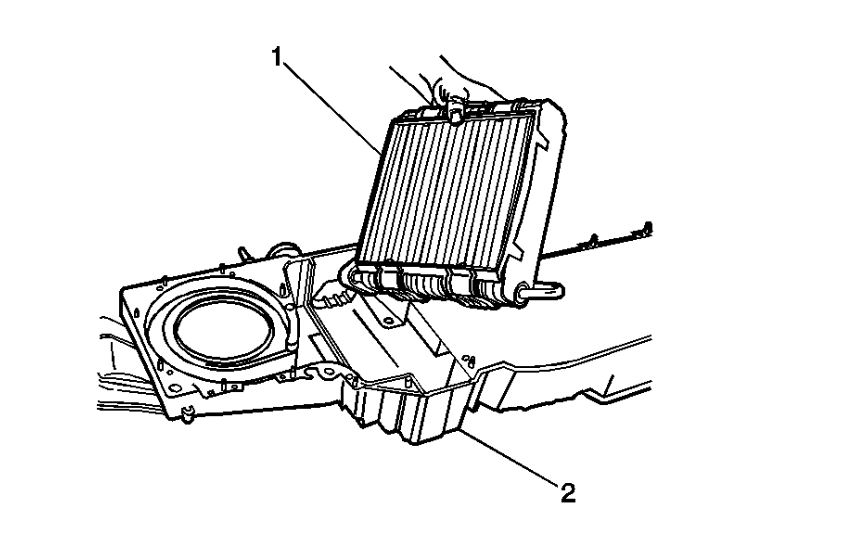
7. Remove the evaporator core (1) from the upper HVAC module assembly (2).
Images (Click to enlarge)
Oct 3, 2019 at 4:03 PM