Good afternoon,
This sounds like the ECM is not commanding the injectors to flow.
You will need a noid light to see if the ECM is grounding the injectors. If it is not, then the ECM is bad.
https://www.2carpros.com/articles/how-to-check-wiring
I attached the location of the ECM for you as well.
Roy
NOTE: In order to prevent possible electrostatic discharge (ESD) damage to the VCM, do not touch the connector pins or soldered components on the circuit board.
IMPORTANT:
Service of the VCM consists of either replacement of the VCM or reprogramming of the VCM.
If the VCM is being replaced the Knock Sensor (KS) module must be transferred to the replacement VCM.
The replacement VCM must be programmed before the vehicle will run.
The replacement VCM must have the Passlock Reprogramming procedure performed before the vehicle will run.
The replacement VCM must have the CKP System Variation Learn procedure performed or a DTC P1336 will set.
A shorted solenoid, relay coil, or harness will not damage the output driver module (ODM) in the VCM. A shorted solenoid, relay coil, or harness will cause the circuit and the controlled component to be inoperative.
When the circuit fault is not present or the technician has repaired the fault, the output driver module (ODM) will again operate in a normal manner due to its fault protected design.
REMOVAL PROCEDURE
CAUTION: Refer to Battery Disconnect Caution in Service Precautions.
1. Disconnect the negative battery cable.
NOTE: Refer to Electrostatic Damage and the VCM Notice in Service Precautions.
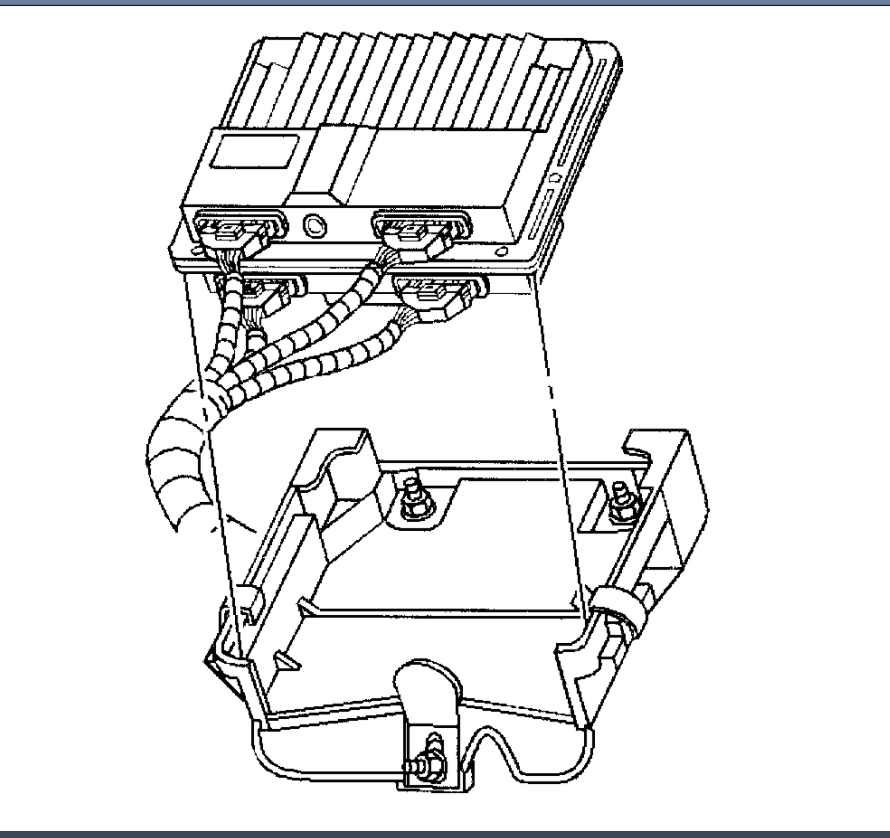
2. Remove the spring retainers off the edges of the VCM.
3. Slide the VCM out of the bracket at an angle.
imageOpen In New TabZoom/Print
4. Remove the VCM harness connectors.
imageOpen In New TabZoom/Print
IMPORTANT: The remaining steps are only necessary for a VCM replacement.
5. Remove the access cover screws.
6. Remove the VCM access cover.
imageOpen In New TabZoom/Print
IMPORTANT: Since the Knock Sensor module will be used in the replacement VCM, place the module in an area where it will not be damaged.
7. Gently pinch the retaining clip.
imageOpen In New TabZoom/Print
8. Pull upward to remove the Knock Sensor module.
Images (Click to enlarge)
Dec 4, 2020 at 10:09 AM