Hi,
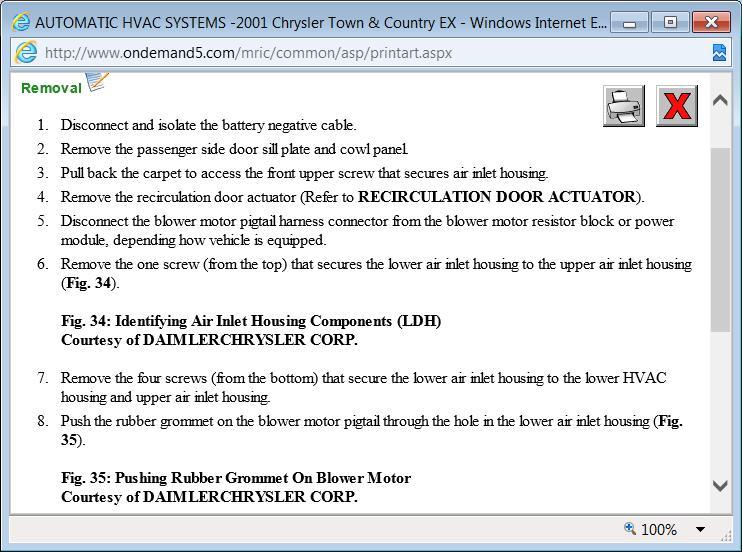
The blower motor on this vehicle is located under the dash and behind the passenger side glove box. The hardest part of replacing the blower motor is having limited space to work.
Regardless, it isn't too hard to do. First, here is a link that shows in general how one is replaced. Read through it and then use it as a guide.
https://www.2carpros.com/articles/blower-fan-motor-works-on-high-speed-only
________________________________________
Here are the directions specific to this vehicle. The pics attached below correlate with the directions.
_______________________________________
2001 Chrysler Truck Town & Country LWB FWD V6-3.3L VIN R
Front Blower Motor
Vehicle Heating and Air Conditioning Blower Motor Service and Repair Removal and Replacement Front Blower Motor
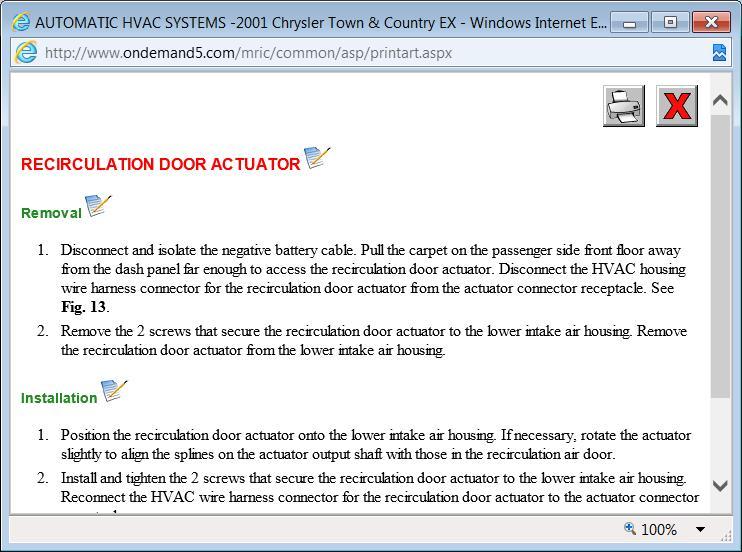
FRONT BLOWER MOTOR
REMOVAL
WARNING: Refer to the applicable warnings and cautions for this system before performing the following operation.
NOTE: The blower motor and blower wheel are serviced only as an assembly. If either component is faulty or damaged, the blower motor and blower wheel must be replaced.
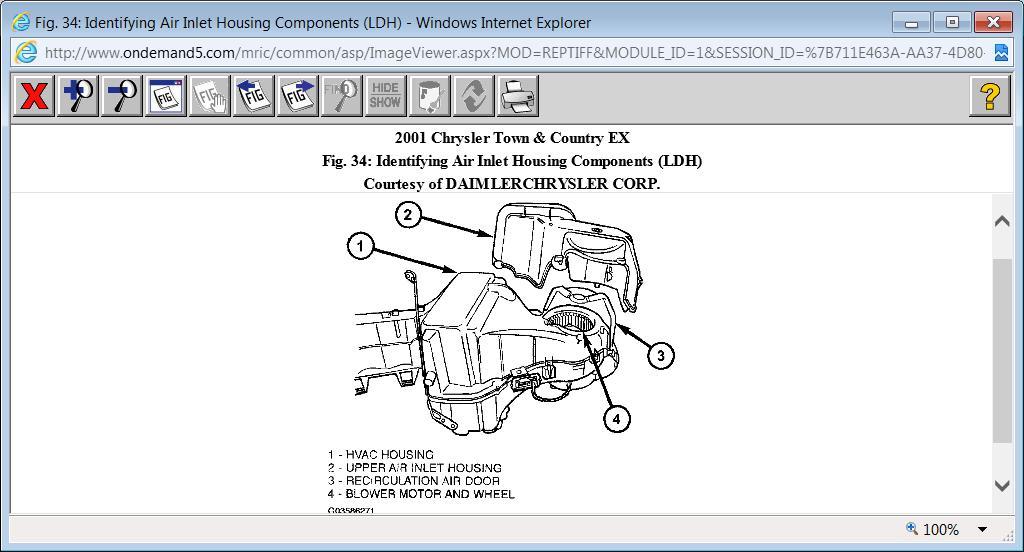
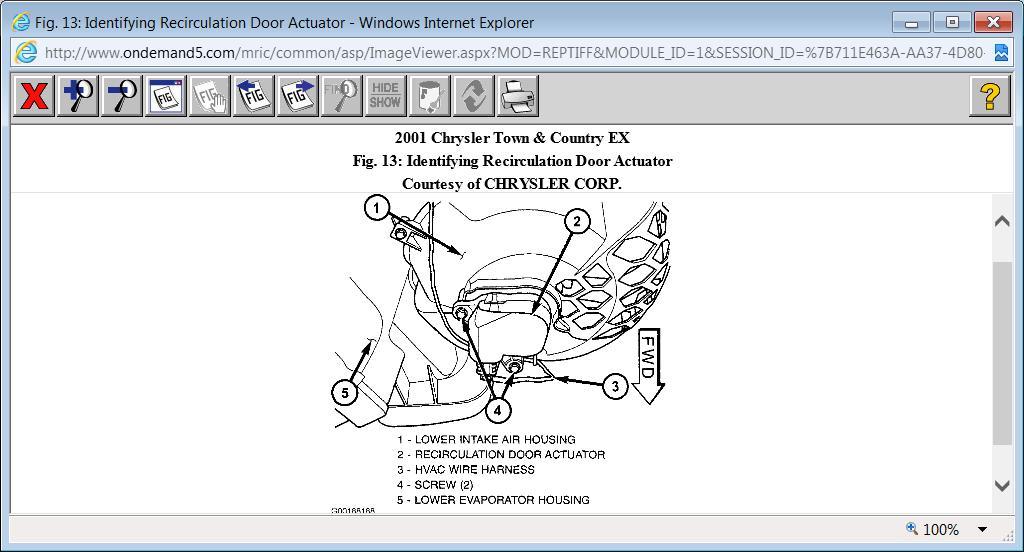
1. Remove the HVAC Housing from the vehicle. Refer to
Fig.9 Lower Intake Air Housing
pic 1
2. Disconnect the blower motor wire harness connector from the blower motor resistor block or blower motor power module, depending on application.
3. Remove the two screws that secure the recirculation door actuator to the lower air intake housing and remove the wire harness from the routing clips molded into the bottom of the lower air intake housing.
4. Remove the one screw (from the top) that secures the lower air intake housing to the upper air intake housing.
5. Remove the four screws (from the bottom) that secure the lower air intake housing to the lower half of the HVAC housing and the upper air intake housing.
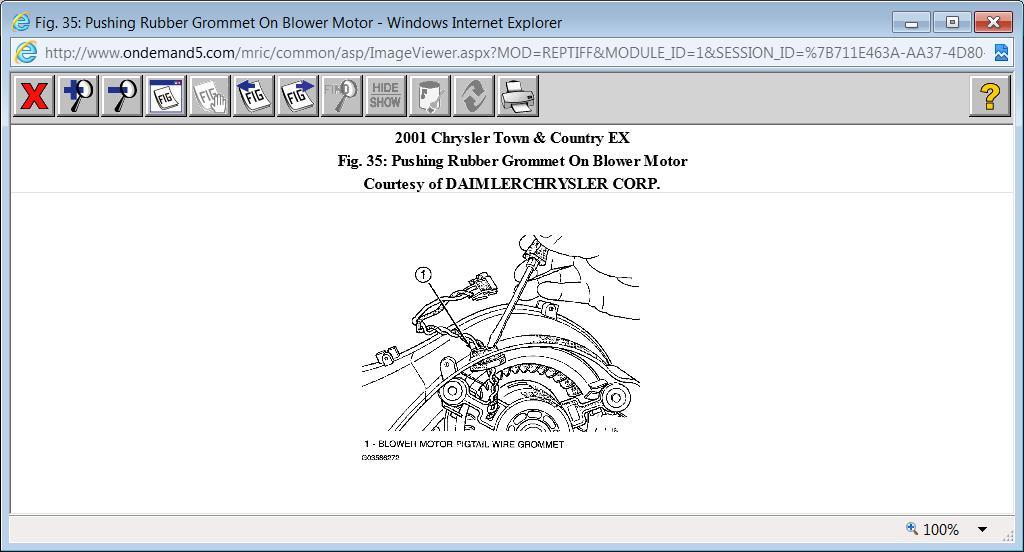
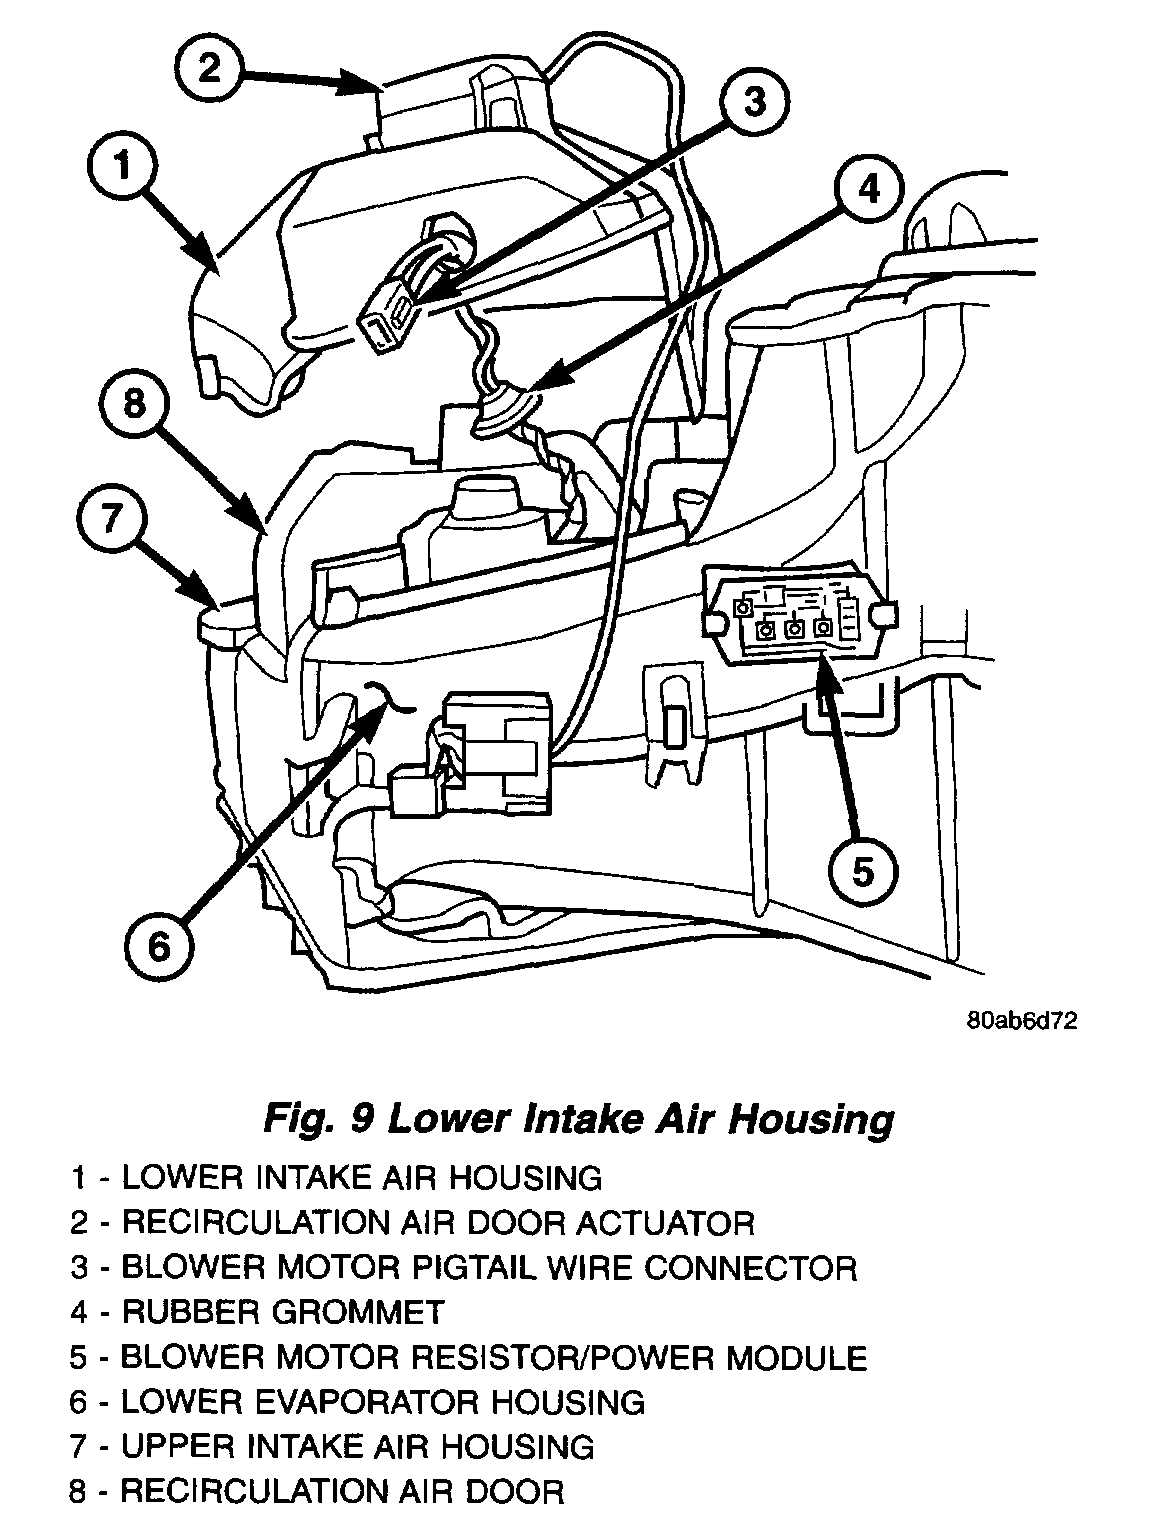
Fig.10 Rubber Grommet - Typical
pic 2
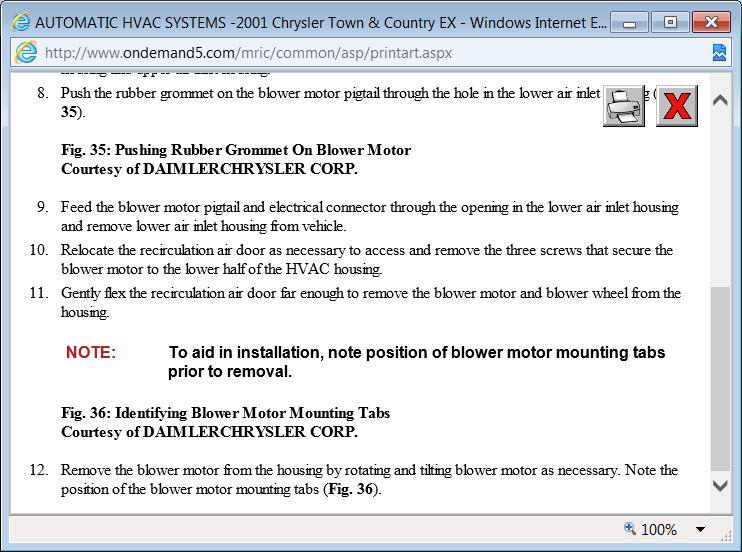
6. Push the rubber grommet on the blower motor wire harness through the hole in the lower intake air housing.
7. Feed the blower motor electrical connector through the grommet hole in the lower intake air housing.
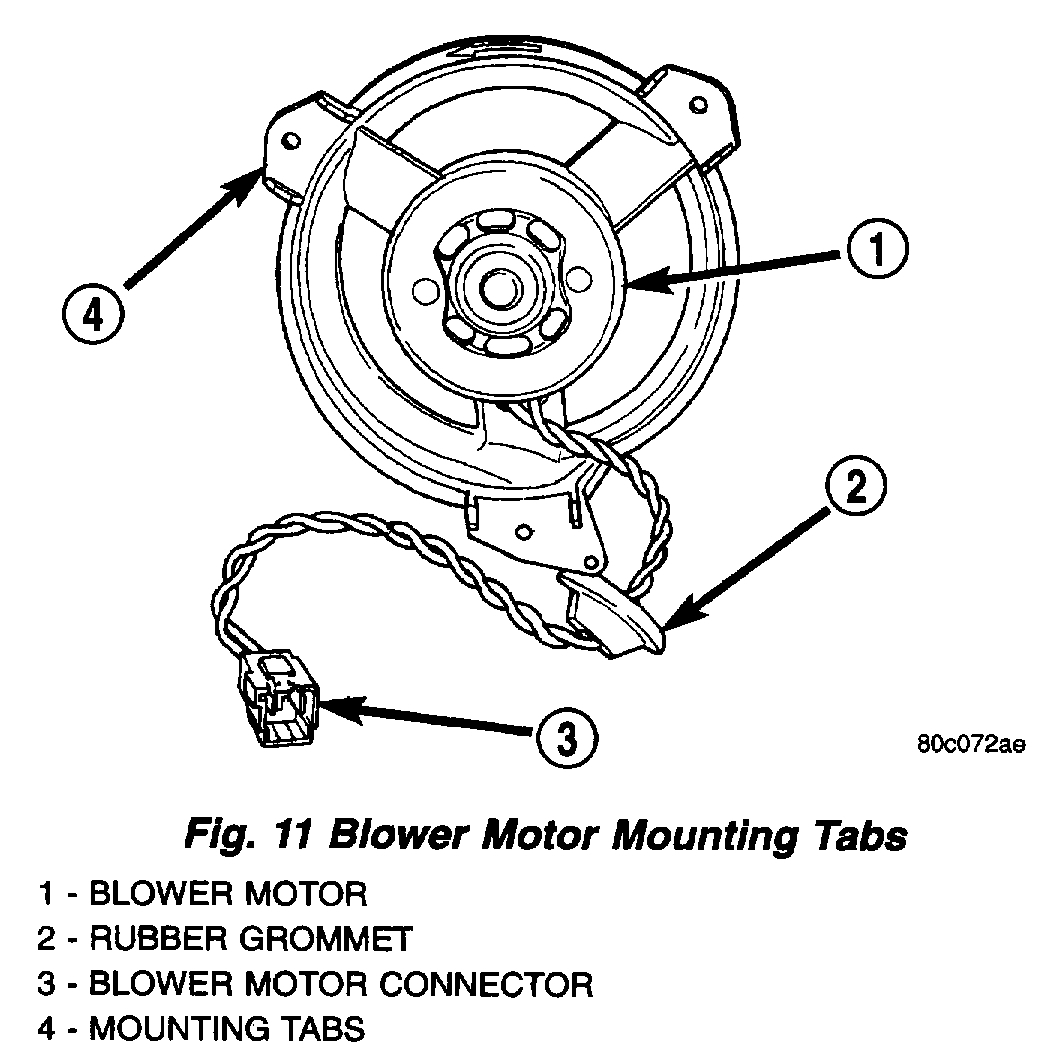
8. Position the recirculation air door as necessary to access and remove the three screws that secure the blower motor to the blower housing in the lower half of the HVAC housing.
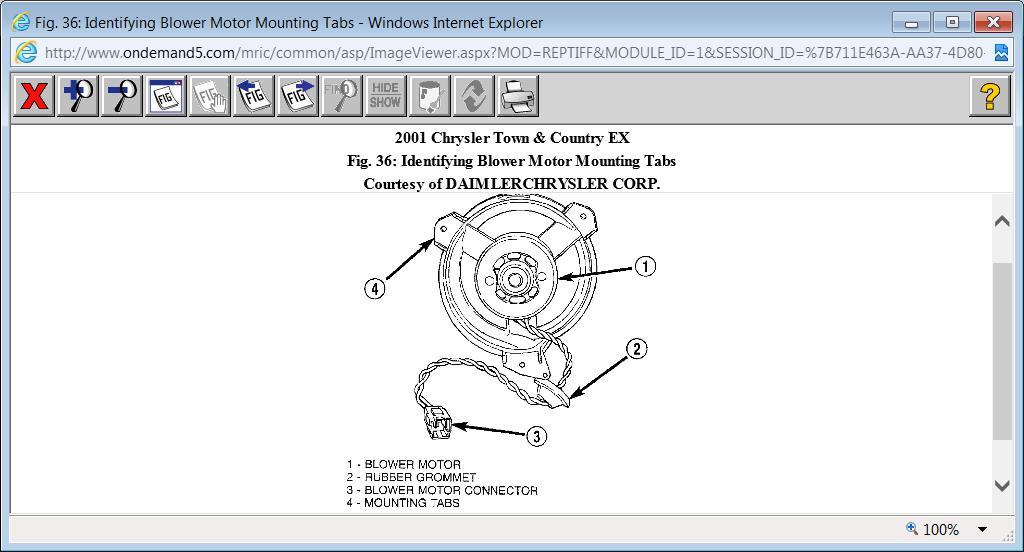
Fig.11 Blower Motor Mounting Tabs
pic 3
9. Gently flex the recirculation-air door far enough to remove the blower motor and blower wheel from the blower housing in the lower half of the HVAC housing.
10. Remove the blower motor and blower wheel from the vehicle.
INSTALLATION
1. Gently flex the recirculation-air door far enough to position the blower motor and blower wheel into the blower housing in the lower half of the HVAC housing.
2. Install the three screws that secure the blower motor to the blower housing in the lower half of the HVAC housing. Tighten the screws to 2 Nm (17 in.lbs).
3. Feed the blower motor wire connector through the grommet hole in the lower intake air housing and seat the rubber grommet.
4. Install the recirculation-air door into the lower air inlet housing.
5. Install the four screws (from the bottom) that secure the lower air intake housing to the lower half of the HVAC housing. Tighten the screws to 2 Nm (17 in.lbs).
6. Install the one screw that secures the upper intake air housing to the lower intake air housing. Tighten the screw to 2 Nm (17 in.lbs).
7. Install the recirculation door actuator. Make certain that the splines are aligned with the recirculation-air door pivot. Install the two screws that secure the recirculation door actuator to the housing. Tighten the screws to 2 Nm (17 in.lbs). Route the wiring into the molded routing clips.
8. Connect the wire harness connector to the blower motor resistor block or blower motor power module, depending on application.
9. Install the HVAC Housing.
_________________________________________________
I hope this helps. Let me know if you have other questions.
Take care and God Bless,
Joe
Images (Click to make bigger)
Saturday, February 27th, 2021 AT 10:17 AM