A brake light warning system is designed to alert other drivers the car is about to slow down or stop. When the brake lights don't work or a brake light bulb is out it can diminish this warning system which can be hazardous, fortunately replacing a brake light bulb is easily done with everyday tools. A replacement bulb will cost around $3.00 for the part on Amazon or the local parts store, a car repair shop or dealer can charge as much as $140.00 to do the job.
What Goes Wrong?
A brake light bulb uses a high wattage filament which can pull a fair amount of amperage causing the bulb to go out, or for the bulb to melt the plastic light socket inside the tail light lens.
Let's Get Started!
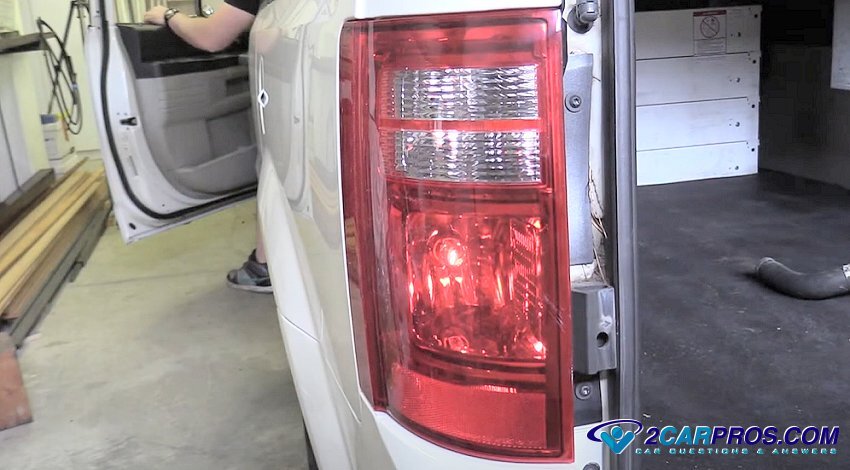
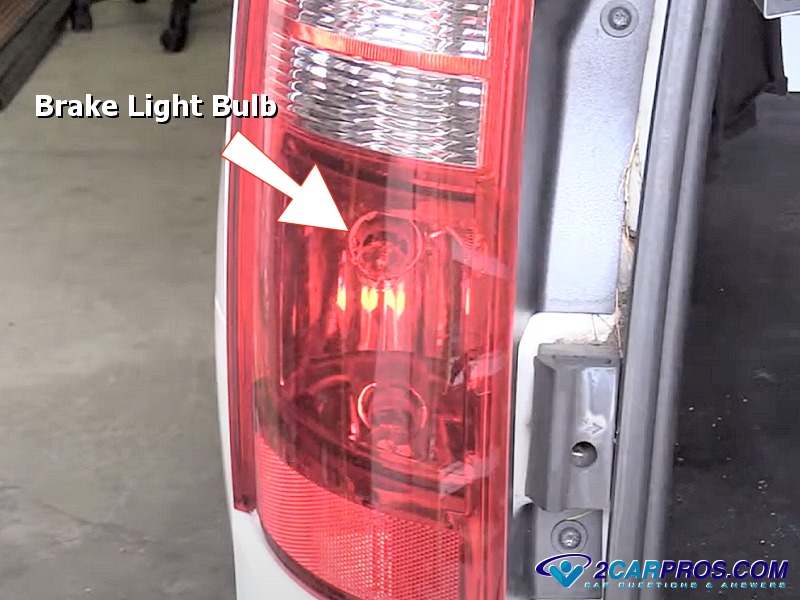
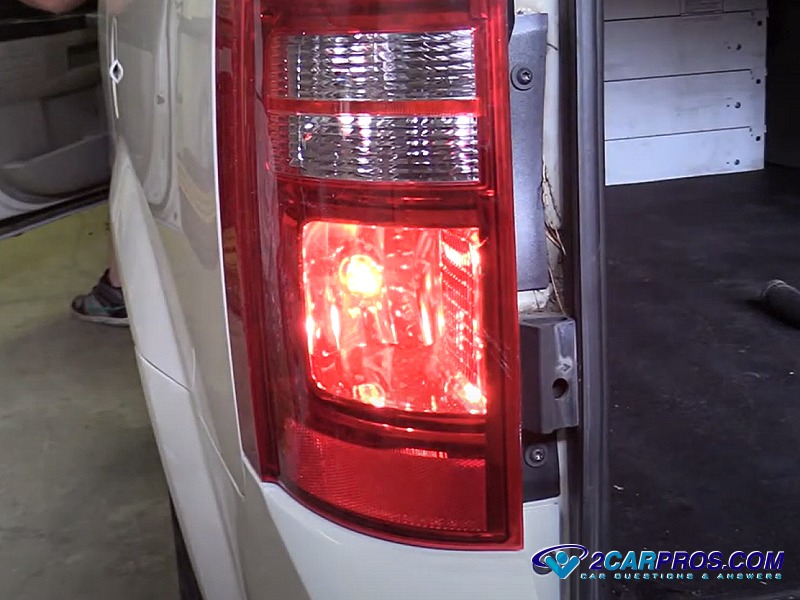
1. Locate the brake light bulb that is not working by having a helper press on the brake pedal while you watch. In the image below the driver's side bulb is out and needs to be replaced, which we will do in the following guide and video below.
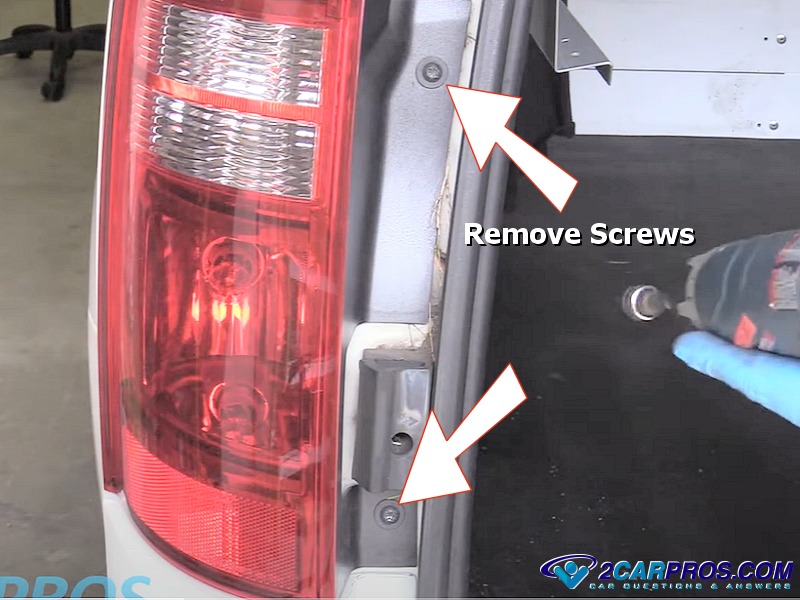
2. There are two types of brake light bulb service arrangements, either you can gain access to the bulb from the rear of the lens, or you will need to remove the lens to be able to service all of bulbs, such as the reverse, brake and running light bulbs. To start, remove the lens mounting screws after opening the lift gate, tailgate, hatch, or trunk lid.
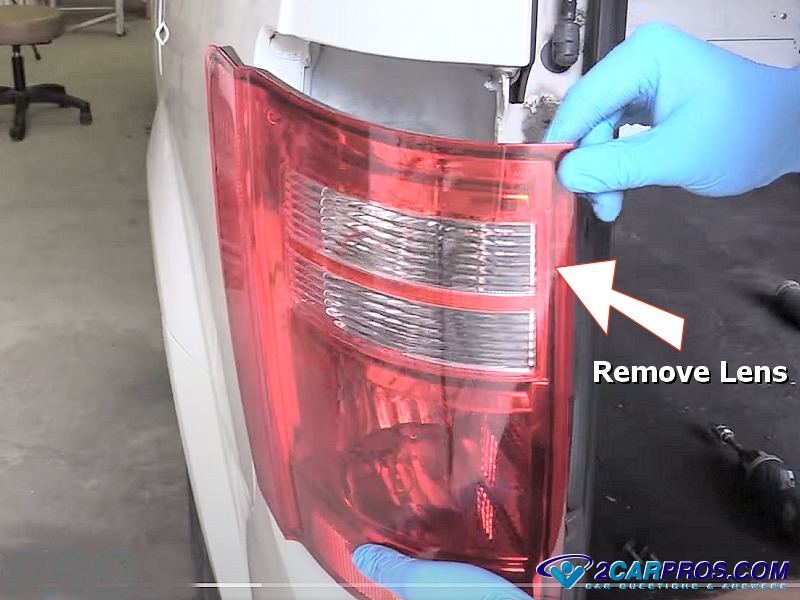
3. Grasp the lens firmly and pop the clips loose on the opposite side of the screw mounts, these clips are usually mounted in plastic or rubber.
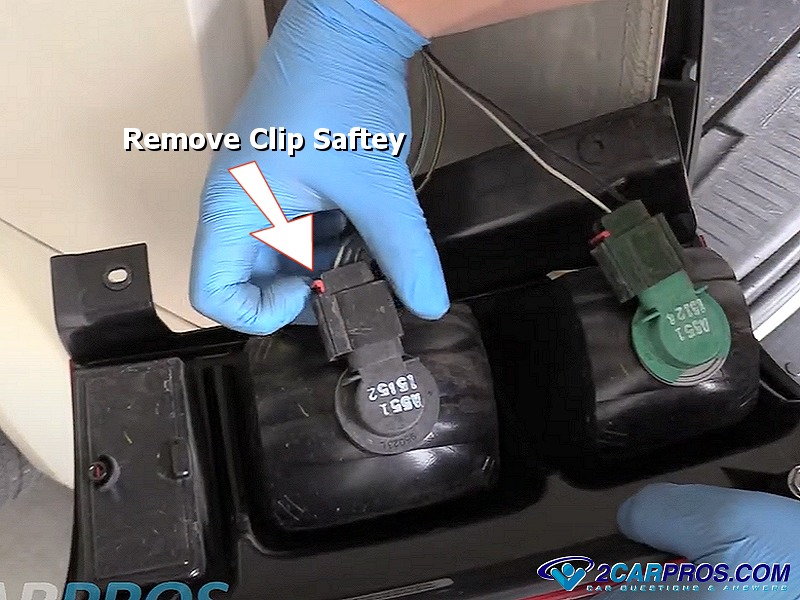
4. Once the lens is loose from the car you can access the bulb sockets, which will have an electrical connector attached. This connector may have a safety clip that will need to be removed or released as in the example below, then just unplug the connector from the bulb socket.
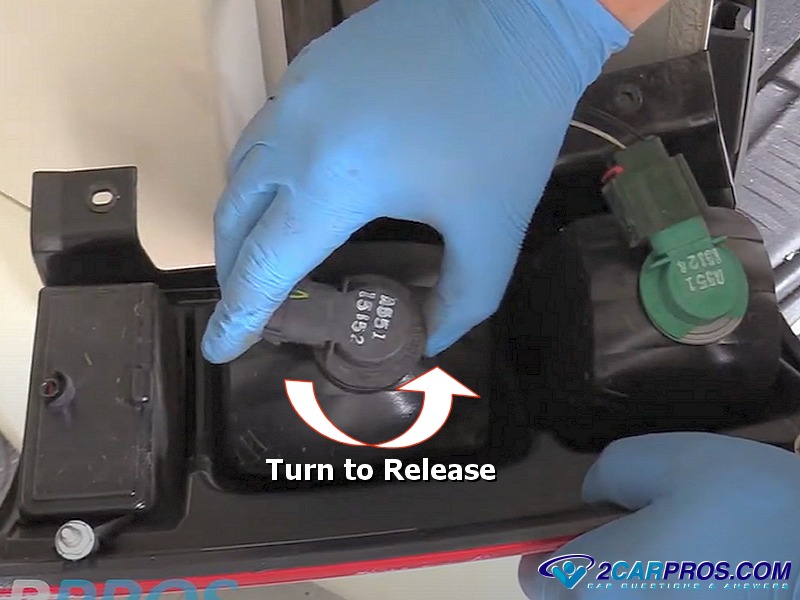
5. Grasp the light socket and twist it counterclockwise to remove the brake light bulb assembly. Some vehicles will require you to remove the bulb mounting plate from the lens to access the bulbs.
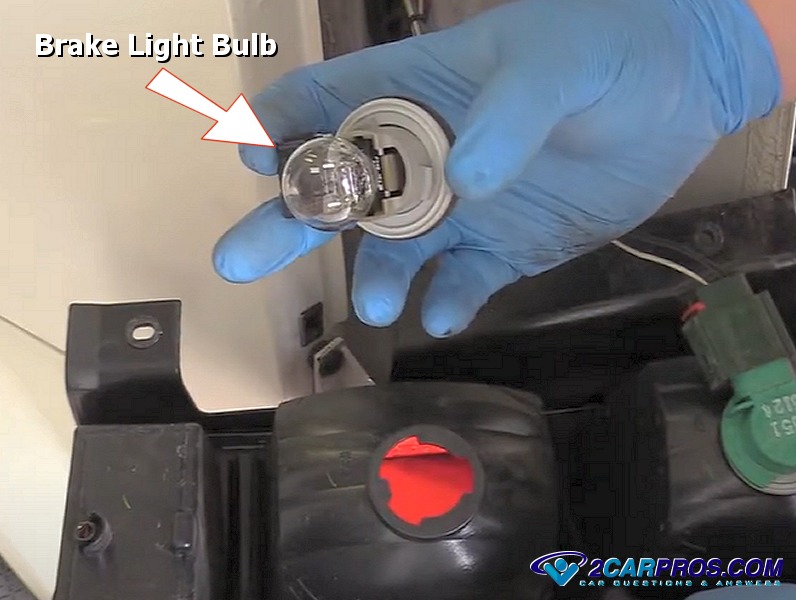
6. The brake light bulb and socket are now loose from the lens and ready to be replaced.
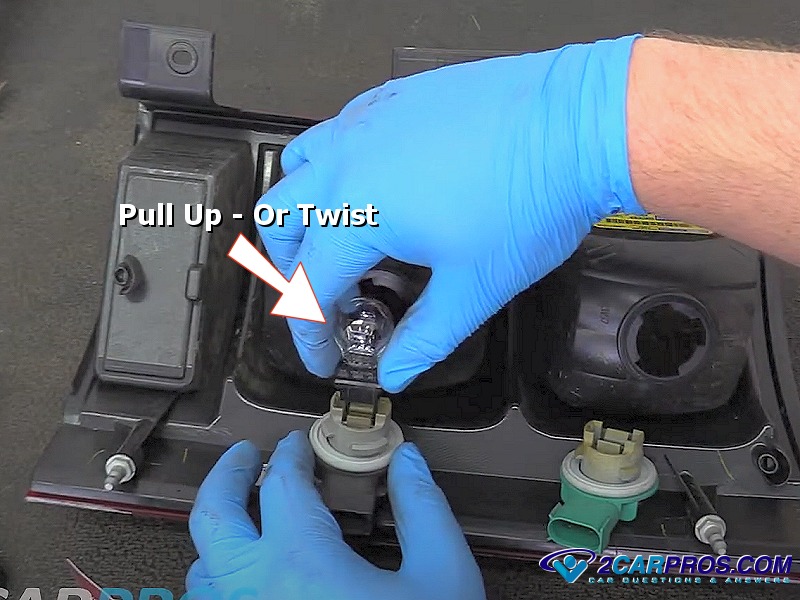
7. There are two types of bulbs, one will need to push down and twist counterclockwise, the other is featured here in the image below. While holding the bulb socket firmly, use your opposite hand to pull up on the bulb to remove it. Match the new bulb to the old bulb to ensure a proper installation and then reinstall, you will hear an audible click when the bulb is fully seated. When the bulb is removed, clean the socket with a shop towel and inspect the contacts. Use dielectric grease before the new bulb is installed to help prevent corrosion.
8. Reassemble the bulb socket back into place and reattach the wiring connector, then remount the tail light lens and reinstall the mounting screws and you are all set. Again, have a helper step on the brake light pedal to make sure the new bulb is working correctly.
Watch the Video!
Please watch this video of the job being done, then continue with the guide to glean additional helpful information.
Additional Brake Light Bulb Replacement Videos
- Dodge Caravan
- Chevrolet Cavalier
- Ford Escape
- Ford F-150
- Ford Focus
- Mercedes Benz C230
- Mercedes Benz ML 500
- Subaru Legacy
- Toyota Prius
- Toyota Tacoma
Credits
This guide knowledge base was created by the 2CarPros Team. If you have a car repair question, you can ask the 2CarPros community for help. Please visit our 2CarPros YouTube Channel for more helpful repair videos.