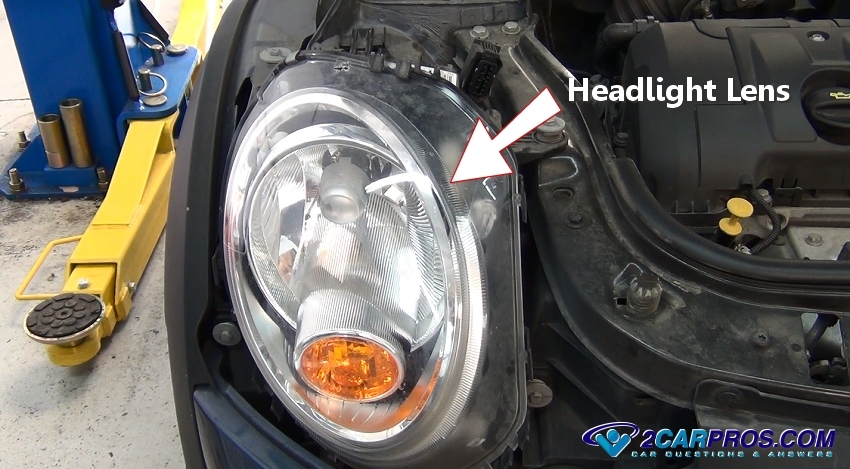
The headlight lens or housing is responsible for directing the light beam from the headlight bulb and can also locate the turn signal bulb. This lens should remain clean and clear to help illuminate the roadway in nighttime conditions.
What goes wrong?
Made of acrylic plastic a headlight housing over time can become foggy hindering its reflective properties, additionally they can leak allowing moisture to enter the lens which can cause the headlight bulb to break apart.
How much does it cost?
In most cases the headlight lens can be changed out using simple tools and are available from outlets such as AutoZone or Amazon. If you were to have the job done at the local repair garage or dealership labor costs can range from $80.00 to $190.00, also you will save a considerable amount on the parts.
Let's get started!
Identify the headlight lens and housing by lifting the hood, please visit our hood release guide for further instructions.
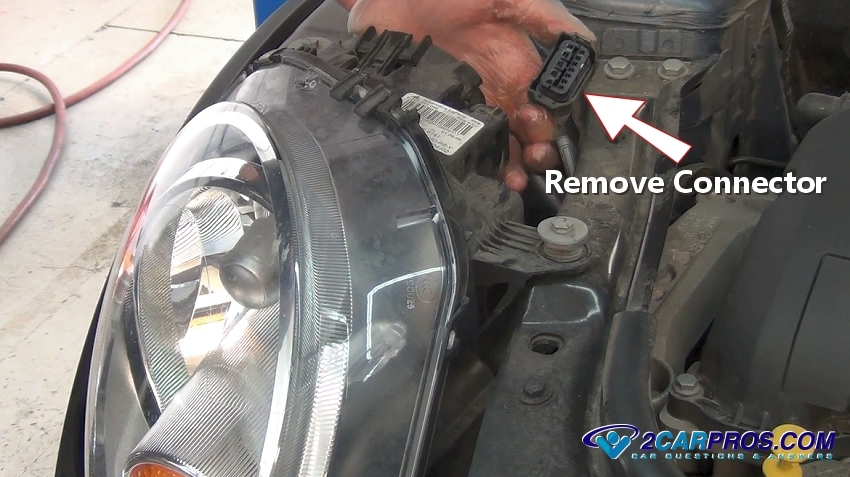
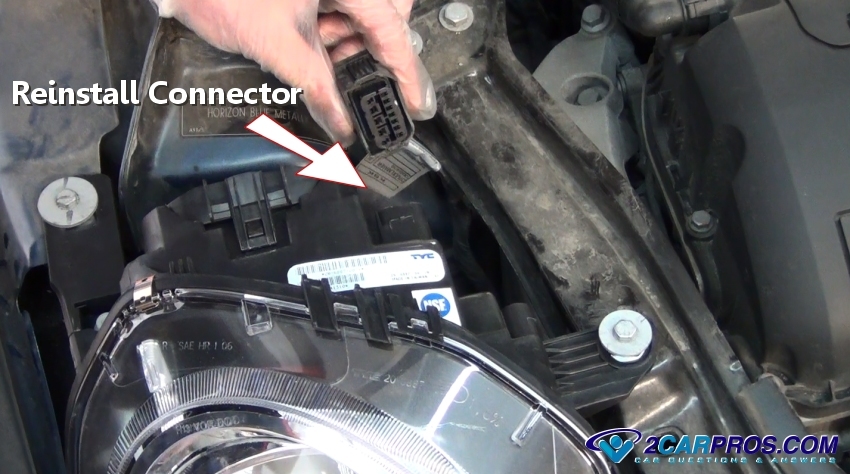
Start by locating and removing the headlight electrical connector by releasing
the safety clip. (Note: If the connector is not accessible this step can be performed
in later steps.)
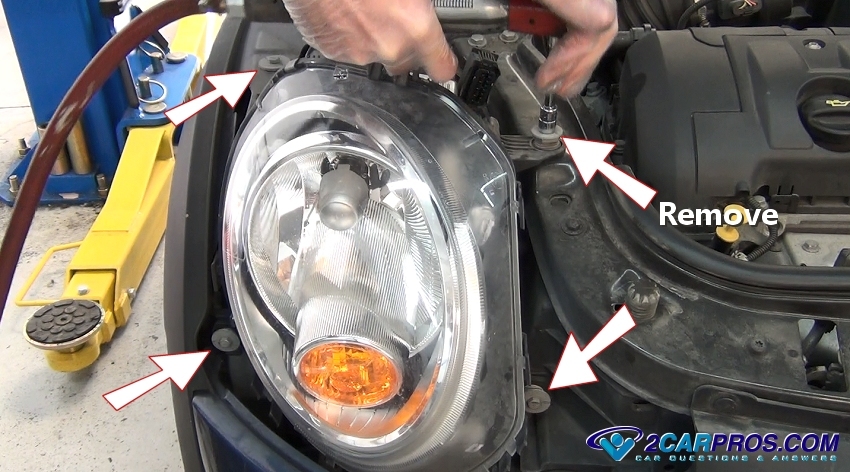
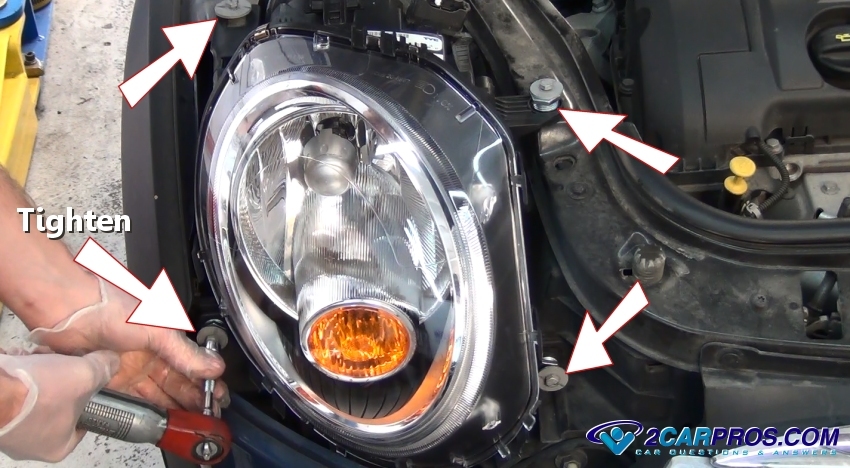
Locate and remove the headlight lens housing mounting bolts, some could be obscure
and might need to be accessed from under the car.
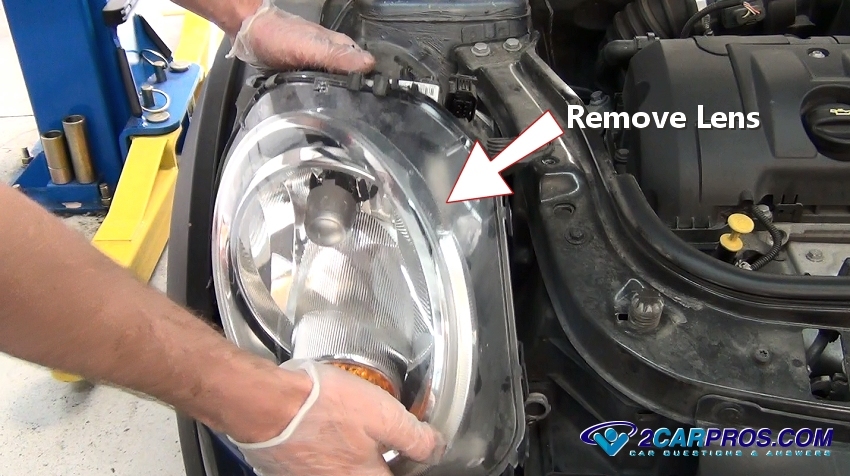
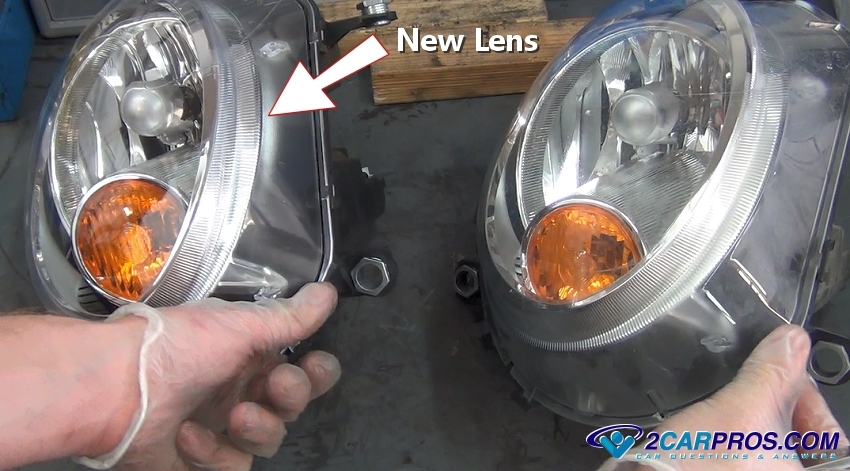
Once all mounting bolts have been removed, firmly grasp the headlight lens and
remove it.
Once removed, compare the new lens to the old assembly, they should match identically.
Watch the Video!
Please watch this video of the job being done, then continue down the guide to glean additional helpful information.
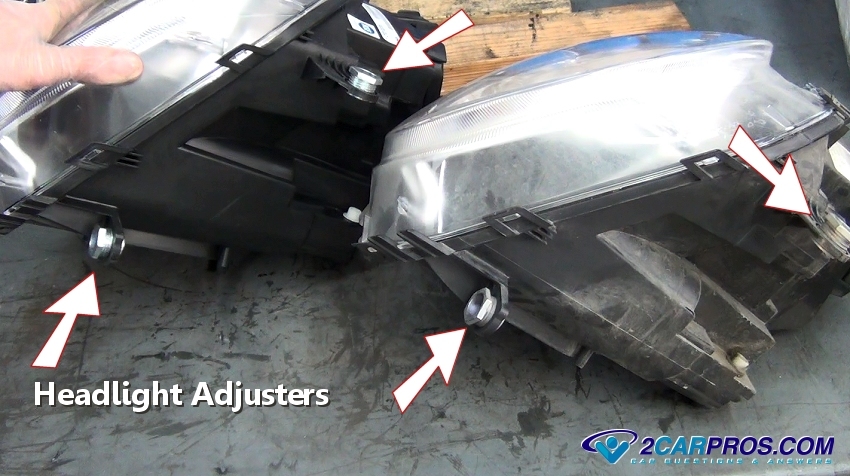
When matching the new lens to the old unit, take note of the adjuster position
and match the number of threads showing to the new assembly. These adjustments control
the height and right to left direction and need to be as close as possible. (Note:
If further adjustment is needed once completed use a flat driveway and garage door
(down) at night to help level the beams.)
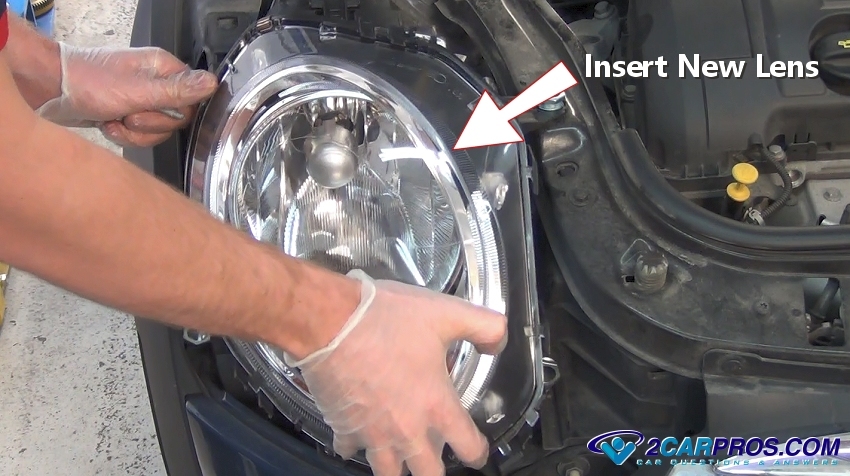
Once the necessary adjustments have been made gently lower the new assembly into
place while keeping the wiring harness out of the way.
Hand thread headlight lens mounting bolts to avoid cross threading.
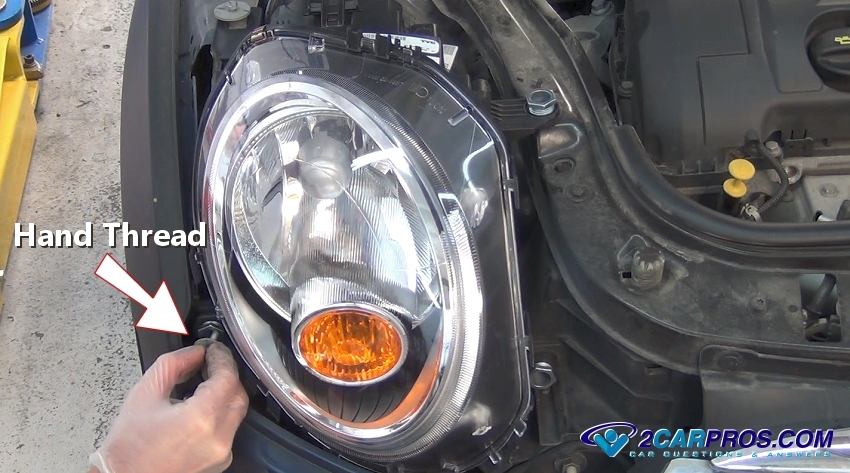
After all mounting bolts are hand threaded, tighten the bolts evenly in a cross
pattern (do not over tighten).
Inspect the electrical connector for dirt, corrosion or burn marks and replace
if damaged, then reinstall the connector to the headlight lens receptacle.
Questions?
If you have a car repair question, you can ask the 2CarPros community for help. We hope this guide helped you understand the repair. Please visit our 2CarPros YouTube channel for more helpful repair videos.