A turn signal bulb is part of the directional lighting system and can be incorporated into the brake light system on some models.
What Goes Wrong?
As with any non LED light bulb after time and usage the filament becomes fatigued and will break causing the bulb to not light up, this is easily fixed by replacing the bulb.
What's the Cost?
A small replacement light bulb such as brake or turn signal bulb will cost from $7.00 to $14.00 and about .3 to .8 hours of labor in most cases, this repair many people can do themselves while using simple tools. If exact times or procedures are needed you can ask our experts to supply you with the information (free), or consult an online resource such as AllData DIY (pay), this guide and video will be sufficient in most cases. When replacing automotive bulbs use quality replacements to avoid premature failure.
Lets Jump In!
There are two different styles of bulb maintenance procedures, the first style
requires the removal of the lens to access the bulbs while some manufacturers supply
an access door which is the example we are using in this guide, additional configurations
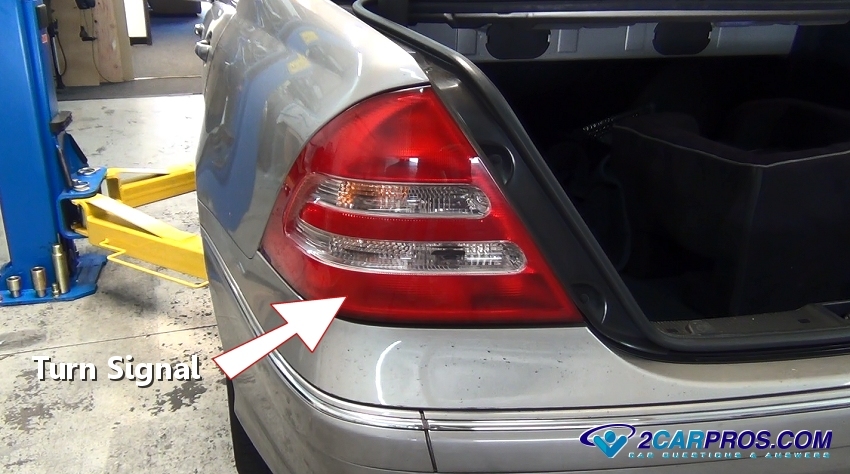
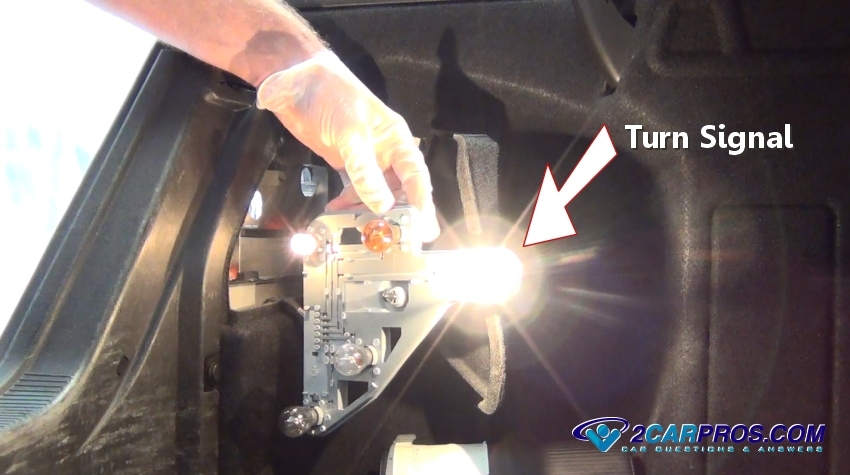
are featured in the videos below. First, identify the turn signal light (blinker)
that has failed, inspect both front and rear bulbs to ensure the
turn signal system is not the
problem.
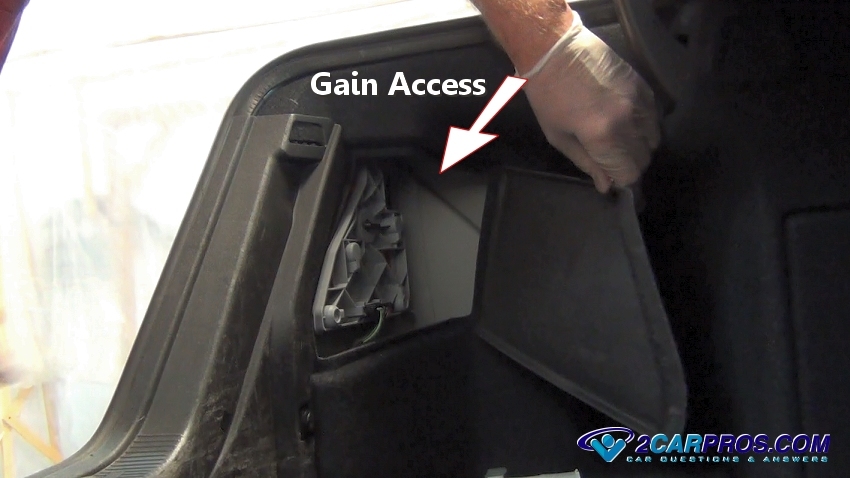
There will be an access door behind the lens to replace the bulb, if not you
will need to remove the lens. Open the access door and the rear of the lens will
be exposed, there might be small screws or a plastic twist fastener that may need
to be undone.
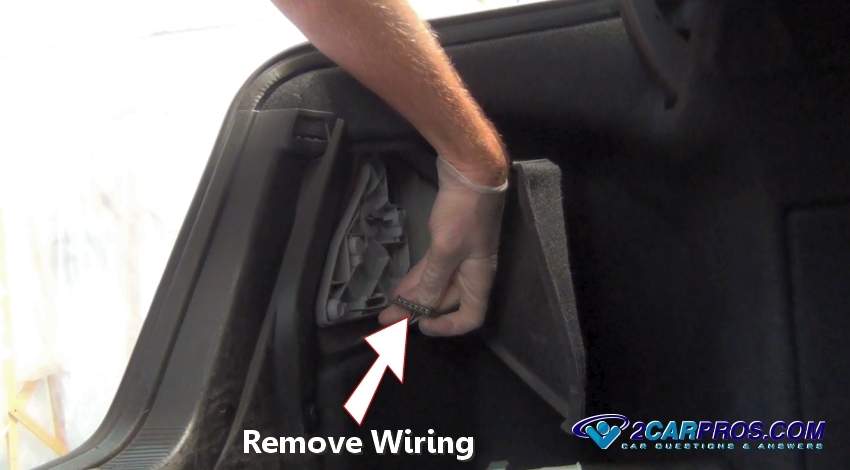
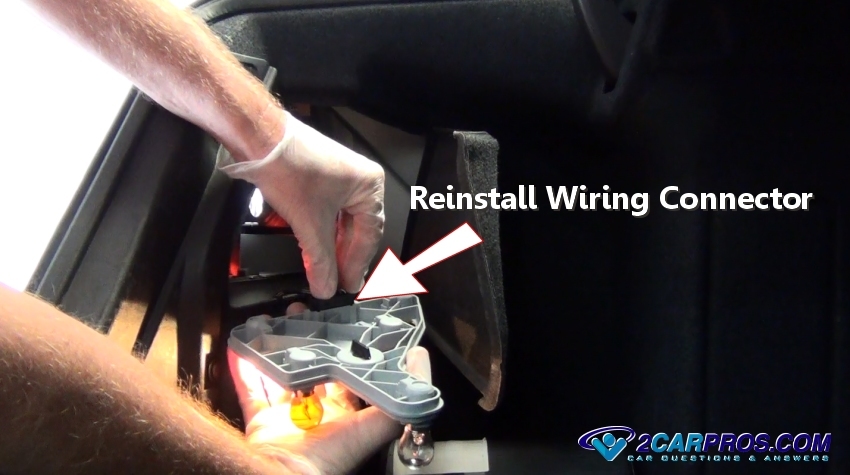
Release the wiring connector from the bulb housing, some vehicles are designed
with bulb socket attached, in this case turn the socket counterclockwise to remove.
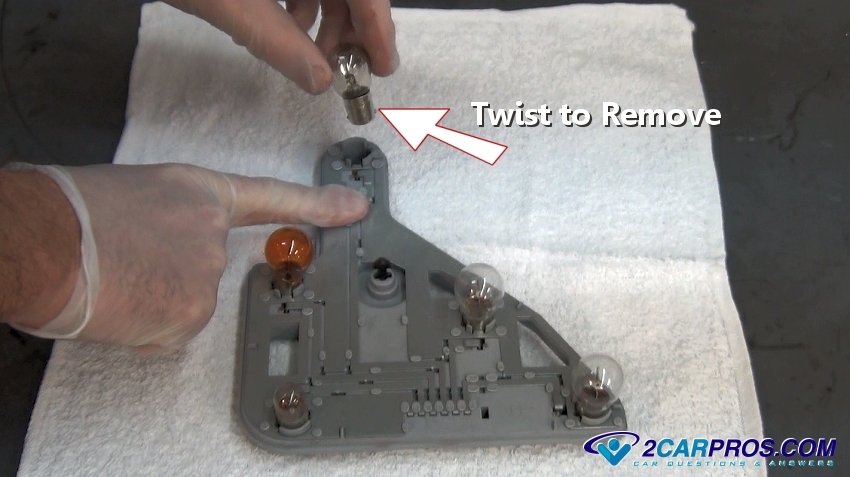
Grasp and turn the release fastener to pull the bulb housing plate from the lens,
gently remove the bulb mounting plate which will expose the various bulbs including
the turn signal, this configuration can be different depending on design.

Identify the failed blinker bulb, this failure is sometimes accompanied by a
darkish color inside the bulb glass. While holding the plate down, gently grasp
the failed bulb and twist counterclockwise while pushing down slightly, then pull
up to remove, some bulbs just pull straight out.
Watch the Video!
Please watch this video of the job being done, then continue down the guide to glean additional helpful information.
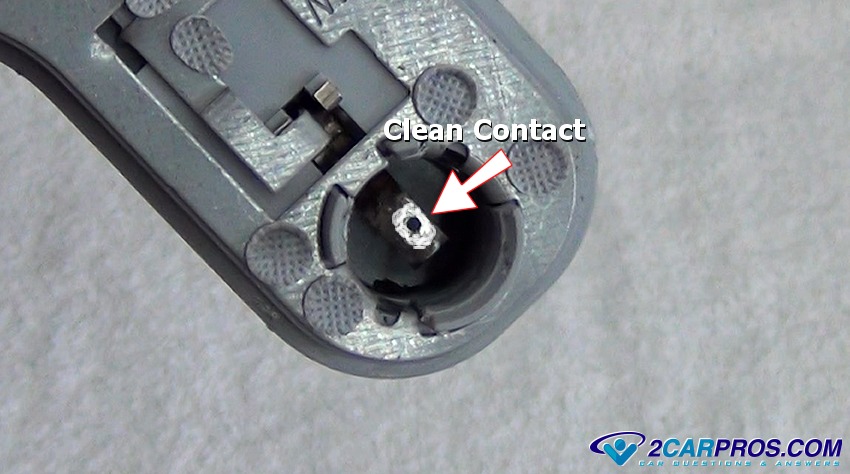
Once the bulb has been removed, inspect the bulb and socket for corrosion or
damage, occasionally a bulb electrical contact can become overheated and burnt due
a to high resistance of a poor connection, this will hinder the new bulb operation.
Use a sharp object such as an Exacto blade or sandpaper to clean the contact by
scraping the terminal exposing new metal.
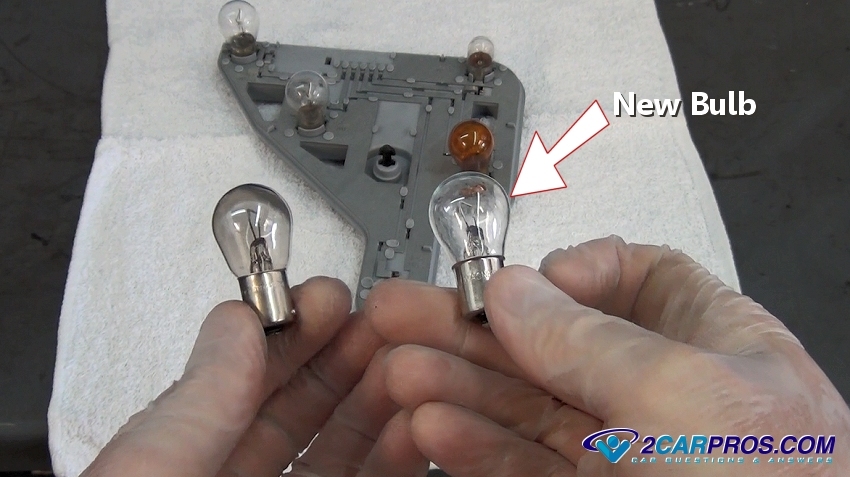
Match the new bulb to the old unit, they should match identically, do not install
incorrect bulbs this can cause lighting system electrical issues.
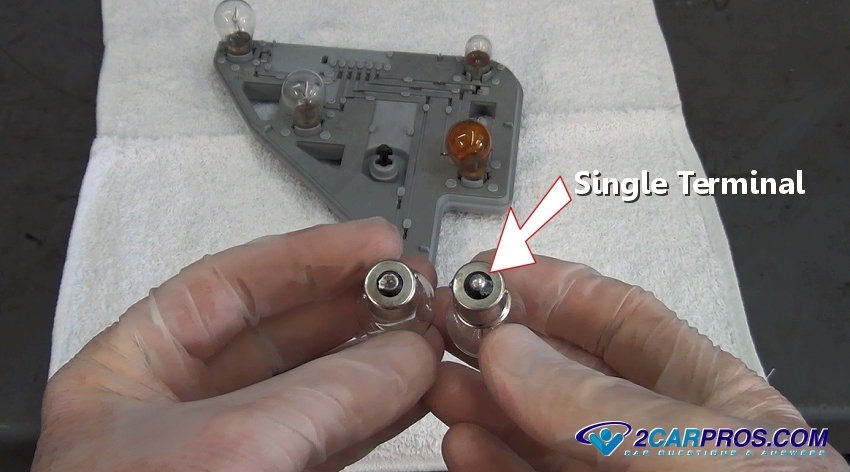
It's important that the bulb terminals are the same, some bulbs are designed
with two terminals which can cause operational problems if installed.
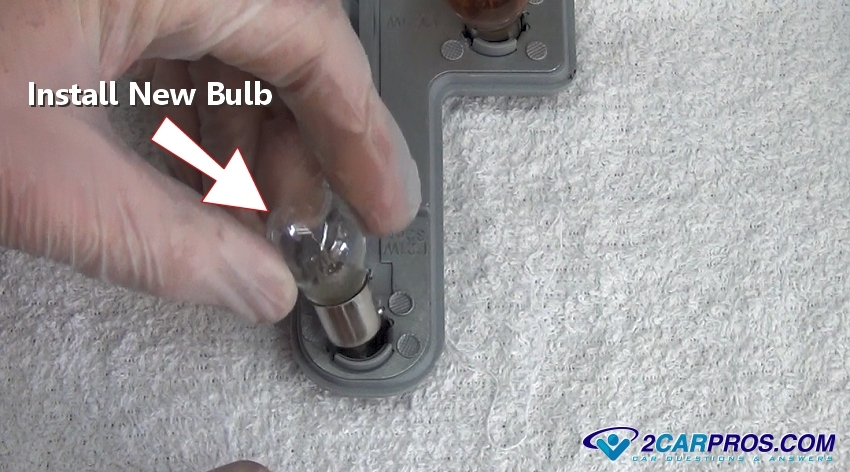
Gently install the new bulb by inserting (push down) and twisting it clockwise
(or push straight in), It's also a good idea to include dielectric grease as well
when installing the bulb to protect the connections.
Reconnect the wiring harness connector to the blinker bulb mounting plate.
Turn the ignition switch on while engaging the blinker lever to operate the turn
signal bulb ensuring the repair is done correctly and reassemble.
Additional Blinker Bulb Replacement Videos
Questions?
Our certified technicians are ready to answer car repair questions for free. We hope you saved money and learned from this guide. We are creating a full set of car repair guides. Please subscribe to our 2CarPros YouTube channel and check back often for new videos which are uploaded regularly.