The headlight bulb is located inside a water tight headlight lens connected to the wiring harness using a weather tight electrical plug to help repel damage causing moisture. Headlight bulbs are a common failure but with a little guidance anyone can change out these bulbs. This process is a little different for each car but this guide will give you an idea of what you are in for when doing the job.
What goes wrong?
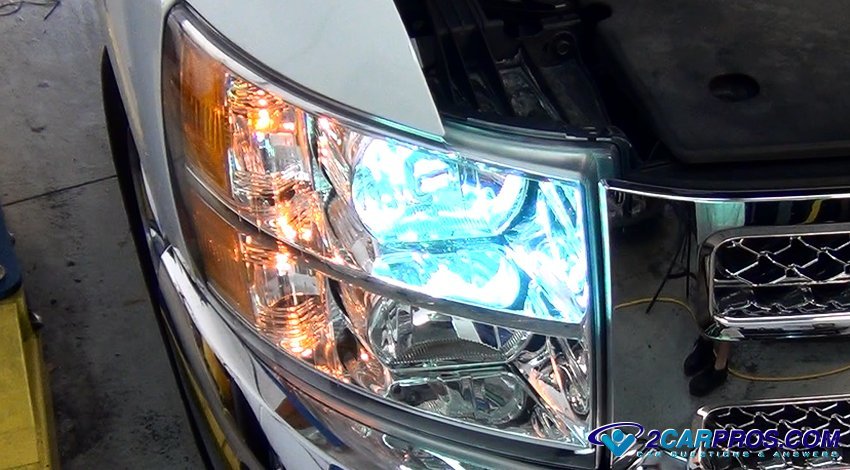
As the headlight bulb ages, the filament inside becomes weak and finally breaks causing the bulb to stop working. On LED bulb systems a voltage boosting ballast is used to power the bulb from the car's 12 volt system which can overheat and fail more so then the bulb. Also because of the amperage used to run the bulb occasionally you may find a melted electrical connector at the bulb which will hinder bulb operation
Headlight Bulb
- Easy to replace (most cases)
- Can melt the electrical connector
- Failed voltage ballast
- Do not touch glass part without gloves
- Is located inside the headlight lens
- Illuminates roadways in low light conditions
What will it cost?
The cost for a typical headlight replacement bulb will range from $12.00 to $25.00 US for non LED systems. A garage or dealership will charge between $85.00 and $140.00 US for the same job. LED systems cost slightly more and can require a ballast as well.
Let's get started
This guide pertains to most cars, configurations maybe slightly different but the process is the same. If you need specific instructions for your particular application please ask our technician. The following shows a typical headlight bulb replacement. (This application requires the removal of the headlight lens)
A headlight bulb uses more amperage than other bulbs in the lighting system so it a good idea when you are changing the bulb out to inspect the electrical connector for heat damage. If the headlight bulb socket is not accessible the headlight lens may need to be removed or obstructions behind the bulb removed to gain access to the headlight bulb socket. Some headlight bulbs can be replaced by simply grasping the bulb socket behind the headlight lens and turning it counter clockwise to remove it. This will expose the headlight bulb.
Locate the release pin or screws which mounts the headlight lens. Pull forward
and upward on the pin to release, or remove mounting screws or clips.

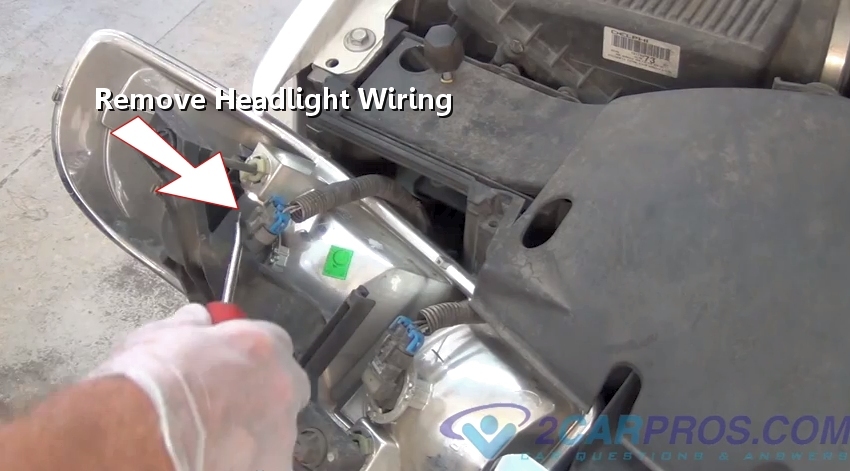
Grasp the lens firmly to avoid dropping the unit. Use a standard screwdriver
to release the wiring connector. Check the connector for melted plastic which is
a sign the connection has overheated in which case the connector will need to be
replaced. Also if corrosion is present it will hinder the voltage/amperage supply
to the new headlight bulb producing a
dim or light operation failure.
Watch the Video!
Please watch this video of the job being done, then continue down the guide to glean additional helpful information.
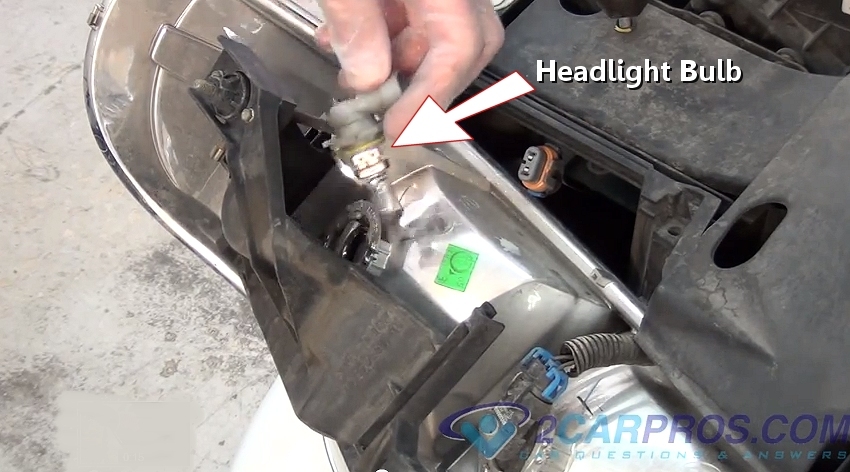
Grasp the headlight bulb and turn counterclockwise, or undo mounting clip or
screws to remove the bulb from the housing. Some bulbs can be removed with the wiring
harness attached.
Match the old bulb to the new unit confirming the electrical connector configuration along with the mounting plate of the bulb. Clean the headlight lens free from debris to help maintain the seal of the bulb to the lens, this will help keep moisture out. There is an alignment notch or tab that must be recognized when reinstalling the new bulb. If the bulb is installed incorrectly the light beam will be off (high, low, left or right). Reconnect the electrical connector ensuing an audible click which confirms the connection of the connector while sealing the bulb from moisture. Reassemble the lens or any other obstructions to complete the job. Turn the headlight on to check your work, observe the newly replaced headlight bulb to ensure proper operation.
Questions?
Our certified technicians are ready to answer headlight bulb questions for free. We hope you saved money and learned from this guide. We are creating a full set of car repair guides. Please subscribe to our 2CarPros YouTube channel and check back often for new videos which are uploaded regularly.