I posted the directions below for the heater replacement.
Roy
Removal
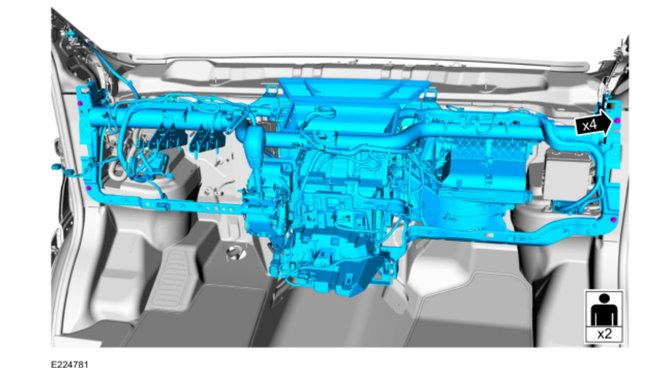
Remove the climate control housing.
Refer to: Climate Control Housing (412-00 Climate Control System - General Information, Removal and Installation).
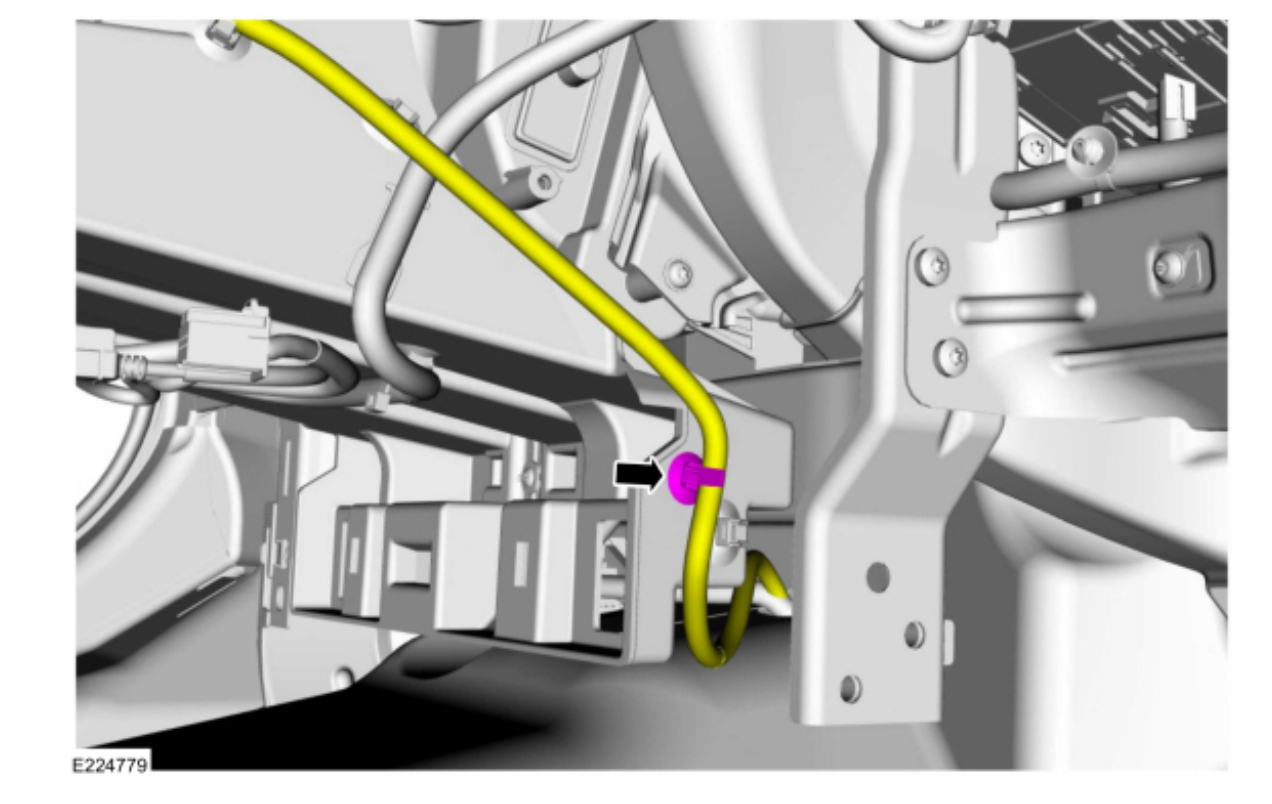
Remove the heater tube dash panel seal.
ImageOpen In New TabZoom/Print
Remove the retainers and the heater tube bracket.
ImageOpen In New TabZoom/Print
Remove the retainers and the vent tube.
ImageOpen In New TabZoom/Print
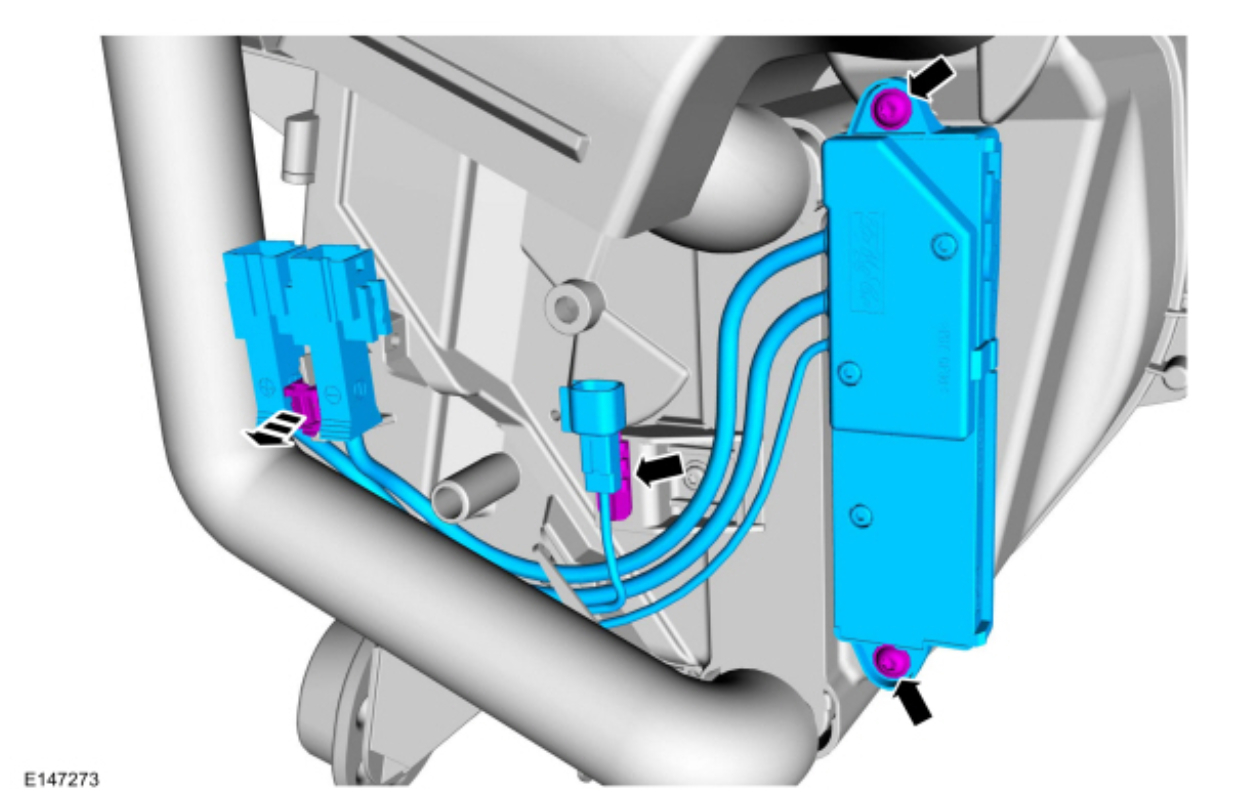
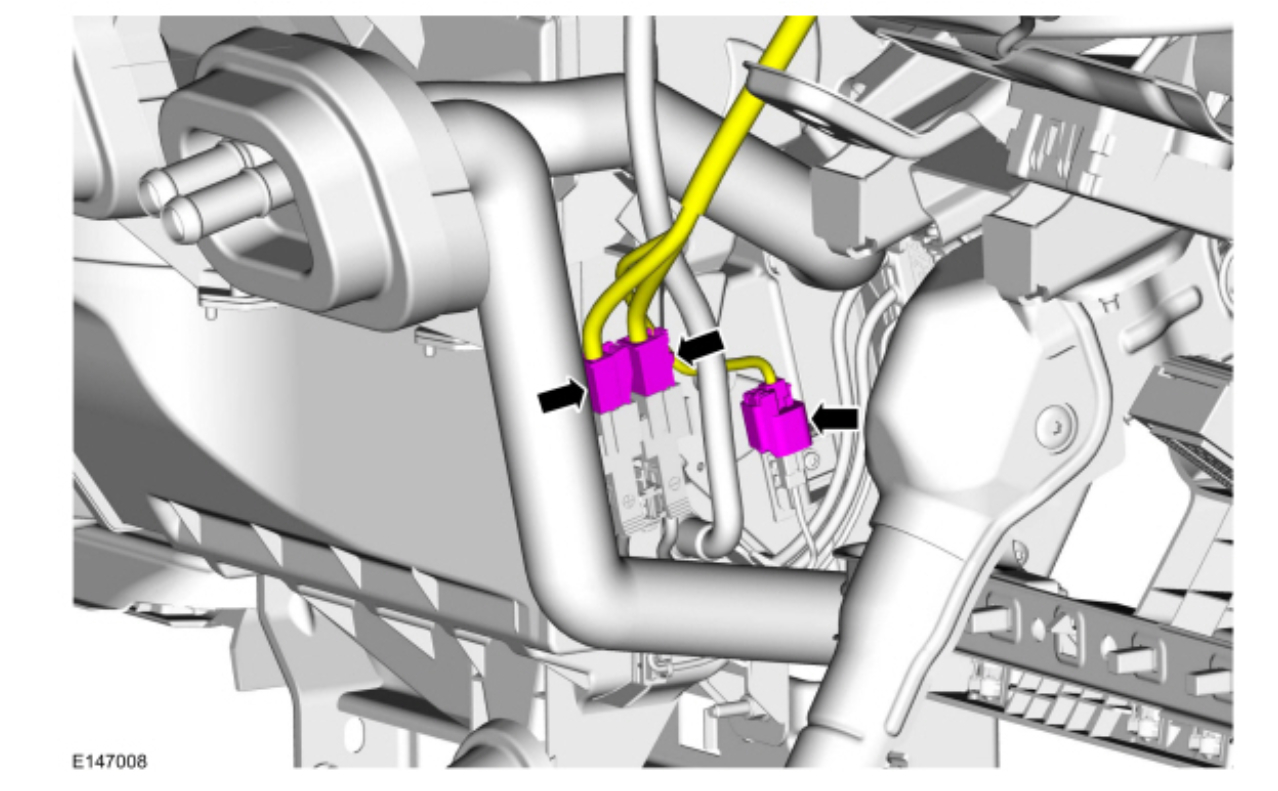
Detach the wiring clips, remove the retainers and the electric booster heater.
ImageOpen In New TabZoom/Print
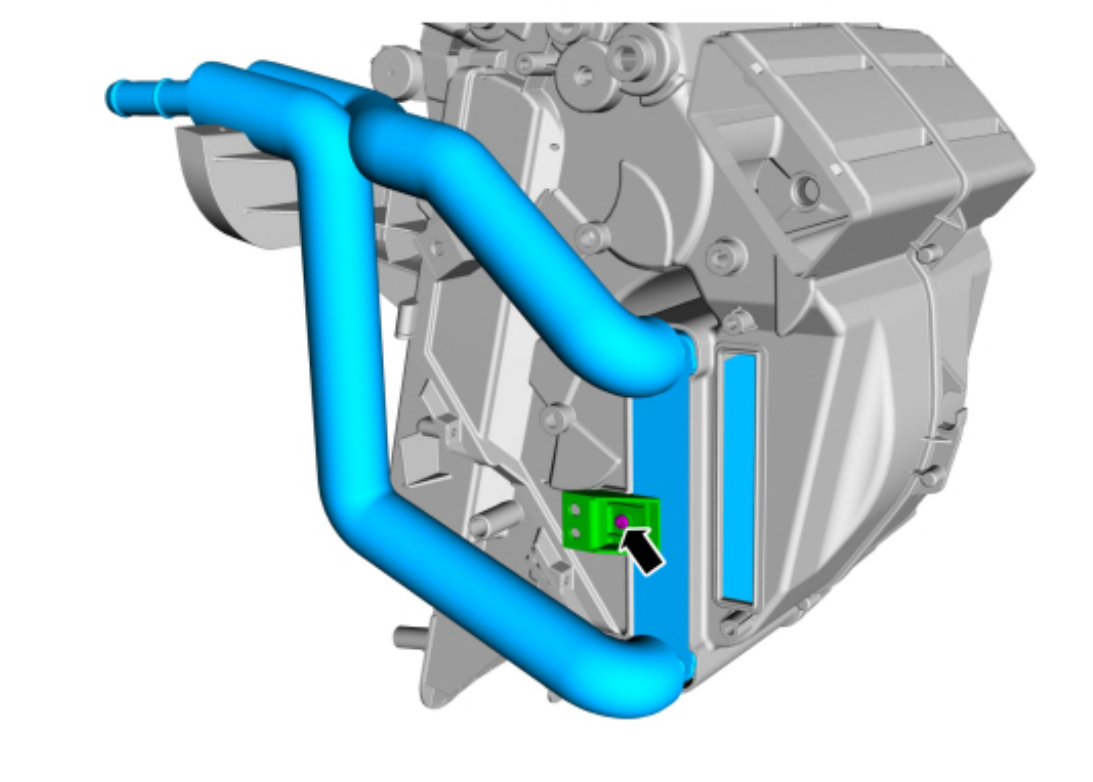
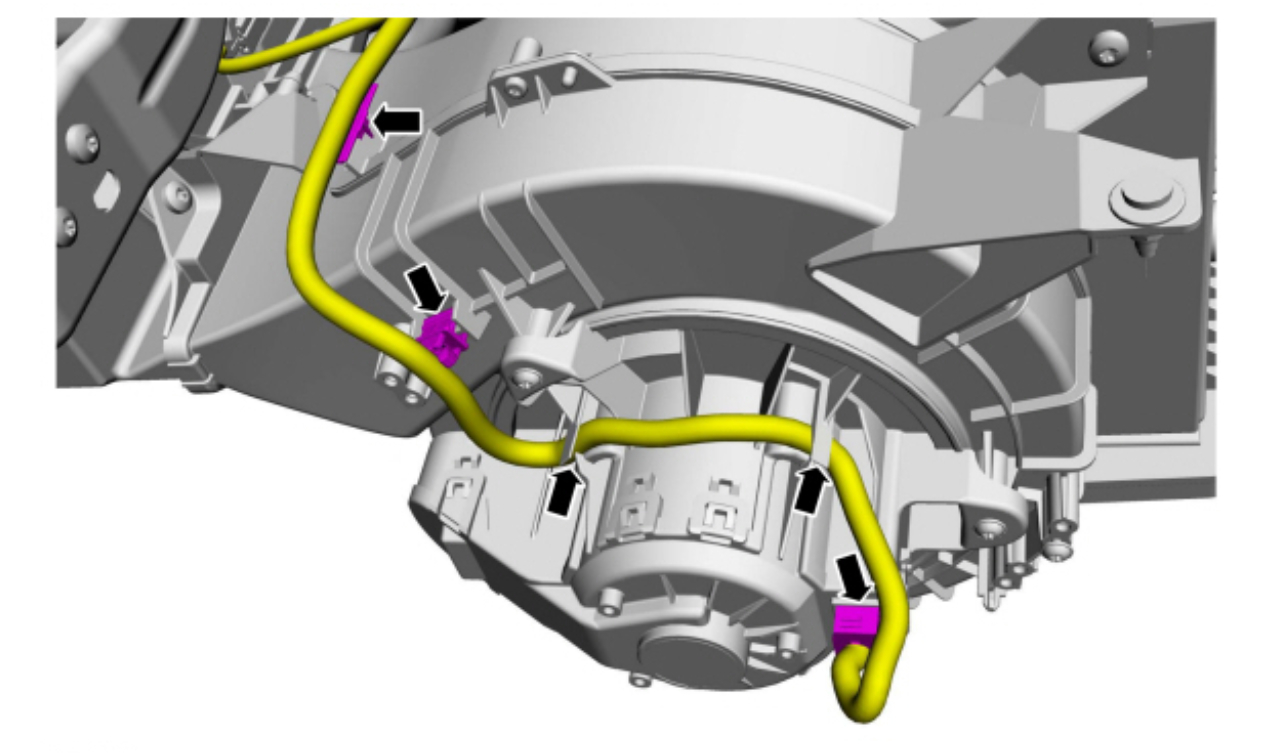
Remove the retainer and the vent duct.
ImageOpen In New TabZoom/Print
Remove the retainer, heater core clip and the heater core.
ImageOpen In New TabZoom/Print
Installation
To install, reverse the removal procedure.
Heater core
412-00 Climate Control System - General Information 2015 Transit
Removal and Installation
Climate Control Housing
Base Part Number: 19B555
Special Tool(s) / General Equipment
Hose Clamp Remover/Installer
Materials
Name Specification
Motorcraft� PAG Refrigerant Compressor Oil
YN-12-D WSH-M1C231-B
Removal
NOTE: Removal steps in this procedure may contain installation details.
Recover the refrigerant.
Refer to: Air Conditioning (A/C) System Recovery, Evacuation and Charging (412-00 Climate Control System - General Information, General Procedures).
NOTE: Make sure all openings are sealed.
Remove the evaporator line nut and flange, position the lines aside.
Torque : 133 lb. In (15 Nm)
imageOpen In New TabZoom/Print
NOTE: 3.5L Ecoboost powertrain shown, other powertrains similar.
NOTE: Make sure all openings are sealed.
Clamp and disconnect the heater hoses.
Use the General Equipment: Hose Clamp Remover/Installer
imageOpen In New TabZoom/Print
Remove both front doors.
Refer to: Front Door (501-03 Body Closures, Removal and Installation).
Remove the Instrument Panel Upper Section.
Refer to: Instrument Panel Upper Section (501-12 Instrument Panel and Console, Removal and Installation).
Remove the 2 screws, release the 2 retaining tabs and remove the center lower instrument panel finish panel.
ImageOpen In New TabZoom/Print
Remove the retainer and the drive side footwell vent duct.
ImageOpen In New TabZoom/Print
NOTICE: Do not allow the steering wheel to rotate while the steering column shaft is disconnected or damage to the clockspring may result. If there is evidence that the shaft has rotated, remove and recenter the clockspring.
Remove and discard the steering shaft pinch bolt and position aside the lower steering column shaft.
Torque : 21 lb. Ft (28 Nm)
imageOpen In New TabZoom/Print
Remove the retainers and the lower steering column shroud.
ImageOpen In New TabZoom/Print
Disconnect the electrical connectors.
ImageOpen In New TabZoom/Print
NOTICE: The steering column is designed to absorb energy in a crash and must be handled carefully. The energy-absorbing steering column shaft cannot be subjected to force or impact shocks. Follow the removal procedure instructions carefully to avoid damage.
NOTE: Steering wheel shown removed for clarity.
Remove the steering column mounting nuts.
Torque : 177 lb. In (20 Nm)
imageOpen In New TabZoom/Print
Disconnect the electrical connector.
ImageOpen In New TabZoom/Print
Disconnect and position aside the selector lever cable.
ImageOpen In New TabZoom/Print
Remove the bolt and disconnect the electrical connector.
ImageOpen In New TabZoom/Print
Remove the LH center insturment panel support bolt.
Torque : 119 lb. In (13.5 Nm)
imageOpen In New TabZoom/Print
Remove the 4 bolts and the LH insturment panel lower support bracket.
Torque : 119 lb. In (13.5 Nm)
imageOpen In New TabZoom/Print
Remove the 4 bolts and the RH insturment panel lower support bracket.
Torque : 119 lb. In (13.5 Nm)
imageOpen In New TabZoom/Print
Remove the LH and RH A-piller bolt cover.
ImageOpen In New TabZoom/Print
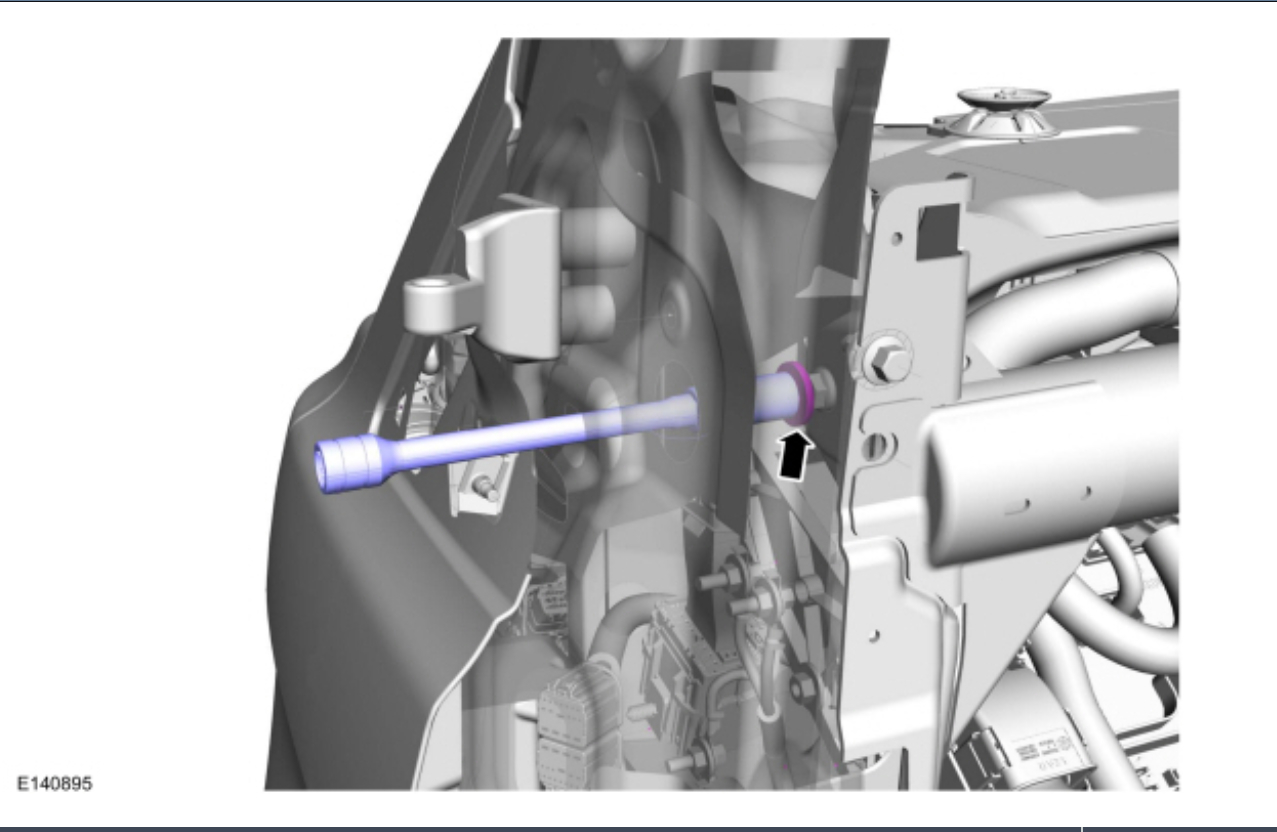
Using a socket extension remove the LH and RH A-pillar bolts.
Torque : 119 lb. In (13.5 Nm)
imageOpen In New TabZoom/Print
Release retainer and position aside harness.
ImageOpen In New TabZoom/Print
NOTE: Make sure that all electrical connectors and wiring are not hindered before removing the instrument panel or damage to the components may occur.
Remove the in-vehicle crossbeam assembly bolts.
Torque : 22 lb. Ft (30 Nm)
imageOpen In New TabZoom/Print
Remove the retainers and the passenger side footwell vent duct.
ImageOpen In New TabZoom/Print
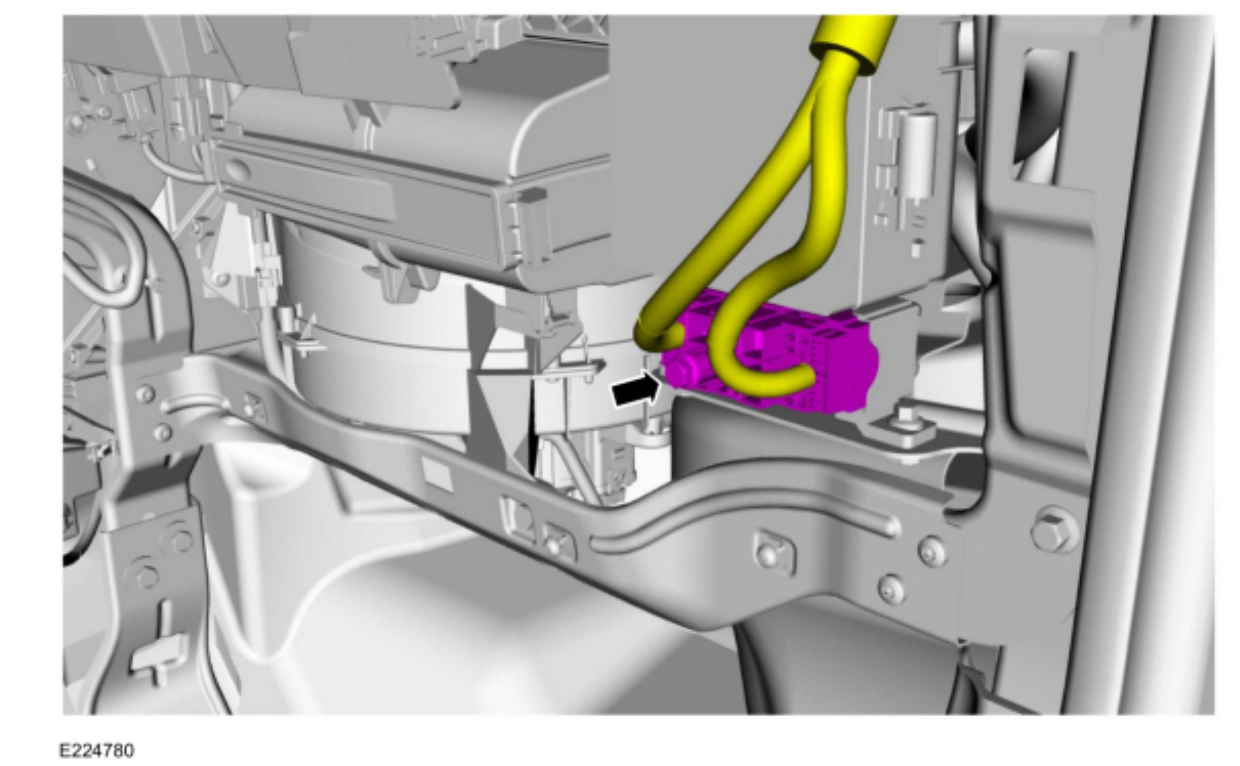
Disconnect the electrical connectors and position the wiring aside.
ImageOpen In New TabZoom/Print
Disconnect the electrical connectors and position the wiring aside.
ImageOpen In New TabZoom/Print
Disconnect the blower motor electrical connector and detach the wiring harness retainers.
ImageOpen In New TabZoom/Print
Remove the retainers and the climate control housing.
Torque : 89 lb. In (10 Nm)
imageOpen In New TabZoom/Print
Installation
To install, reverse the removal procedure.
NOTICE: Only use the specified material to lubricate the seals.
Install new O-ring seals.
Material : Motorcraft� PAG Refrigerant Compressor Oil / YN-12-D (WSH-M1C231-B)
Lubricate the refrigerant system with the correct amount of clean PAG oil.
Refer to: Refrigerant Oil Adding (412-00 Climate Control System - General Information, General Procedures).
Fill and bleed the cooling system. Refer to filling and bleeding without a vacuum cooling system filler.
Refer to: Cooling System Draining and Vacuum Filling (303-03A Engine Cooling - 3.5L EcoBoost (235kW/320PS), General Procedures).
Refer to: (303-03B Engine Cooling - 3.7L Duratec (199kW/270PS), General Procedures).
Refer to: (303-03C Engine Cooling - 3.2L Duratorq-TDCi (148kW/200PS) - Puma, General Procedures).
Images (Click to make bigger)
Thursday, November 12th, 2020 AT 3:51 PM