The (red) brake system warning light is designed to warn you of a pending danger that affects the immediate braking ability of your car. Understanding why this light comes on and how to diagnose it can prevent serious accidents and costly repairs. The brake warning light is a multi functional light system which is connected to three different monitoring devices.
- Brake fluid level sensor inside the master cylinder.
- Parking brake lever or foot actuator arm.
- Drop in brake system pressure.
Brake System Warning Light Causes
Park your car on level ground with the engine off and lift the hood, also have a flashlight ready for inspection.
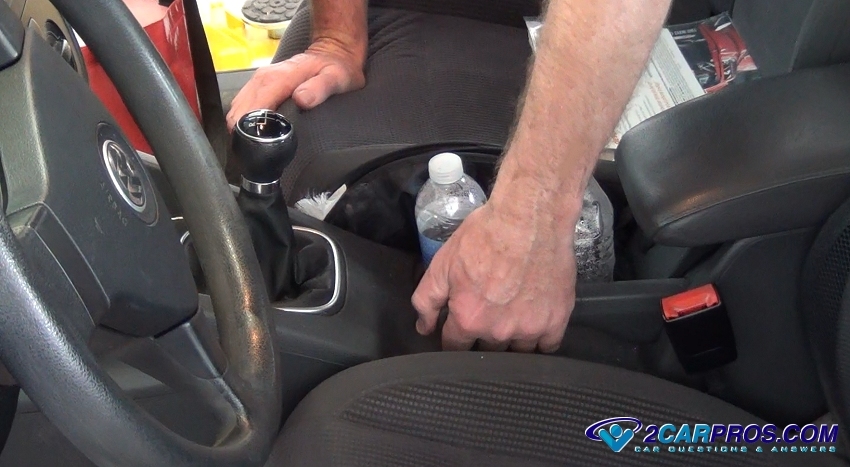
1. Check Parking Brake: The parking brake lever or pedal is equipped with a warning switch which is designed to inform the driver that the parking brake is still on, this is to avoid overheating the brakes and causing damage. Check to make sure the brake lever is all the way down, or if your car has a parking pedal, reach below the pedal and pull it upward. Occasionally the switch that monitors the pedal or handle can break or become misadjusted which can keep the light on.
2. Check Brake Fluid Level: A minimum amount of brake fluid must be present in the system for it to work correctly, a fluid level sensor is located inside the brake master cylinder fluid reservoir which monitors the fluid level. With the hood open, locate this reservoir and use a flashlight to check the fluid level against the "MIN" and "MAX" marks, add brake fluid if low. If the brake pads are worn and need replacement, the brake fluid will be low which is normal.

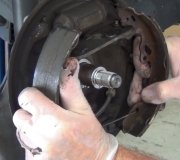
3. Reset the Brake System Proportioning Valve: A brake system proportioning valve is designed to monitor the front and rear brake pressure. When a difference in pressure is detected it will trigger this valve which in turn turns on brake system warning light. If repairs have been made and the light is still on, the valve must be reset by pushing the brake pedal firmly and quickly. This action should push the proportioning valve plunger to the center of the valve and turn the warning light off.
Brake Pressure Differential Causes:
- Brake system leak (any brake system component)
- Internal seal failure of the brake master cylinder (replacement required)
4. Faulty Brake Fluid Level Sensor: The brake fluid reservoir is equipped with a sensor that monitors fluid levels. If this sensor malfunctions, it may falsely indicate a low brake fluid level, triggering the warning light.
Conclusion
If the ABS system has a problem, it will illuminate the red brake system warning light along with a yellow ABS system warning light. Please note that the ABS system will never illuminate the (red) brake warning system light exclusively. Addressing the brake system warning light promptly is critical for your safety, we hope this guide helped.
Watch the Video!
Please watch this video of the front brake job being done to glean additional helpful information.
Credits
This guide knowledge base was created by the 2CarPros Team, and by Ken Lavacot: Automobile repair shop owner and certified master automobile technician of over 30 years. If you have question or need help please ask one of our experts we are happy to help. Please visit our 2CarPros YouTube Channel for additional car repairs.

Article published 2024-09-10