Hi,
The seal needs to be specific to your vehicle. You should be able to find an aftermarket one, but I really question if that is the issue. You indicated it was dripping from above onto the driveshaft. I honestly don't see how the output seal could do that unless it is really leaking badly. Please send a pic so I can confirm. Seal replacement isn't a very easy job on this vehicle and it requires special tooling.
As far as the ATF, no. You have to make sure it meets the manufacturer's specifications.
Here is the fluid listed in my manual. You don't have to purchase this brand, but get one that meets the same specifications.
2003 Jaguar S-Type (X200) V6-3.0L
Fluid Types
Vehicle Maintenance Fluids Fluid - A/T Specifications Fluid Types
FLUID TYPES
Automatic Transmission Fluid .................... Shell M1375.4
____________________________________________________________________________________________
Also, before you add fluid, make sure the level is low. That will also help confirm if the leak is from the transmission itself. Here are the directions for checking the transmission fluid level.
2003 Jaguar S-Type (X200) V6-3.0L
Transmission Fluid Level Check
Vehicle Maintenance Fluids Fluid - A/T Service and Repair Procedures Transmission Fluid Level Check
TRANSMISSION FLUID LEVEL CHECK
Transmission Fluid Level Check
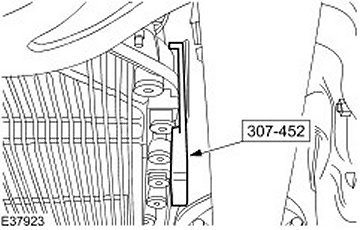
Special Service Tools
pic 1
Adaptor 307-452
Check
1. The follow steps must be observed before starting the transmission fluid level check.
- The vehicle must be on a horizontal ramp.
- The parking brake must be applied.
- The engine must be running for 2 minutes with the transmission selector lever in the "P" position.
2. Connect the Jaguar Approved Diagnostic System.
3. Make sure the transmission selector lever is in the "P" position.
NOTE: Make sure the transmission fluid temperature is below 30 C (86 F) on the Jaguar Approved Diagnostic System.
4. With the engine running and the foot brake applied, circulate the transmission fluid by:
- Moving the transmission selector lever to the "R" position
- Waiting for three seconds.
- Moving the transmission selector lever to the "D" position
- Waiting for three seconds.
- Moving the transmission selector lever to the "P" position
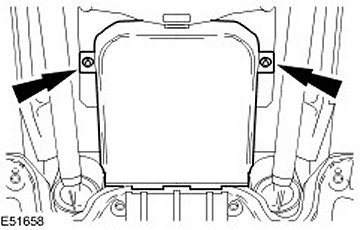
5. Raise and support the vehicle.
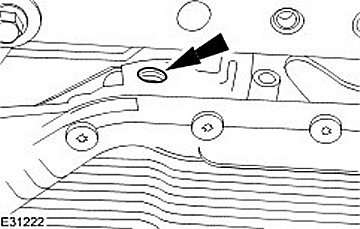
pic 2
6. Remove the transmission undertray.
7. Place a suitable container under the transmission fluid filler plug.
WARNING: Make sure that care is exercised near rotating parts. Failure to follow this instruction may result in personal injury.
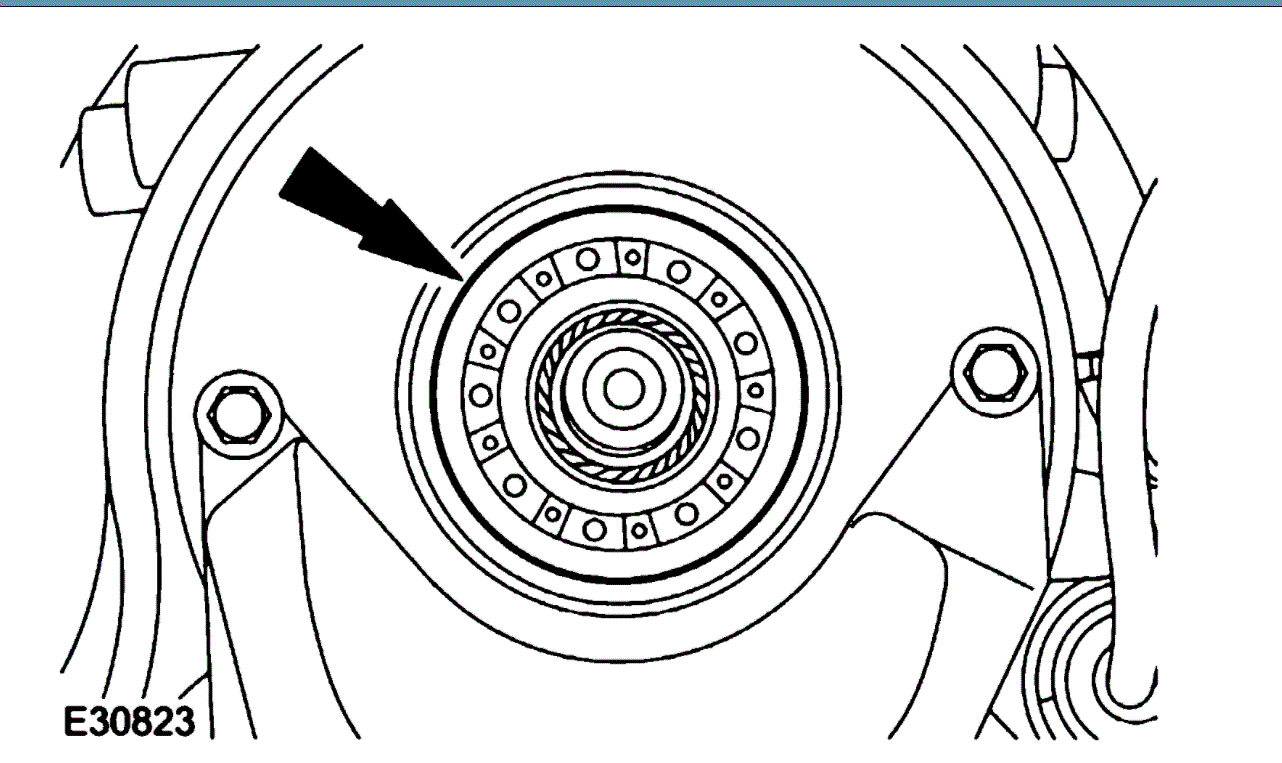
pic 3
8. With the engine running, using the special tool remove the transmission fluid fill plug.
- Remove and discard the transmission fluid fill plug.
NOTE: Use transmission fluid meeting Jaguar specification.
pic 4
9. If the transmission fluid does not come out of the transmission fluid filler plug hole the transmission fluid level is insufficient. If this is the case add the transmission fluid in 0.5 liter units into the transmission fluid filler plug hole until fluid comes out.
NOTE: Make sure the transmission fluid temperature does not exceed 50°C (122°F). If the transmission fluid temperature does exceed 50°C (122°F) stop the transmission fluid level check and allow the transmission fluid to cool until the temperature is below 30°C (86°F).
pic 5
10. Allow the transmission fluid to drain from the transmission fluid filler plug hole until the flow almost stops.
NOTE: Install a new sealing washer.
pic 6
11. Using the special tool, install the new transmission fluid fill plug.
CAUTION: Make sure the transmission fluid fill plug is tightened to the correct specification. Failure to follow this instruction may result in damage to the vehicle.
pic 7
12. Using the special tool and a torque wrench, tighten the transmission fluid fill plug.
- Tighten the transmission fluid fill plug to the torque given by the calculation
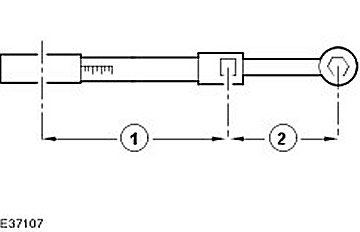
- To make sure the transmission fill plug is torqued to the correct specification. Using the special tool and a torque wrench the following calculation steps must be followed.
Step 1.Multiply 35 Nm by the effective length of the torque wrench (1).
Step 2.Add the effective length of the special tool (2) to the effective length of the torque wrench (1).
Step 3.Divide the total of step 1 by the total of step 2.
Step 4.Set the torque wrench to the figure arrived at in step 3.
- Tighten the transmission fluid fill plug to the torque given by the calculation.
pic 8
13. Remove the special tool.
14. Remove the container.
pic 9
15. Install the transmission undertray.
16. Lower the vehicle.
17. Disconnect the Jaguar Approved Diagnostic System.
________________________-
Even checking the transmission fluid requires a special tool.
Let me know if this helps.
Take care,
Joe
Images (Click to enlarge)
Oct 21, 2020 at 2:00 PM