Hi,
I need to better understand what is happening. When you say it comes out of gear, are you referring to the transmission or is the transfer case shifting to neutral?
_____________________________
The transfer case shift control module is under the dash and difficult to access. I will provide directions for replacement simply because they explain how to access it. The attached pics correlate with the directions.
____________________________
2003 Chevy Truck TrailBlazer 4WD L6-4.2L VIN S
Transfer Case Shift Control Module Replacement
Vehicle Power-train Management Transmission Control Systems Relays and Modules - Transmission and Drive-train Relays and Modules - Transfer Case Control Module Service and Repair Procedures NVG 226-NP8 Transfer Case Shift Control Module Replacement
TRANSFER CASE SHIFT CONTROL MODULE REPLACEMENT
Transfer Case Shift Control Module Replacement
Removal Procedure
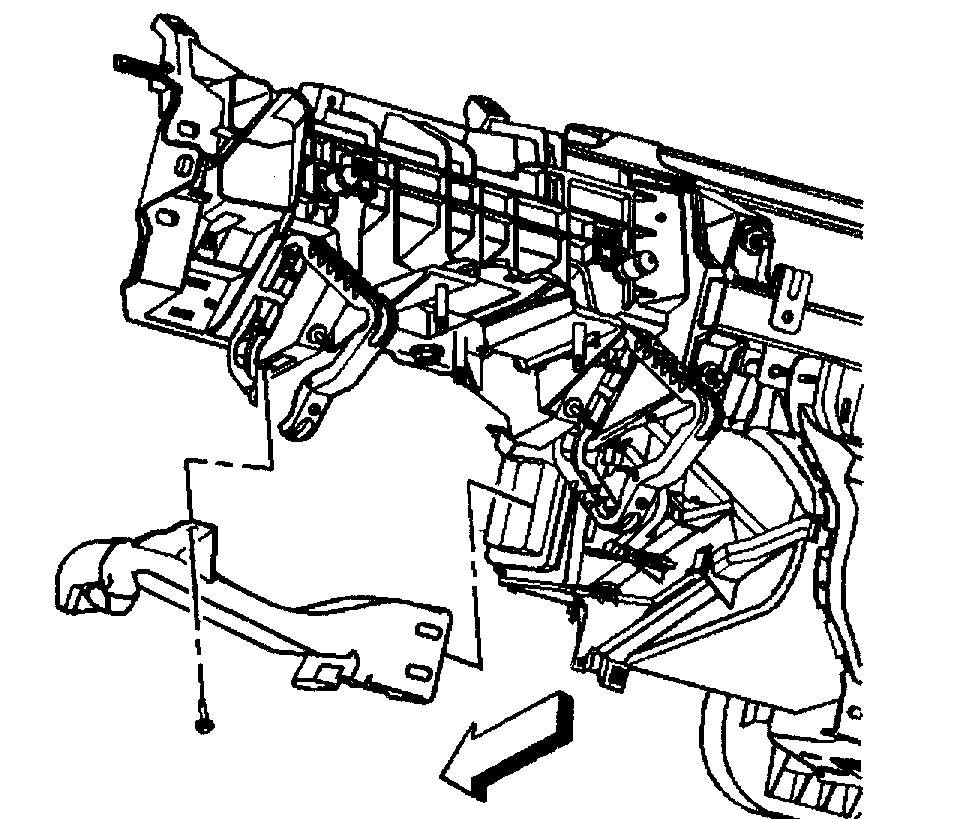
Important: The access panel is removed in order to visually see the electrical connectors and the location of the transfer case control module. It will also be easier to see the mounting and alignment slots for the transfer case control module mounting bracket.
pic 1
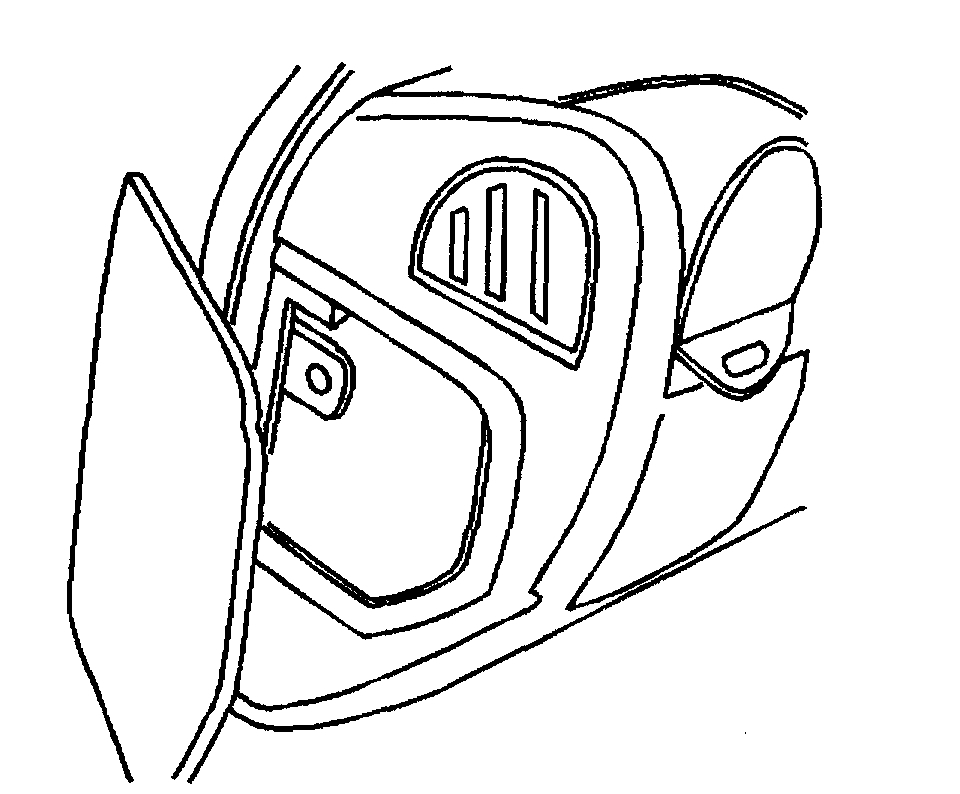
1. Remove the access panel.
pic 2
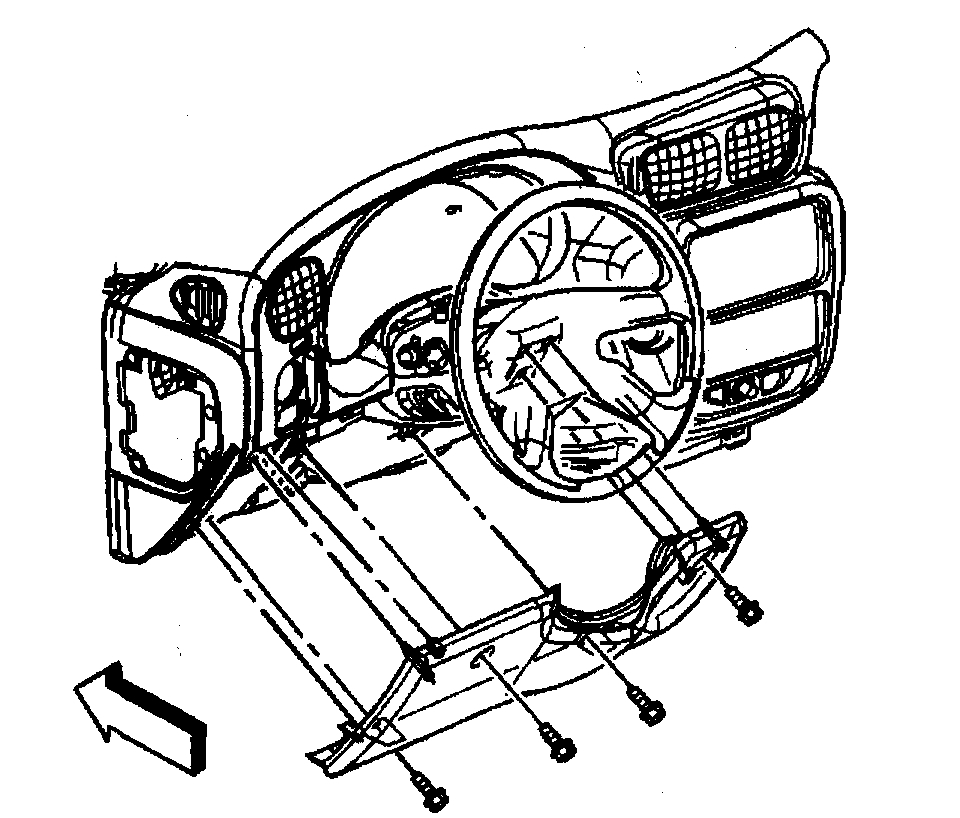
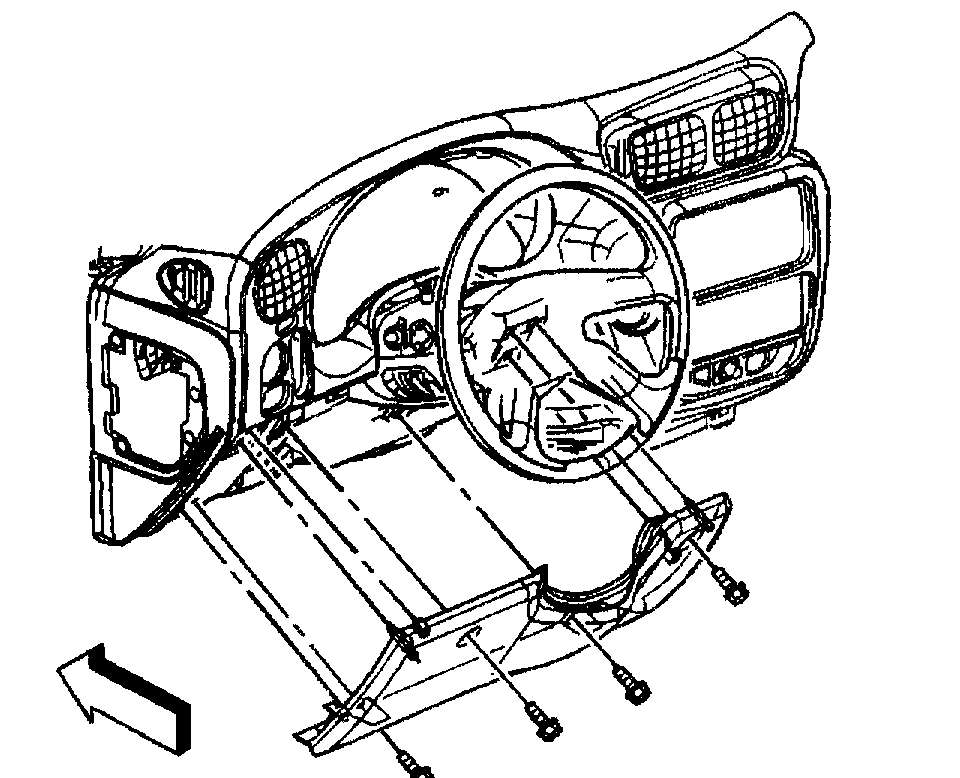
2. Remove the knee bolster panel.
pic 3
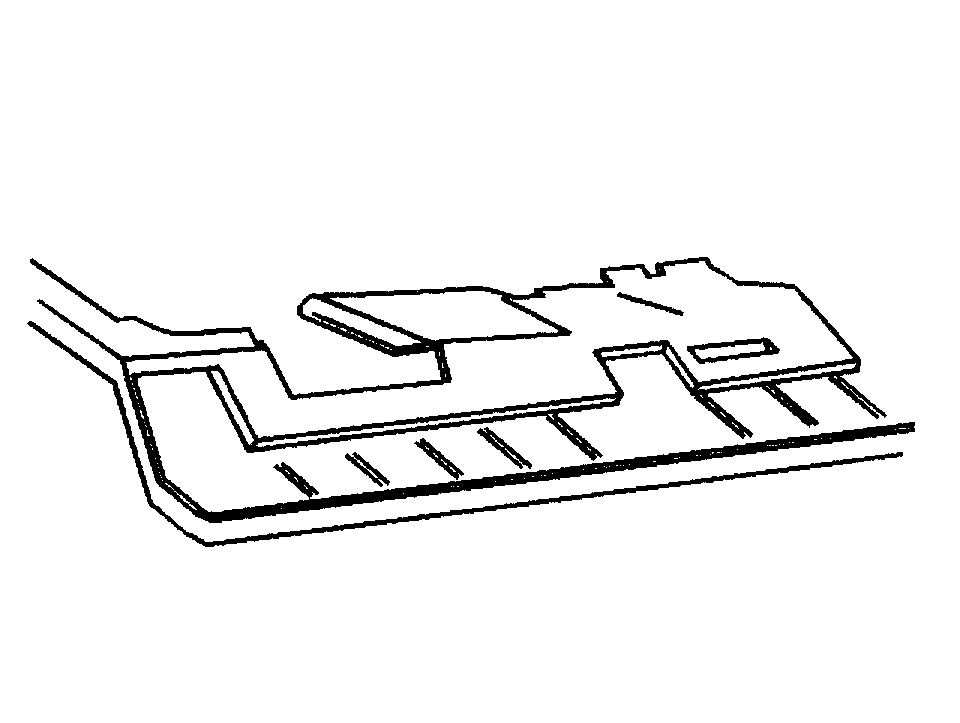
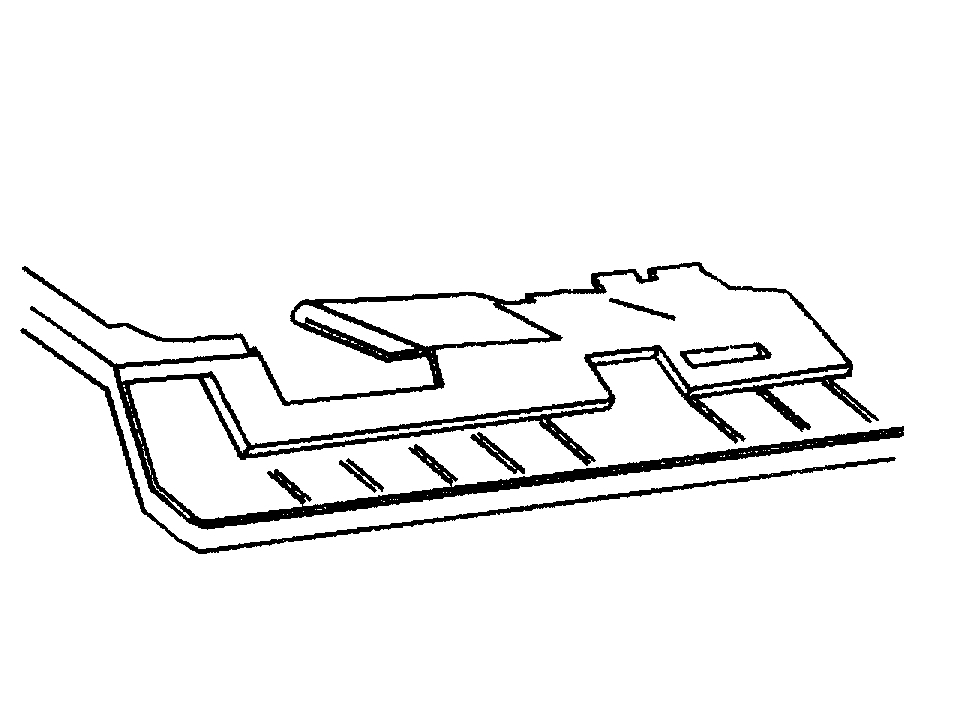
3. Remove the lower instrument panel cover.
pic 4
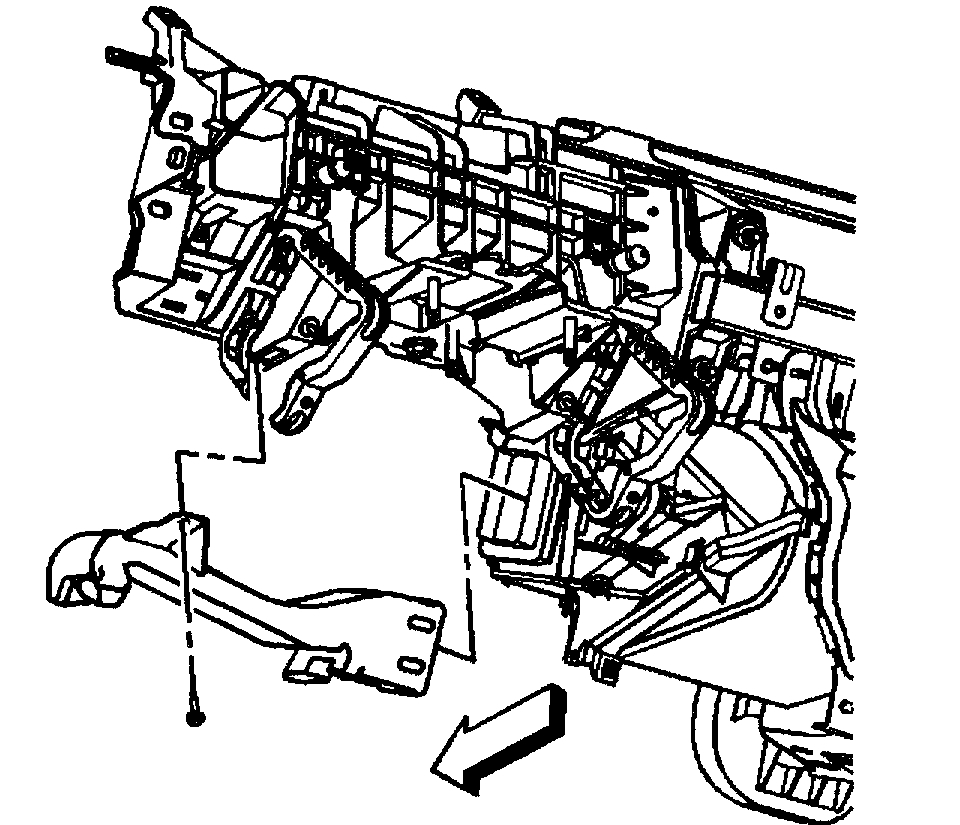
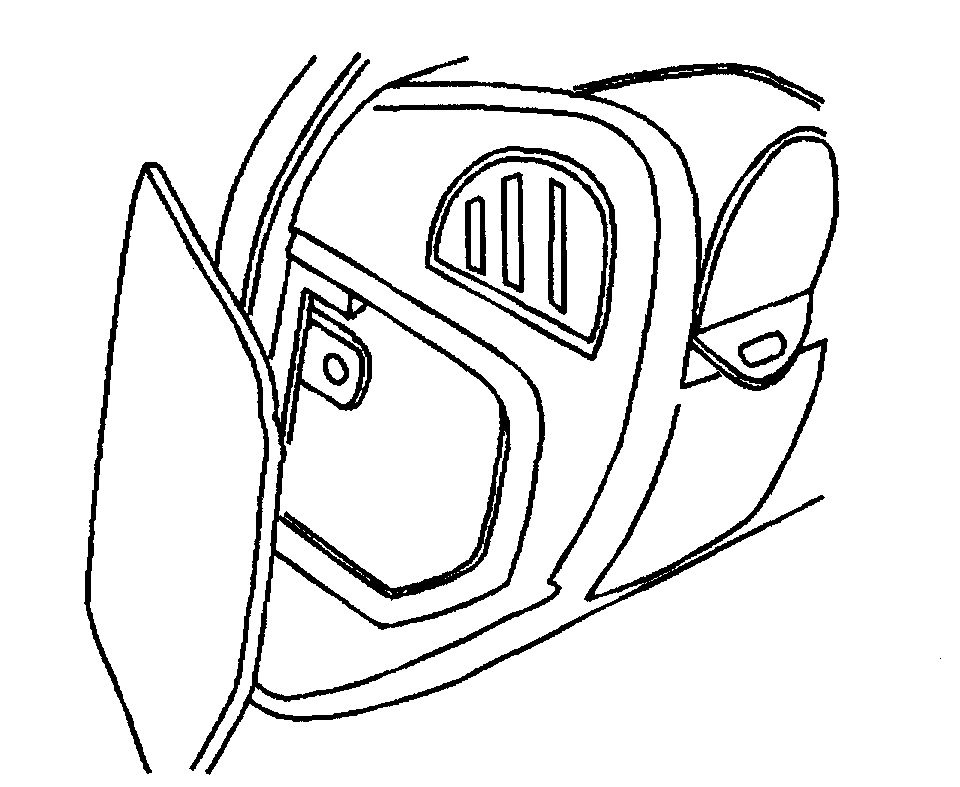
4. Remove the left hand heat, vent and air conditioning vent.
pic 5
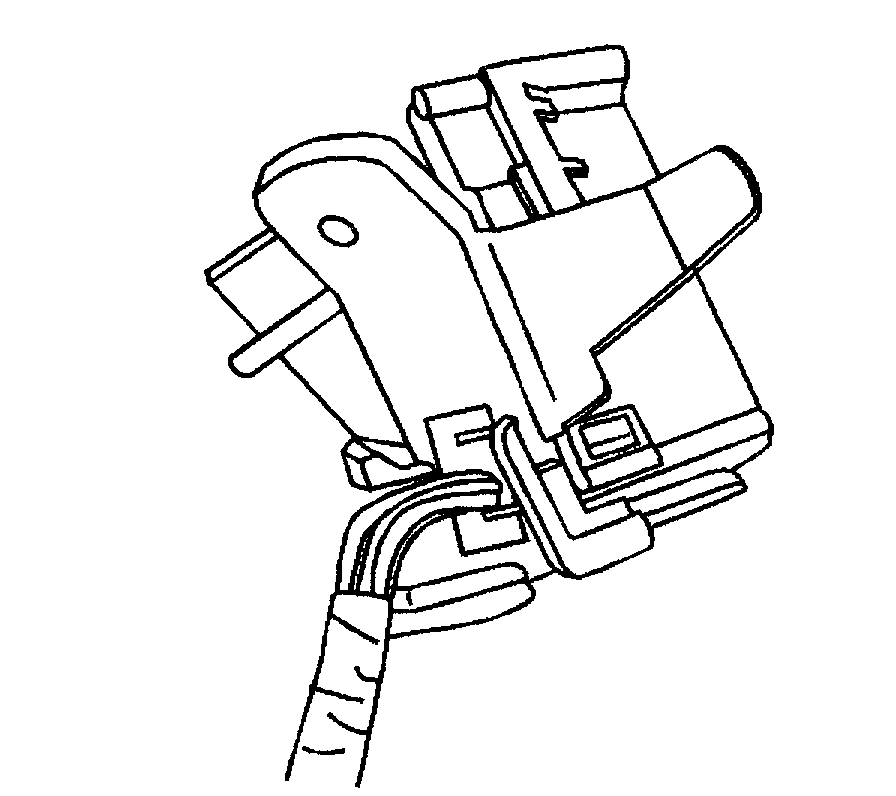
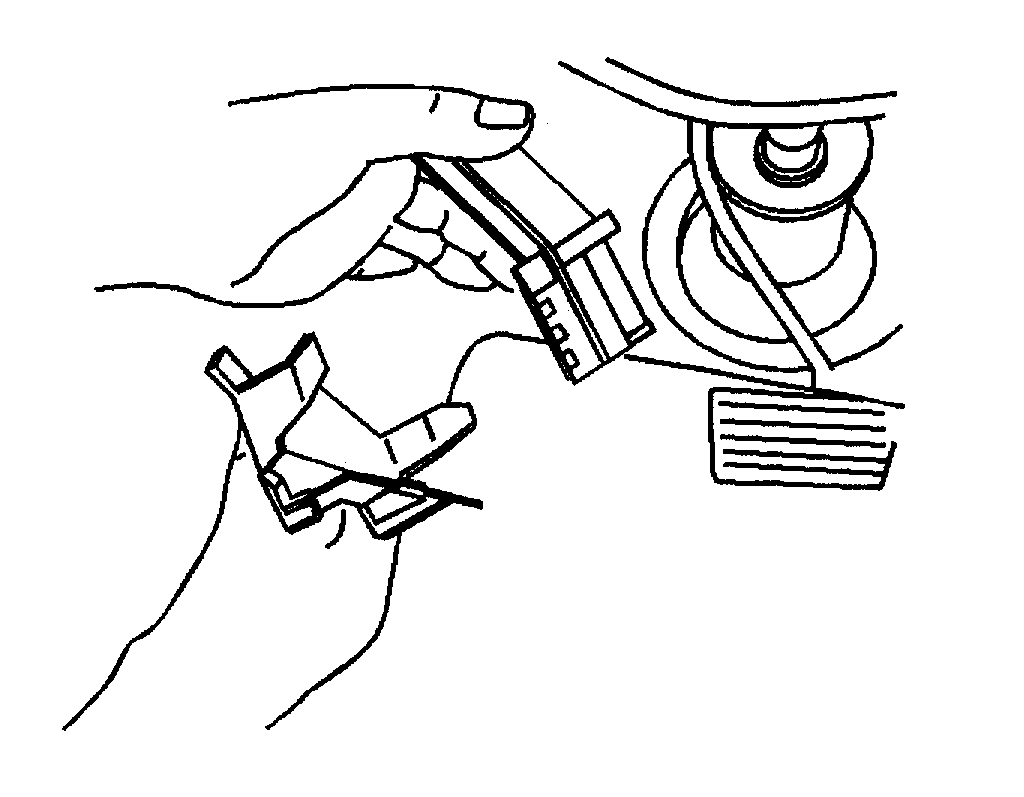
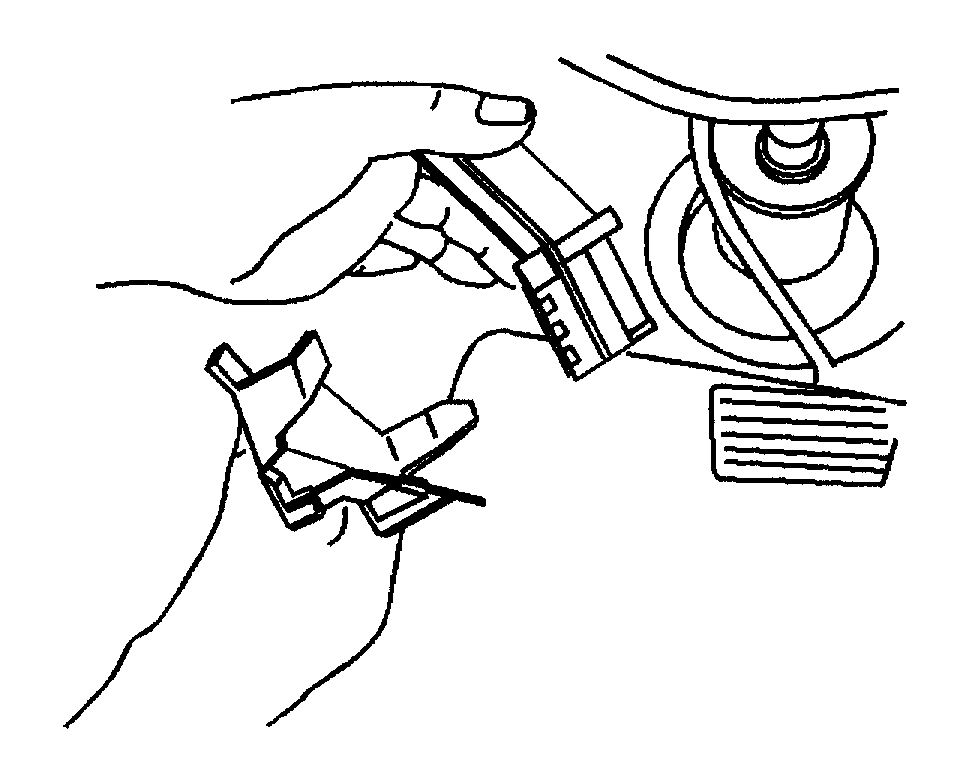
5. Remove the three electrical connectors from the transfer case control module.
6. Remove the transfer case control module.
Important: When removing the transfer control module, it is not uncommon for the mounting bracket to be removed at the same time the transfer case control module is removed.
pic 6
7. Remove the transfer case control module from the mounting bracket.
Installation Procedure
Important: The following service procedure is more easily performed if the mounting bracket and the electrical connectors are installed on the transfer case module before installing the transfer case module to the central support bracket.
pic 7
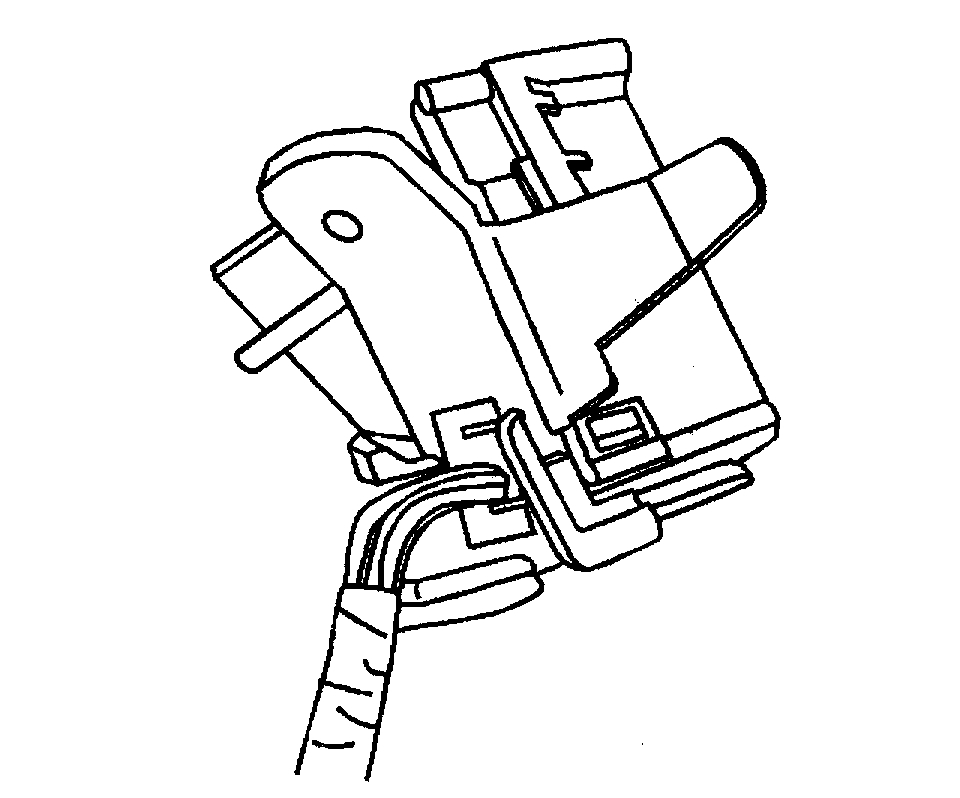
1. Install the mounting bracket to the transfer case control module.
pic 8
2. Install the electrical connectors to the transfer case control module.
3. Install the transfer case control module assembly to the center support bracket.
pic 9
4. Install the left hand heat, vent, and air conditioning vent assembly.
pic 10
5. Install the lower instrument panel cover.
pic 11
6. Install the knee bolster panel.
pic 12
7. Install the access panel.
8. Program the transfer case shift control module. Refer to Transfer Case Control Module Reprogramming. See: Vehicle > Programming and Relearning
____________________________________________
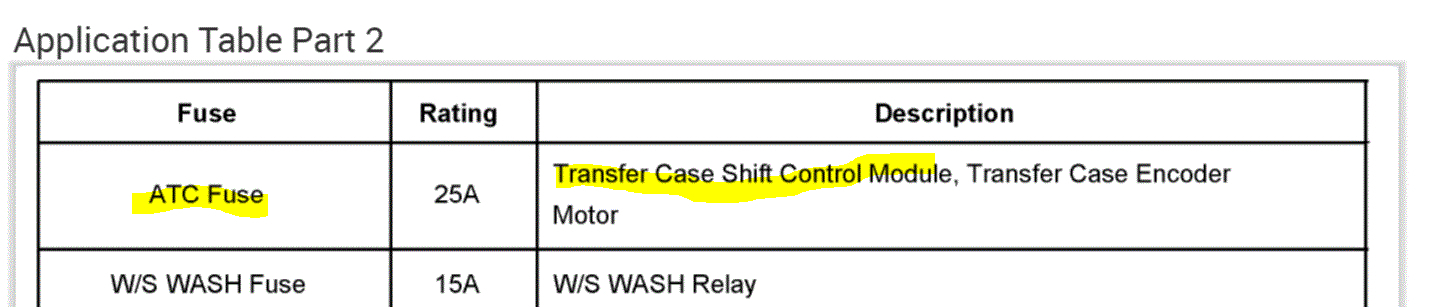
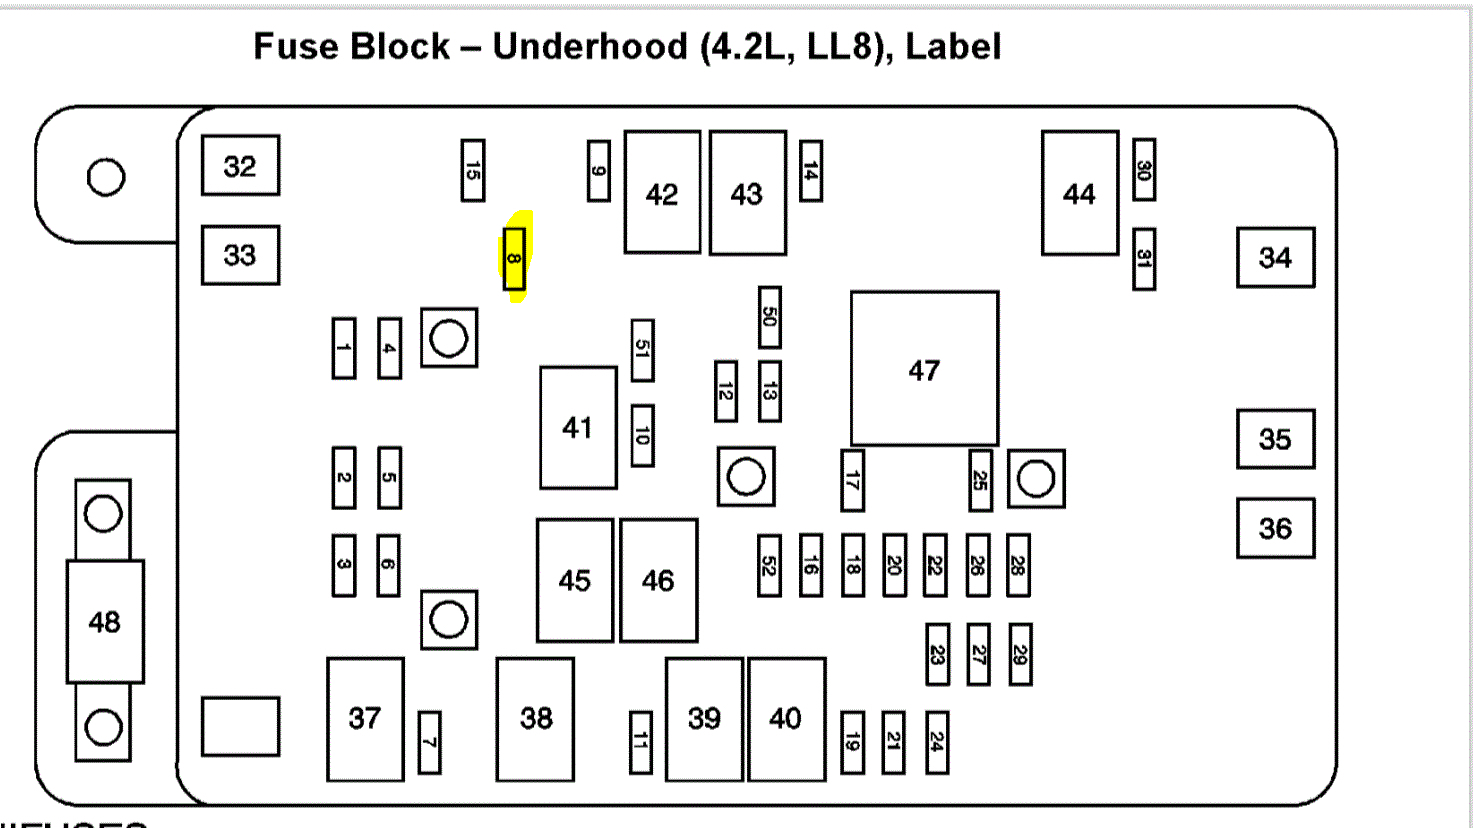
Pics 13 and 14 indicate the transfer-case shift control power supply fuse (under hood fuse box).
Let me know if this helps.
Take care,
Joe
Images (Click to enlarge)
Sep 14, 2020 at 6:28 PM