Hi,
Sorry I have absolutely no idea what they are talking about. You can't crimp wires on the starter.
Do me a favor. I am attaching the directions for removal and replacement for your vehicle.It shows wire connectors. I need to know if that is what you have. Also, send a pic of both the old and new starter so I can see exactly what you are dealing with.
The attached pics correlate with the directions.
__________________________________________________________
2007 Chevy Truck Equinox FWD V6-3.4L
Starter Motor Replacement
Vehicle Starting and Charging Starting System Starter Motor Service and Repair Removal and Replacement Starter Motor Replacement
STARTER MOTOR REPLACEMENT
Starter Motor Replacement
Removal Procedure
1. Disconnect the battery negative cable from the battery.
2. Raise and suitably support the vehicle. Refer to Vehicle Lifting.
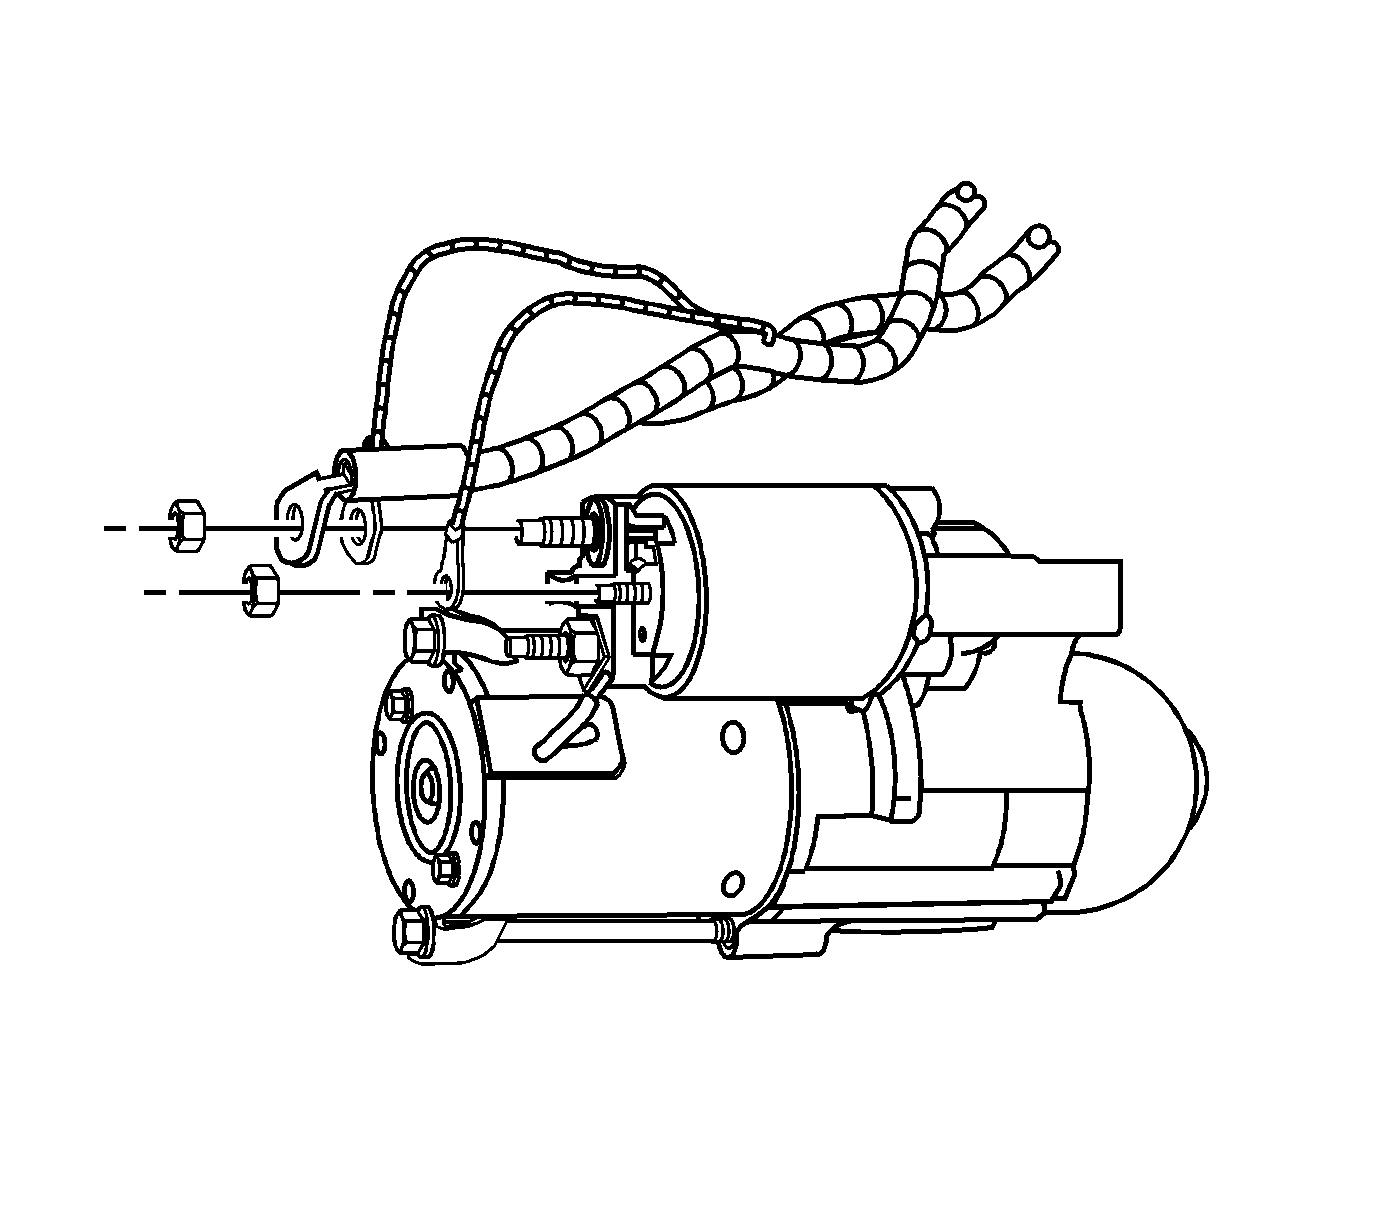
pic 1
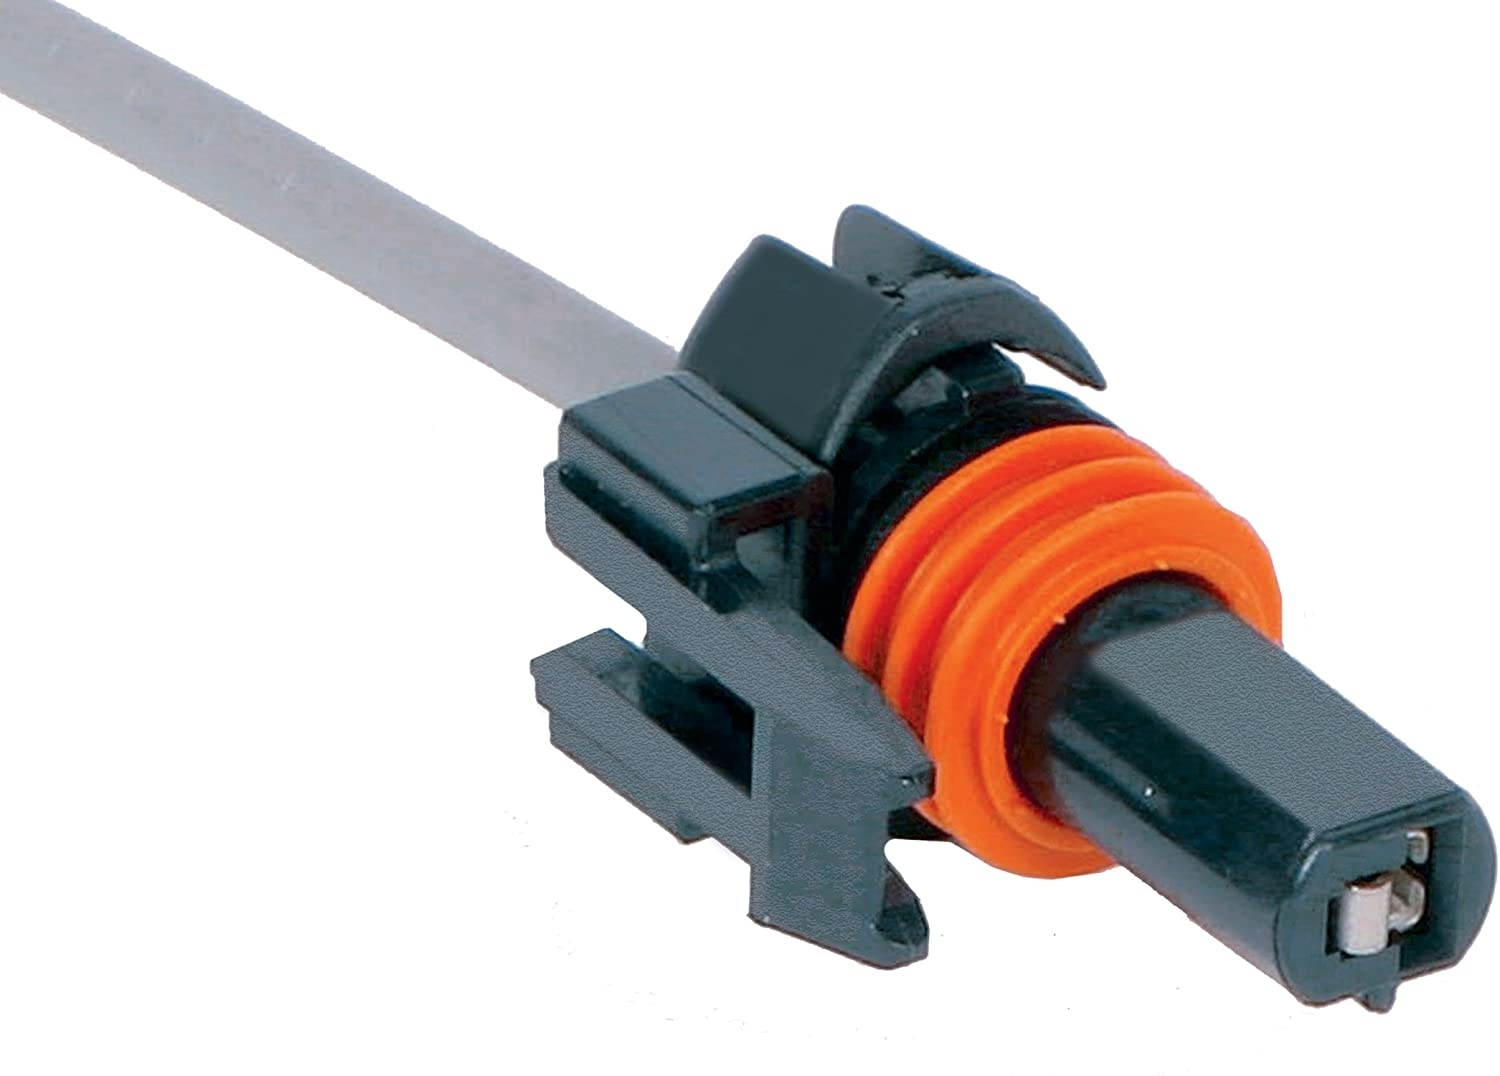
3. Remove the starter motor solenoid positive terminal nut and electrical wires.
4. Remove the starter motor solenoid S terminal nut and electrical wire.
pic 2
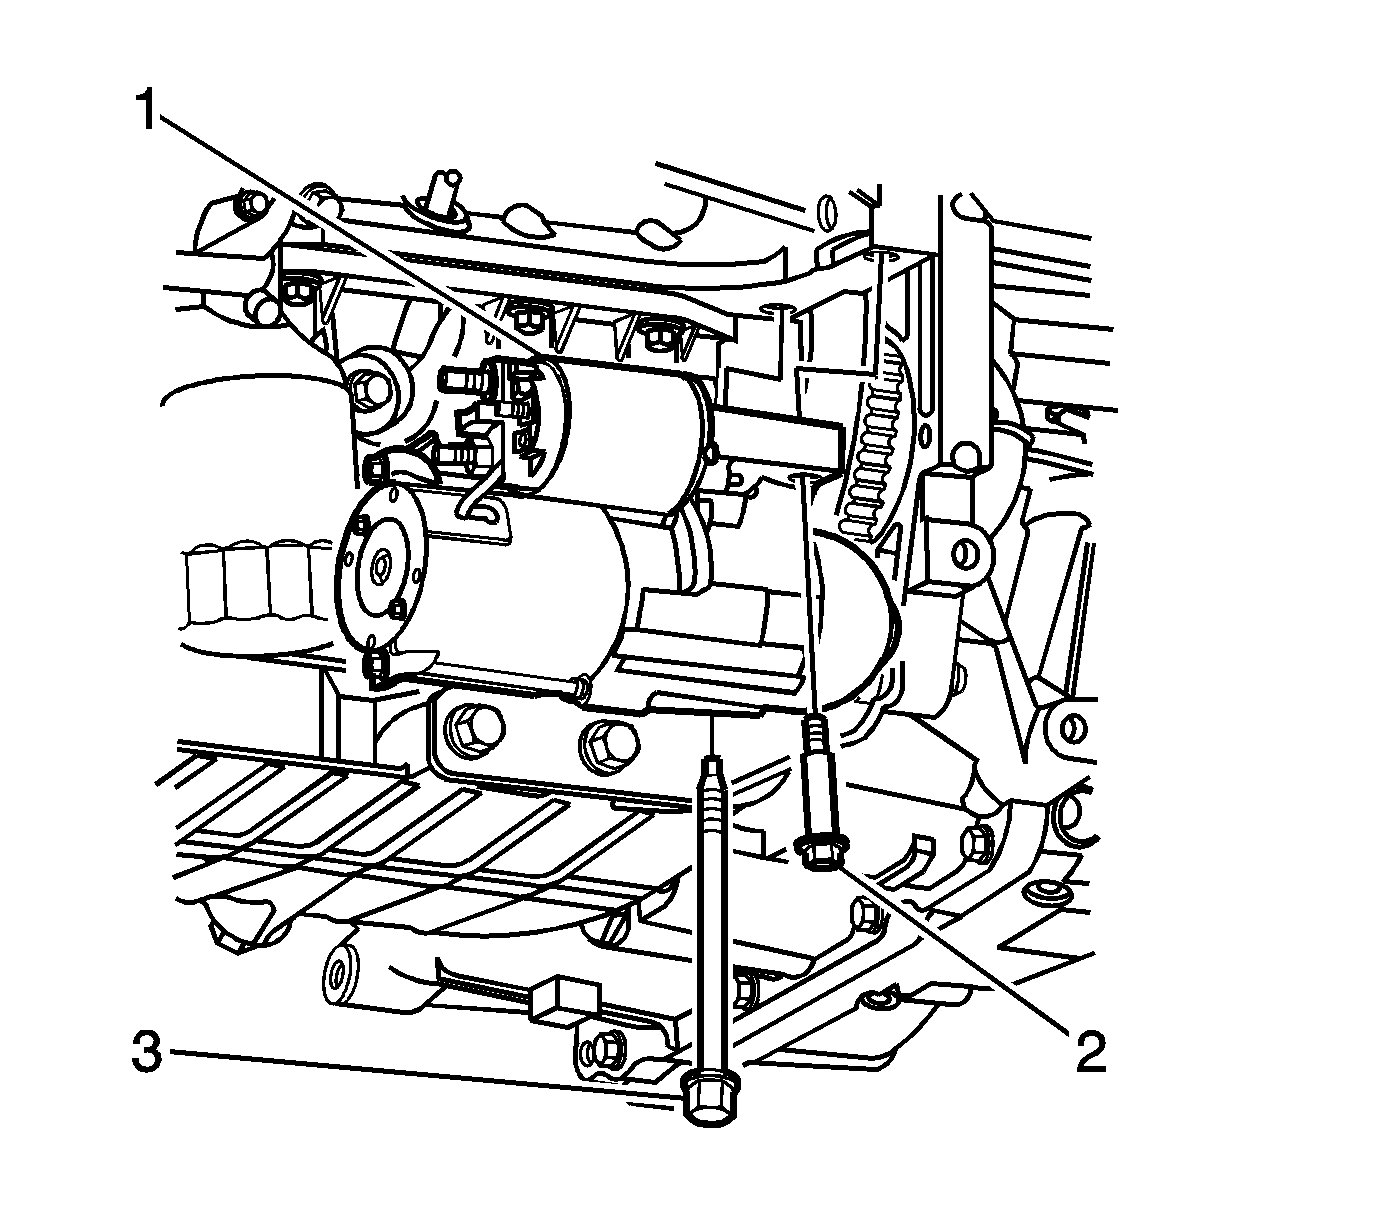
5. Remove the torque converter cover bolt (2).
6. Remove the torque converter cover (1).
pic 3
7. Remove the starter motor bolts (2, 3).
8. Remove the starter motor (1).
Installation Procedure
pic 4
1. Install the starter motor (1).
Notice: Refer to Fastener Notice.
2. Install the starter motor bolts (2, 3).
Tighten the starter motor bolts to 43 N.m (32 lb ft).
pic 5
3. Install the torque converter cover (1).
4. Install the torque converter cover bolt (2).
Tighten the bolt to 8 N.m (71 lb in).
pic 6
5. Install the starter motor solenoid S terminal electrical wire and nut.
Tighten the solenoid S terminal nut to 3 N.m (27 lb in).
6. Install the starter motor solenoid positive terminal electrical wires and nut.
Tighten the solenoid positive terminal nut to 10 N.m (89 lb in).
7. Lower the vehicle.
8. Install the battery negative cable to the battery.
___________________________________
Let me know.
Joe
Images (Click to enlarge)
Jun 13, 2020 at 9:40 PM