Shifting/gear issue?

Tiny
JAMES WARNER
  • MEMBER
  • 2004 CHRYSLER PT CRUISER
  • 2.4L
  • 4 CYL
  • TURBO
  • 2WD
  • AUTOMATIC
  • 114,553 MILES
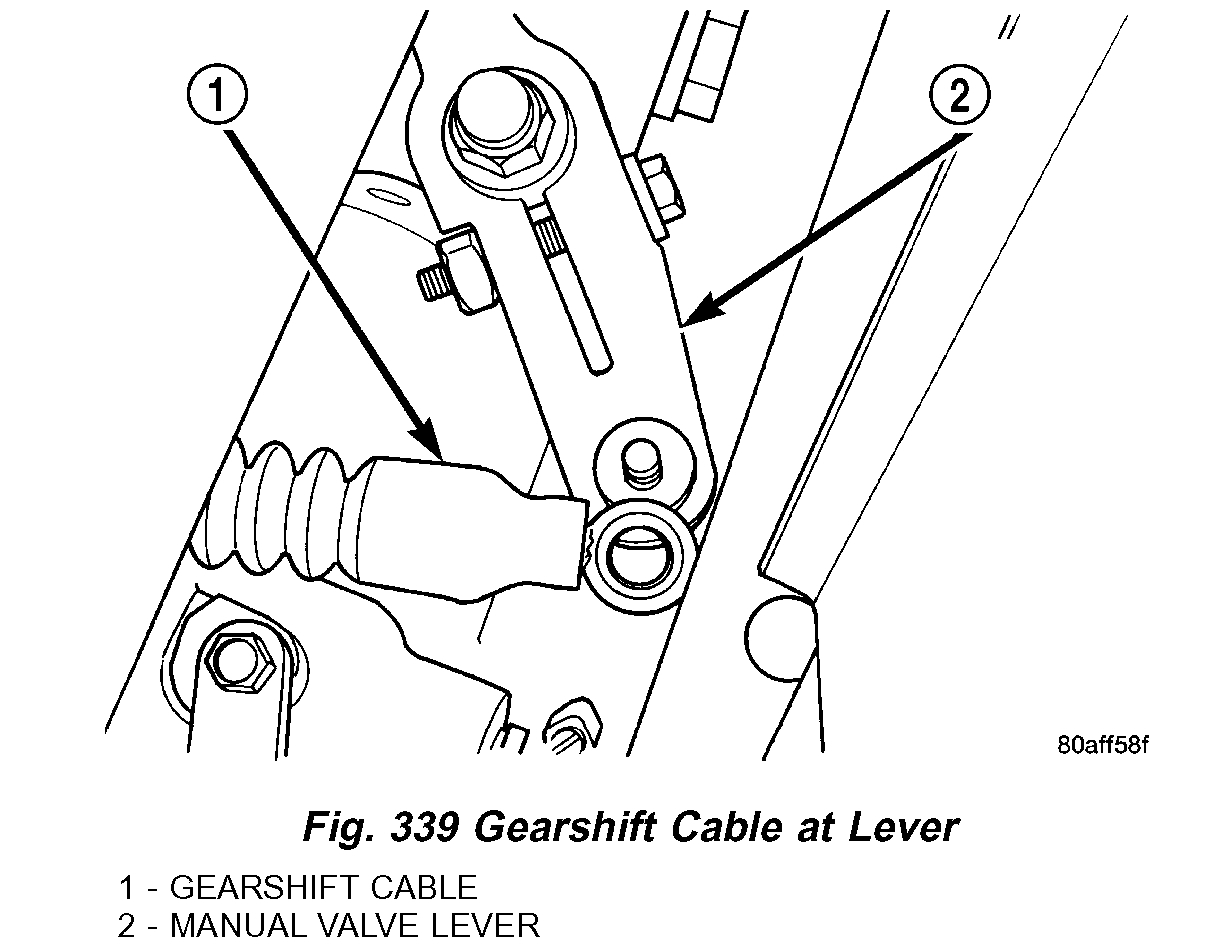
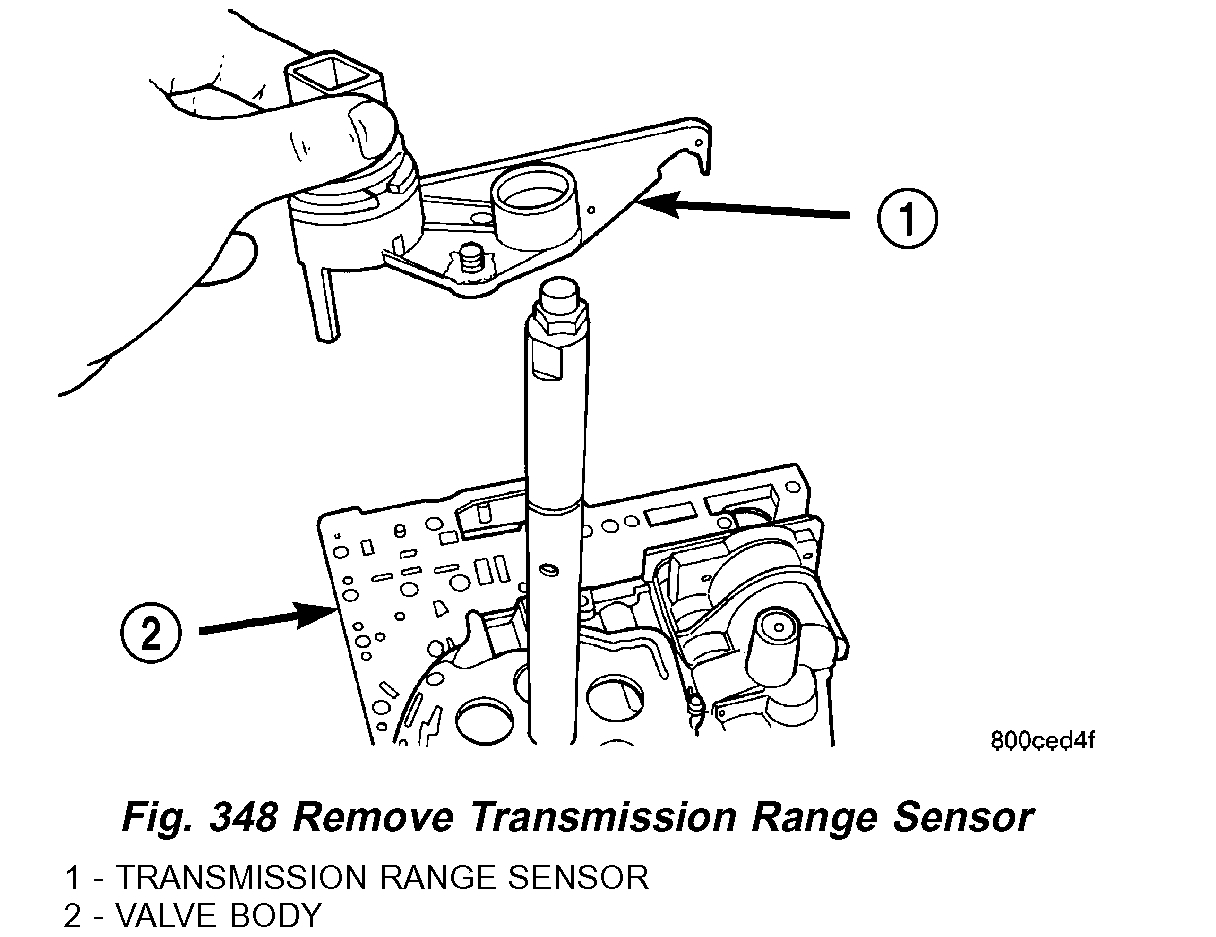
Not really sure how to explain this, but sometimes when first starting or shifting into neutral the gear display in the dashboard which has P R N D. Will normally have one encircled in a square but sometimes all are encircled in a square. It doesn’t seem to have any issues as far as shifting other than a few second delay (maybe 3 seconds tops). But today 1/11/2021 I was sitting at a red light while the car was in drive and out of nowhere it suddenly shifted into auto stick. The shifter has to be shifted all the way back to put it into auto stick and it was still in the drive position. I immediately shifted it back into park and then drive and it seemed to correct the issue of that but I babied it home just to be safe. It will rarely do the display issue with the gears where they will all be encircled in squares when it’s in park or neutral. Sometimes it’s out of the blue and sometimes it stays that way until driven. I have checked the transmission fluid frequently in the last 2 weeks and I added some Lucas transmission slip aid and half a quart of transmission fluid since this problem started and it hasn’t seemed to need more fluid as far as I know. I’m told by most people (non mechanic, just car people) that it mainly sounds like the transmission shift solenoid but I’d rather have an expert opinion. I also forgot to mention this but the computer has thrown no error codes or anything.
Do you
have the same problem?
Yes
No
Monday, January 11th, 2021 AT 4:05 PM

1 Reply

Tiny
JACOBANDNICKOLAS
  • MECHANIC
  • 108,014 POSTS
Hi,

It doesn't have to do with a shift solenoid. What determines the indicator's selection is called a transmission range sensor. It is located in the transmission. Chances are it is going bad.

___________________________

Here are the directions for replacing it. The attached pics below correlate with the directions.

__________________________

2004 Chrysler Truck PT Cruiser L4-2.4L Turbo VIN G
Procedures
Vehicle Powertrain Management Sensors and Switches - Powertrain Management Sensors and Switches - Computers and Control Systems Transmission Position Sensor/Switch Service and Repair Procedures
PROCEDURES
TRANSMISSION RANGE SENSOR

REMOVAL
The valve body assembly must be removed to gain access to and replace the transmission range sensor.
1. Disconnect the battery cables.

Pic 1

2. Remove air cleaner assembly (Fig. 336).

Pic 2

3. Remove the battery hold down clamp and remove the battery (Fig. 337).

Pic 3

4. Remove the battery tray (Fig. 338).

Pic 4

5. Disconnect gearshift cable from manual valve lever (Fig. 339).
6. Remove manual valve lever.
7. Disconnect transmission range sensor connector.
8. Hoist vehicle.

Pic 5

9. Remove oil pan bolts (Fig. 340).

Pic 6

10. Remove oil pan (Fig. 341).

Pic 7

11. Remove oil filter (Fig. 342).

Pic 8

12. Remove the valve body-to-transaxle case bolts (Fig. 343).

NOTE: To ease removal of the valve body, turn the manual valve lever fully clockwise to low or first gear.

Pic 9

pic 10

13. Remove park rod rollers from guide bracket and remove valve body from transaxle (Fig. 344) (Fig. 345).

CAUTION: The valve body manual shaft pilot may distort and bind the manual valve if the valve body is mishandled or dropped.

Pic 11

14. Remove manual shaft seal (Fig. 346).

Pic 12

15. Remove TRS retaining screw (Fig. 347).

Pic 13

16. Slide Transmission Range Sensor up the manual shaft and remove (Fig. 348).

INSTALLATION
The valve body assembly must be removed to gain access to and replace the transmission range sensor.
1. Install transmission range sensor (Fig. 348).
2. Tighten retaining screw (Fig. 347) to 5 Nm (45 inch lbs.).
3. Install manual shaft seal (Fig. 346).
4. Guide park rod rollers into guide bracket while installing valve body to the transaxle case (Fig. 344) (Fig. 345).
5. Install the valve body-to-case bolts (Fig. 343)and torque to 12 Nm (105 inch lbs.).
6. Install the oil filter (Fig. 342). Inspect the O-ring for damage and replace as necessary.
7. Install an 1/8 inch bead of RTV as shown in (Fig. 341)and install pan to case.
8. Install oil pan bolts (Fig. 340) and torque to 19 Nm (165 inch lbs.) Torque.
9. Lower vehicle.
10. Connect transmission range sensor connector.
11. Install manual valve lever to manual valve.
12. Install gear shift cable to manual valve lever (Fig. 339).
13. Install the battery tray (Fig. 338).
14. Install the battery and hold down clamp (Fig. 337).
15. Install air cleaner assembly (Fig. 336).
16. Connect battery cables.
17. Fill transaxle with ATF +4 (Automatic Transmission Fluid-Type 9602).

____________________

I hope this helps. Let me know if you have other questions.

Take care and God Bless,

Joe
Was this
answer
helpful?
Yes
No
Wednesday, March 3rd, 2021 AT 8:43 PM

Please login or register to post a reply.

Sponsored links