Hi,
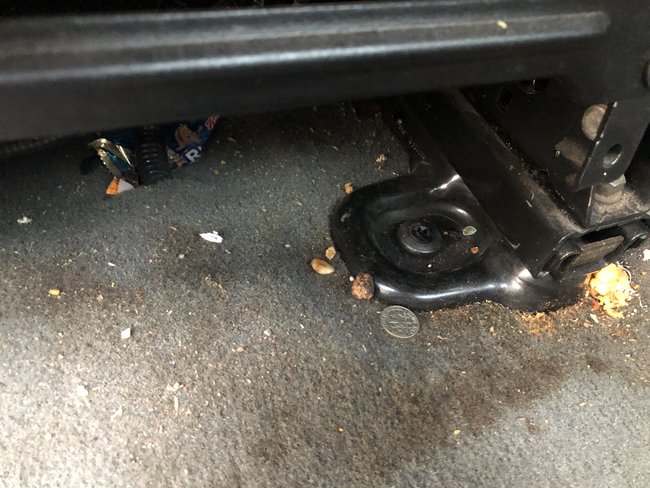
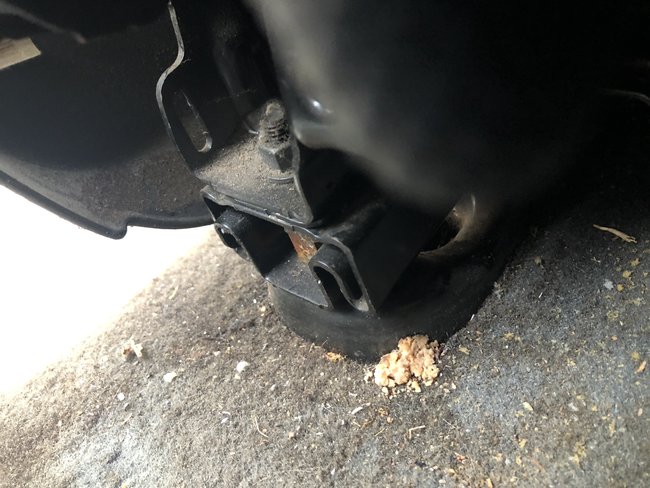
Is the seat all the way forward? Here are the directions. Let me know if they help. The attached pic correlates with the directions.
____________________________________________
2008 Ford Truck F 150 4WD V8-5.4L
Front Seat
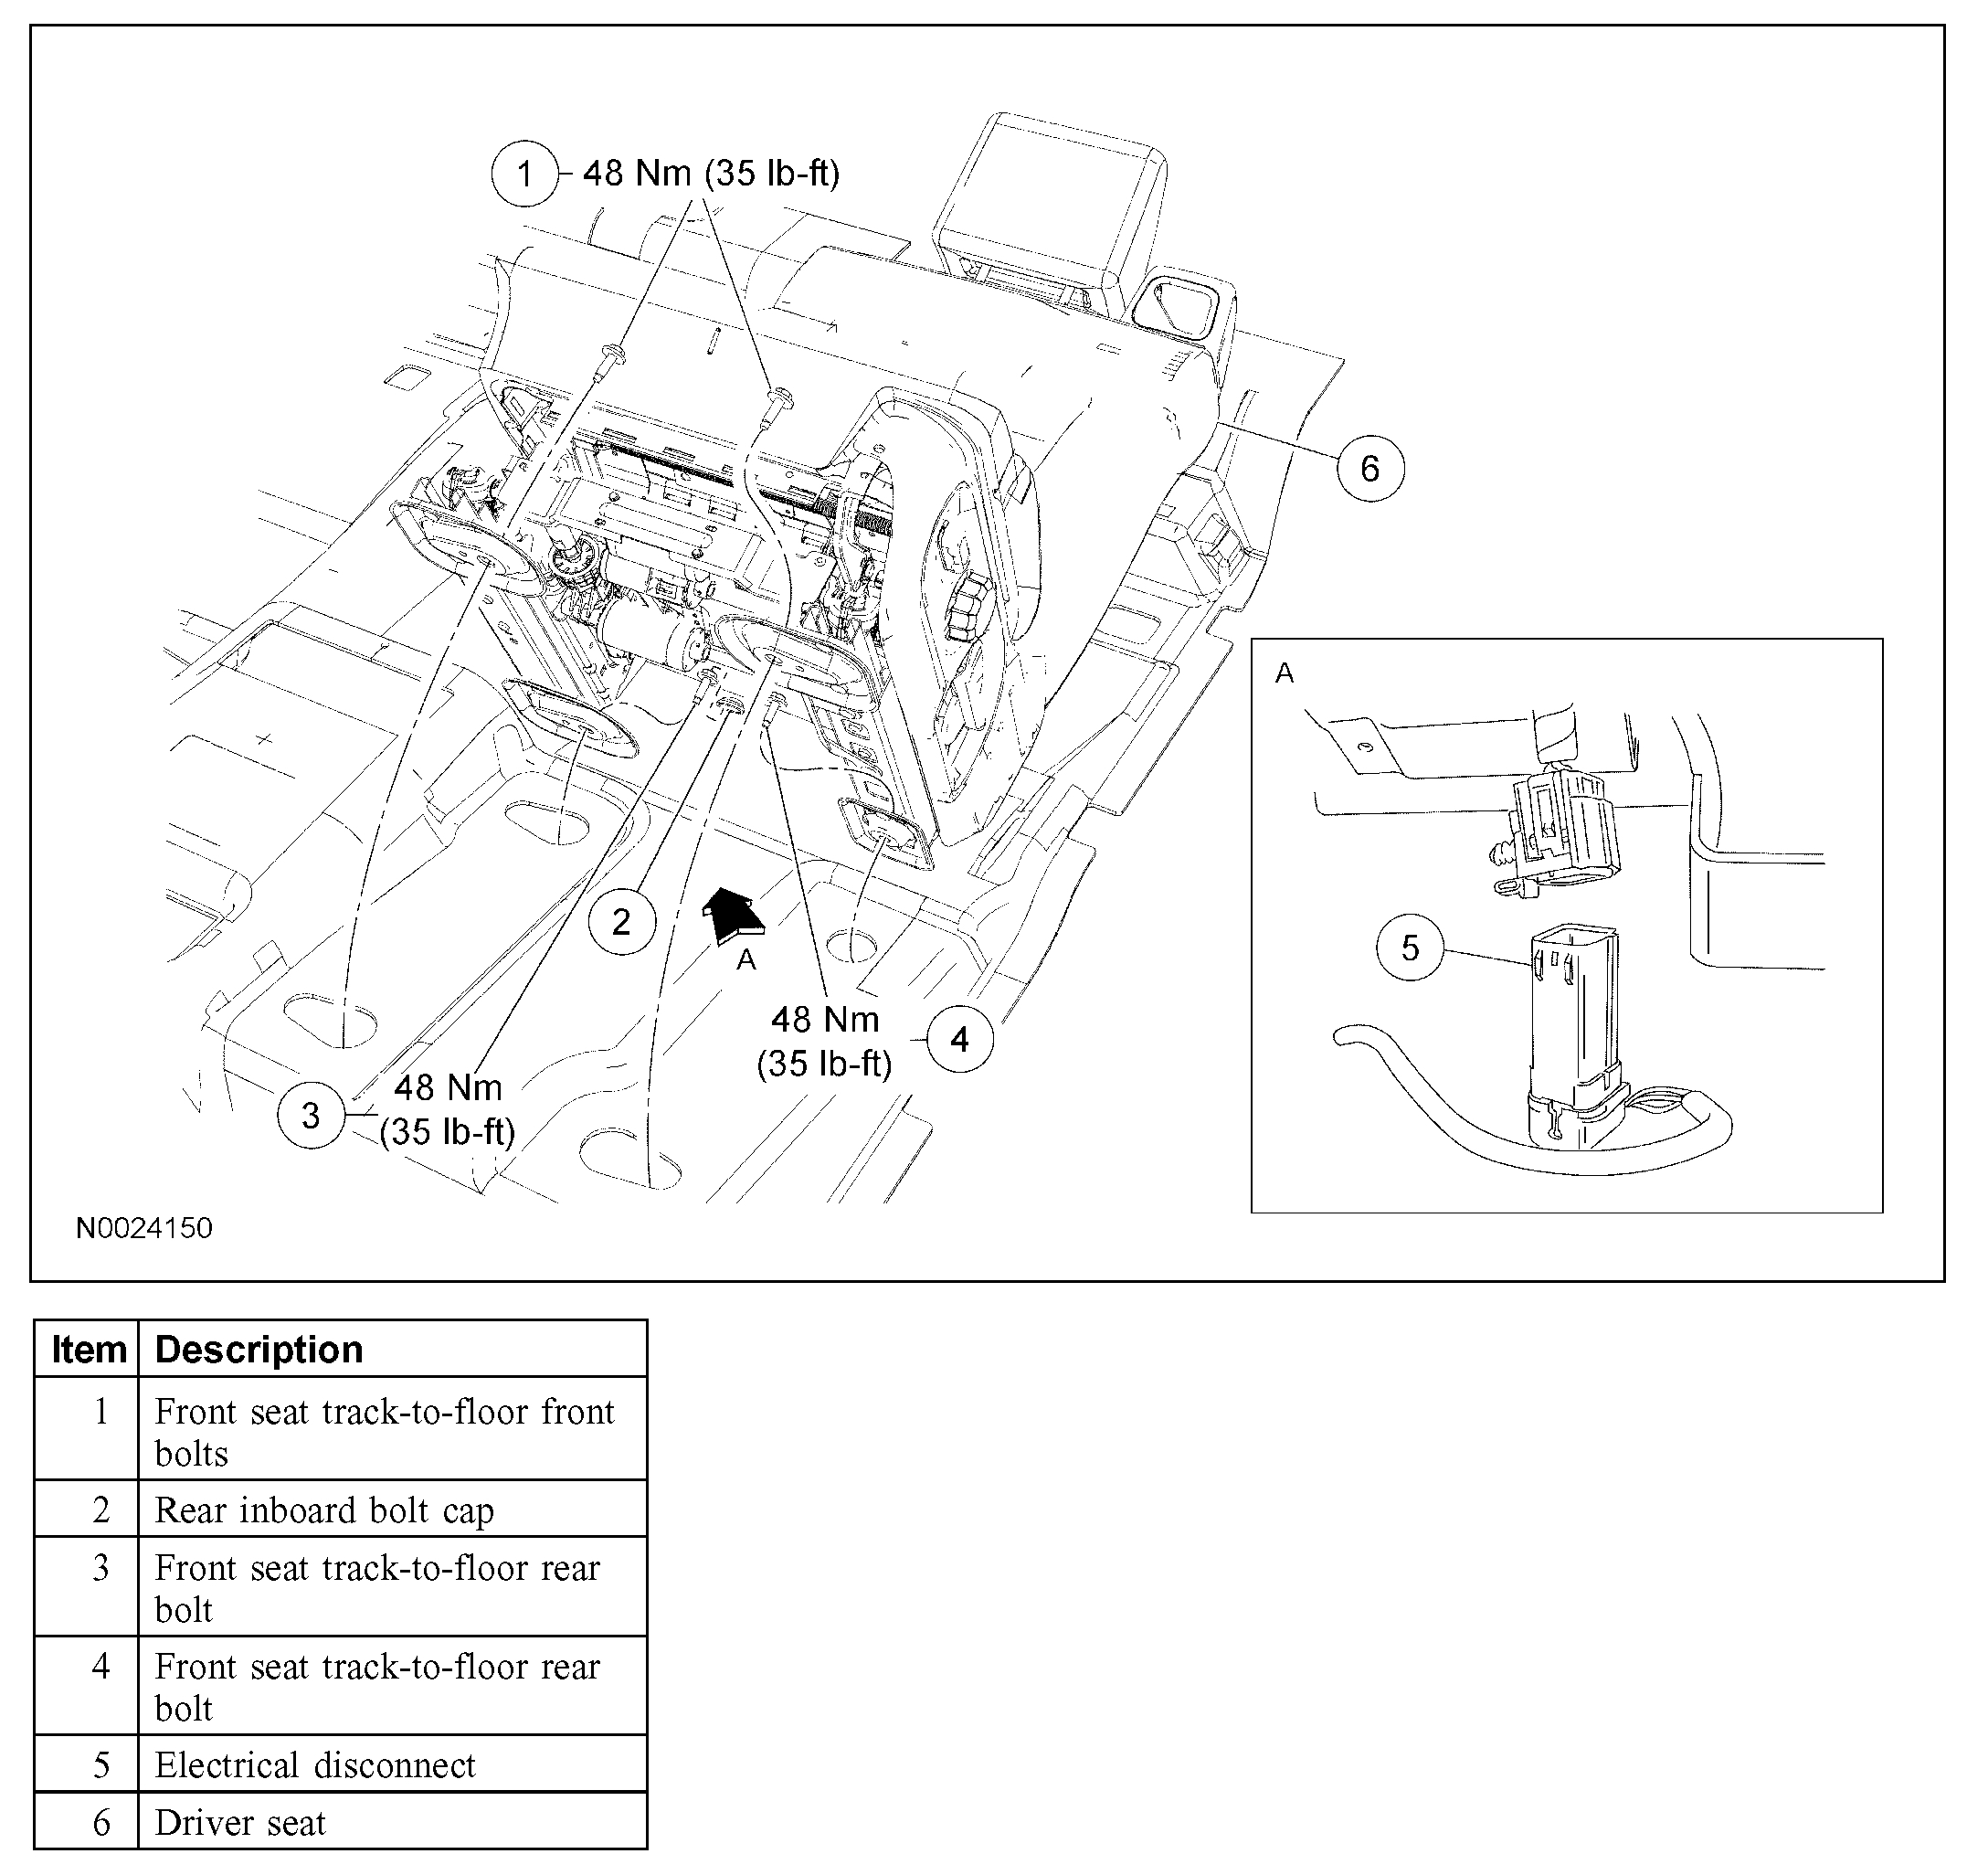
Vehicle Body and Frame Seats Service and Repair Procedures Removal and Installation Front Seat
FRONT SEAT
FRONT SEAT
pic 1
Removal
WARNING:
- The safety belt pretensioner is a pyrotechnic device. Always wear safety glasses when repairing an air bag equipped vehicle and when handling a safety belt buckle pretensioner or safety belt retractor pretensioner. Never probe a pretensioner electrical connector. Doing so could result in pretensioner or air bag deployment and could result in personal injury.
- To reduce the risk of personal injury, do not use any memory saver devices.
NOTE:
- If a seat equipped with a supplemental restraint system (SRS) component is being serviced, the SRS must be depowered.
- The air bag warning lamp illuminates when the RCM fuse is removed and the ignition switch is ON. This is normal operation and does not indicate a supplemental restraint system (SRS) fault.
- The SRS must be fully operational and free of faults before releasing the vehicle to the customer.
- Driver seat shown, passenger seat similar.
1. Move the seat fully rearward.
2. Remove the 2 front seat track-to-floor front bolts.
3. Move the seat to the most forward position.
4. Depower the SRS.
5. Remove the 2 front seat track-to-floor rear bolts.
6. NOTE: Additional component connectors may exist due to vehicle options.
Disconnect the electrical connector(s).
7. Remove the seat from the vehicle.
Installation
1. Position the seat in the vehicle.
2. NOTE: Additional component connectors may exist due to vehicle options.
Connect the electrical connector(s).
3. Install the 2 front seat track-to-floor rear bolts.
- Tighten the rear seat bolts to 48 Nm (35 lb-ft) in the following sequence:
- Rear outboard bolt.
- Rear inboard bolt.
4. Repower the SRS.
5. Move the seat fully rearward.
6. Install the 2 front seat track-to-floor bolts.
- Tighten to 48 Nm (35 lb-ft).
_________________________________
Let me know.
Joe
Apr 13, 2020 at 4:46 PM