Hi,
It could be a bent driveshaft, but that doesn't happen often. Usually, it is caused by an accident, something hitting it, or extreme conditions placed on it.
Instead, it sounds like an issue with a universal joint. Have they been checked? With a little time, this is something you can check at home. Take a look through this link:
https://www.2carpros.com/articles/how-u-joints-work
Here is a link which explains how to remove a drive shaft:
https://www.2carpros.com/articles/how-to-remove-a-drive-shaft
Here are the directions specific to your vehicle for removal of the drive shaft. The attached pics correlate with the directions.
___________________________________________________-
2006 Chevy Truck 1/2 Ton 4WD V8-5.3L VIN T
Rear
Vehicle Transmission and Drivetrain Drive/Propeller Shafts, Bearings and Joints Drive/Propeller Shaft Service and Repair Procedures Propeller Shaft Replacement Rear
REAR
Propeller Shaft Replacement- Rear
Removal Procedure
pic 1
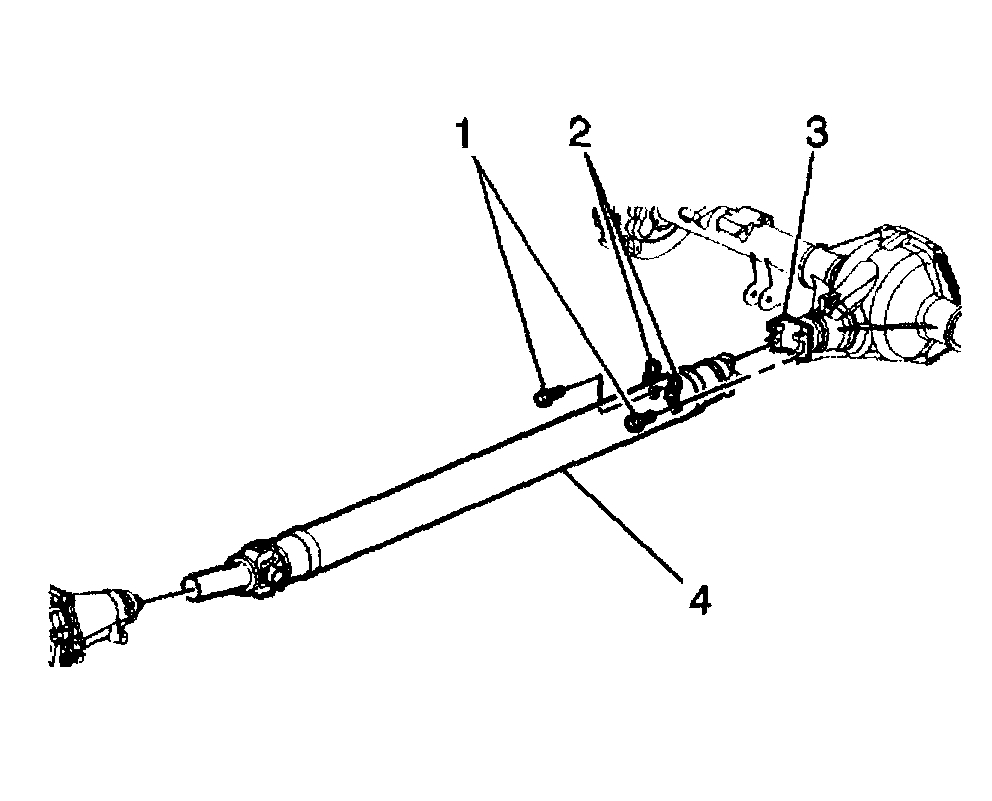
Important: Observe and accurately reference mark all driveline components relative to the propeller shaft and axles before disassembly. These components include the propeller shafts, the drive axles, the pinion flanges, the output shafts, etc. All components must be reassembled in the exact relationship to each other as they were when removed. In addition, published specifications and torque values, as well as any measurements made prior to disassembly must be followed.
1. Raise the vehicle. Refer to Lifting and Jacking the Vehicle.
2. Reference mark the propeller shaft to the rear axle pinion yoke.
3. Reference mark the propeller shaft to the transmission or transfer case.
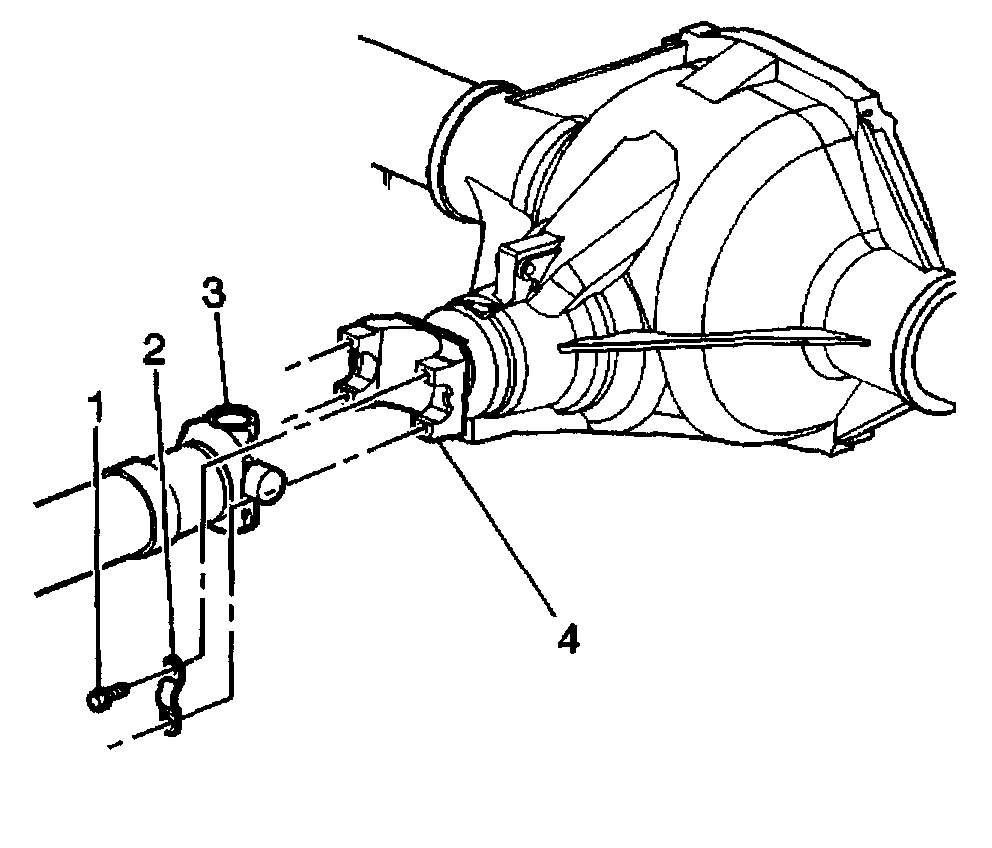
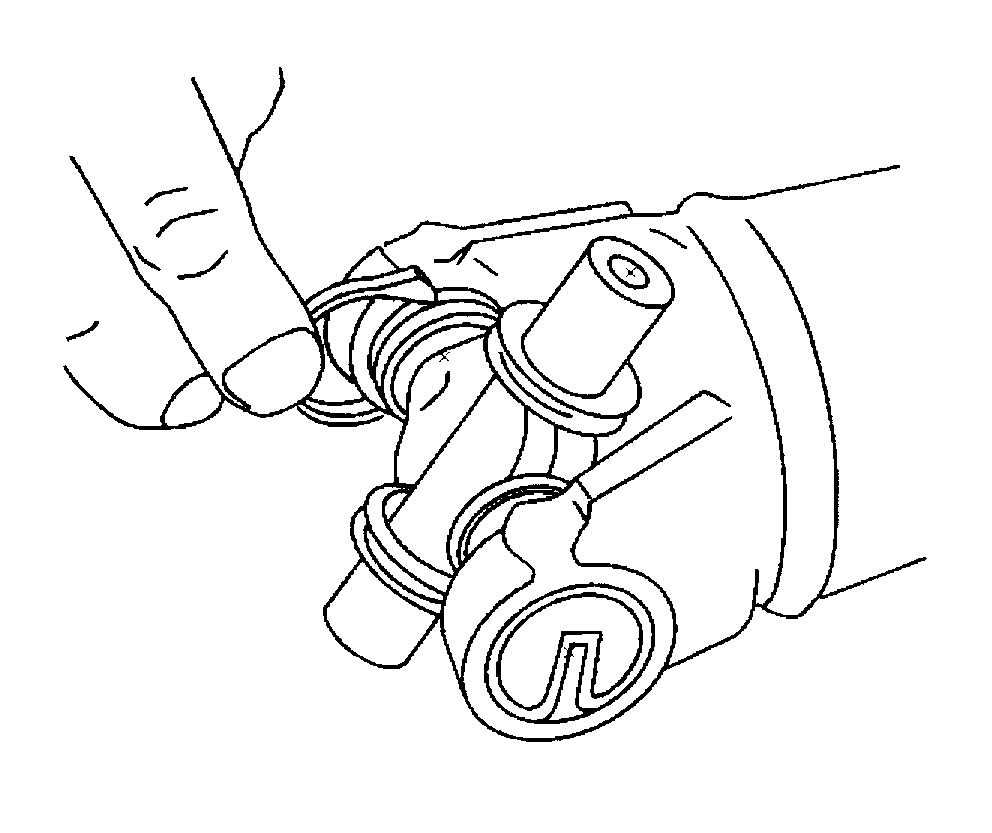
4. Remove the bolts (1) and the yoke retainers (2) from the rear axle pinion yoke (3).
pic 2
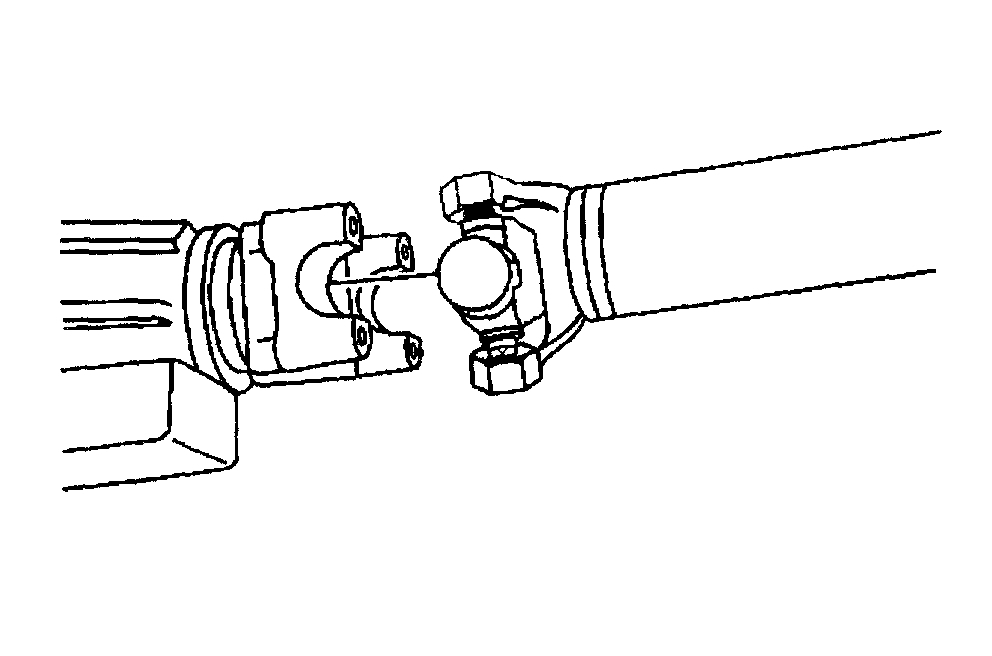
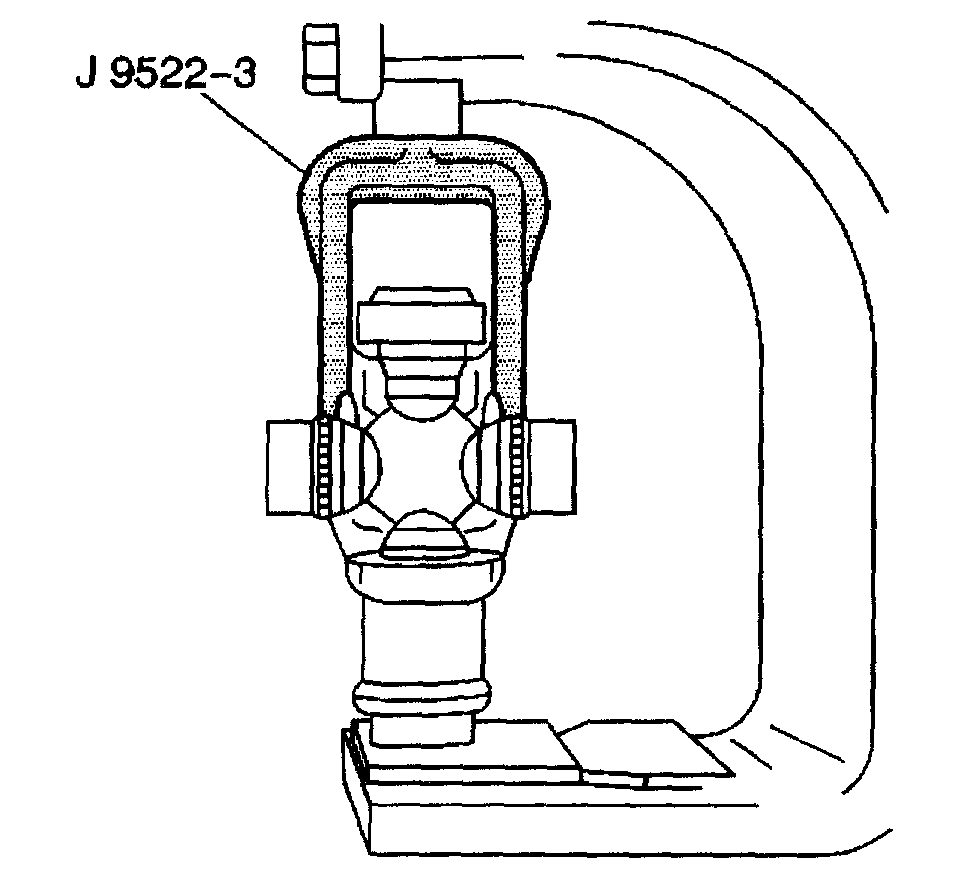
Notice: When removing the propeller shaft, do not attempt to remove the shaft by pounding on the yoke ears or using a tool between the yoke and the universal joint. If the propeller shaft is removed by using such means, the injection joints may fracture and lead to premature failure of the joint.
5. Slide the propeller shaft forward in order to disconnect the propeller shaft from the rear axle pinion yoke.
pic 3
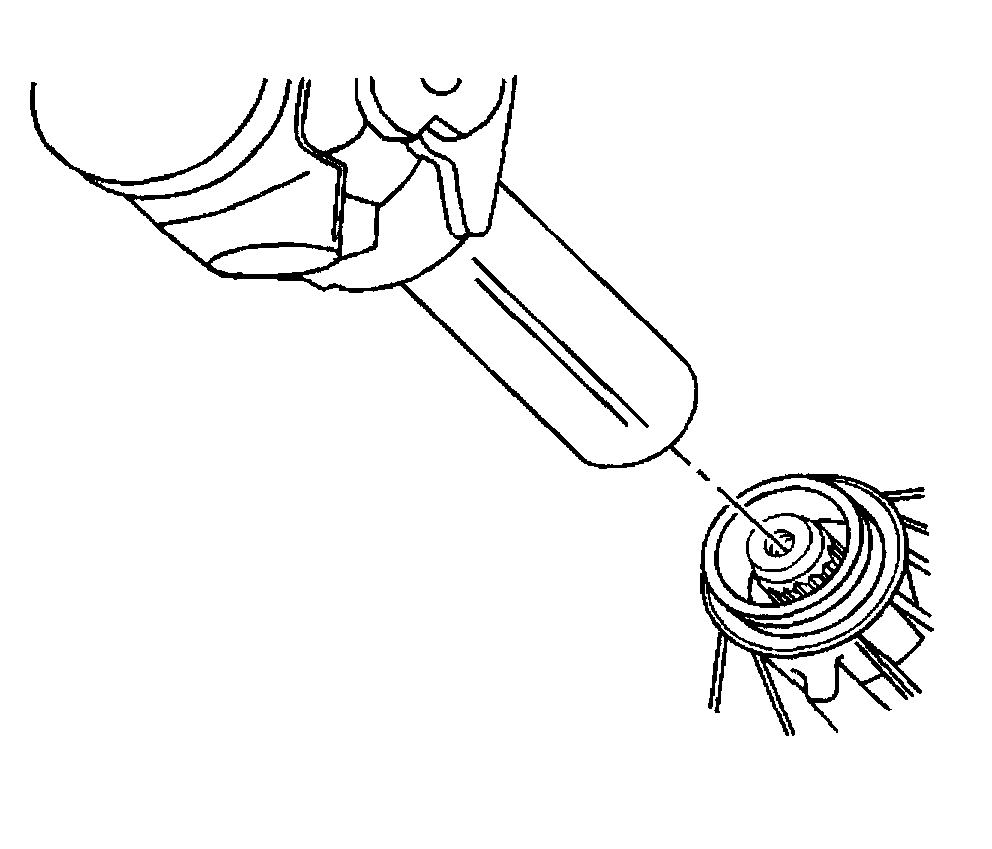
6. Slide the propeller shaft rearward in order to disconnect the propeller shaft from the transmission or transfer case.
7. Remove the propeller shaft from the vehicle.
Installation Procedure
pic 4
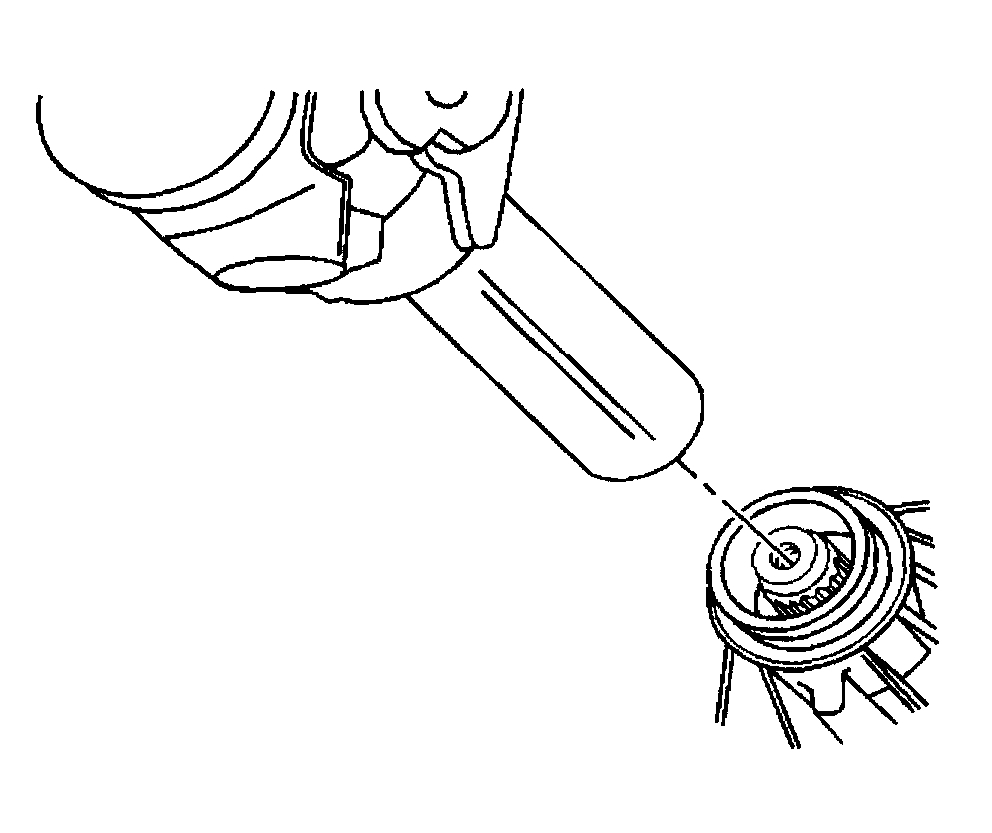
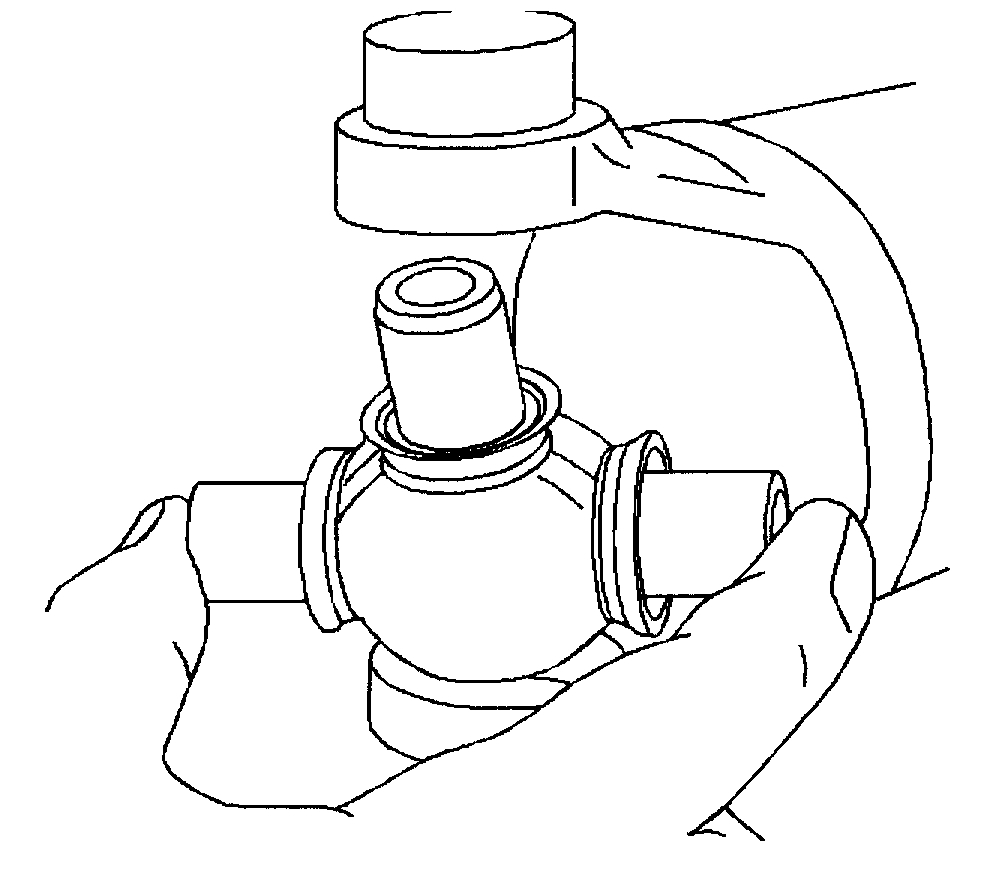
1. Inspect the splines of the slip yoke for a sufficient coating of lubricant. If the splines of the slip yoke does not have a sufficient coating of lubricant, lubricate the shaft with lubricant GM P/N 12345879 (Canadian P/N 10953511) or with an equivalent lubricant meeting GM specification 9985830 (ROOD w/ Automatic Transmission).
2. Install the propeller shaft into the transmission or transfer case.
Align the reference marks made during removal.
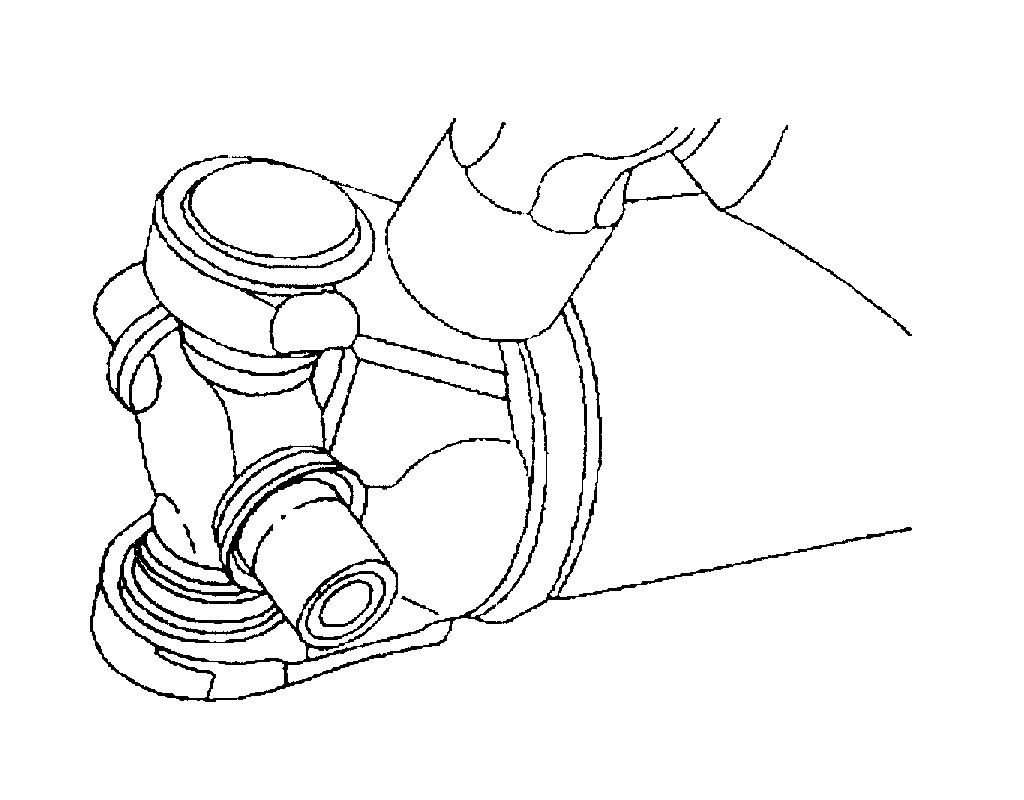
pic 5
3. Install the propeller shaft (3) to the rear axle pinion yoke (4).
Align the reference marks made during removal.
Notice: Refer to Fastener Notice in Service Precautions.
4. Install the yoke retainers (2) and bolts (1).
^ Tighten the yoke retainer bolts to 25 Nm (19 lb ft).
5. Lower the vehicle.
_______________________________
Here are directions for replacing a universal joint.
______________________________
2006 Chevy Truck 1/2 Ton 4WD V8-5.3L VIN T
Rear
Vehicle Transmission and Drivetrain Drive/Propeller Shafts, Bearings and Joints Drive/Propeller Shaft Service and Repair Procedures Propeller Shaft Replacement Rear
REAR
Propeller Shaft Replacement- Rear
Removal Procedure
pic 6
Important: Observe and accurately reference mark all driveline components relative to the propeller shaft and axles before disassembly. These components include the propeller shafts, the drive axles, the pinion flanges, the output shafts, etc. All components must be reassembled in the exact relationship to each other as they were when removed. In addition, published specifications and torque values, as well as any measurements made prior to disassembly must be followed.
1. Raise the vehicle. Refer to Lifting and Jacking the Vehicle.
2. Reference mark the propeller shaft to the rear axle pinion yoke.
3. Reference mark the propeller shaft to the transmission or transfer case.
4. Remove the bolts (1) and the yoke retainers (2) from the rear axle pinion yoke (3).
pic 7
Notice: When removing the propeller shaft, do not attempt to remove the shaft by pounding on the yoke ears or using a tool between the yoke and the universal joint. If the propeller shaft is removed by using such means, the injection joints may fracture and lead to premature failure of the joint.
5. Slide the propeller shaft forward in order to disconnect the propeller shaft from the rear axle pinion yoke.
pic 8
6. Slide the propeller shaft rearward in order to disconnect the propeller shaft from the transmission or transfer case.
7. Remove the propeller shaft from the vehicle.
Installation Procedure
pic 9
1. Inspect the splines of the slip yoke for a sufficient coating of lubricant. If the splines of the slip yoke does not have a sufficient coating of lubricant, lubricate the shaft with lubricant GM P/N 12345879 (Canadian P/N 10953511) or with an equivalent lubricant meeting GM specification 9985830 (ROOD w/ Automatic Transmission).
2. Install the propeller shaft into the transmission or transfer case.
Align the reference marks made during removal.
pic 10
3. Install the propeller shaft (3) to the rear axle pinion yoke (4).
Align the reference marks made during removal.
Notice: Refer to Fastener Notice in Service Precautions.
4. Install the yoke retainers (2) and bolts (1).
^ Tighten the yoke retainer bolts to 25 Nm (19 lb ft).
5. Lower the vehicle.
___________________________
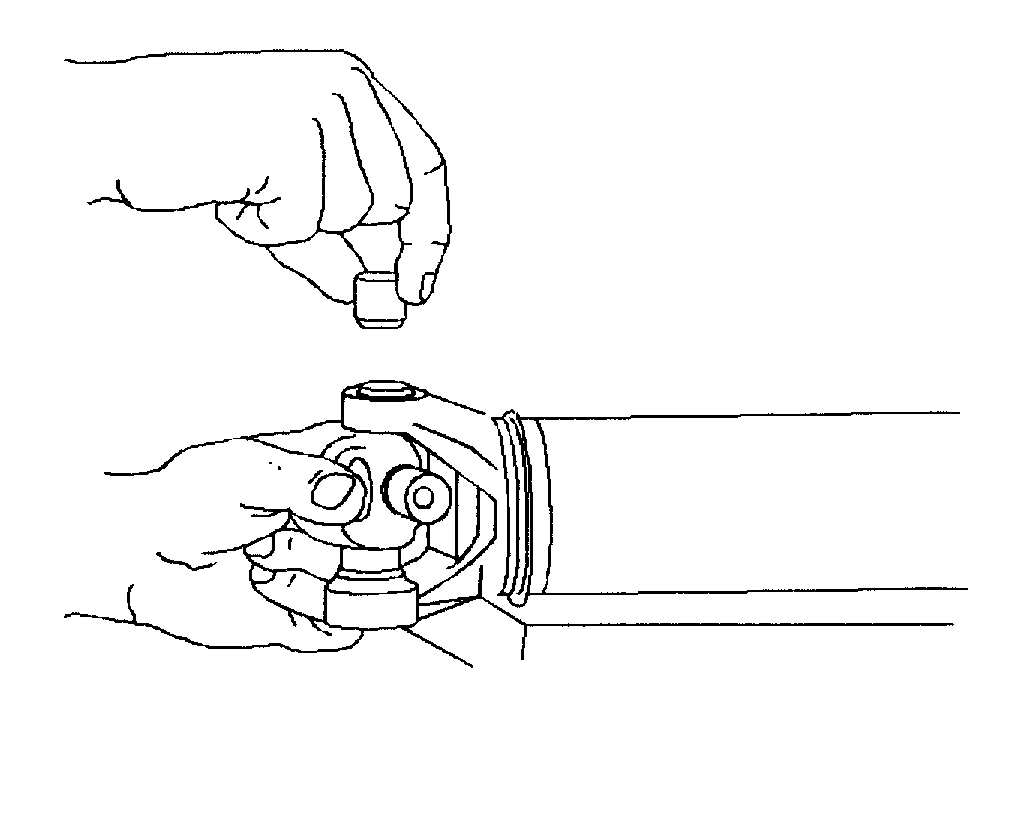
If the universal joint on the vehicle is original, it will be held on by a nylon injection. The replacement joint will have C- clips to hold it together. To remove the original one, take a torch and heat around the nylon injection sights and once it gets hot enough, it will begin to come out. Actually, it looks like a worm coming out. This is the only way you will remove the nylon retainer.
Let me know if this helps or if you have other questions.
Take care,
Joe
Images (Click to enlarge)
Jan 10, 2020 at 6:30 PM