Hi,
There are several different technical service bulletins related to the power lift gate malfunctioning in various ways. The issues seem to all stem from the wiring harness. What really needs done first is to check for diagnostic trouble codes. These codes are B codes which a basic scanner can't read.
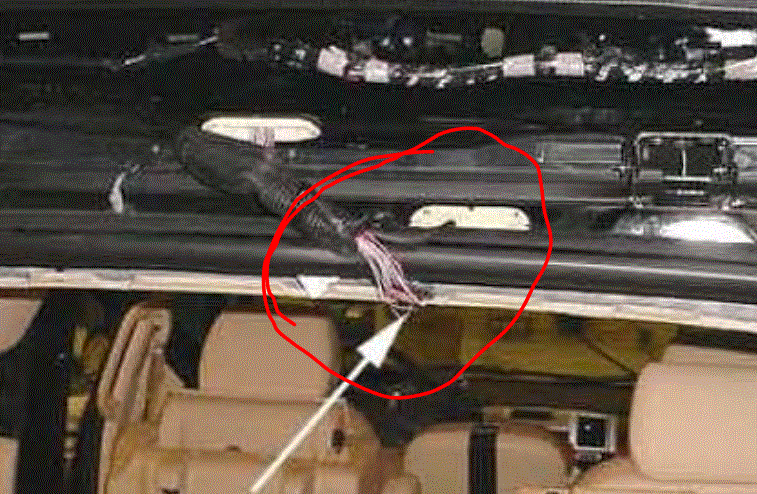
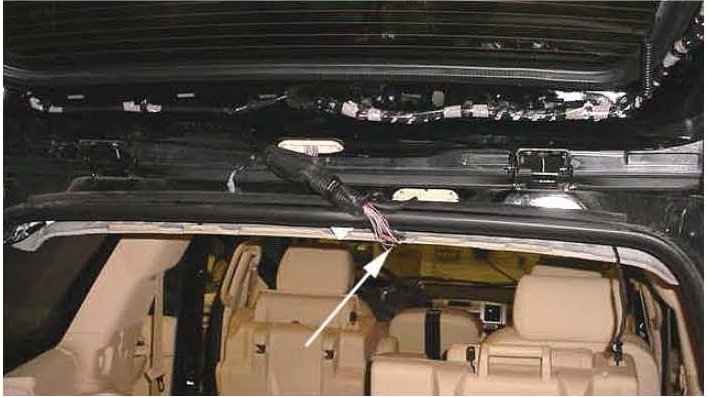
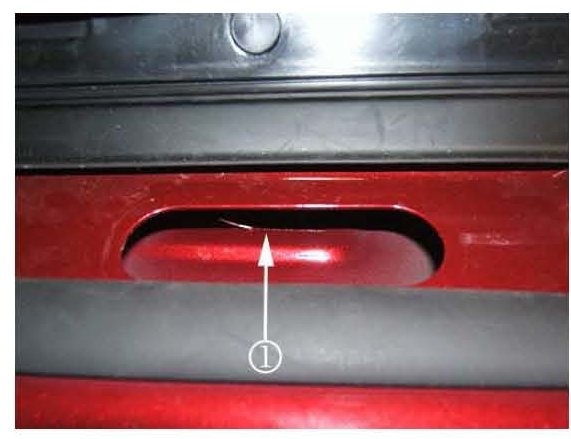
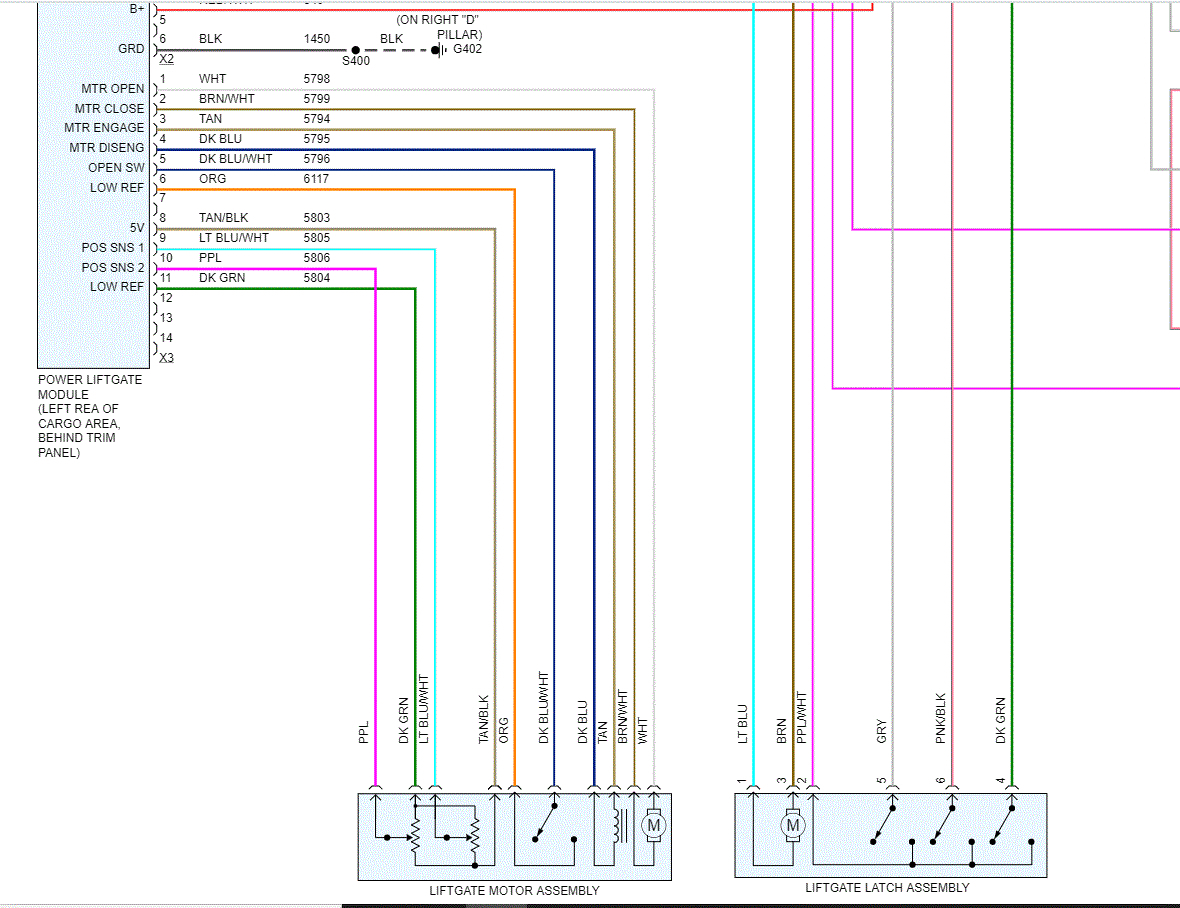
I am going to attach one of the TSB's for you to see. If you look at the first picture below, I circled the area where I believe you have a problem. You can inspect it yourself for anything that is obvious. The remaining pics correlate with this sample TSB.
____________________________________________
2007 GMC Truck Yukon XL 4WD V8-5.3L
Body -Power Liftgate Opens Part Way Then Reverses
Vehicle Body -Power Liftgate Opens Part Way Then Reverses
BODY -POWER LIFTGATE OPENS PART WAY THEN REVERSES
TECHNICAL
Bulletin No: 07-08-47-005A
Date: August 06, 2008
Subject:
Power Liftgate May Open or Close About a Third of the Way Then Reverses, DTCs B153E and/or B153F Set (Inspect Liftgate Wiring Harness and Repair as Necessary)
Models:
2007-2009 Cadillac Escalade, Escalade ESV
2007-2009 Chevrolet Suburban, Tahoe
2007-2009 GMC Yukon, Yukon Denali, Yukon XL, Yukon Denali XL
with Power Lift Gate (RPO E61)
Supercede:
This bulletin is being revised to update the model years and change the diagnostic code information. Please discard Corporate Bulletin Number 07-08-47-005 (Section 08 - Body and Accessories)
Condition
Some customers may comment that the power liftgate opens about a third of the way and then reverses to the closed position. Other customers may comment that when the power liftgate is open, the liftgate starts to close about a third of the way and then reopens. The technician may find diagnostic trouble codes (DTCs) B153E-Liftgate Position Sensor Signal Circuit and/or B153F-Liftgate Object Sensor Signal Circuit set.
Cause
The cause may be a sharp sheet metal edge inside the inner roof panel chafing the liftgate wiring harness.
Correction
Inspect the liftgate wiring harness and repair as necessary using the steps below.
1. Verify the condition and check for any DTCs.
2. Remove the rear door upper garnish molding and retainers. Refer to Rear Door Upper Garnish Molding Replacement in SI.
3. Remove the headliner push retainers.
Important:
Do not fold or crease the headliner panel.
4. Slightly pull down on the center of the headliner panel.
5. Locate connector C405, which is a light gray 22-way connector located under the center of the rear headliner panel.
Tip
Use a shop towel when disconnecting the rear washer hose to help absorb any washer fluid that may leak.
6. Disconnect the C405 connector and the rear wiper washer hose.
7. Remove the wiring harness pass through retainer, wiring harness, C405 connector and the washer hose from the roof panel.
Pic 2
8. Visually inspect the liftgate wiring harness as shown above and repair any damaged wires. Refer to Wiring Repairs in SI.
Important:
After repairing the wires, wrap the wiring harness with electrical tape and install conduit.
9. Install a piece of Kent-P92565, wire harness wrap 18 mm (3/4 in) inside diameter (I.D.) By 145 mm (5-3/4 in) length or equivalent flexible conduit to the liftgate wiring harness.
Pic 3
10. Install two pieces of Kent-KT13080, Posi-Seal Plus(TM) or equivalent of electrical moisture sealant pad to the lower inner flange (1) inside the roof panel.
11. Install the liftgate connector C405, wiring harness and the rear washer wiper hose back through the roof panel.
12. Connect the C405 connector, the rear wiper washer hose and seat the wiring harness pass through retainer.
13. Clear any DTCs.
14. Open and close the power rear liftgate ten complete cycles.
15. Install the headliner push retainers.
16. Install the rear door upper garnish molding.
17. Verify that the condition has been fixed.
________________________________
Check the wiring I indicated first. If you see nothing that could be causing the problem, have the computer scanned and let me know what codes are found.
Take care and let me know if you have other questions.
Joe
Images (Click to make bigger)
Tuesday, May 12th, 2020 AT 7:46 PM