Update: It's been a long december and due to weather it took a long time. Weather got very nice in the last few days and I have had some holiday time off.
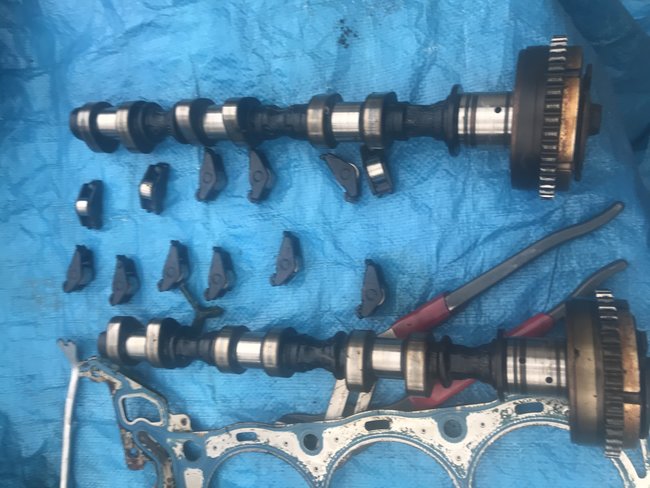
I have taken the left head off. When I took off the front cover again and removed the left bank timing chain, the camshafts were under tension in stage 1 timing. It 'snapped' to position when I took the pressure off the chain. I had recently, as reported, done the timing chain component replacement. The fact that this happened makes me wonder if the camshaft phasers could have been damaged during the initial failure of the timing chain tensioner.
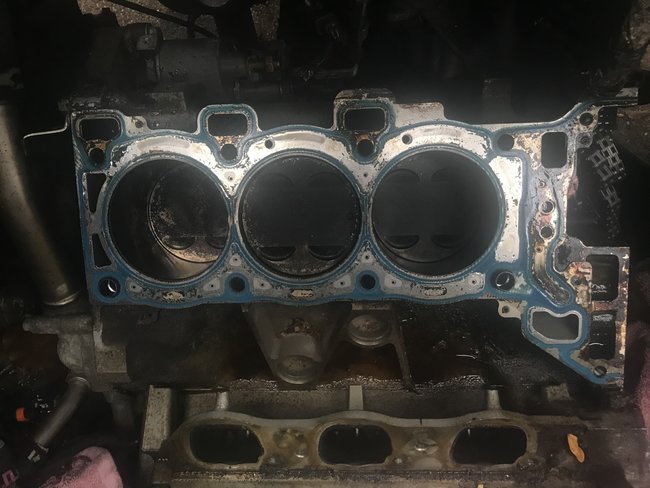
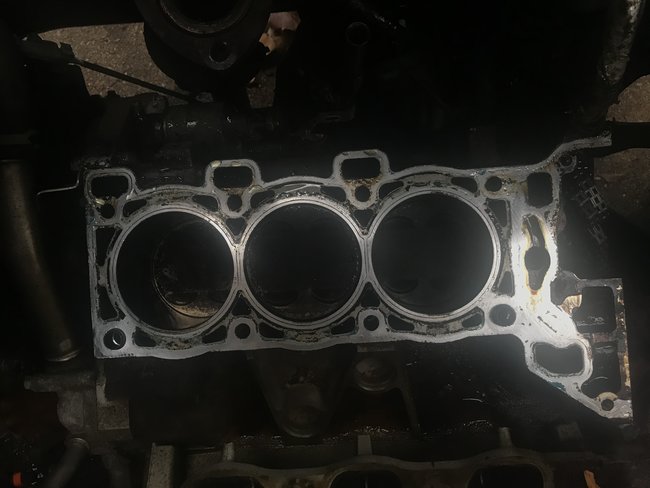
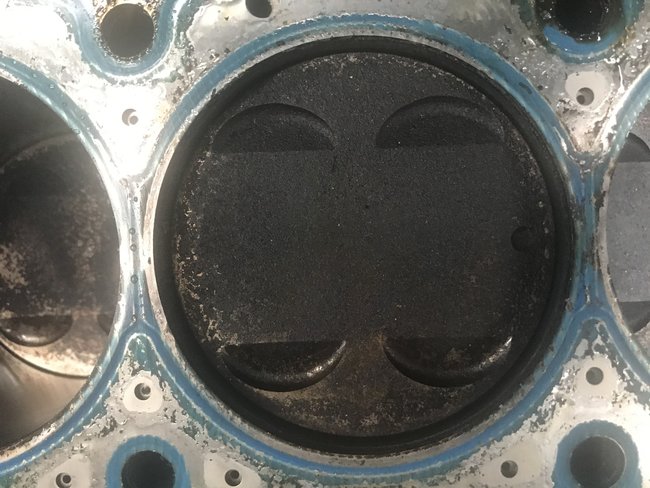
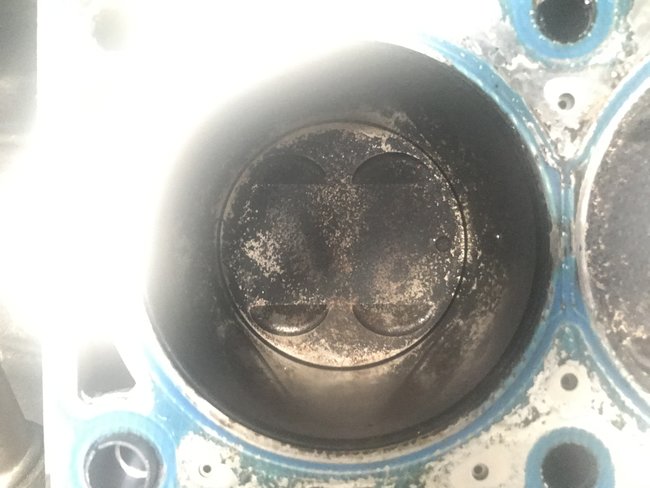
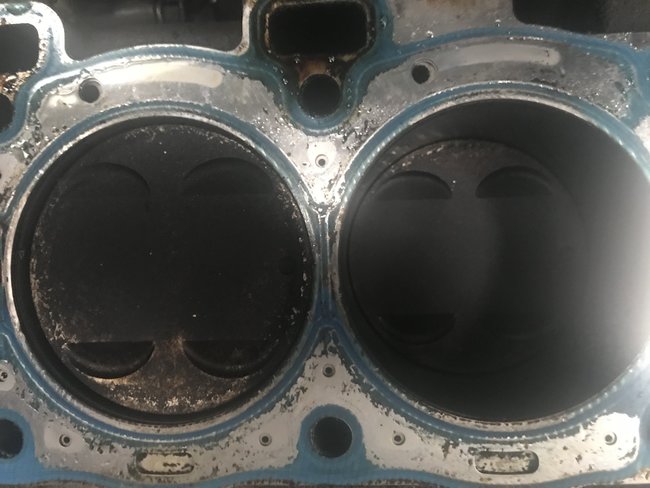
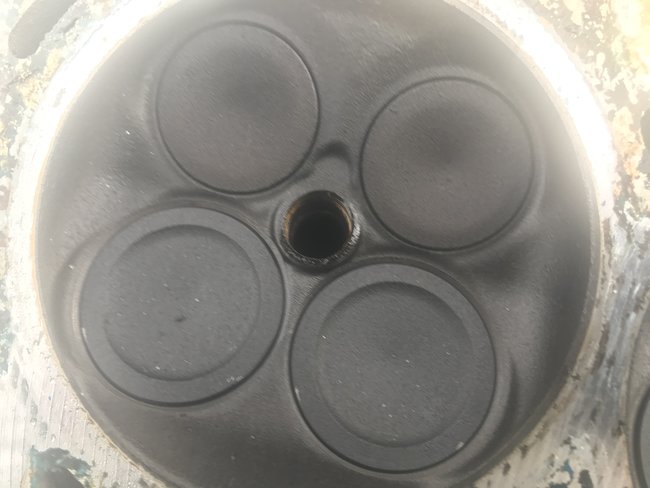
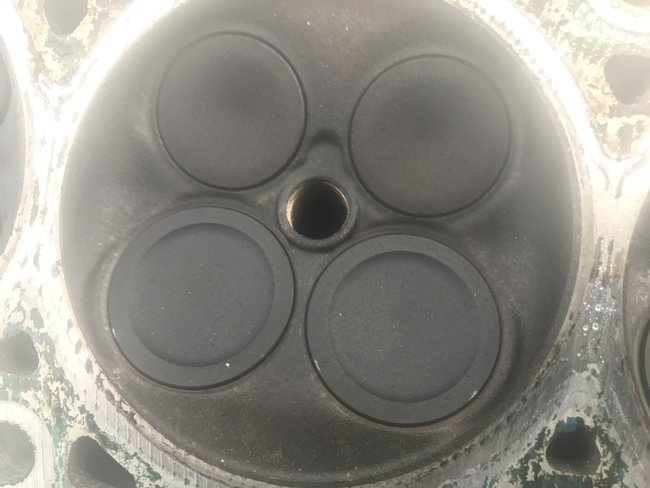
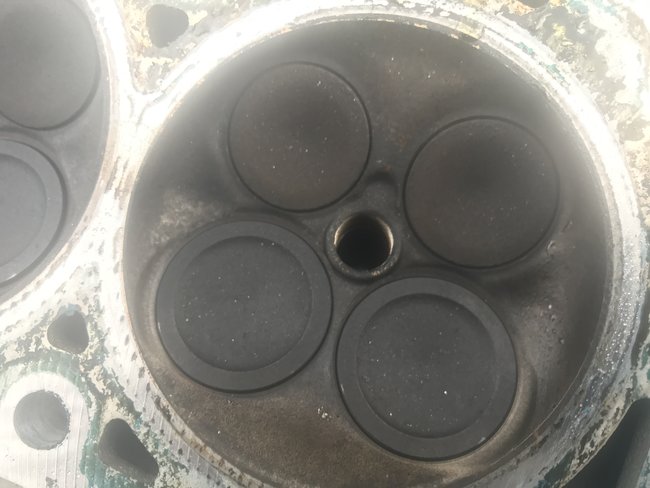
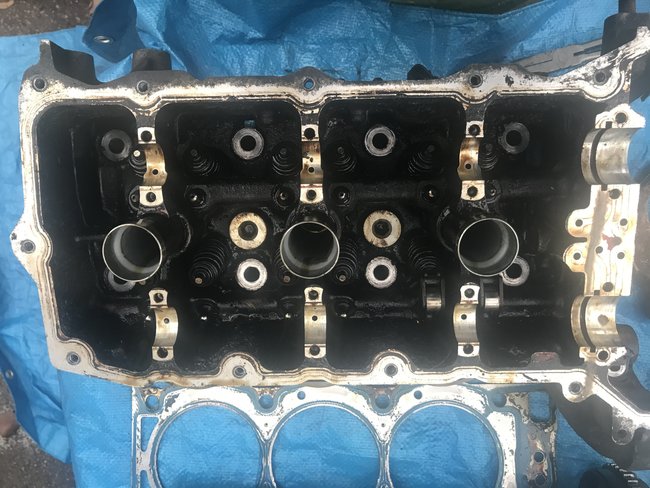
After getting the head off (just now) I have taken pictures and am posting them here. The head gasket and valves all look ok. The valves look a little burnt. My next steps are to take the head to a machine shop to get surfaced and to have a leak-down test done. At this point I am at a loss for what is causing the lack of compression. Any input is welcome. I didn't put a scope anywhere yet, as I don't have one.
Regards,
Cody
Images (Click to enlarge)
Dec 28, 2019 at 1:45 PM