Hi,
If you have no heat, it sounds like there is an air pocket preventing the coolant from circulating. On the thermostat housing, there should be a bleeder. Also, there should be one above the coolant pump. That is where you can allow air to escape from.
Note that the vehicle came with Dex-Cool coolant. That shouldn't be mixed with other types of coolant. If that has happened, let me know. The only way around it is to totally drain and flush the system / engine block as well, with water and then install something other.
Here are directions for a drain and fill. It explains how to bleed the air from the system when refilling. Take a look through it.
__________________________
2002 Pontiac Truck Montana V6-3.4L VIN E
Draining and Filling Cooling Systems
Vehicle Engine, Cooling and Exhaust Cooling System Service and Repair Removal and Replacement Draining and Filling Cooling Systems
DRAINING AND FILLING COOLING SYSTEMS
Draining and Filling Cooling System
Draining Procedure
Important: Do NOT add any engine coolant supplement sealant pellets to the cooling system. Drain and refill the engine cooling system every 5 years or 240,000 km, (150,000 miles), whichever occurs first.
1. Park the vehicle on a level surface.
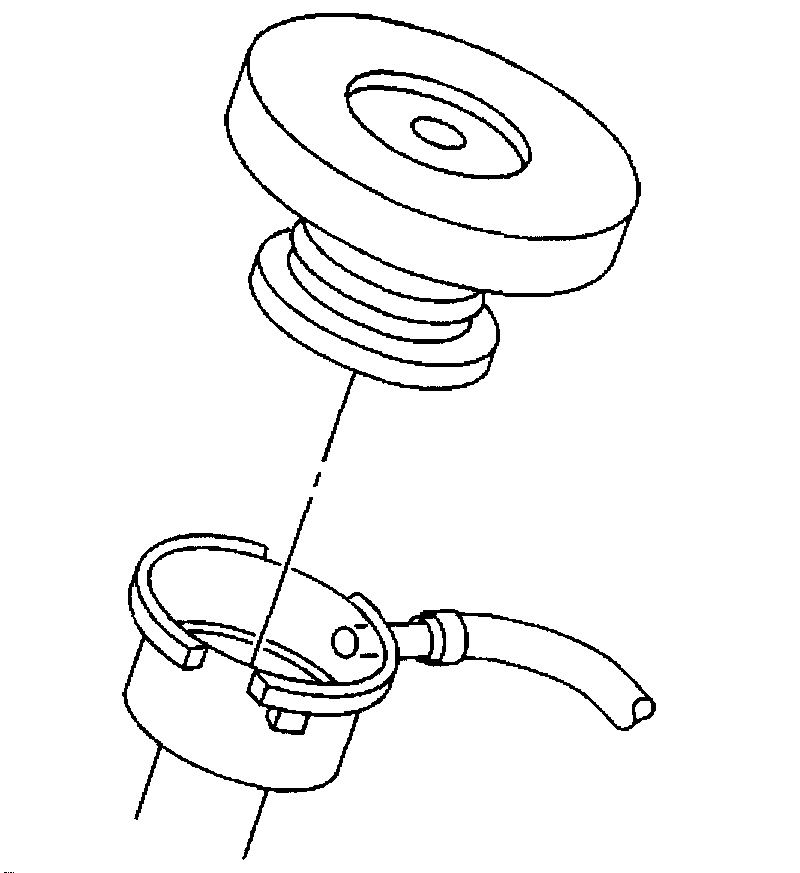
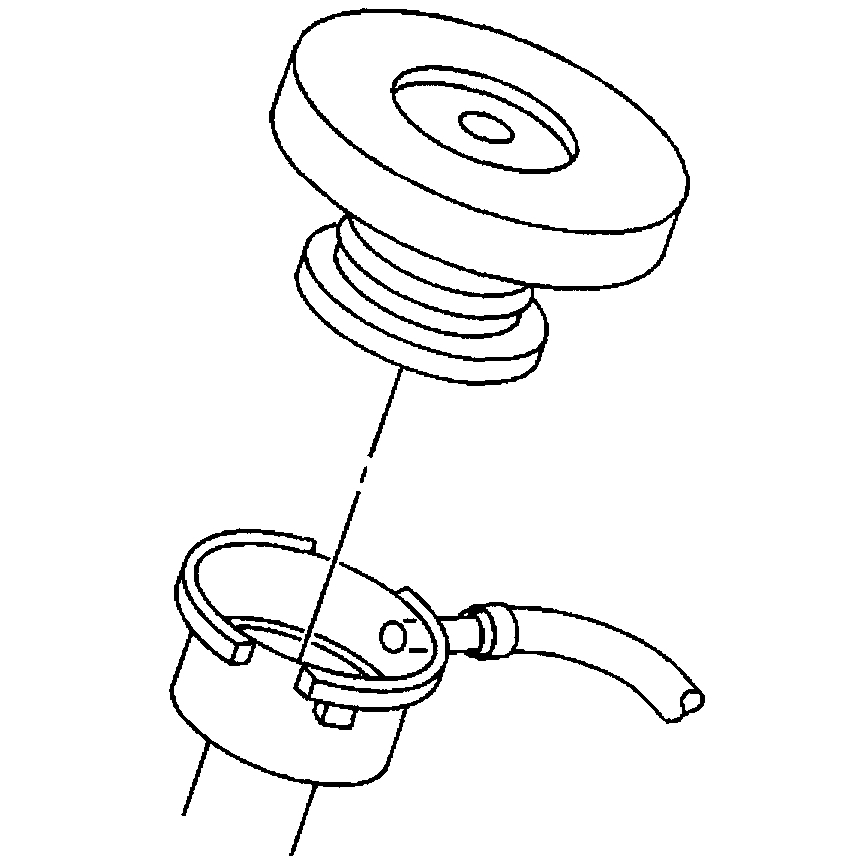
2. Remove and clean the coolant recovery reservoir.
Caution: To avoid being burned, do not remove the radiator cap or surge tank cap while the engine is hot. The cooling system will release scalding fluid and steam under pressure if radiator cap or surge tank cap is removed while the engine and radiator are still hot.
pic 1
3. Remove the radiator cap when the engine is cool:
3.1. Slowly rotate the cap counterclockwise to the detention tab. Do not press down while rotating pressure cap.
3.2. Wait until any residual pressure, indicated by a hissing sound, is relieved.
3.3. After all hissing stops, press down on the radiator cap and rotate the cap counterclockwise in order to remove the cap.
Important: Recover and store used coolant in a used coolant holding tank and submit the used coolant for recycling on a regular basis. Do NOT pour used coolant down the drain. Ethylene glycol antifreeze is very toxic. Disposing of ethylene glycol into the sewer system or ground water is both illegal and ecologically unsound.
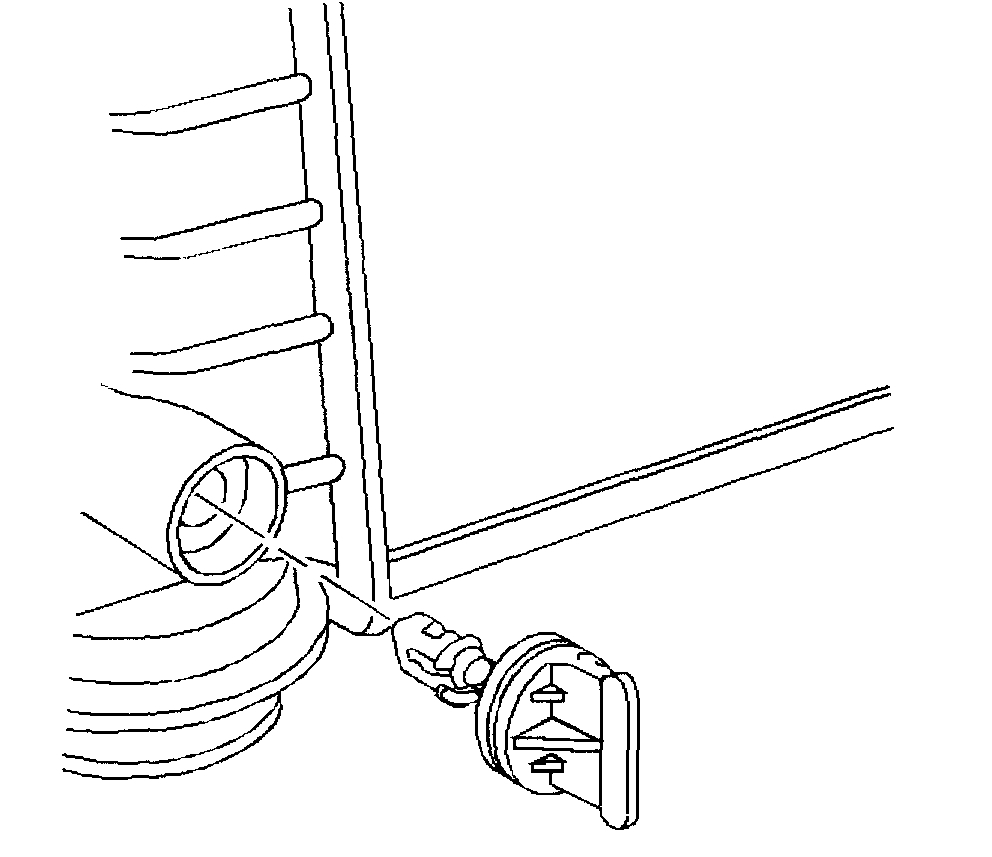
4. Place a drain pan under the radiator drain cock in order to collect all of the used coolant.
pic 2
5. Open the radiator drain cock. If only partial cooling system draining is required, drain enough coolant to perform the procedure.
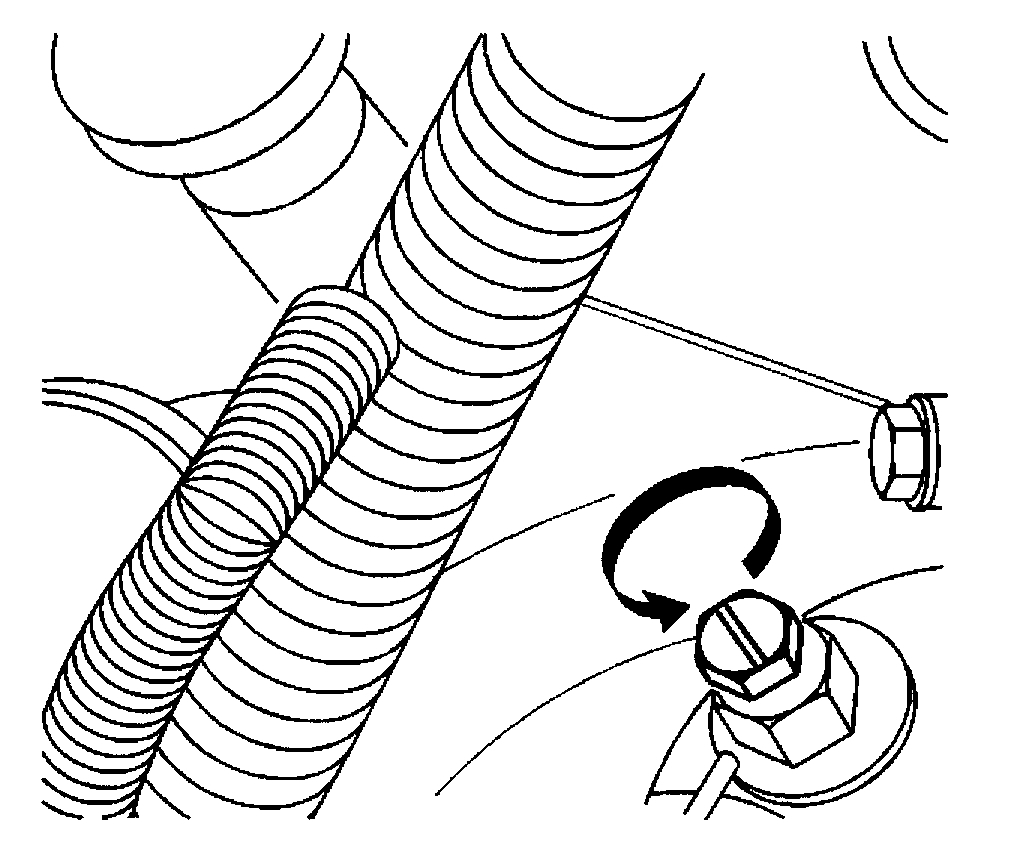
pic 3
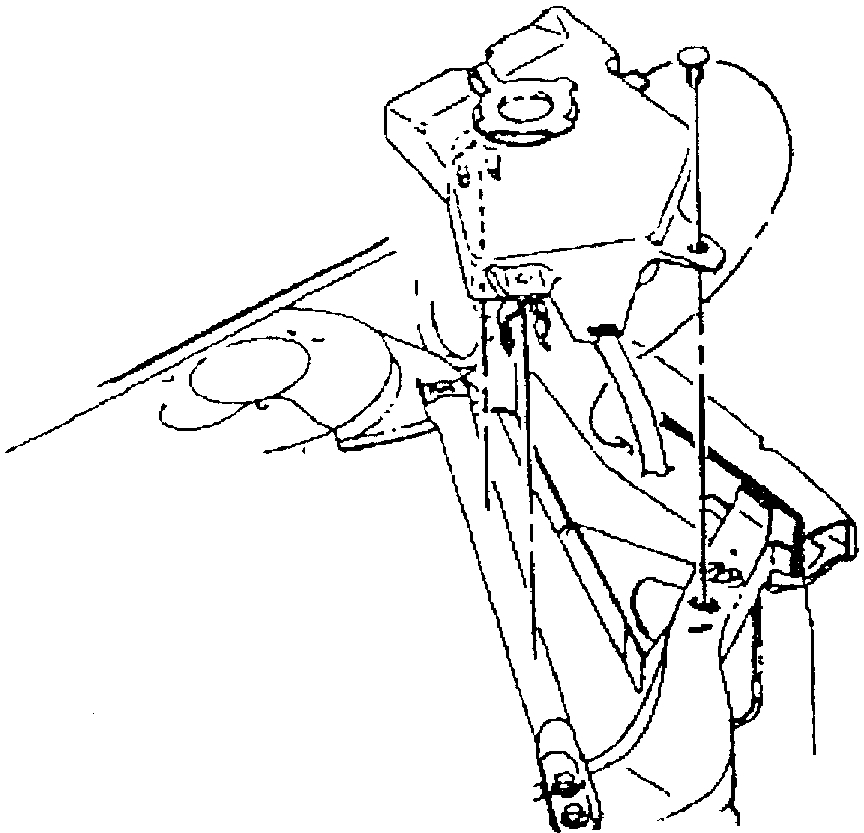
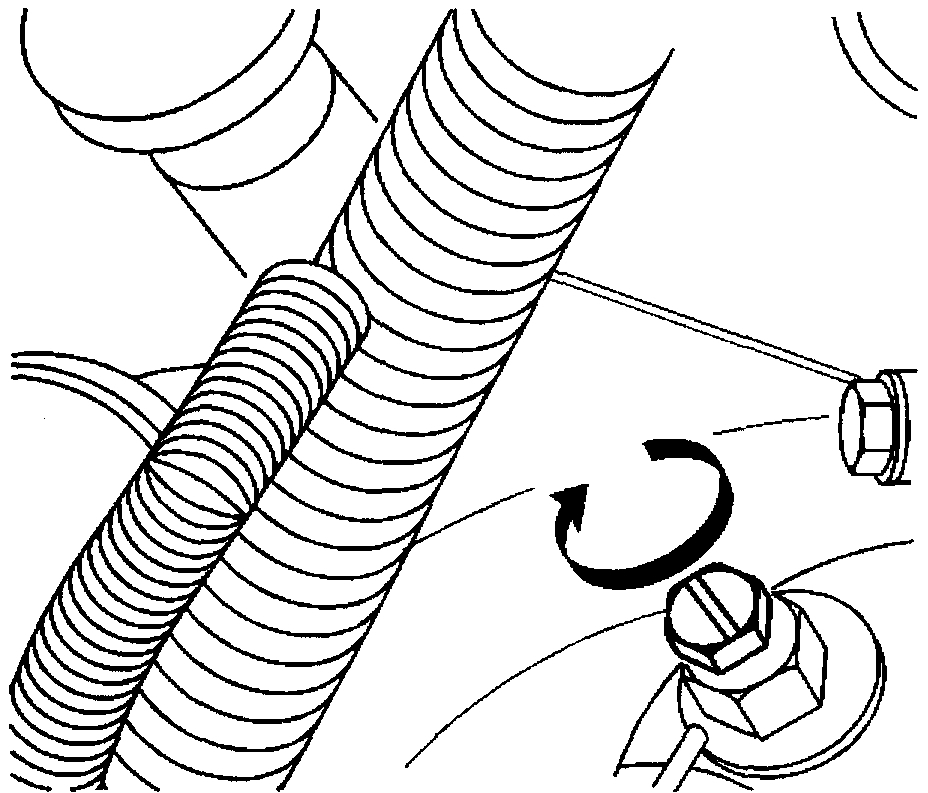
6. Open the air bleed valve on the thermostat housing 2 full turns.
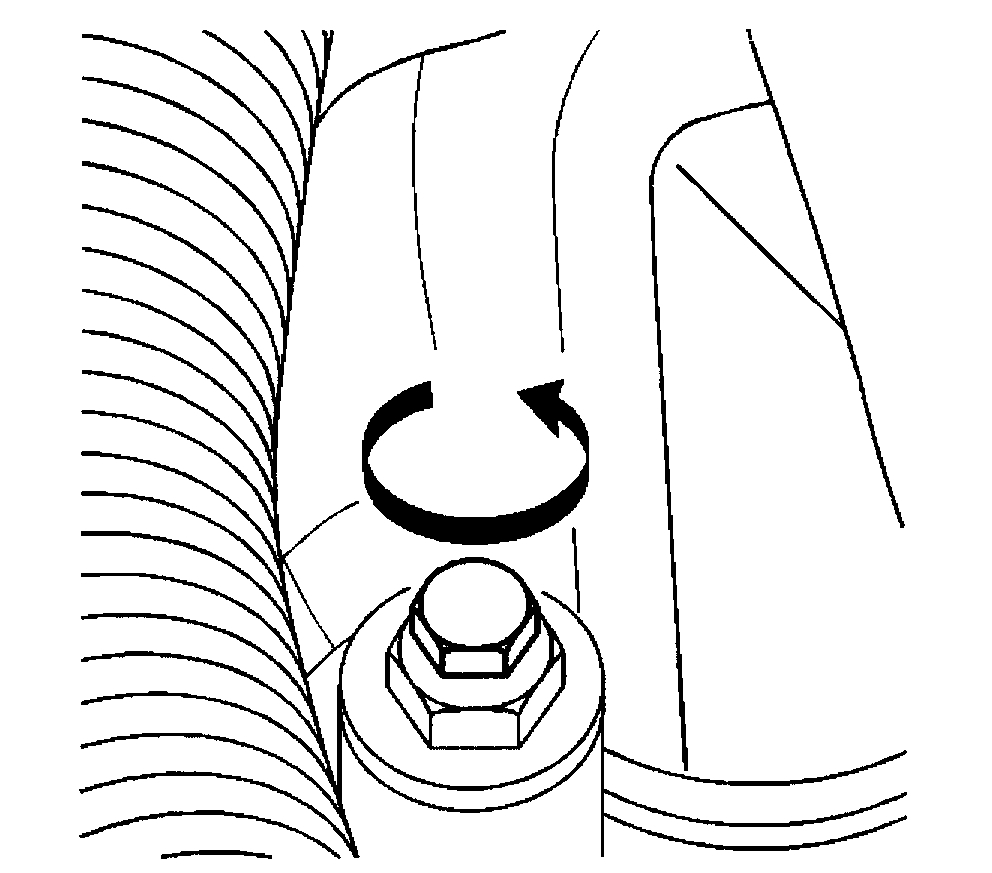
pic 4
7. Open the air bleed valve above coolant pump 2 full turns.
8. Place a drain pan under the engine block drains in order to collect the used coolant.
Important: Allow the coolant to drain completely.
pic 5
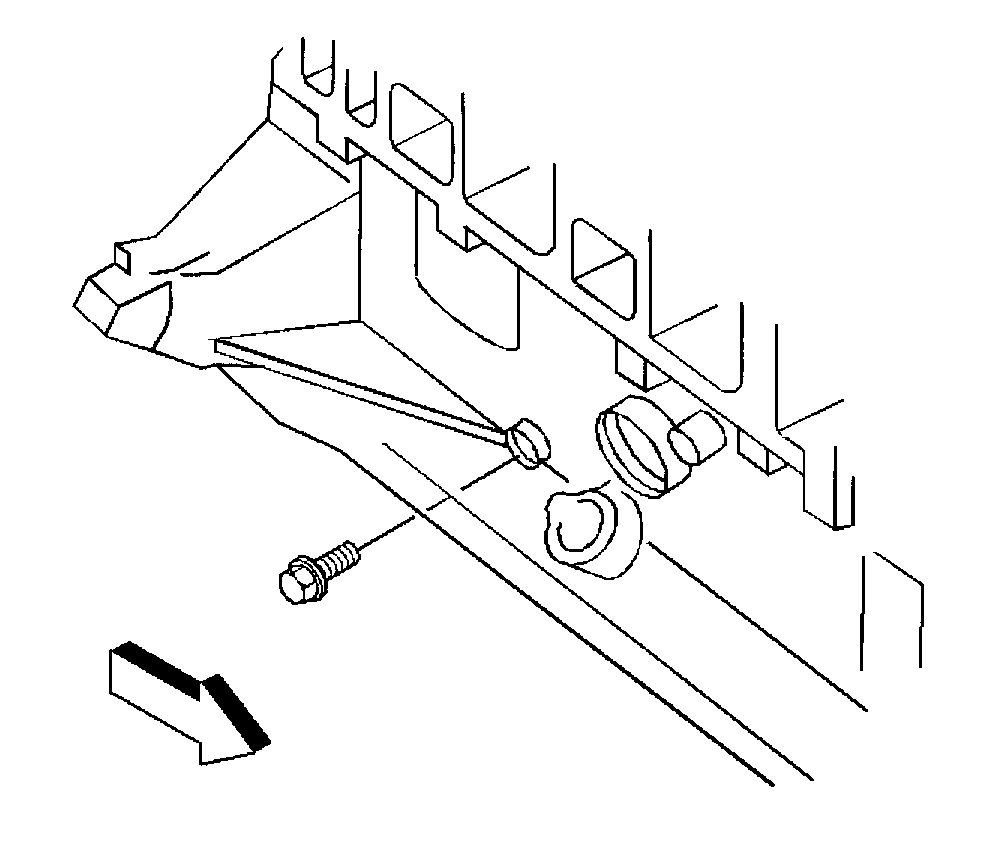
9. Remove both of the engine block drains.
^ The front left engine block drain is located between the starter motor and the engine oil filter.
^ The rear right engine block drain is located near the crankshaft position sensor.
Filling Procedure
pic 6
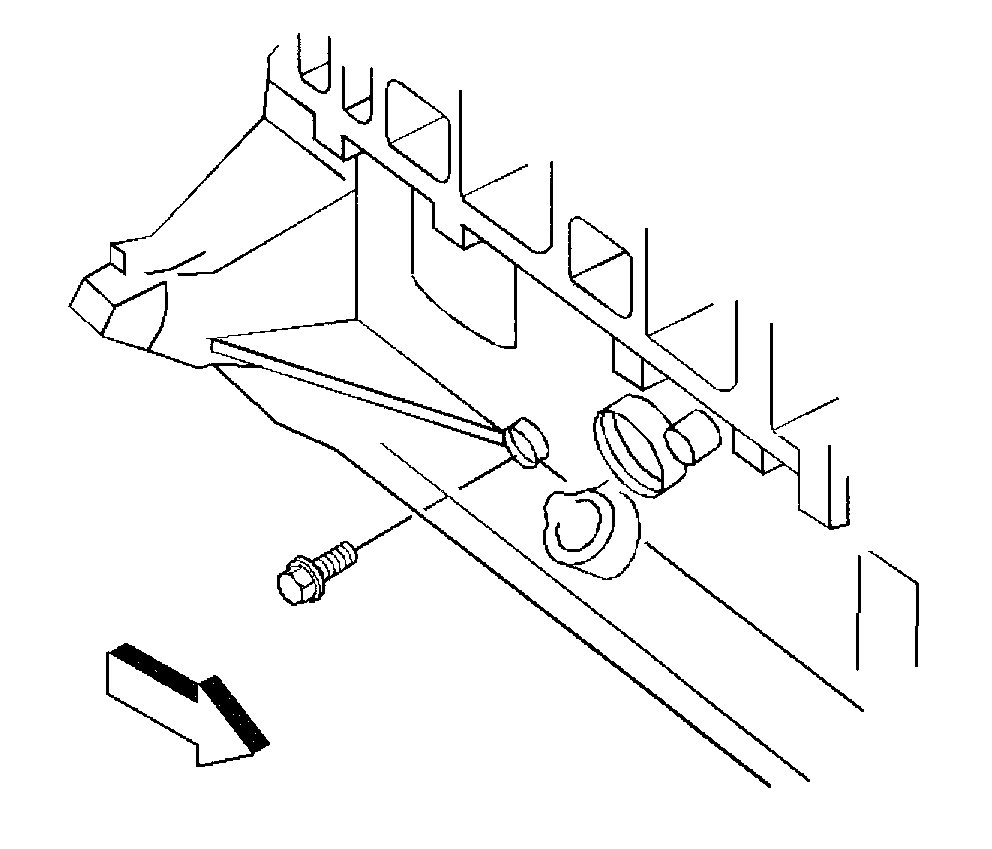
1. Reinstall the engine block drains.
pic 7
2. Close the radiator drain cock.
pic 8
3. Install the coolant recovery reservoir.
Notice: When adding coolant, it is important that you use GM Goodwrench DEX-COOL or HAVOLINE DEX-COOL coolant. If Coolant other than DEX-COOL or HAVOLINE DEX-COOL is added to the system the engine coolant will require change sooner; at 50,000 km (30,000 miles) or 24 months.
4. Slowly add a 50/50 mixture of GM Goodwrench DEX-COOL or HAVOLINE DEX-COOL and clean, drinkable water to the radiator until the coolant level is at the base of the radiator fill neck.
5. Wait for 2 minutes and reinspect the level of the coolant in the radiator. If necessary, add coolant to the radiator until the coolant level is at the base of the radiator fill neck.
pic 9
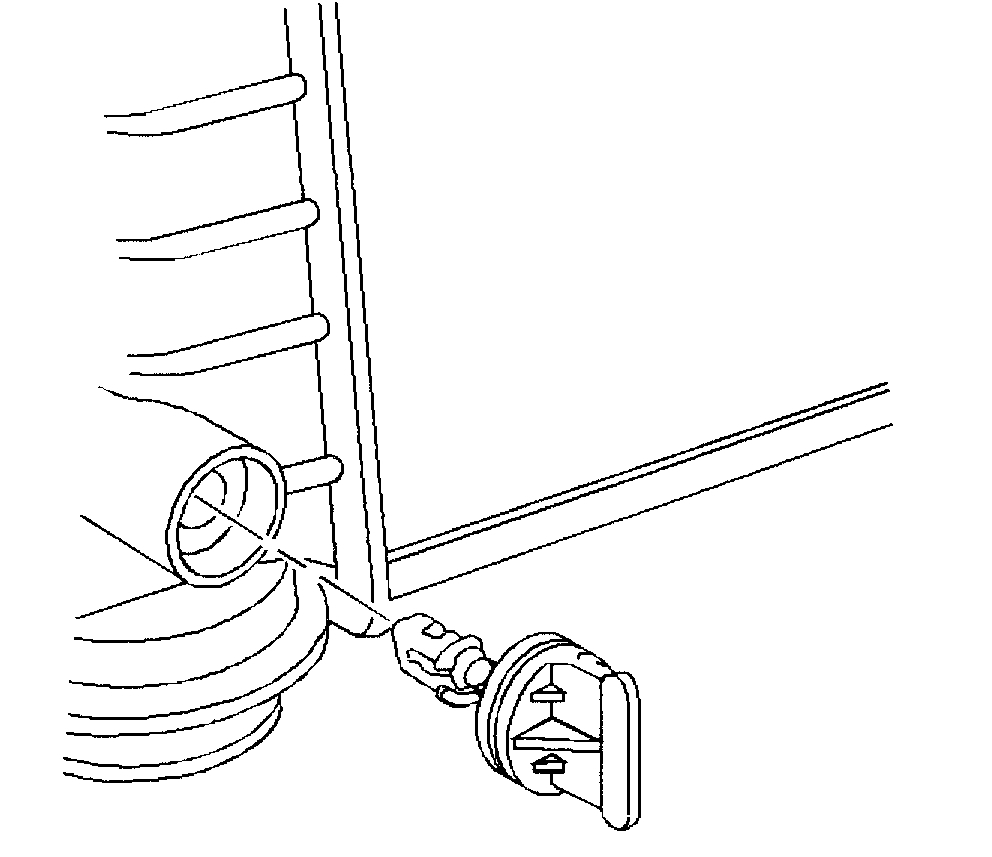
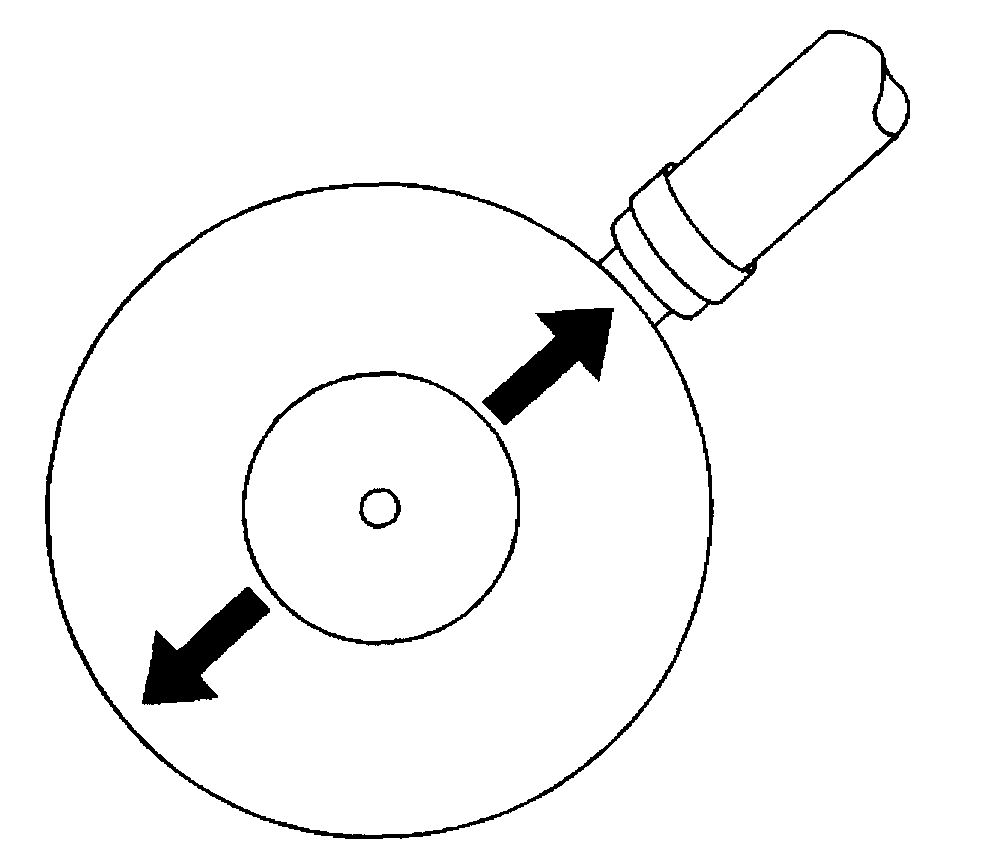
6. Install the radiator cap.
pic 10
7. Ensure that the radiator cap arrow points toward the radiator overflow tube.
Important: The air bleed valves are brass. Do NOT over-tighten the air bleed valves.
pic 11
8. Close the air bleed valve above the coolant pump.
pic 12
9. Close the air bleed valve on the thermostat housing.
10. Fill the coolant reservoir with a 50/50 mixture of GM Goodwrench DEX-COOL or HAVOLINE DEX-COOL and clean, drinkable water.
Important: If the coolant temperature indicator turns ON, turn the engine OFF immediately and allow the engine to cool. Do NOT remove the radiator cap.
11. Start the engine and allow the engine cooling fan to cycle on and off 3 times.
12. Turn off the ignition.
Caution: To avoid being burned, do not remove the radiator cap or surge tank cap while the engine is hot. The cooling system will release scalding fluid and steam under pressure if radiator cap or surge tank cap is removed while the engine and radiator are still hot.
13. Allow the engine to cool.
14. Ensure that the engine coolant concentration is sufficient.
____________________________________
That is a bit more than you needed, but I wanted the refill procedure and bleeding procedures included.
Let me know if this helps or if you have other questions.
Take care,
Joe
Images (Click to enlarge)
Oct 18, 2020 at 7:17 PM