Since the problem started when you replaced the ball joint, I have a feeling something wasn't properly put back together. Here are the directions for ball joint replacement. Read through them to see if you did what the directions indicated to do. All attached picture correlate with these directions.
_______________________________________________
Ball Joint Removal and Installation
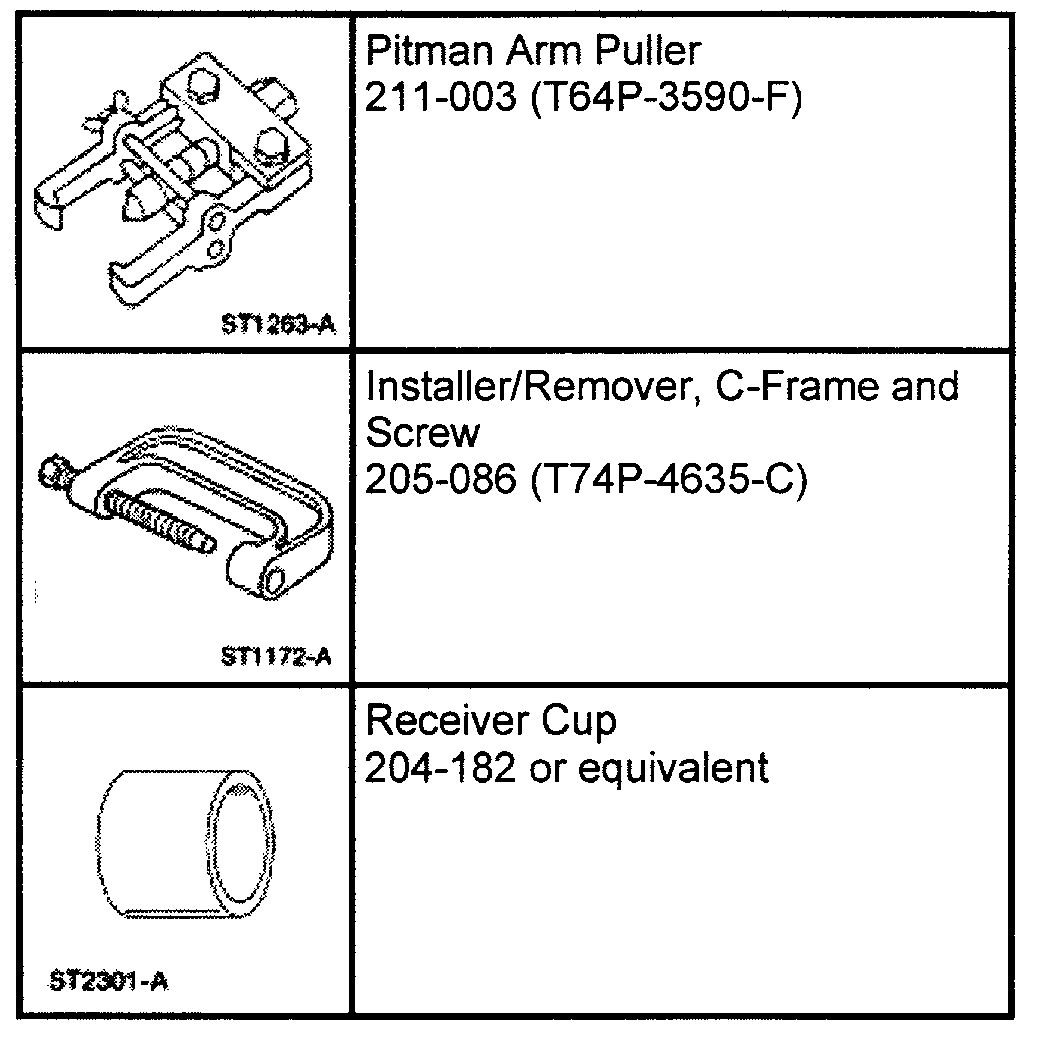
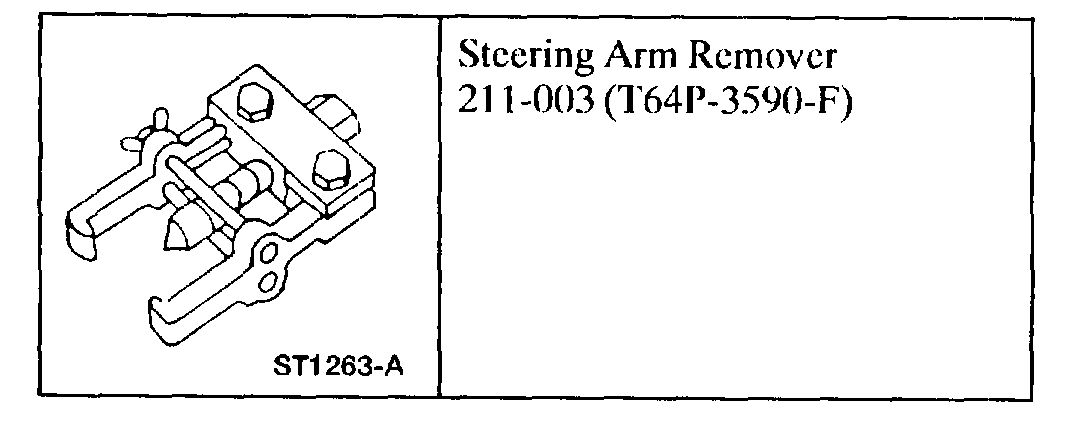
Special Tool(s)
Removal and Installation
1. With the vehicle in neutral, position it on a hoist.
2. Remove the wheel and tire assembly.
3. Carry out the following:
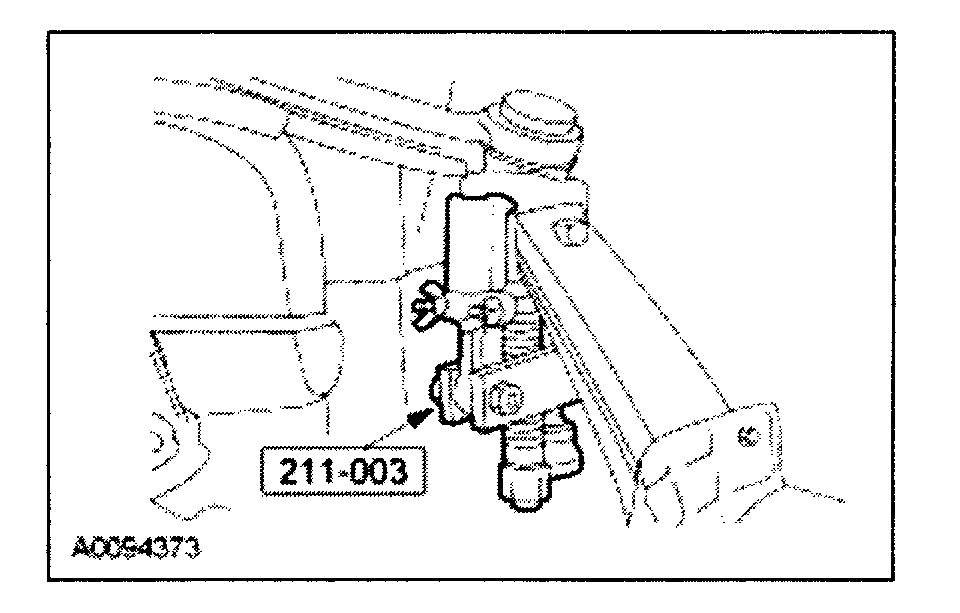
1. Remove and discard the cotter pin.
2. Remove the retainer.
3. Remove the nut.
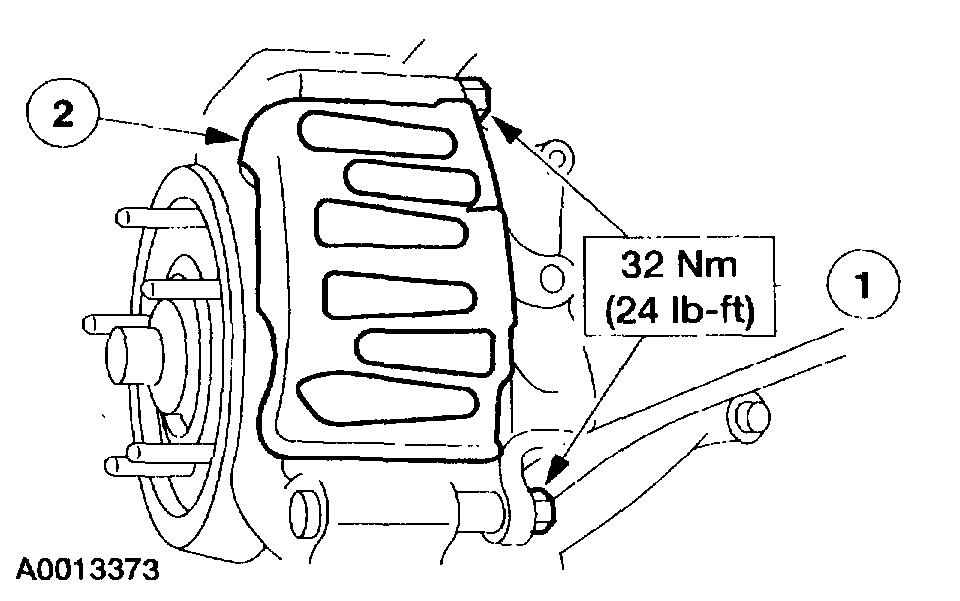
4. CAUTION: Do not allow the disc brake caliper to hang suspended from the brake hose. Provide a suitable support.
Remove the caliper support bracket bolts, then position the caliper support bracket and caliper aside.
5. Remove the brake disc.
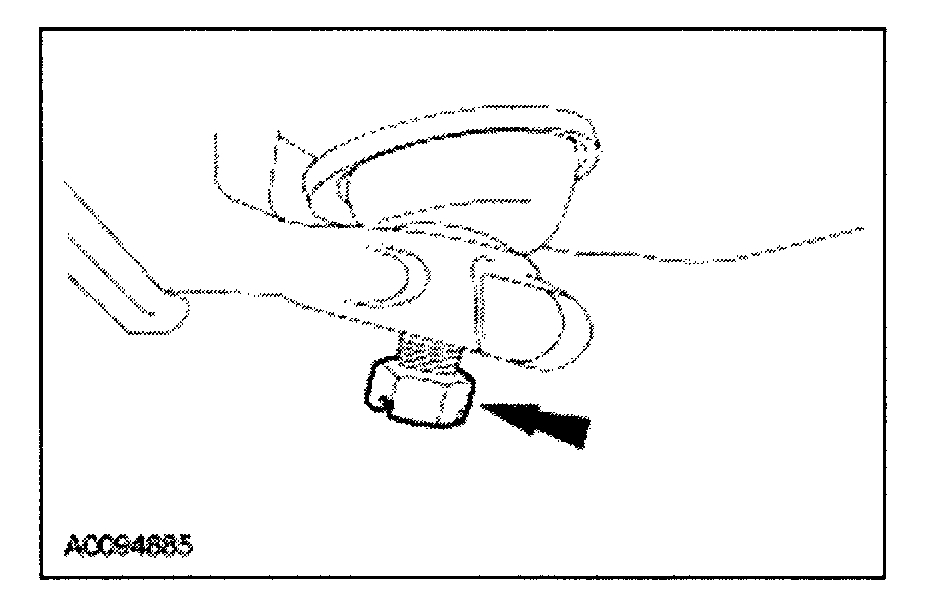
6. Disconnect the front anti-lock brake sensor (ABS) wire assembly.
- Disconnect the ABS electrical connector.
- Unclip the ABS harness routing clips.
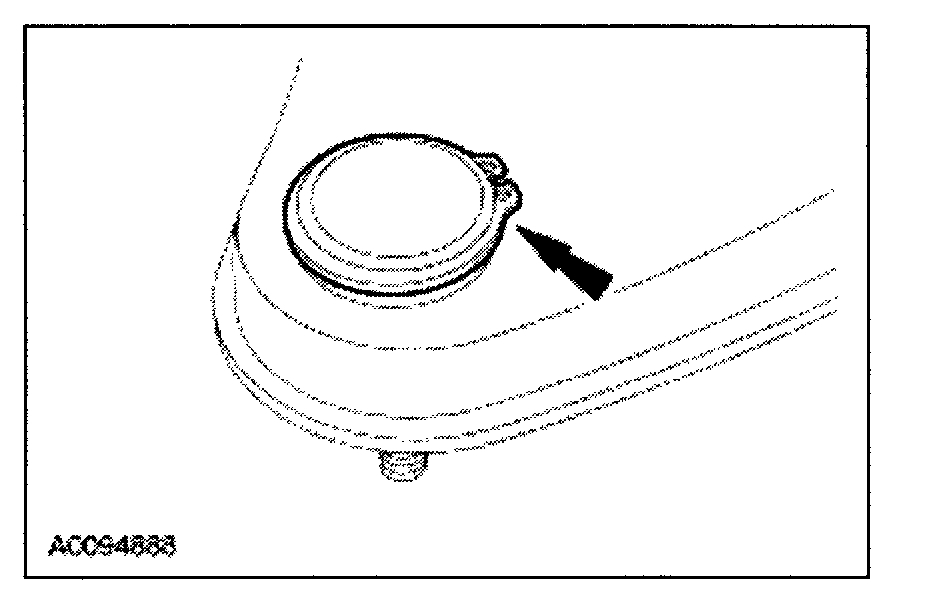
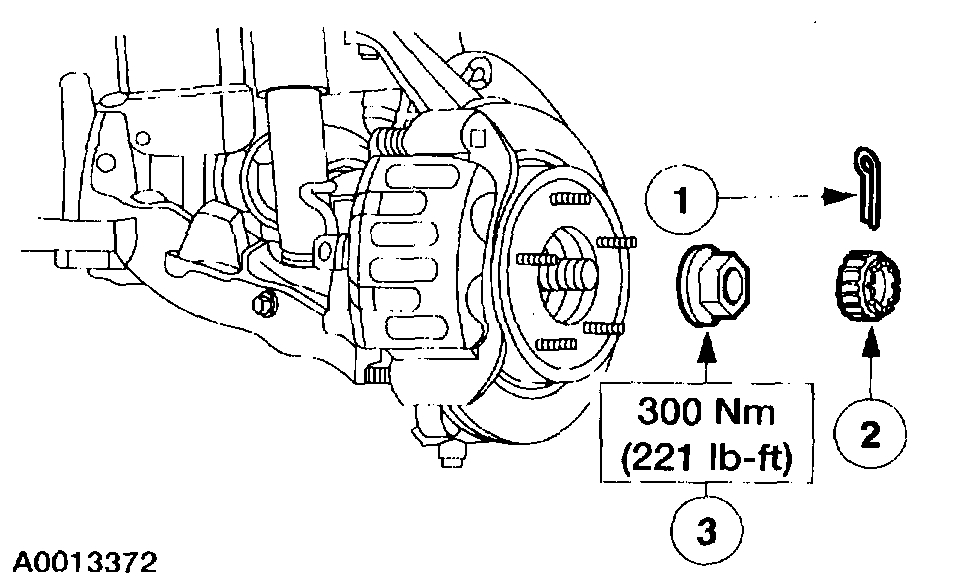
7. Remove the tie-rod castellated nut.
1. Remove and discard the cotter pin.
2. Remove and discard the castellated nut.
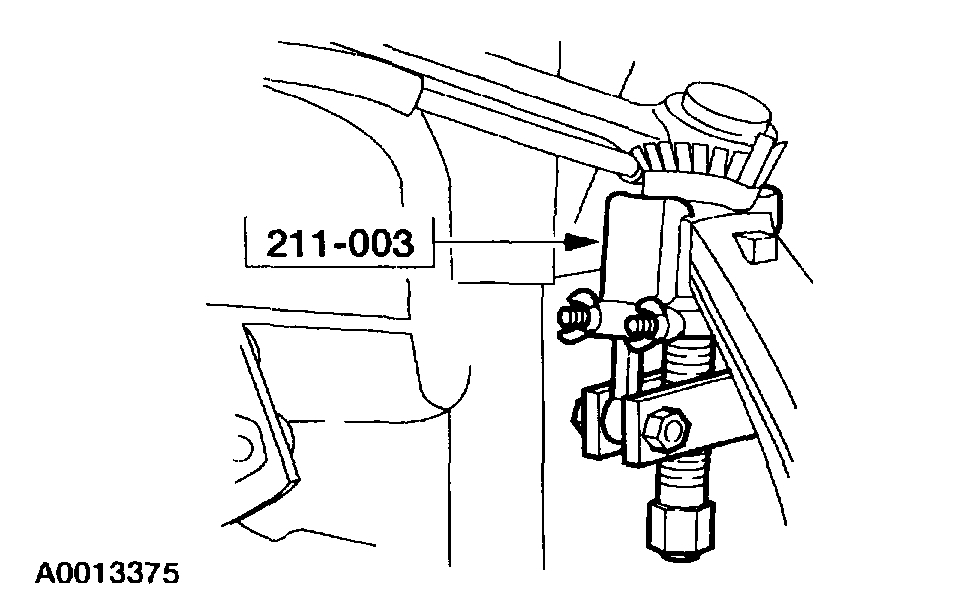
8. CAUTION: Do not use a hammer to separate the tie-rod from the wheel knuckle or damage to the wheel knuckle will result.
CAUTION: Do not damage the tie-rod boot when installing the special tool.
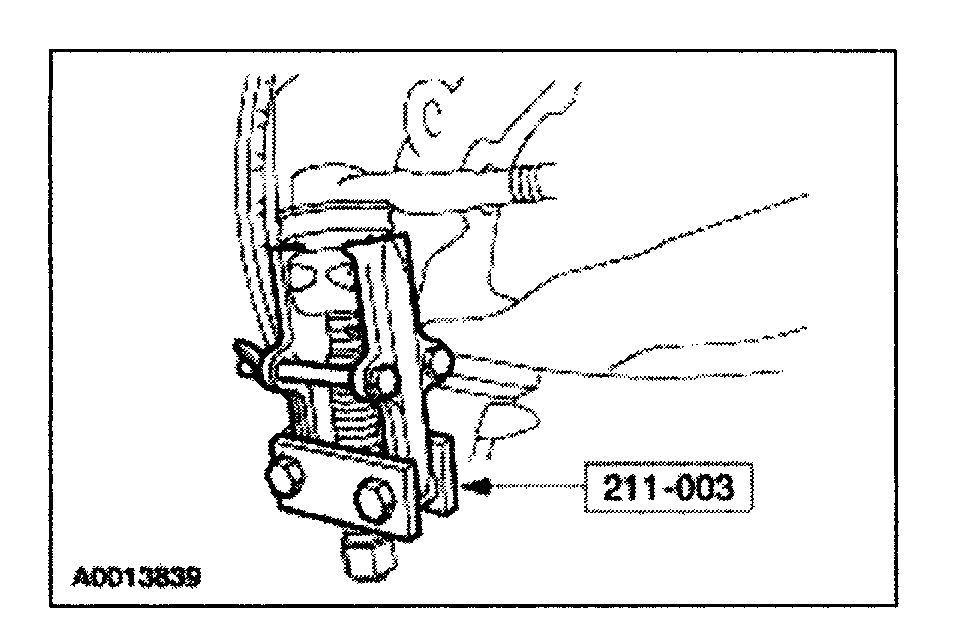
Using the special tool, separate the tie-rod end from the front wheel knuckle.
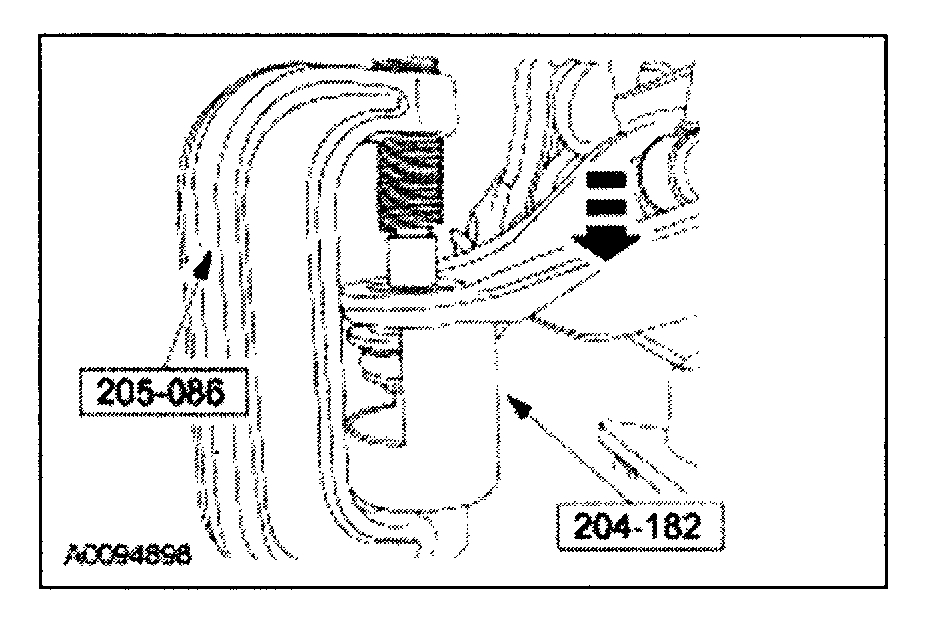
9. Using a suitable jack, support the front suspension lower arm.
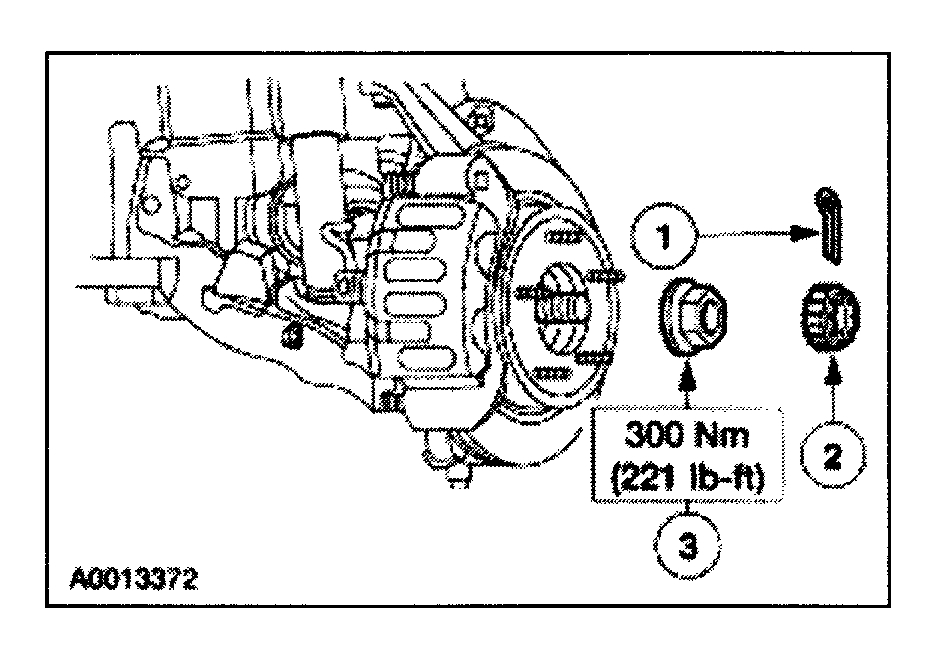
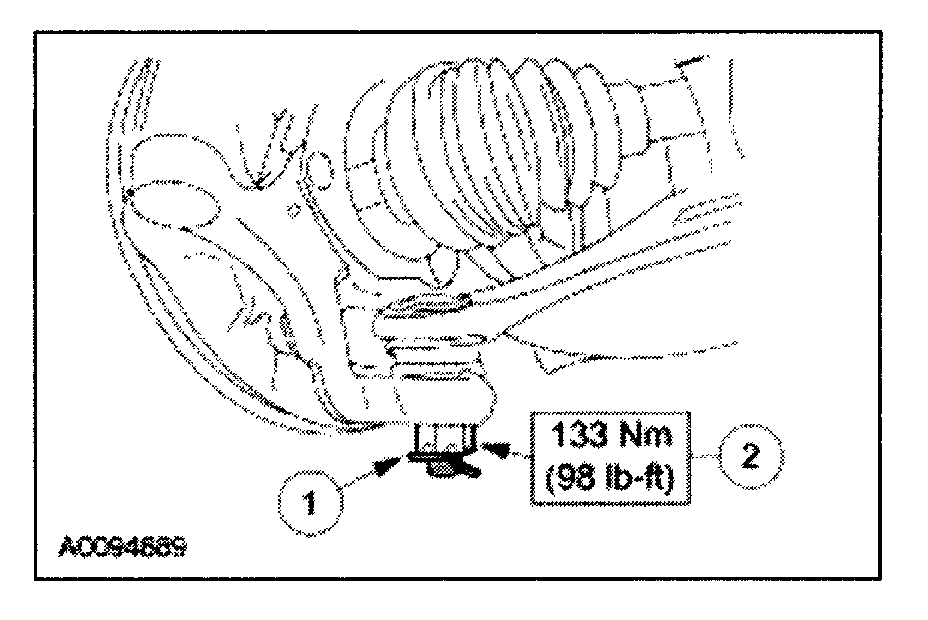
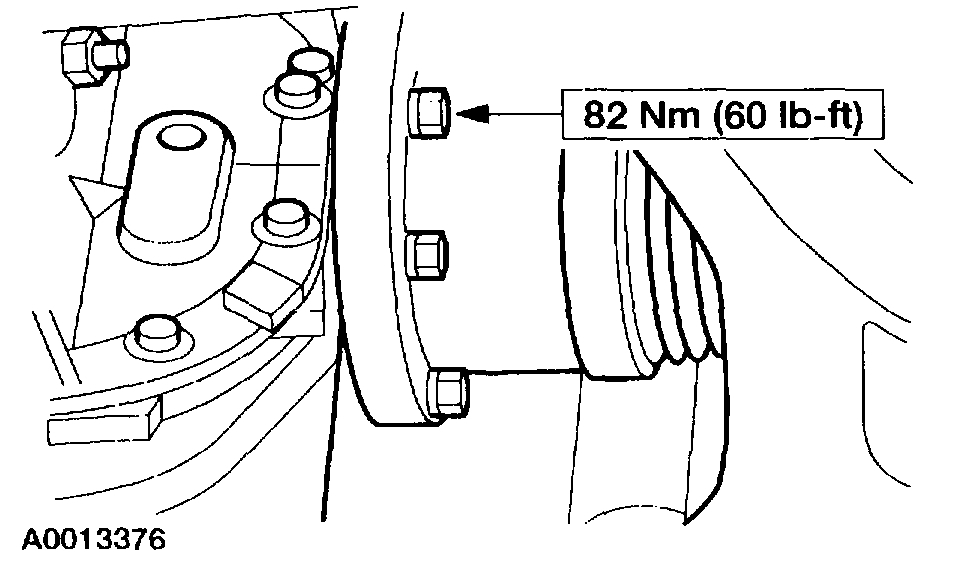
10. Remove the lower ball joint castellated nut.
1. Remove and discard the coffer pin.
2. Remove and discard the castellated nut.
11. Using the special tool, separate the front wheel knuckle from the suspension lower arm. Then, loosely install the castellated nut.
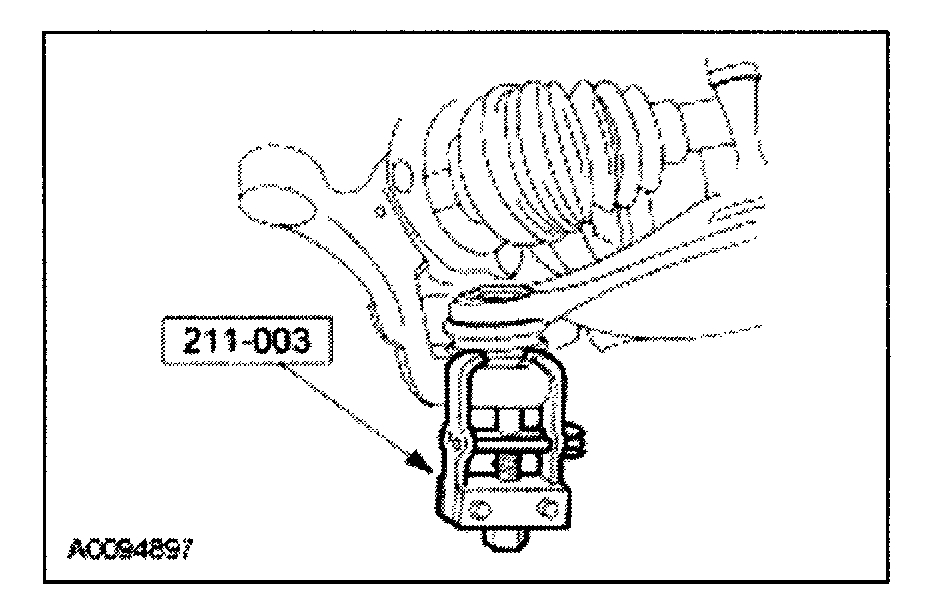
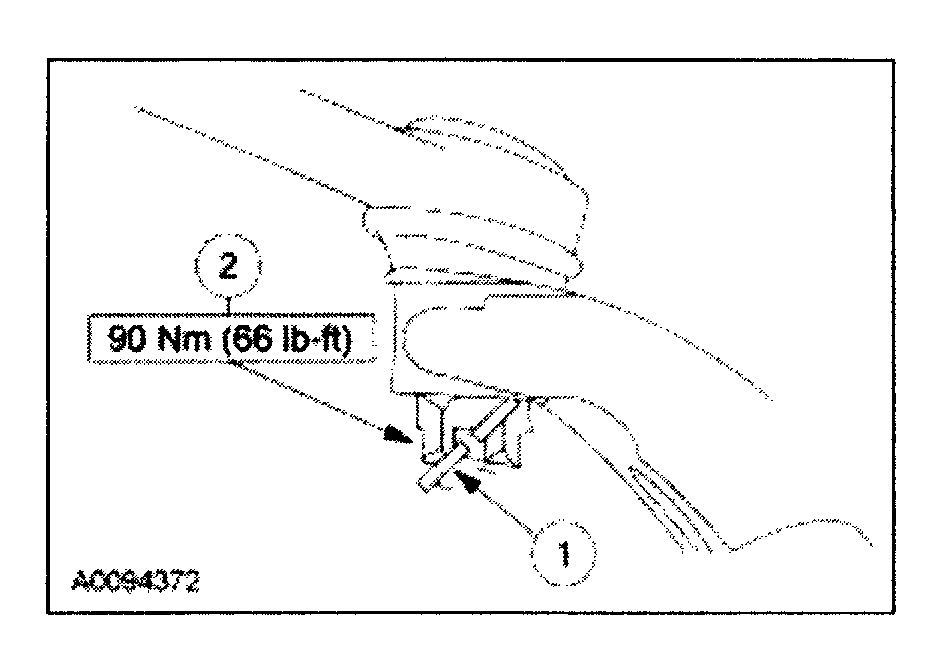
12. Remove the upper ball joint castellated nut.
1. Remove and discard the cotter pin.
2. Remove and discard the castellated nut.
13. Using the special tool, separate the front wheel knuckle from the front suspension upper arm.
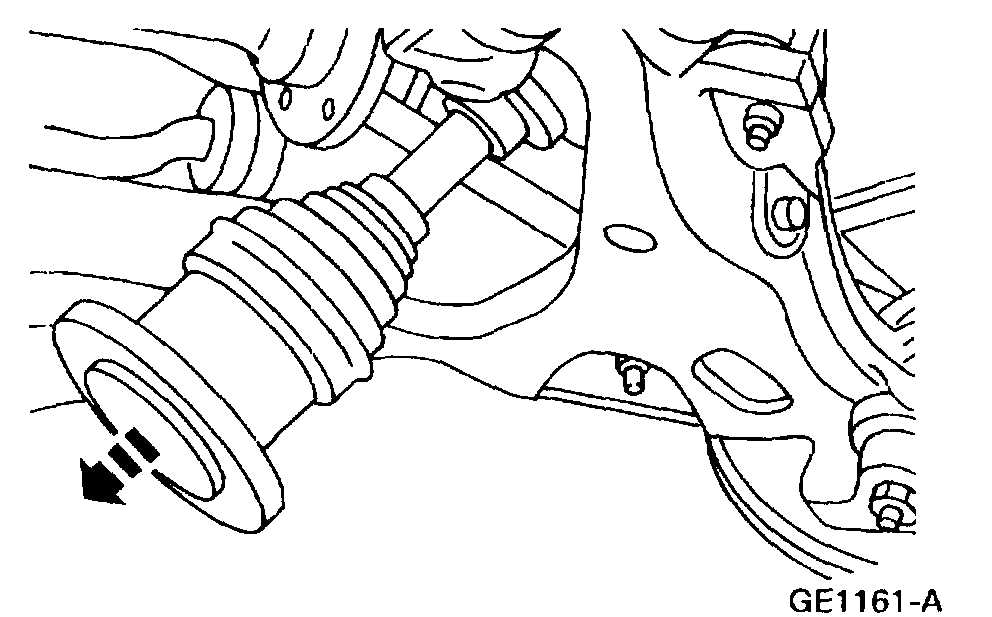
14. Separate the halfshaft from the hub, then remove the hand-tightened lower ball joint castellated nut. Remove the front wheel knuckle.
- Position the halfshaft aside and support with wire.
15. Remove the snap ring from the ball joint. Discard the snap ring
16. Using a suitable ball joint remover tool and receiver cup, remove the ball joint.
CAUTION: Do not damage the ball joint boot when installing the special tool.
NOTE: Clean and inspect the control arm ball joint bore for damage before installing a new ball joint.
NOTE: Make sure the new ball joint snap ring is fully seated.
17. To install, reverse the removal procedure.
- Always install new castellated nuts and coffer pins.
_______________________________
Next, and starting with picture 13, are the directions for removal and replacement of the axle assembly. I am including this so you can check to make sure everything is correctly put together.
_____________________________
REMOVAL AND INSTALLATION
Special Tools
Removal and Installation
1. WARNING: The electrical power to the air suspension system must be shut off prior to hoisting, jacking or towing an air suspension vehicle. This can be accomplished by turning off the air suspension switch located in the RH kick panel area. Failure to do so can result in unexpected inflation or deflation of the air springs, which can result in shifting of the vehicle during these operations.
Raise and support the vehicle.
2. Remove the front wheel and tire assembly.
3. Remove the fastener.
1 Remove and discard the cotter pin.
2 Remove the retainer.
3 Remove the nut.
4. CAUTION: Do not allow the front disc brake caliper to hang from the brake hose. Provide a suitable support.
Position the front disc brake caliper aside.
1 Remove the bolts.
2 Lift the caliper from the anchor plate and position it aside.
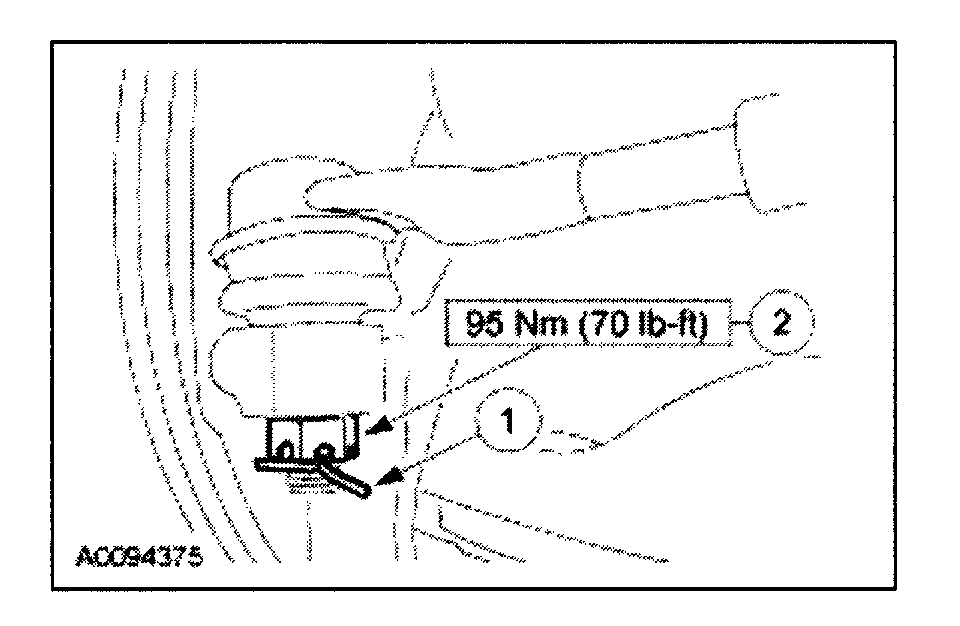
5. Remove the nut.
1 Remove and discard the cotter pin.
2 Remove the nut.
6. Using the special tool, separate the front wheel knuckle from the front suspension upper arm.
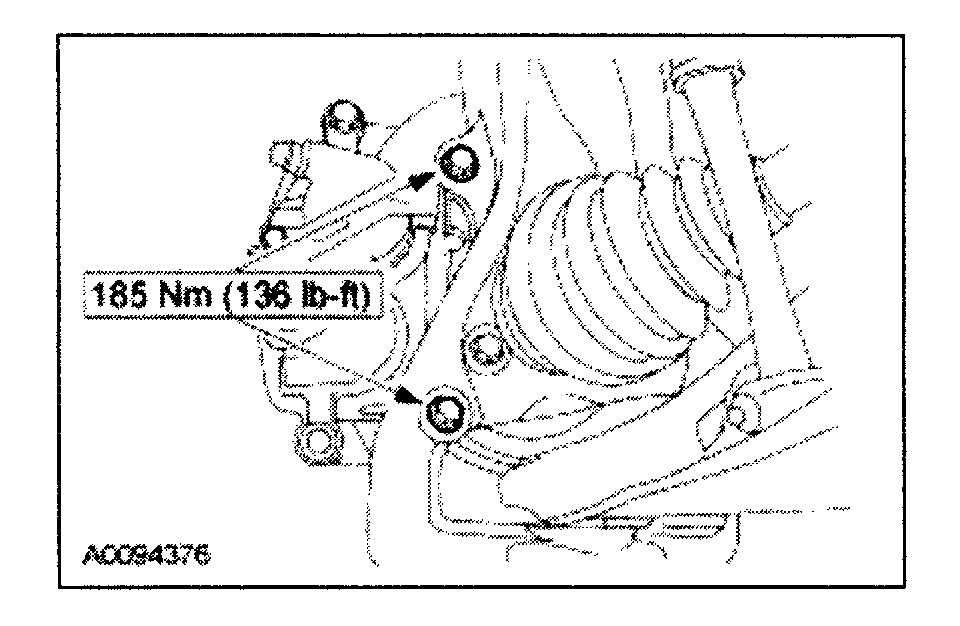
7. Remove the six bolts.
8. CAUTION: Do not damage the hub seal.
Separate the halfshaft from the axle and the hub, and remove the assembly from the vehicle.
9. To install, reverse the removal procedure.
______________________________
Let me know if this helps.
Joe
Images (Click to make bigger)
Saturday, December 22nd, 2018 AT 11:18 AM