Hi Terry and thanks for using 2CarPros.
The first thing (when the weather is better) is follow this link. It discusses the most common reasons the heater won't work and how to check them.
https://www.2carpros.com/articles/car-heater-not-working
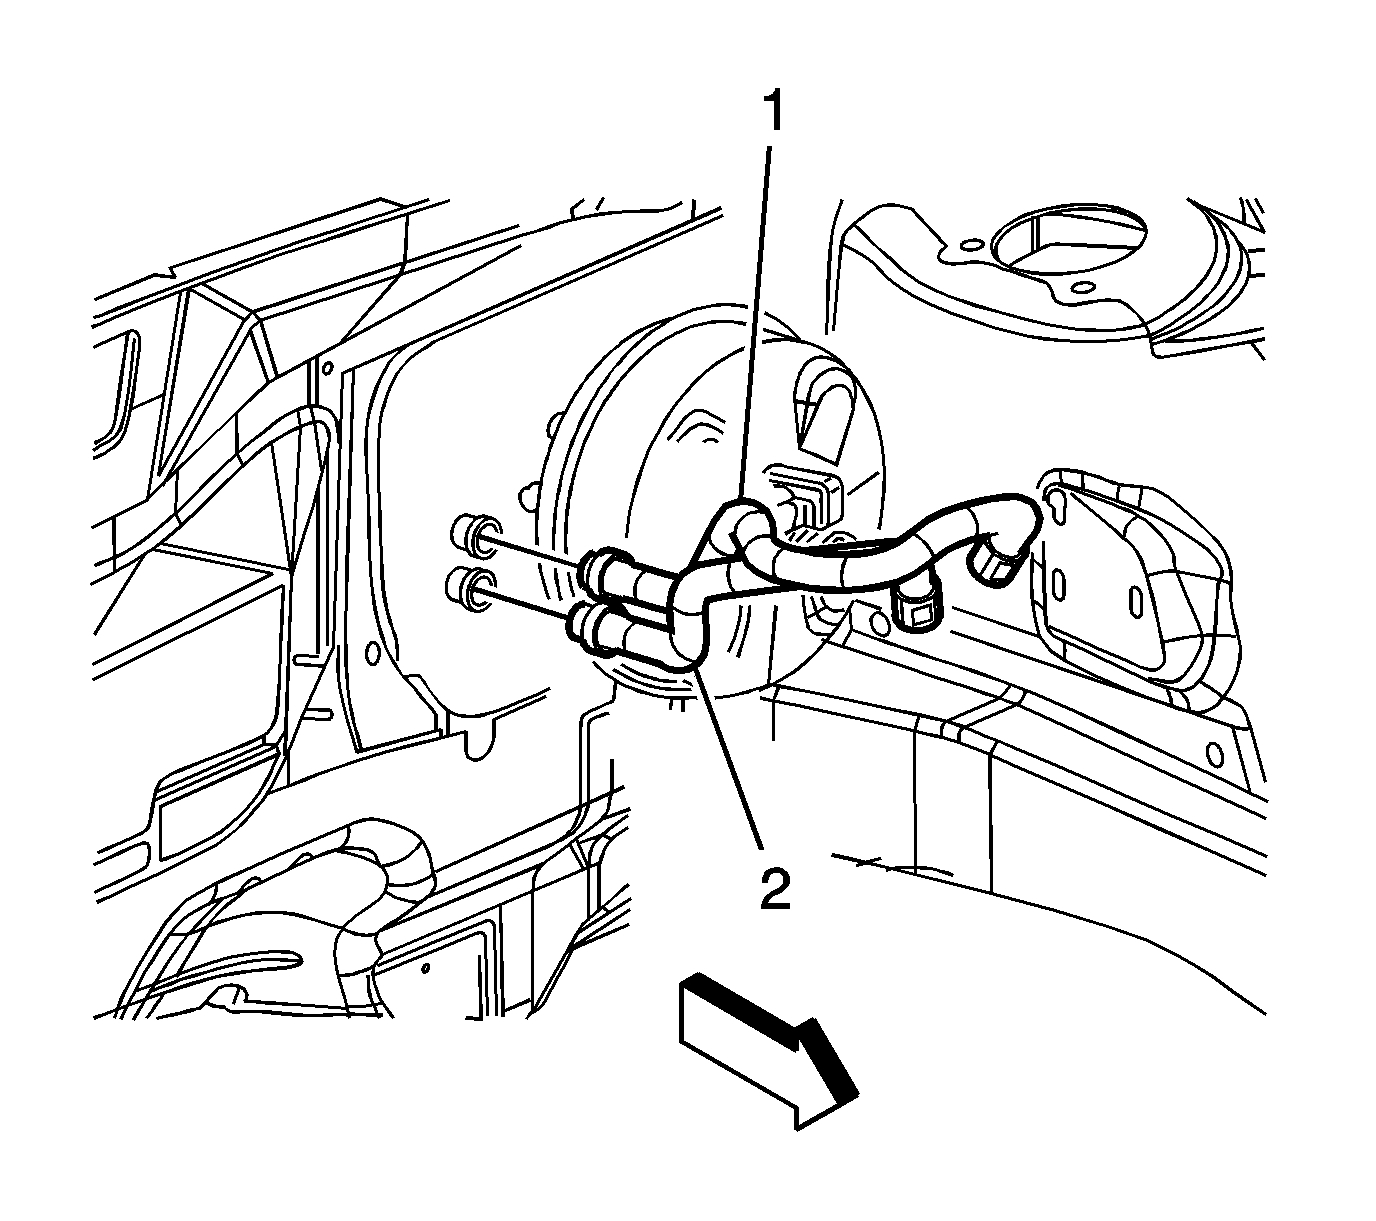
Also, if you look at picture 1, it shows where the heater core hoses connect to the core. If the core is bypassed, the hoses most likely be missing.
IF you determine the heater core is bad, here are the directions for replacing it. Here are directions in general showing how it is done:
https://www.2carpros.com/articles/replace-heater-core
Heater Core Replacement
Vehicle Heating and Air Conditioning Heater Core Service and Repair Removal and Replacement Heater Core Replacement
HEATER CORE REPLACEMENT
Heater Core Replacement
Tools Required
J 38185 Hose Clamp Pliers
Removal Procedure
1. Drain the cooling system. Refer to Cooling System Draining and Filling (Static Fill LZ9) (See: Cooling System > Removal and Replacement)Cooling System Draining and Filling (Vac-N-Fill) (See: Cooling System > Removal and Replacement).
See Picture 1
2. Disconnect both of the heater hose clamps (1) at the heater core using the J 38185.
3. Remove the heater hoses from the heater core (2).
Important: Cap off the heater core inlet and outlet pipes to prevent coolant spilling inside of the vehicle.
4. Cap off the heater core pipes.
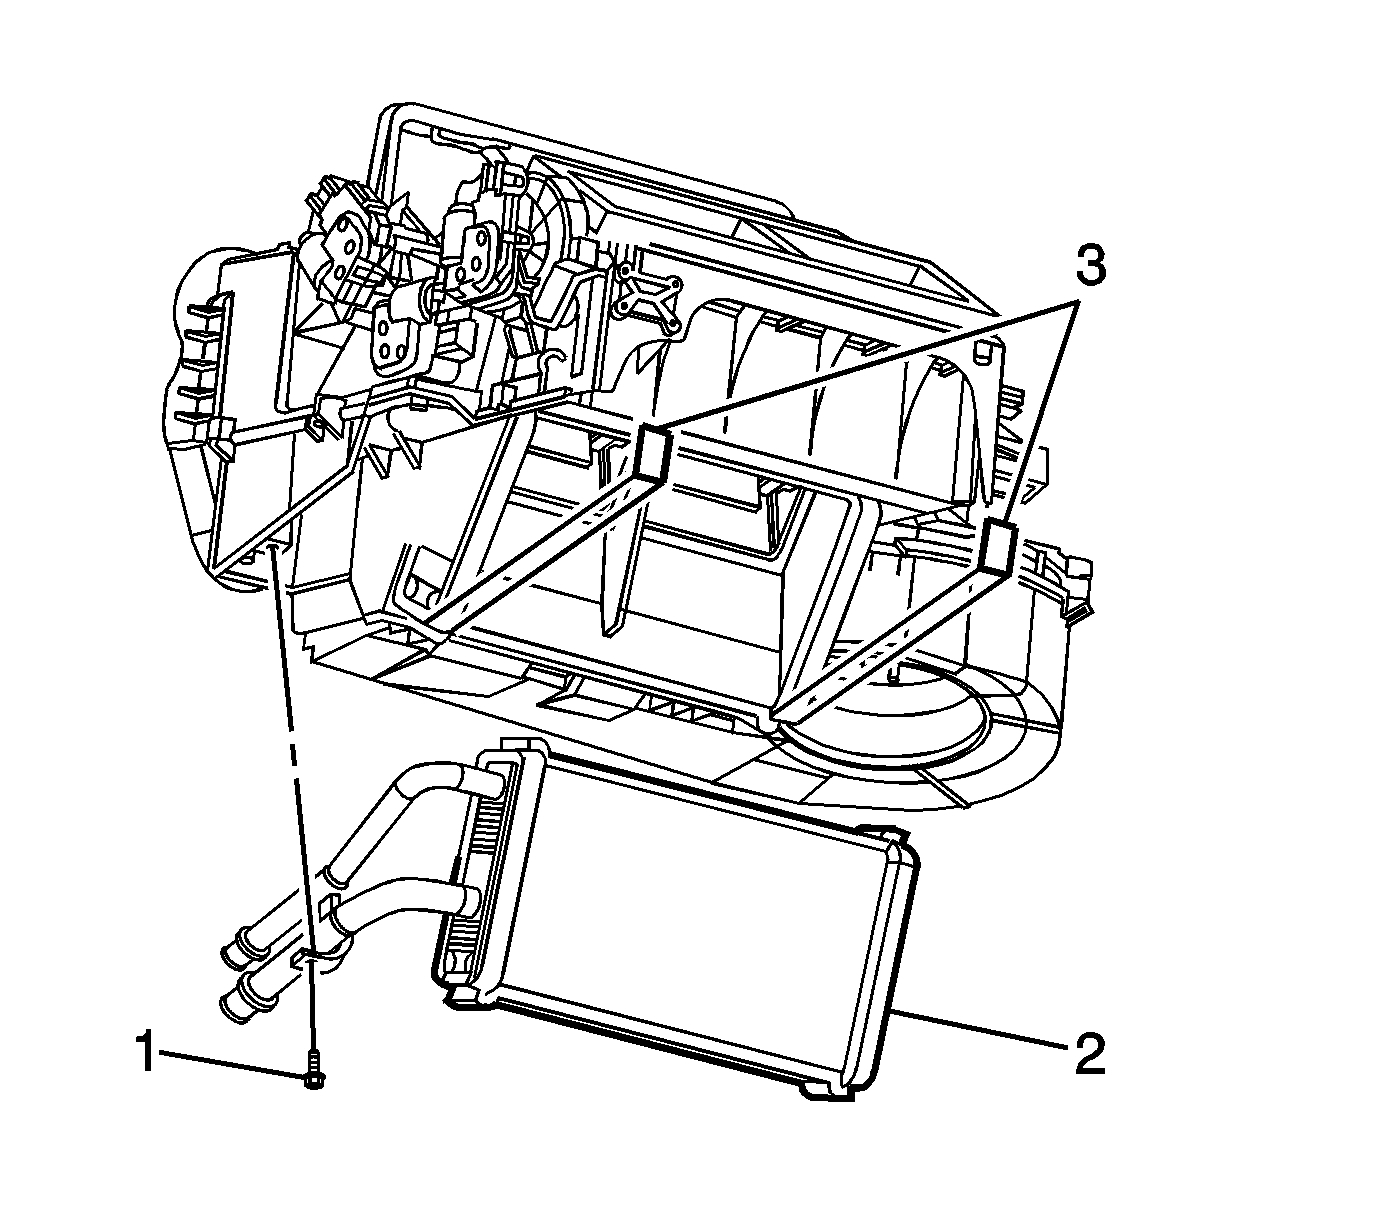
5. Remove the heater core cover. Refer to Heater Core Cover Replacement (See: Heater Core > Removal and Replacement > Heater Core Cover Replacement).
See Picture 2
6. Remove the heater core pipe clamp screw (1).
7. Remove the heater core (3).
Installation Procedure
See Picture 3
1. Install the heater core (2).
Notice: Refer to Fastener Notice (See: Vehicle > Vehicle Damage Warnings > Fastener Notice).
2. Install the heater core pipe clamp screw (1).
Tighten the screw to 1.2 N.m (11 lb in).
3. Install the heater core cover. Refer to Heater Core Cover Replacement (See: Heater Core > Removal and Replacement > Heater Core Cover Replacement).
See Picture 4
4. Install the heater hoses to the heater core (2).
5. Reposition the heater hose clamps (1) to secure the hoses using the J 38185.
6. Fill the coolant. Refer to Cooling System Draining and Filling (Static Fill LZ9) (See: Cooling System > Removal and Replacement)Cooling System Draining and Filling (Vac-N-Fill) (See: Cooling System > Removal and Replacement).
___________________________________
If you find the core is good, the next check is the blend air door. Here are directions for replacing it.
Air Temperature Actuator Replacement (Single Zone)
Removal Procedure
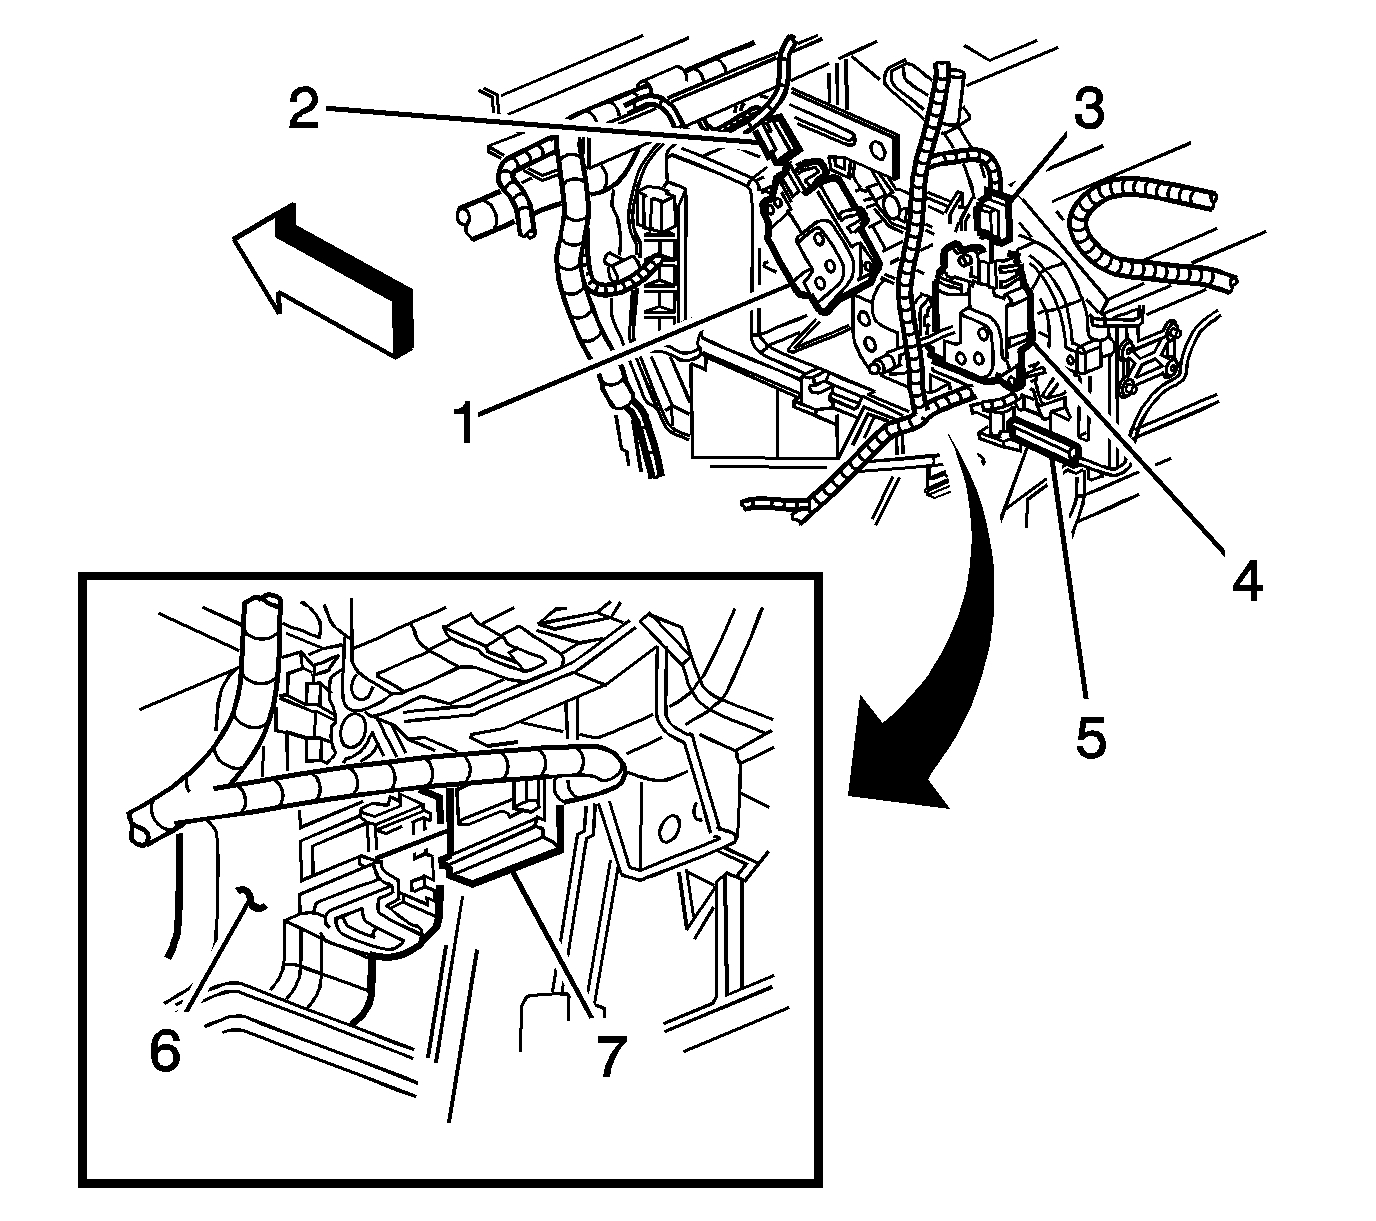
See Picture 5
1. Remove the driver side knee bolster.
2. Locate the air temperature actuator (6).
3. Disconnect the air temperature actuator electrical connector (7).
See Picture 6
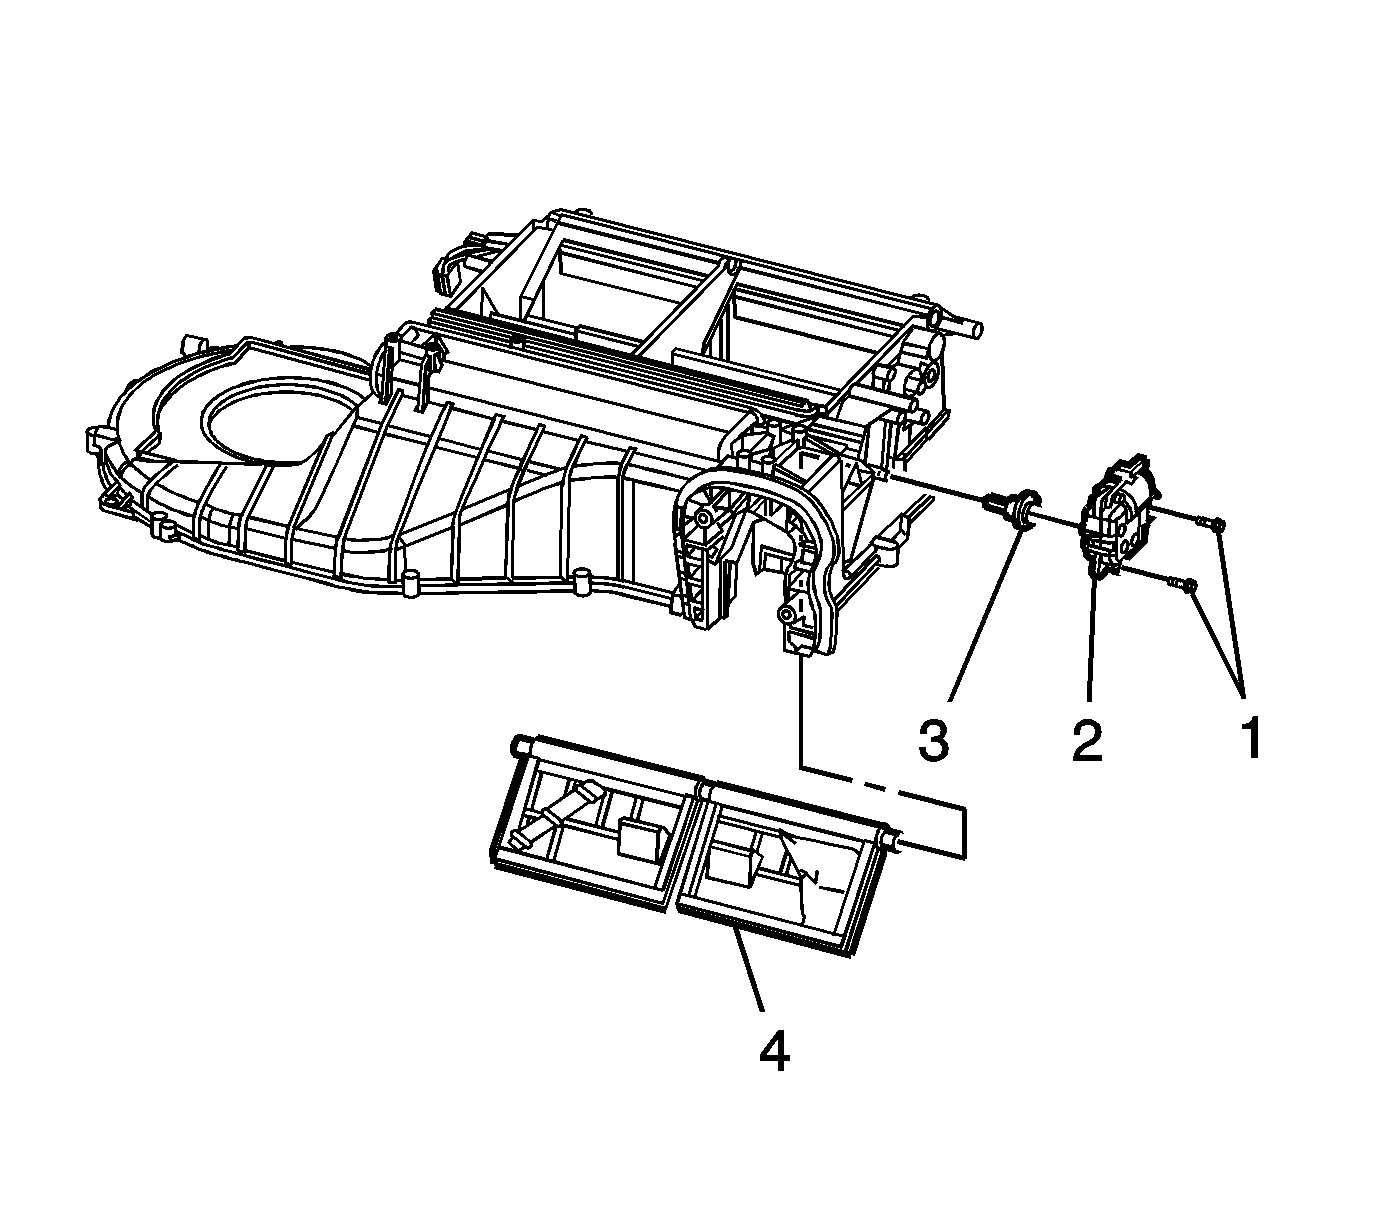
4. Remove the air temperature actuator bolts/screws (1).
5. Remove the air temperature actuator (2).
6. Remove the air temperature actuator lever (3), if necessary.
Installation Procedure
See Picture 6
Important: The actuator lever can only be inserted into the door one way.
1. Install the air temperature actuator lever (3), if necessary.
2. Install the air temperature actuator (2).
Notice: Refer to Fastener Notice (See: Vehicle > Vehicle Damage Warnings > Fastener Notice).
3. Install the air temperature actuator bolts/screws (1).
See Picture 6
Tighten the bolts/screws to 1.2 N.m (11 lb in).
4. Connect the air temperature actuator electrical connector (7).
5. Install the driver side knee bolster.
6. Re-calibrate the actuators. Refer to Actuator Recalibration (See: Vehicle > Programming and Relearning).
Let me know if this helps or if you have other questions.
Take care,
Joe
Images (Click to make bigger)
Tuesday, January 29th, 2019 AT 5:37 PM