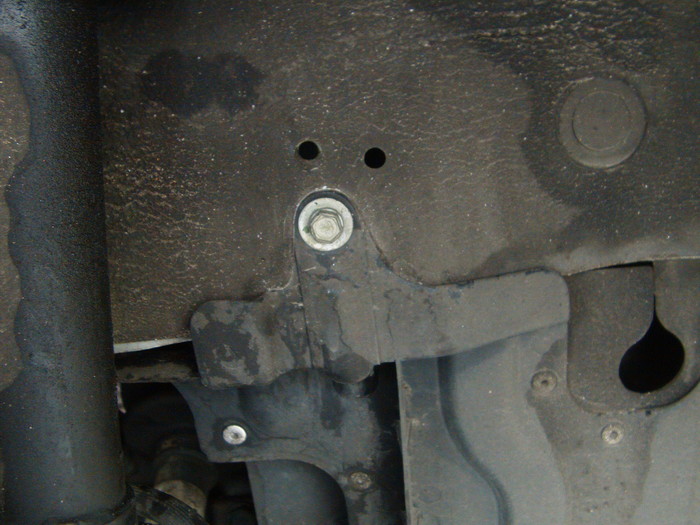
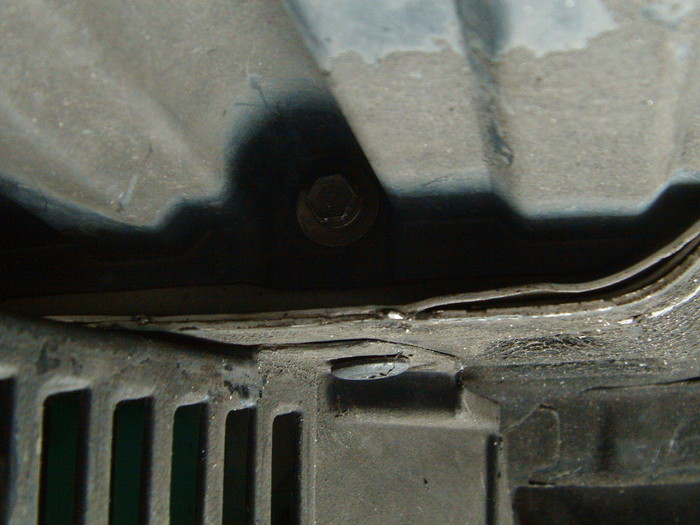
8)- Release the tension bolt enough to remove easily the belt, try to release it the most you can, because the new belt will need lots of free space to be installed, and giving them short space will give you hard times. The bracket bolt must be released only enough to be loose, no more than two turns, just enough to make it free.
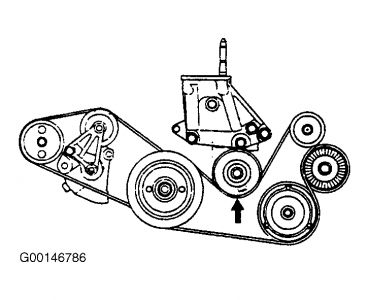
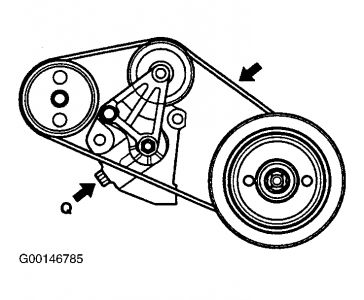
9)- Install the new steering power belt following the direction of the belt showed in the graphic of step #7, be sure the canals fit properly, and adjust the tension pulley bolt. Adjust the bracket bolt.
10)- Install the AC/alternator belt following instructions in step #5.
11)- Give a visual inspection that the belts are centered in the pulleys, and make a final adjusment. According to the shop manual the tightening torque for the tensioner bolt is 45-50Nm (450-500kg.C, 33 -36 lb, ft) The belts tension is 98N (10kg)
12) Turn the car On and check the belts work. No vibration neither sound should be observed.
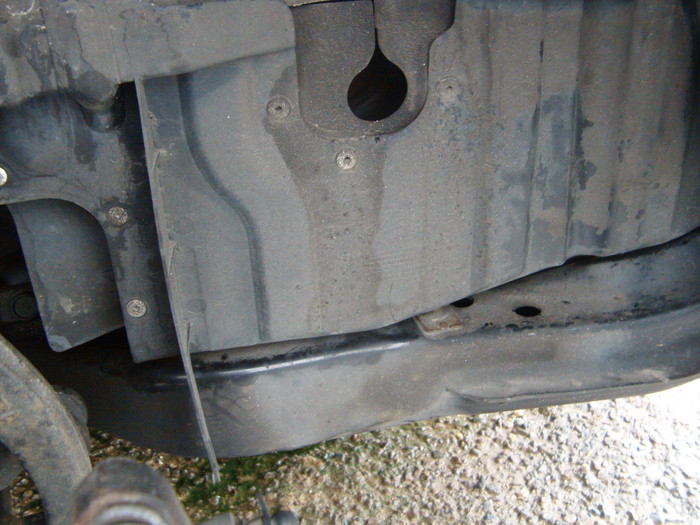
13)- Install back the oil pan splash cover, the side cover, the wheel, and give a road test.
*Note, in case the AC/alternator pulley nut holder is hard to release, please check the question below yours. In my case I had to remove this nut and replace it, my case is maybe one in a million, but probably can happen to you as well.I'll hope not.
My regards.
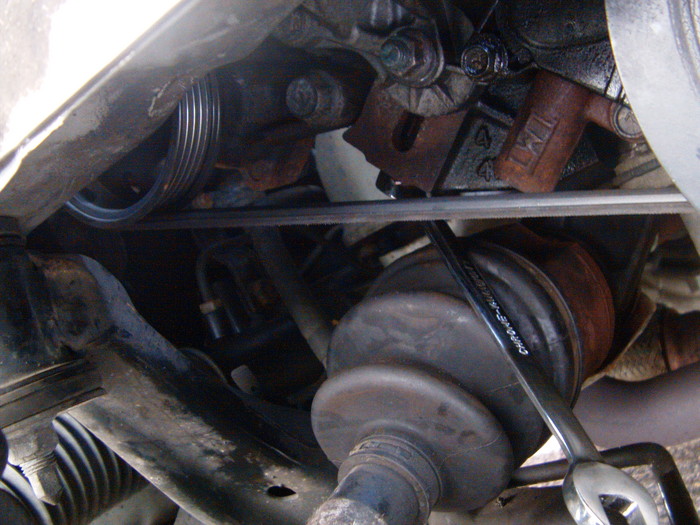
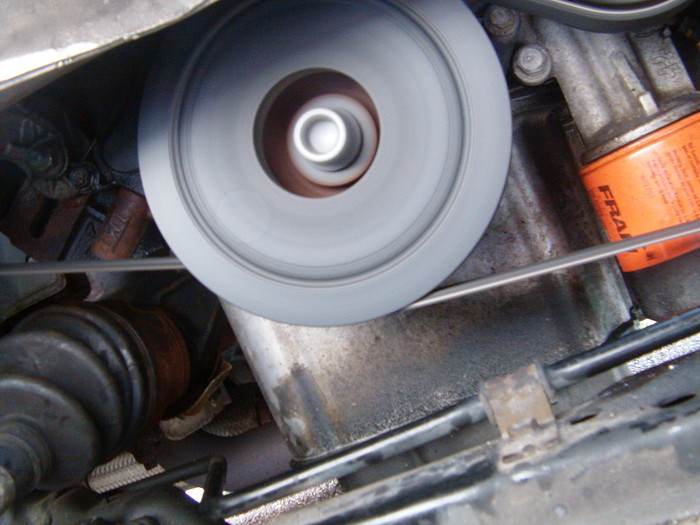
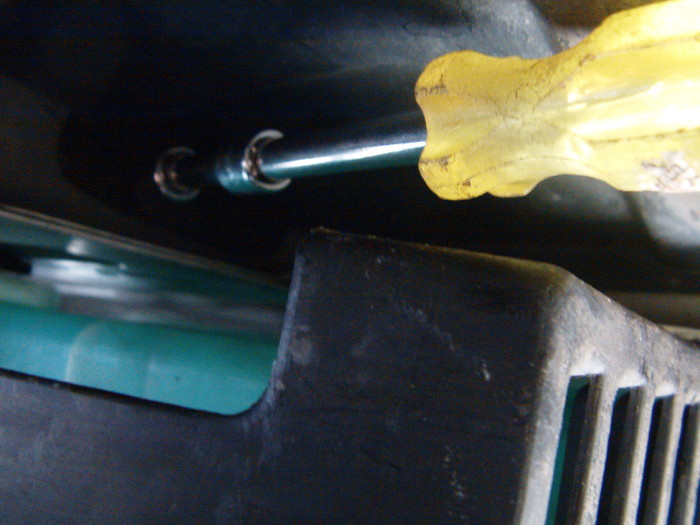
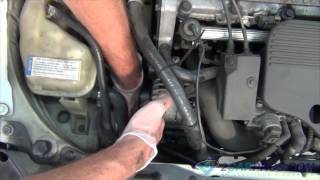
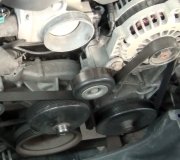
Images (Click to make bigger)
Monday, April 11th, 2011 AT 2:04 AM