Hi,
This really isn't a difficult one. Here are the directions for replacement, which include removal and installation. The pics below correlate with the directions.
Note: I don't know if you are actually replacing it or replacing just a gasket. If it is only the gasket, you will likely not need to remove everything mentioned. If you run into trouble, let me know.
_________________________________________
2006 Chevy Truck Uplander FWD V6-3.5L VIN L
Intake Manifold Replacement - Upper
Vehicle Engine, Cooling and Exhaust Engine Intake Manifold Service and Repair Removal and Replacement Intake Manifold Replacement - Upper
INTAKE MANIFOLD REPLACEMENT - UPPER
Intake Manifold Replacement - Upper
Removal Procedure
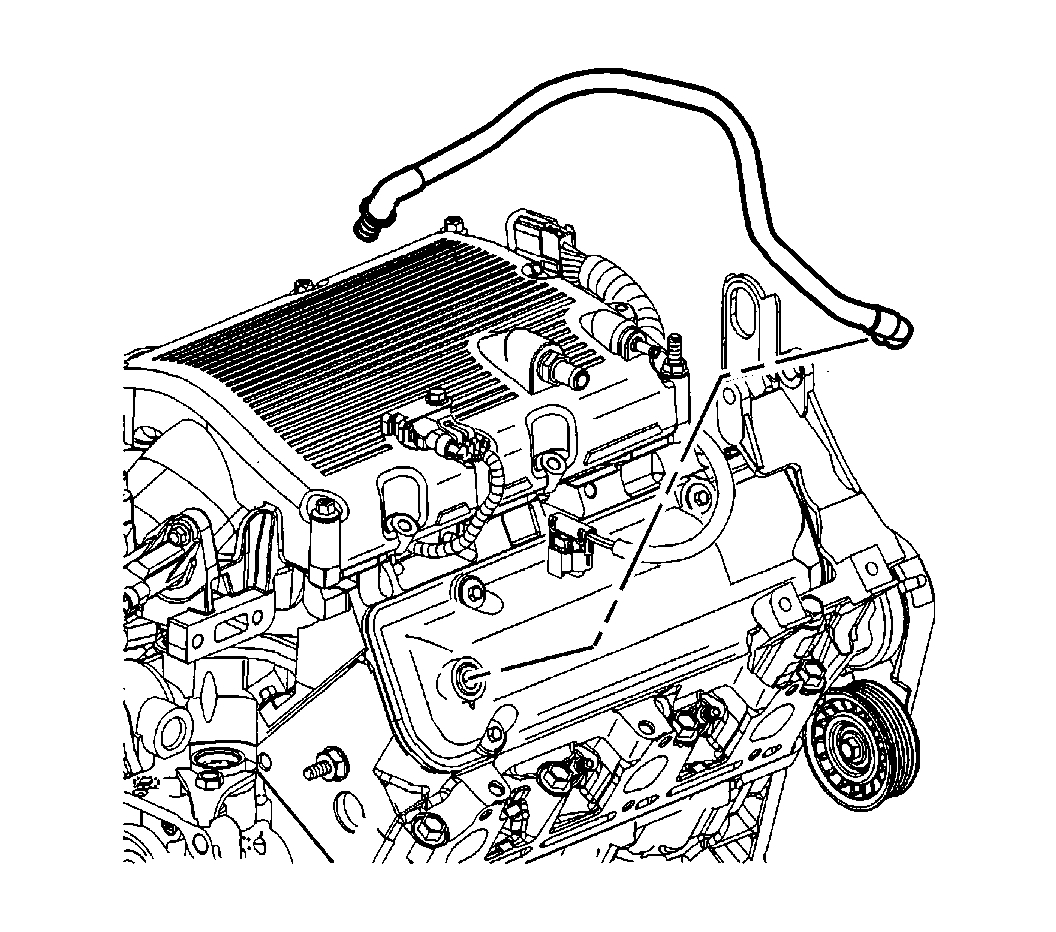
pic 1
1. Disconnect the negative battery cable.
2. Remove the vacuum hoses from the following:
Evaporative emissions (EVAP) canister purge valve
Brake booster
3. Disconnect the electrical connectors from the following:
Exhaust gas recirculation (EGR) valve
Mass air flow (MAF) sensor
Electronic throttle control
EVAP canister purge valve
4. Remove the air cleaner intake duct.
5. Drain the cooling system. Refer to Draining and Filling Cooling System (Static Fill) Draining and Filling Cooling System (Vac-N-Fill).
6. Remove the left side spark plug wires from the spark plugs.
7. Remove the following wiring harnesses from the retainers:
Camshaft position (CMP) sensor wiring harness
Left side spark plug wire harness
Engine wiring harness
pic 2
8. Remove the ignition coil bracket with the coils.
9. Remove the EVAP canister purge solenoid valve.
10. Remove the manifold absolute pressure (MAP) sensor and the bracket.
11. Remove the EGR valve.
12. Remove the upper intake manifold bolts and the stud.
13. Remove the generator bracket.
14. Remove the upper intake manifold.
15. Remove the upper intake manifold gaskets.
Pic 3
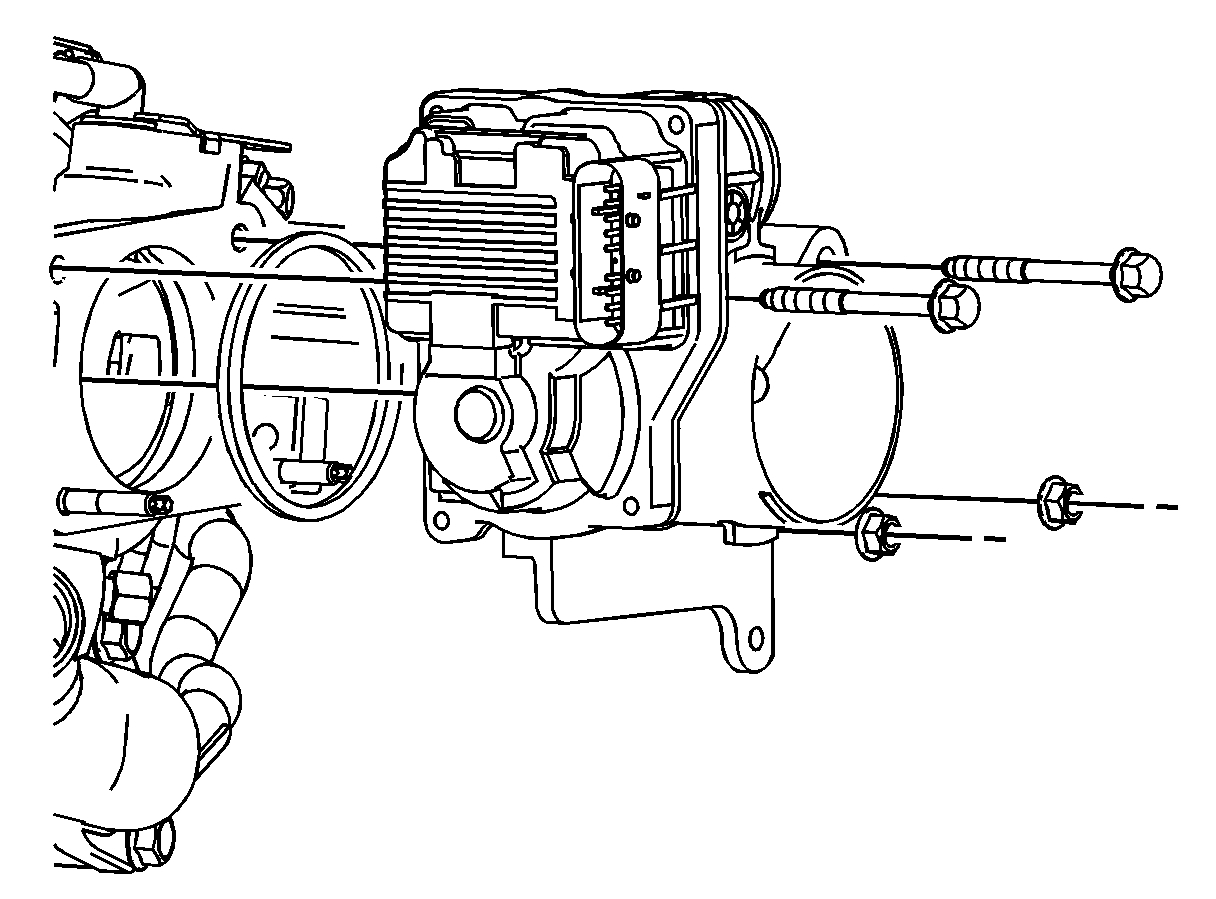
16. If replacing the upper intake manifold, remove the throttle body.
17. Clean the upper intake gasket mating surfaces.
Installation Procedure
pic 4
1. If removed, install the throttle body.
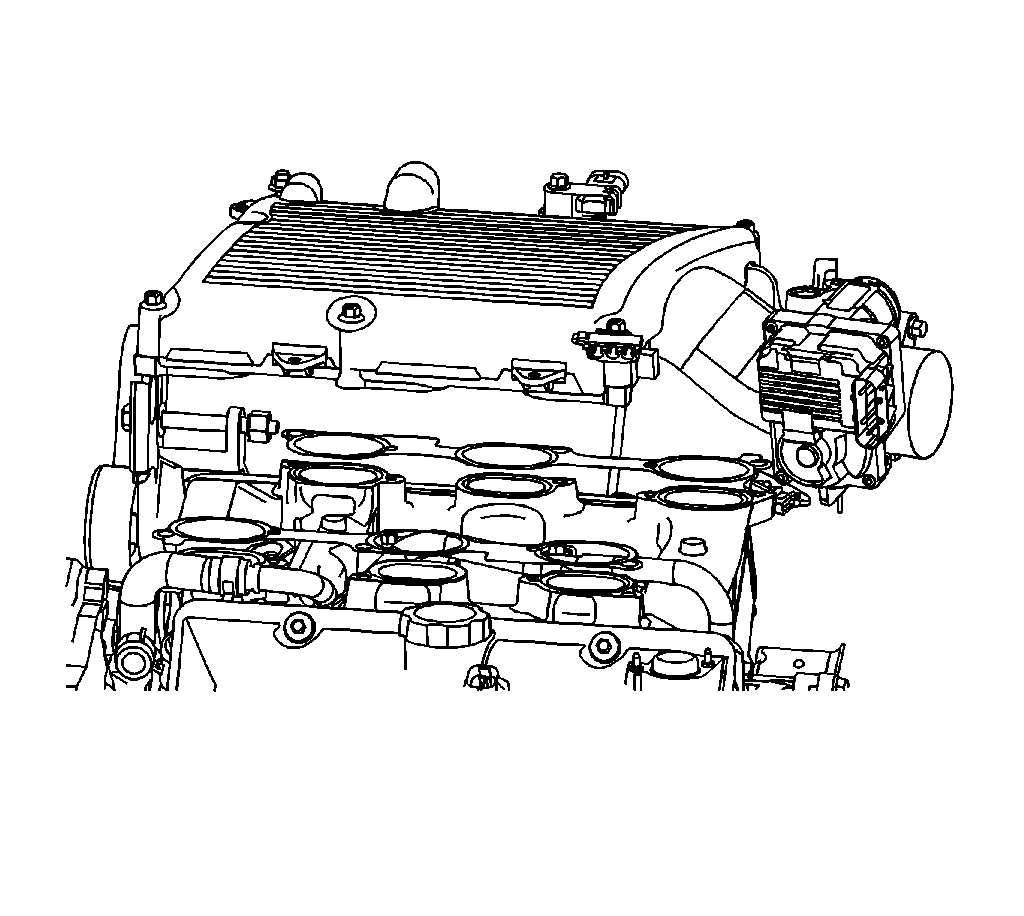
Pic 5
2. Install the upper intake manifold gaskets.
3. Install the upper intake manifold.
4. Apply threadlocker GM P/N 12345382 (Canadian P/N 10953489) to the upper intake manifold bolt threads.
5. Notice: Refer to Fastener Notice.
Install the upper intake manifold bolts and the stud.
Tighten the bolts and the stud to 25 Nm (18 ft. Lbs.).
6. Install the generator bracket.
7. Install the EGR valve.
8. Install the MAP sensor bracket and the sensor.
9. Install the EVAP canister purge solenoid valve.
10. Install the ignition coil bracket with the coils.
11. Install the following wiring harnesses to the retainers:
Engine wiring harness
Left side spark plug wire harness
CMP sensor wiring harness
12. Install the left side spark plug wires to the spark plugs.
13. Install the air cleaner intake duct.
14. Connect the electrical connectors to the following:
EVAP canister purge valve
Electronic throttle control
MAF sensor
EGR valve
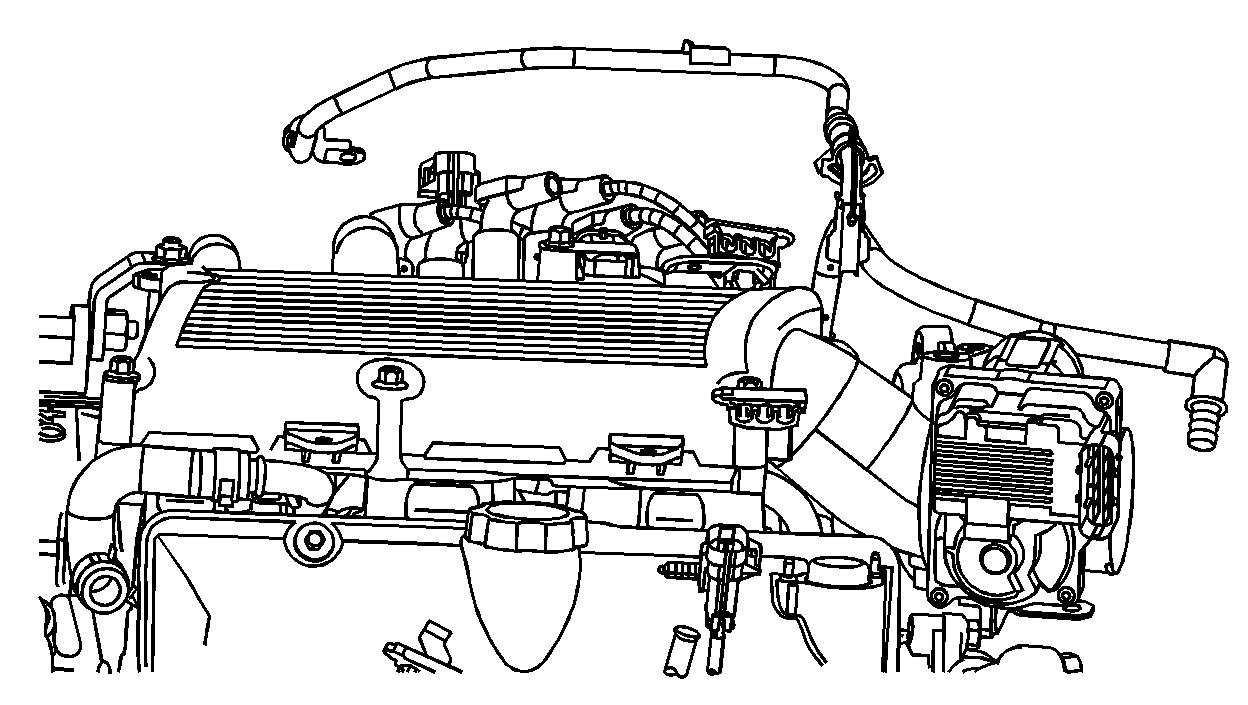
pic 6
15. Install the vacuum hoses to the following:
Brake booster
EVAP canister purge valve
16. Connect the negative battery cable.
17. Fill the cooling system. Refer to Draining and Filling Cooling System (Static Fill) Draining and Filling Cooling System (Vac-N-Fill).
_____________________________
Let me know if this helps or if you have other questions.
Take care,
Joe
Images (Click to make bigger)
Friday, March 12th, 2021 AT 5:54 PM