Good morning
Below is the procedure and some pictures.
The hardest part of this job is to get the heater hoses off under the hood.
Beyond that, easy job.
Roy
1. Disconnect battery ground cable, then drain cooling system.
2. Remove screws securing glove box module and the glove box, then the righthand lower sound insulator.
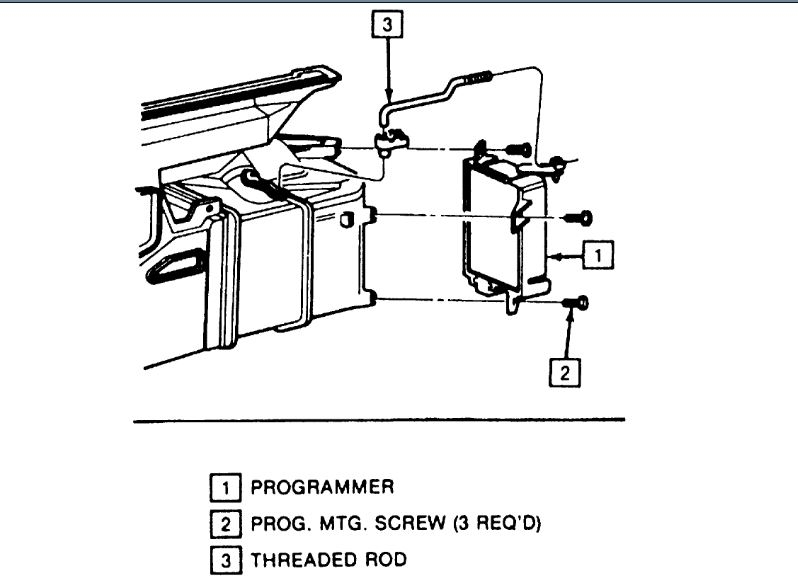
3. Remove programmer as follows:
a. Remove two ECM bracket mounting screws, then position ECM aside to gain access to rear programmer mounting screw.
B. Remove threaded rod, then the vacuum connector retaining nut from programmer.
C. Disconnect electrical and vacuum connectors from programmer assembly, then remove three mounting screws and programmer, Fig.16.
4. Disconnect electrical connections from ECM, then remove the ECM and mounting bracket from vehicle.
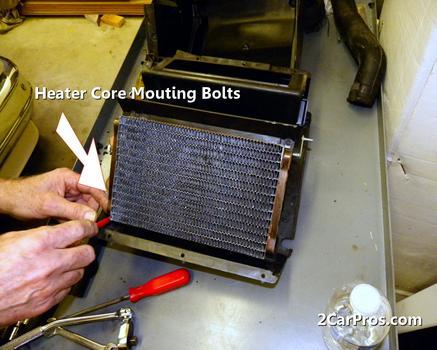
5. Remove heater core cover, then disconnect heater hoses from heater core.
6. Remove two heater core retaining screws, then the heater core.
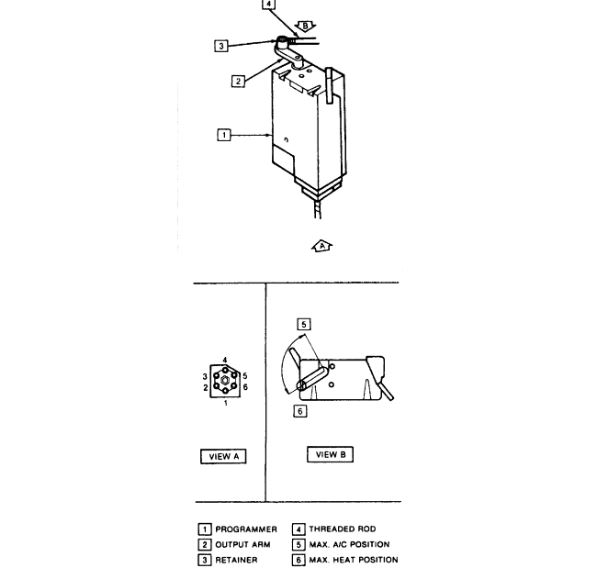
7. Reverse procedure to install. Prior to installing glove box module, adjust air mix door link rod as follows:
a. Set temperature control for 90°F and allow 1-2 minutes for programmer arm to travel to maximum heat position, Fig.17.
B. Disconnect air mix door link rod from programmer and ensure air mix door operated freely.
C. Preload air mix door in maximum heat position by pulling rod to seat door against seal, then snap rod into connector on programmer arm, taking care not to disturb position of arm or air mix door.
D. Set control for 60°F and ensure programmer arm and air mix door travel to maximum cooling position.
Images (Click to make bigger)
Monday, November 5th, 2018 AT 3:23 AM