The book process is as follows. For the most part it's a standard core swap with no need to strip out the dash. You may need to remove the center console if it has one.
1. Remove the air cleaner and duct assembly.
2. Drain the coolant.
3. Disconnect both of the heater hoses at the heater core.
4. Remove the lower the floor console, if equipped.
For that the following is the process and the first 3 images
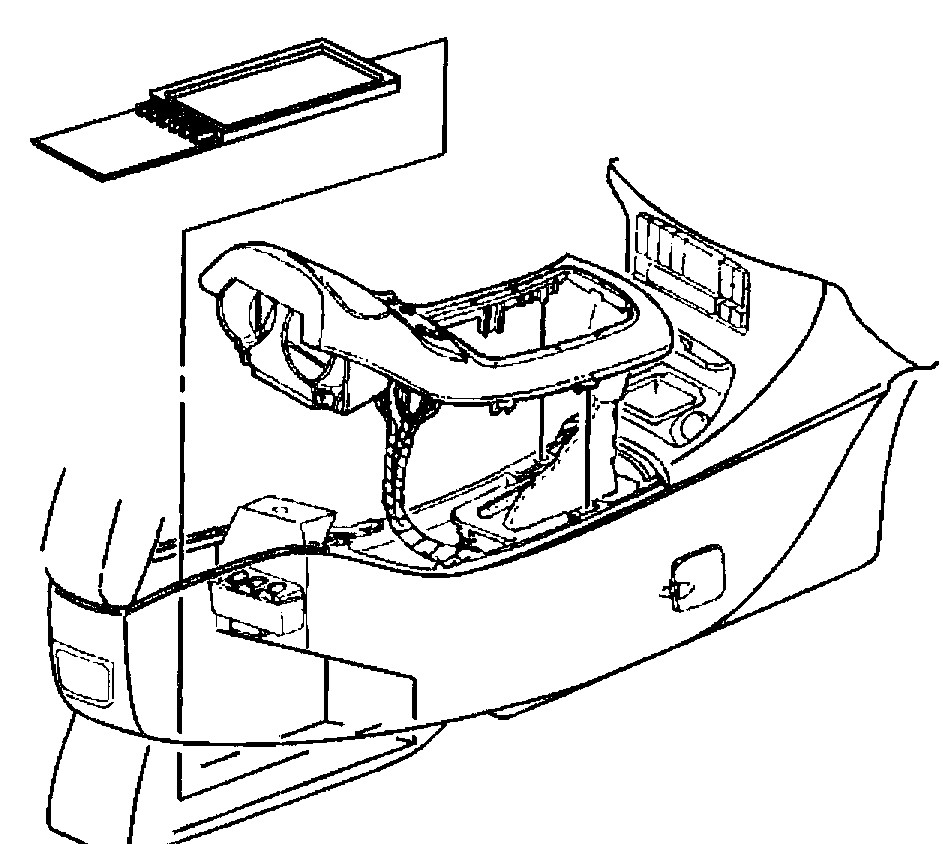
Disconnect the battery ground negative cable.
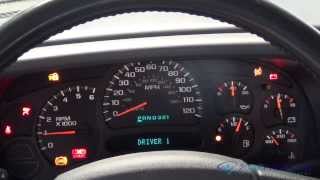
Reposition the transaxle shift lever to the LOW position.
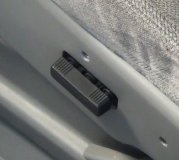
Remove the front floor console trim plate.
Remove the rubber mat from the storage compartment in the front floor console.
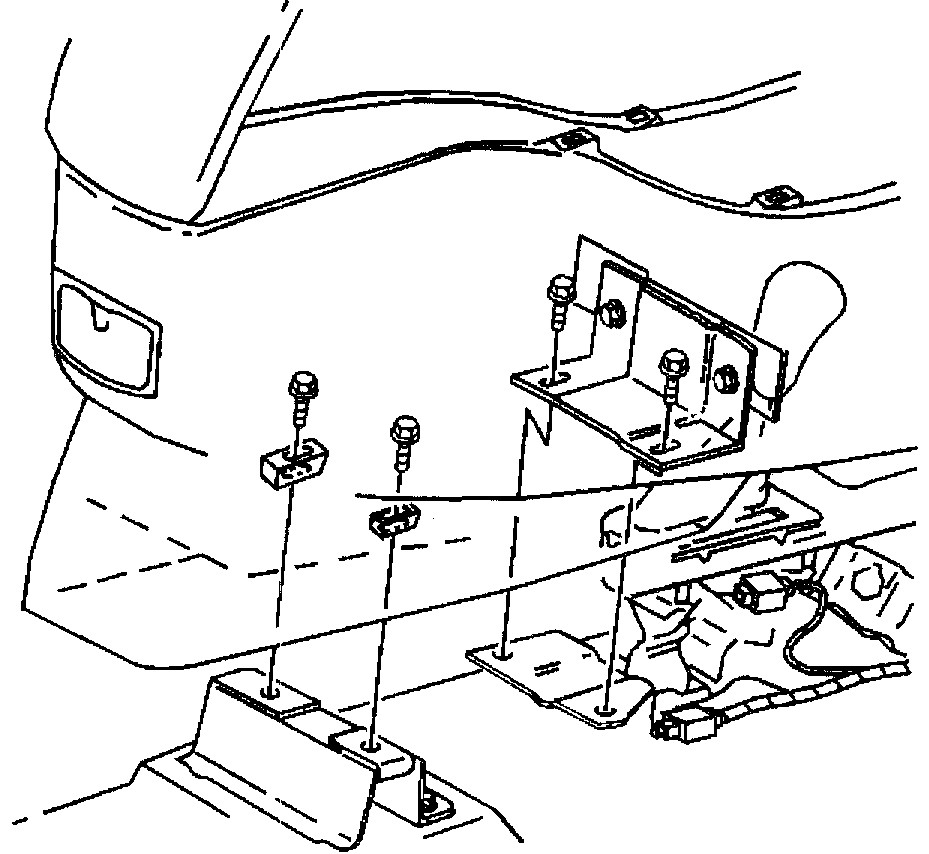
Remove the bolts from the storage compartment area of the front floor console.
Remove the bolts from the front floor console mounting bracket at the rear of the
transaxle shift lever.
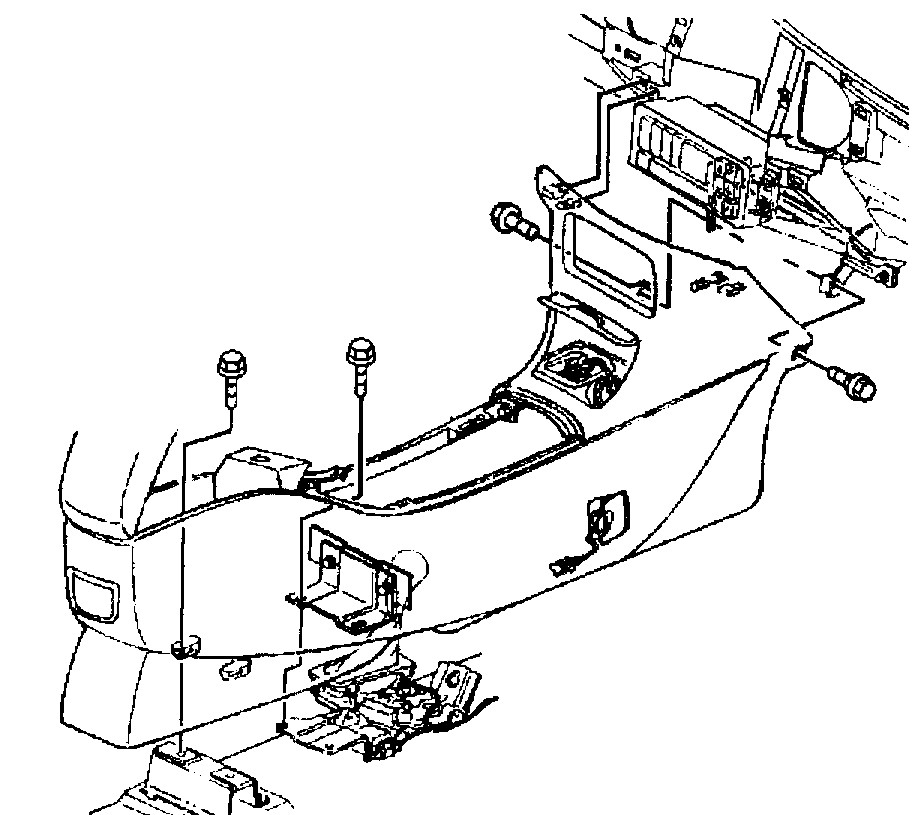
Remove the bolts from the LH and RH front sides of the front floor console.
Disconnect the electrical connectors.
Pull the front floor console rearward in order to release the retainers from the instrument
panel.
Remove front floor console from the vehicle.
Then continue the core removal as follows
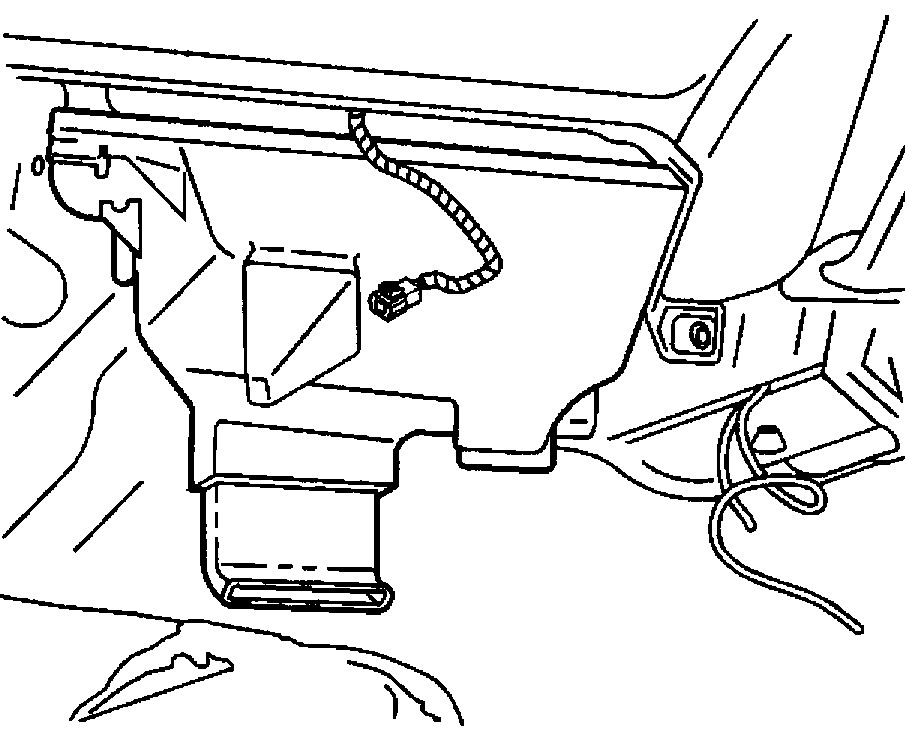
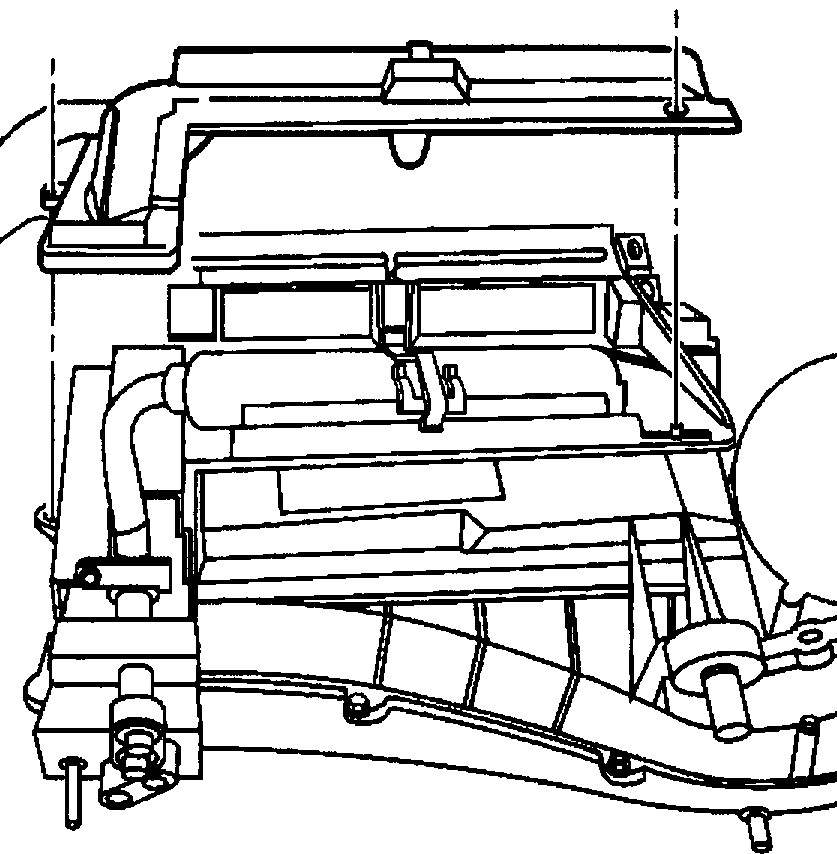
5. Remove the LH and RH instrument panel insulators.
6. Remove the heater core outlet cover screws.
7. Remove the heater core outlet cover.
8. Remove the heater core cover screws.
9. Remove the heater core cover.
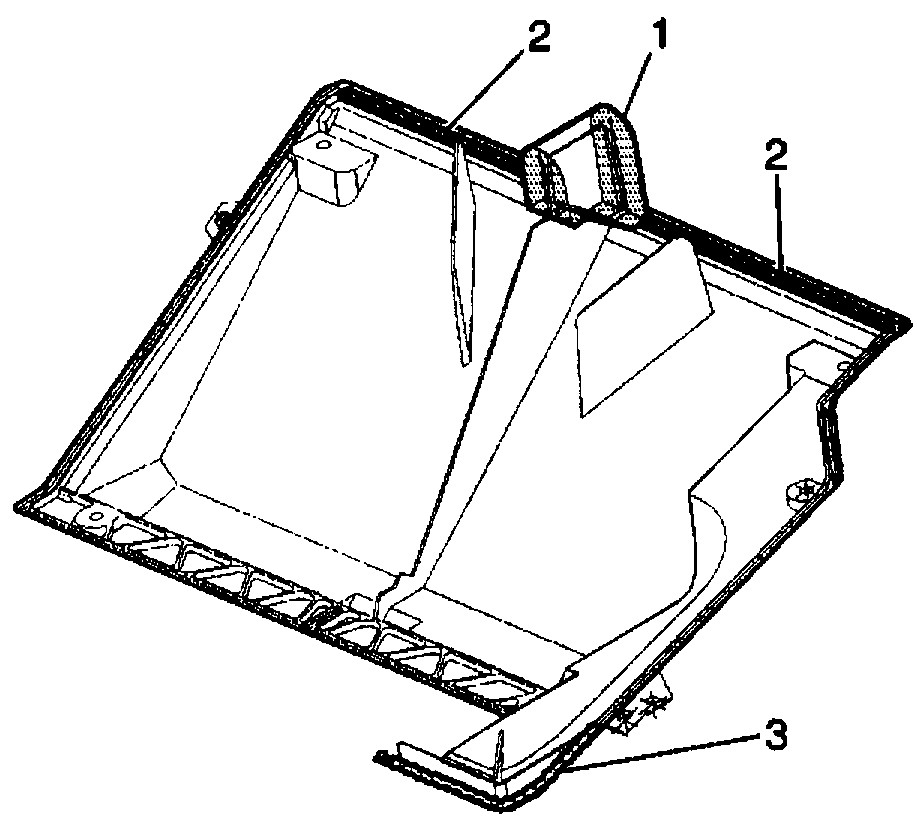
The next 2 steps are optional if you could get the new seals which for a 1999 isn't likely. You could buy some foam weatherstripping of the correct sizes and just replace all of the case seals. They are shown in the 8th image
10. Remove and discard the seals (1, 2, 3) from the heater core cover.
11. Remove and discard the heater core outer seal (5) from the heater core.
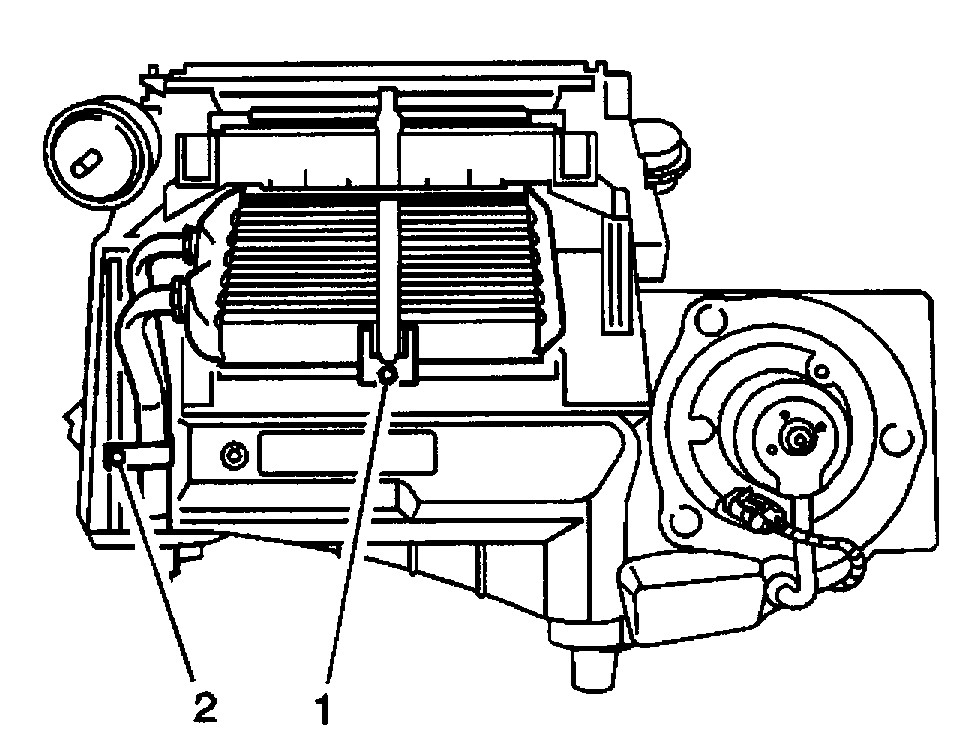
12. Remove the heater core line clamp screw (1).
13. Remove the heater core retaining clamp.
14. Remove the heater core pipe retainer clamp screw (2).
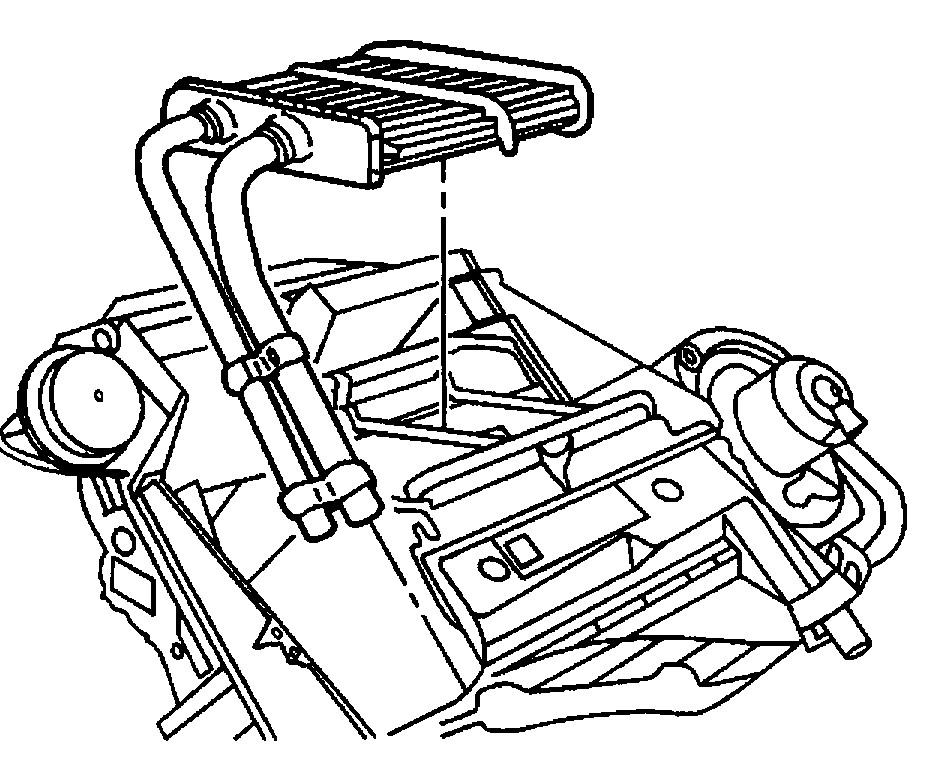
15. Remove the heater core from the HVAC lower case.
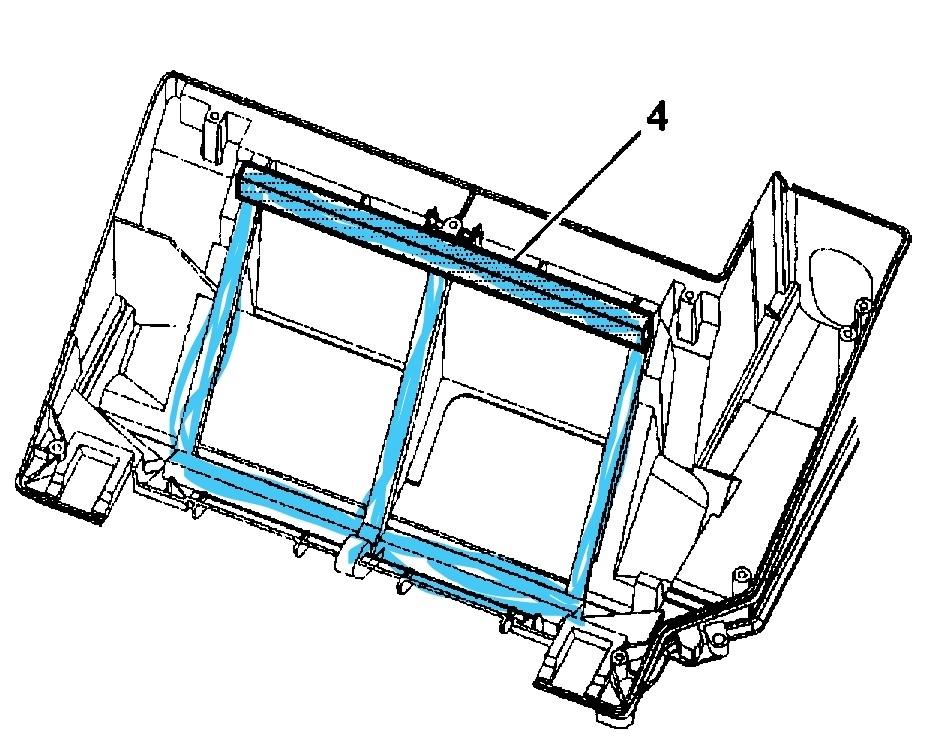
The next 4 steps are optional as well. You could buy some foam weatherstripping of the correct sizes and just replace all of the case seals. Or only those that are damaged. These are shown in the last image. All the blue items.
16. Remove and discard the heater core lower seal (4) from the HVAC case.
17. Remove and discard the heater core center seal (3) from the HVAC case.
18. Remove and discard the heater core upper seal (2) from the HVAC lower case.
19. Remove and discard the heater core side seals (1) from the HVAC lower case.
Images (Click to make bigger)
Monday, January 16th, 2023 AT 11:49 AM