Okay, thank you.
That is the bottom of the motor. It has no oil pressure on start up and you hear the main and rod bearing making that noise. Oil builds up eventually and the sounds goes away.
https://www.2carpros.com/articles/engine-noises
This noise will damage the engine if you keep using it this way. I t needs to be checked to see if there is not oil pressure on startup.
It could be the oil pump but needs to be confirmed.
Roy
Removal and Installation
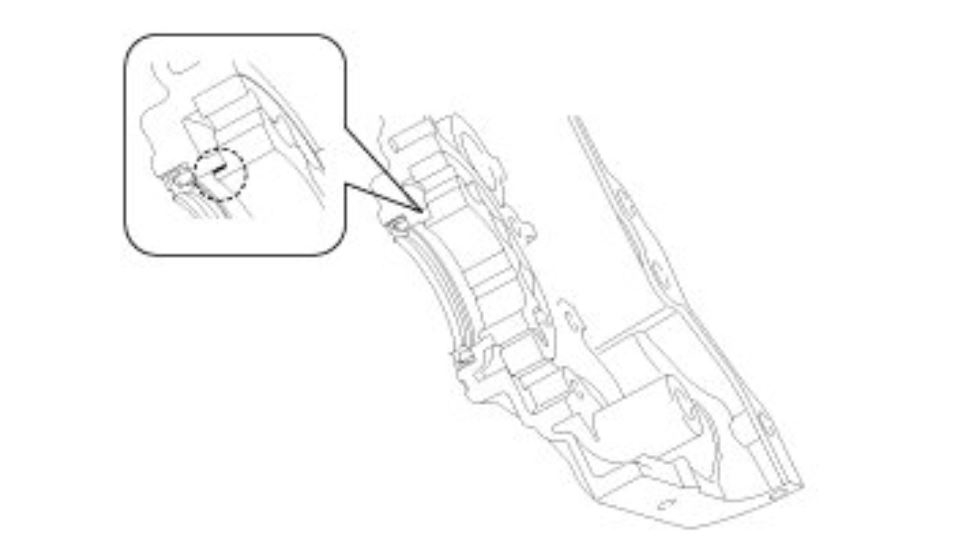
1. Remove the timing chain cover.
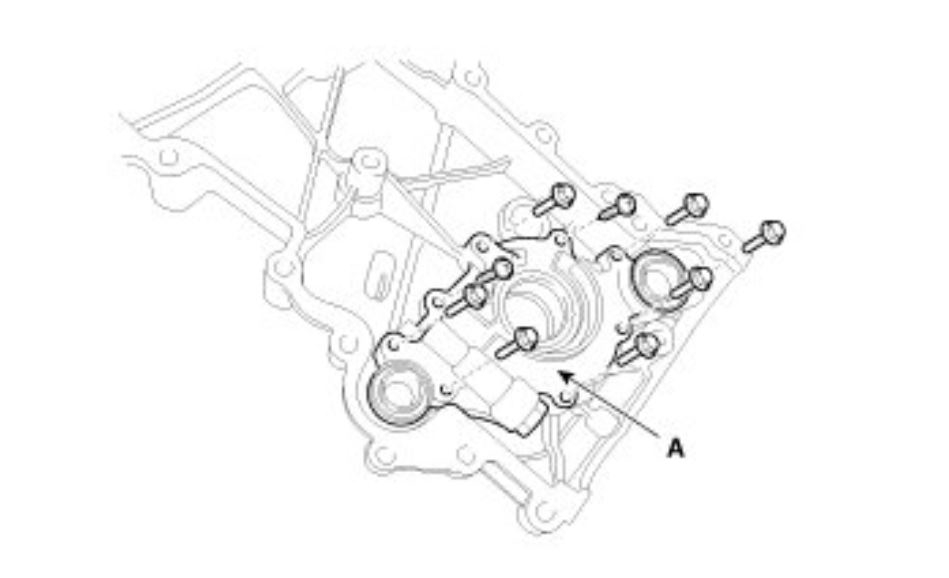
2. Remove the oil pump cover (A).
imageOpen In New TabZoom/Print
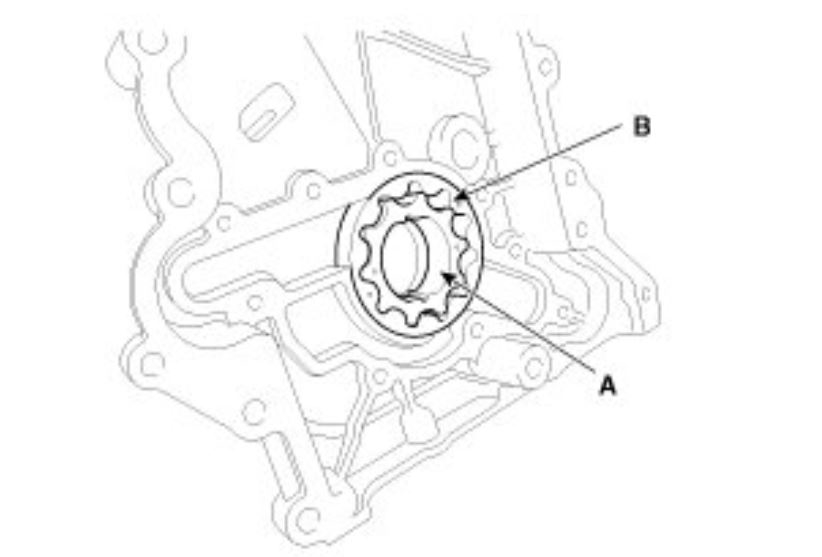
3. Remove the inner rotor (A) and outer rotor (B).
imageOpen In New TabZoom/Print
4. Installation is the reverse order of removal.
Inspection
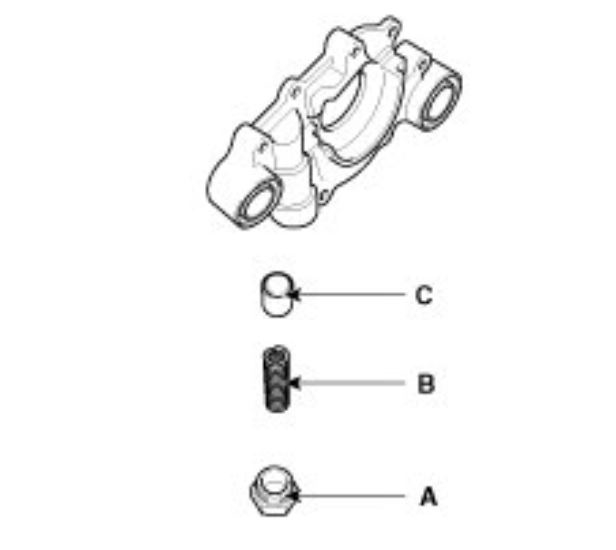
1. Remove the relief plunger.
Remove the plug (A), spring (B) and relief plunger (C).
imageOpen In New TabZoom/Print
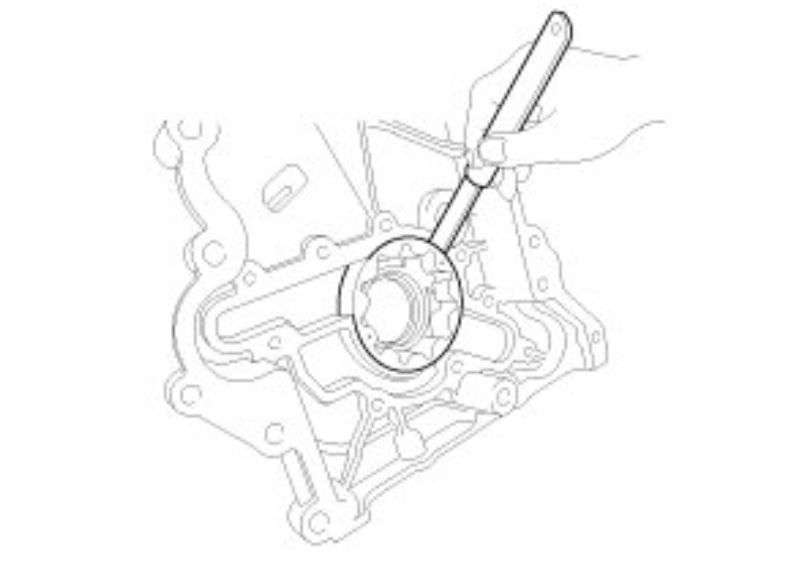
2. Inspect the relief plunger.
Coat the plunger with engine oil and check that it falls smoothly into the plunger hole by its own weight.
If necessary, replace timing chain cover.
3. Inspect the relief valve spring.
Inspect for distortion or breakdown of the relief valve spring.
4. Inspect the rotor side clearance.
Using a feeler gauge and precision straight edge, measure the clearance between the inner rotors and precision straight edge.
If the side clearance is greater than maximum, replace the rotors as a set.
If necessary, replace the timing chain cover.
Side clearance:
0.040 - 0.090 mm (0.00157 - 0.00354 in.)
imageOpen In New TabZoom/Print
5. Inspect the rotor body clearance.
Using a feeler gauge, measure the clearance between the outer rotor and body.
If the body clearance is greater than maximum, replace the rotors as a set.
If necessary, replace the timing chain cover.
Body clearance:
0.200 - 0.292 mm (0.00787 - 0.01150 in.)
imageOpen In New TabZoom/Print
6. Inspect the rotor guide clearance.
(1)Measure the outer diameter of the inner rotor guide.
Inner rotor diameter:
41.550 - 41.570 mm (1.63582 - 1.63661 in.)
(2)Measure the inner diameter of the timing chain cover hole.
Timing chain cover hole diameter:
41.600 - 41.625 mm (1.63779 - 1.63878 in.)
(3)Check the clearance between the timing chain cover hole inner diameter and the inner rotor guide outer diameter.
imageOpen In New TabZoom/Print
Guide clearance:
0.030 - 0.075 mm (0.00118 - 0.00295 in.)
Images (Click to enlarge)
Jul 28, 2020 at 1:50 PM