Welcome to 2CarPros.
If the problem is related to the system not responding to temperature requests, it sounds like the blend air door actuator is the problem. A blend air door is responsible for the air temperature entering the vehicle. Since you have dual climate control, there are two separate actuators, one for the left and one for the right.
You can locate and confirm if the actuator is working by removing it and seeing if it moves when you change the temperature.
Here is a link that explains the common symptoms related to a bad actuator. Also, it shows in general how one is replaced.
https://www.2carpros.com/articles/replace-blend-door-motor
Here are the directions specific to your vehicle. It is for the right side (passenger side) replacement. The attached pictures correlate with the directions,
_________________________________________
1999 Buick Regal V6-3.8L VIN K
Temperature Actuator Replacement (RH (Passenger))
Vehicle Heating and Air Conditioning Air Door Actuator / Motor Service and Repair Procedures HVAC System - Manual Temperature Actuator Replacement (RH (Passenger))
TEMPERATURE ACTUATOR REPLACEMENT (RH (PASSENGER))
REMOVAL PROCEDURE
pic 1
1. Remove the right side instrument panel insulator.
2. Remove the instrument panel compartment.
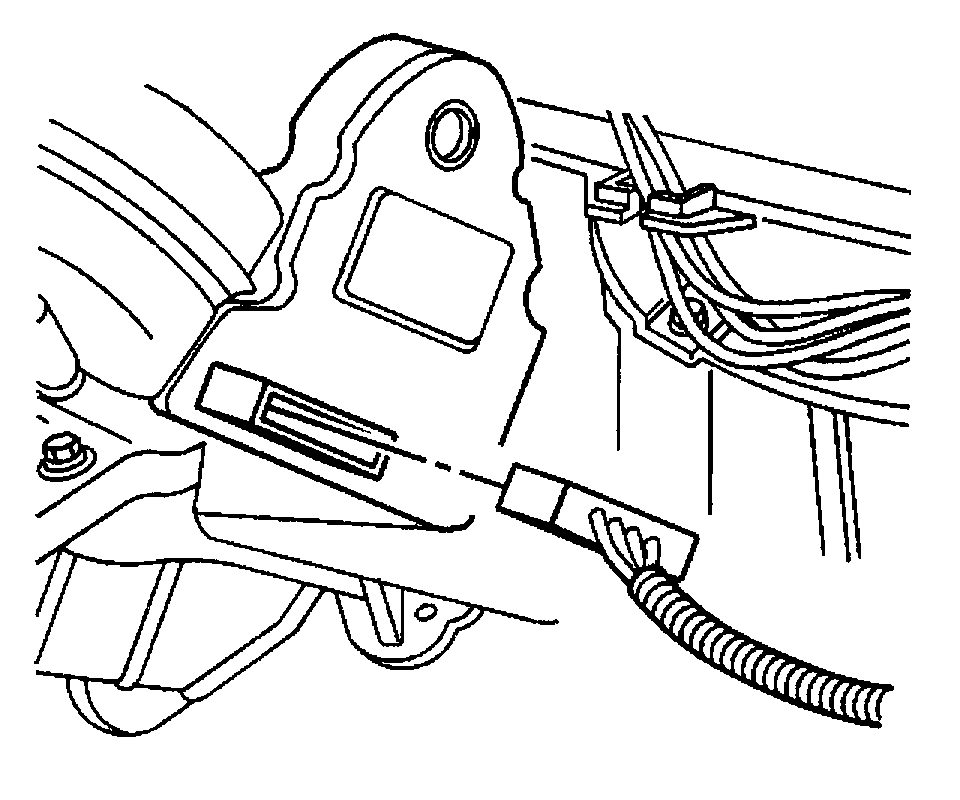
3. Disconnect the electrical connector from the RH temperature valve electric actuator.
pic 2
4. Remove the screws retaining the RH temperature valve electric actuator.
5. Remove the electric actuator.
INSTALLATION PROCEDURE
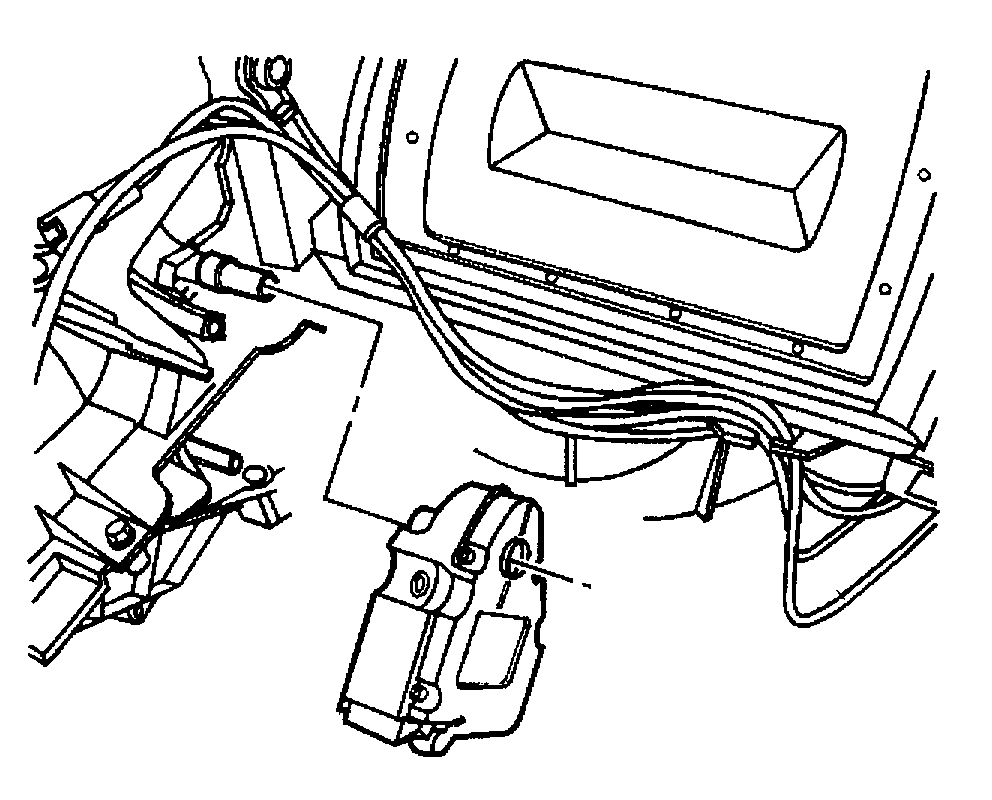
pic 3
1. Position the temperature valve electric actuator, then align the slots in the electric actuator driver to the flats on the temperature valve shaft.
2. Slide the electric actuator driver onto the shaft, while aligning the actuator locating holes to the forward alignment pin on the HVAC module case. The actuator driver should completely seat onto the temperature valve shaft and the mounting holes should be flush with the mounting bosses on the HVAC module case.
NOTICE: Refer to Fastener Notice in Service Precautions.
3. Install the bolts to the temperature valve electric actuator.
Tighten
Tighten the temperature actuator bolts to 1.5 N.m (13 lb in).
pic 4
4. Connect the electrical connector to the temperature valve electric actuator.
5. Install the instrument panel compartment.
6. Install the right side instrument panel insulator.
_____________________________
Let me know if this helps.
Take care,
Joe
Images (Click to enlarge)
Oct 4, 2019 at 8:59 PM