Unfortunately, the entire case has to come out and come apart to repair or replace the blend door. The service info we have doesn't show the breakdown of the case, but I believe that one splits along a vertical seam.
Removal and Installation
NOTE: The O-ring seals used on this vehicle are not interchangeable with all similarly sized O-ring seals used on other Ford products. Use only the O-ring seals specified for this vehicle in the Ford master parts catalog.
1. Recover the refrigerant.
2. Drain the engine coolant.
3. Remove the upper intake manifold.
4. Remove the instrument panel.
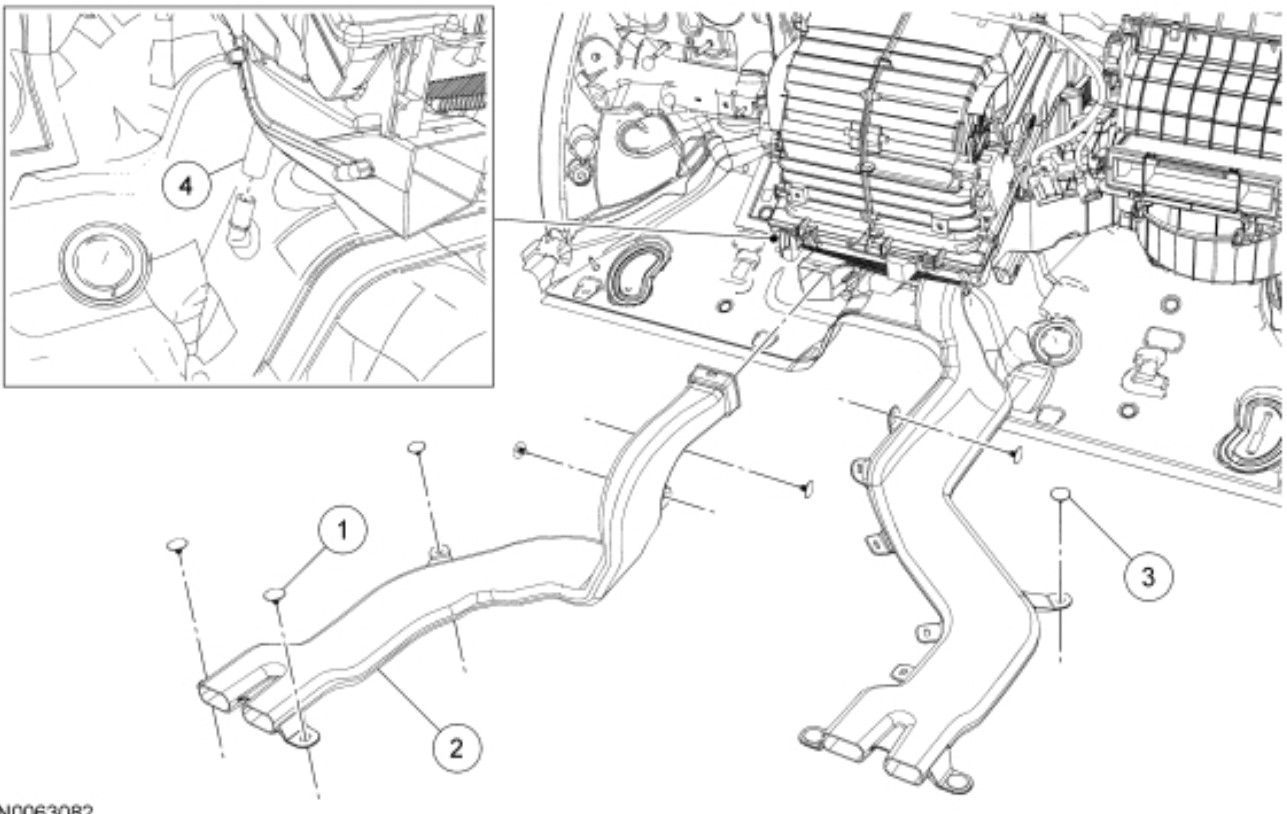
5. Remove the 3 driver side carpet pin-type retainers and position the driver side front carpet aside.
6. Remove the 4 LH rear footwell duct pin-type retainers and the LH rear footwell duct.
7. Remove the 2 passenger front carpet pin-type retainers and position the passenger front carpet aside enough to access the 2 front pin-type retainers on the RH rear footwell duct.
8. Remove the 2 front pin-type retainers on the RH rear footwell duct and detach the RH rear footwell duct from the heater core and evaporator core housing.
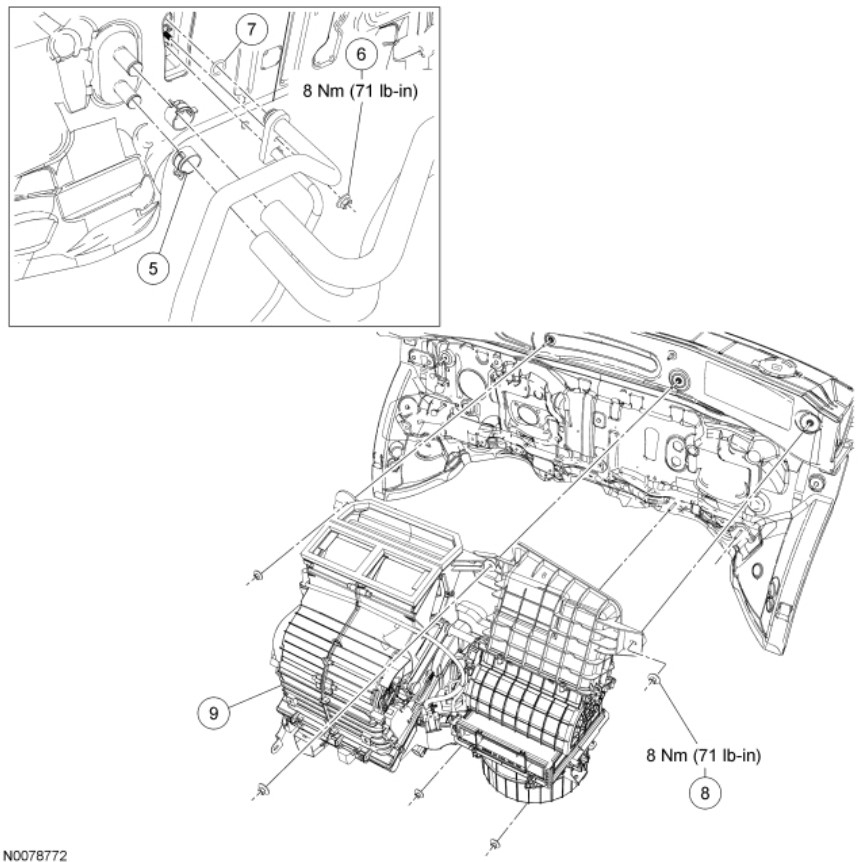
9. Release the 2 heater hose clamps at the heater core and disconnect the heater hoses.
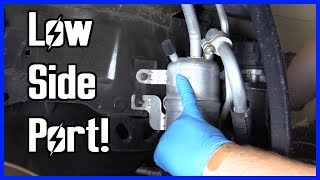
10. Remove the Thermostatic Expansion Valve (TXV) fitting nut and detach the A/C lines from the TXV (Thermostatic Expansion Valve).
- Discard the O-ring seals.
- To install, tighten to 8 Nm (71 lb-in).
11. NOTICE: The retaining clips on the plastic evaporator drain tube elbow will break if the elbow is removed from inside the vehicle. If the evaporator drain tube elbow must be removed, the retaining clips must be detached from below the vehicle. If the plastic evaporator drain tube elbow does not need to be removed, only detach the evaporator drain tube from the elbow.
Disconnect the evaporator drain tube from the elbow at the floor pan.
12. Remove the 5 heater core and evaporator core housing nuts.
- To install, tighten to 8 Nm (71 lb-in).
13. Remove the heater core and evaporator core housing.
14. To install, reverse the removal procedure.
- Install new O-ring seals lubricated in clean PAG oil.
- Lubricate the refrigerant system with the correct amount of clean PAG oil.
Images (Click to make bigger)
Thursday, June 8th, 2023 AT 8:22 PM