Welcome to 2CarPros.
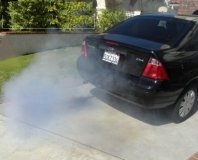
Anytime there is blue smoke from the exhaust, oil is being burned. Not, it is very odd that it stops instantly when you turn the car off and back on, but to be honest, my first suspect is valve seals or the heads are dirty enough to prevent oil from flowing back into the oil pan, building up under the valve cover, and then making its way down the valve stems into the combustion chamber.
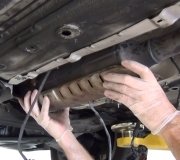
With that, the easiest think to do is remove the valve covers and inspect the drain ports as well as the valve seals under the valve springs. What happens is that the rubber o-ring which is the valve seal, can dry out, crack, and fall away from the valve stem allowing oil to enter the engine.
If you determine the seals are the issue, here are the directions for replacing them without taking the heads off. You will need a good compressor to do this. The attached pictures correlate with these directions.
________________________________________________________
VALVE STEM OIL SEAL AND VALVE SPRING REPLACEMENT
REMOVAL PROCEDURE
- Tools Required
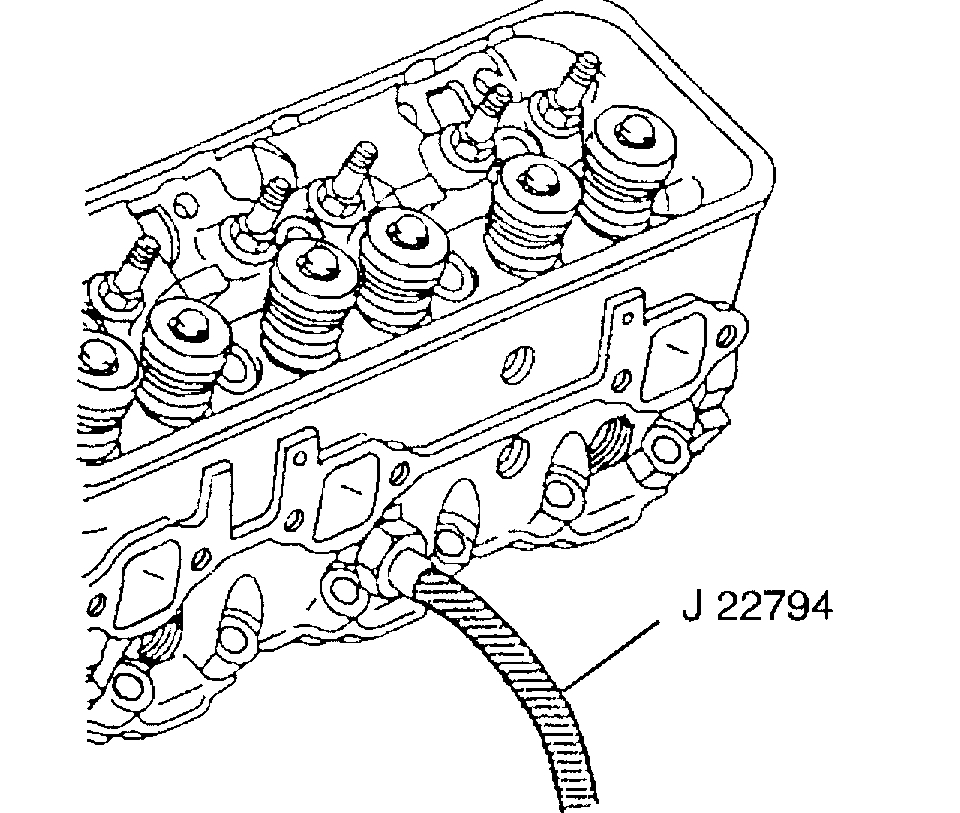
- J 22794 Spark Plug Port Adapter
- J 38606 Valve Spring Compressor
- J 5892-D Valve Spring Compressor
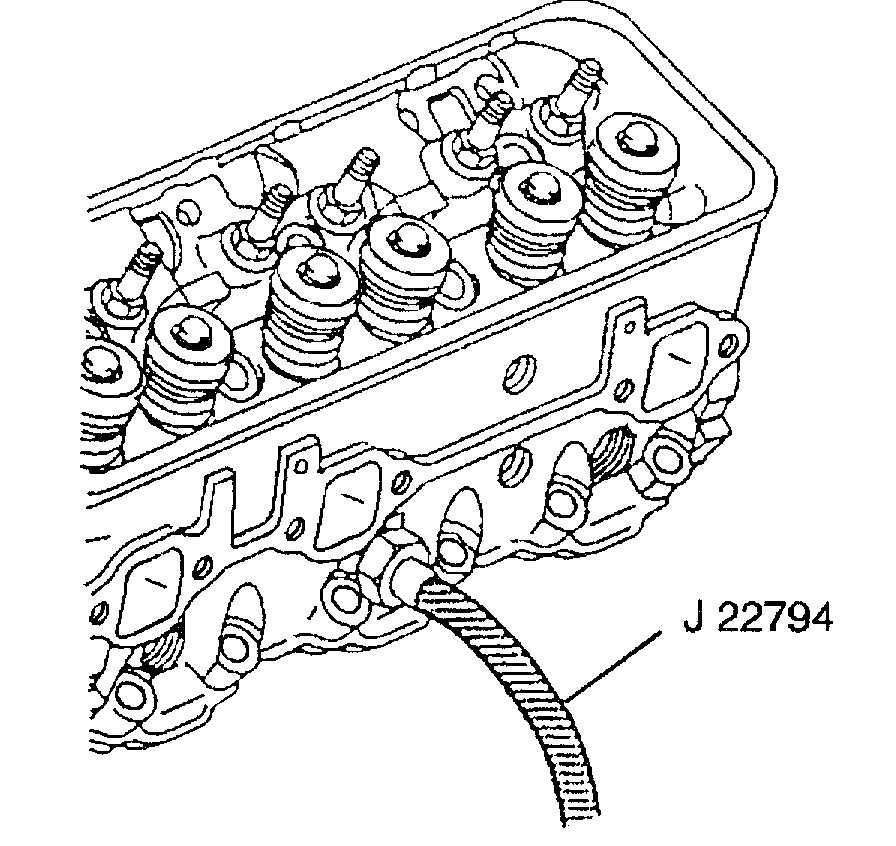
Picture 1
1. Remove the valve rocker arms. Refer to Valve Rocker Arm and Push Rod Replacement.
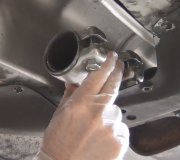
2. Remove the spark plugs. Refer to Spark Plug Replacement.
3. Install the J22794 into the spark plug hole.
CAUTION: Wear safety glasses in order to avoid eye damage.
4. Apply compressed air in order to hold the valves in place.
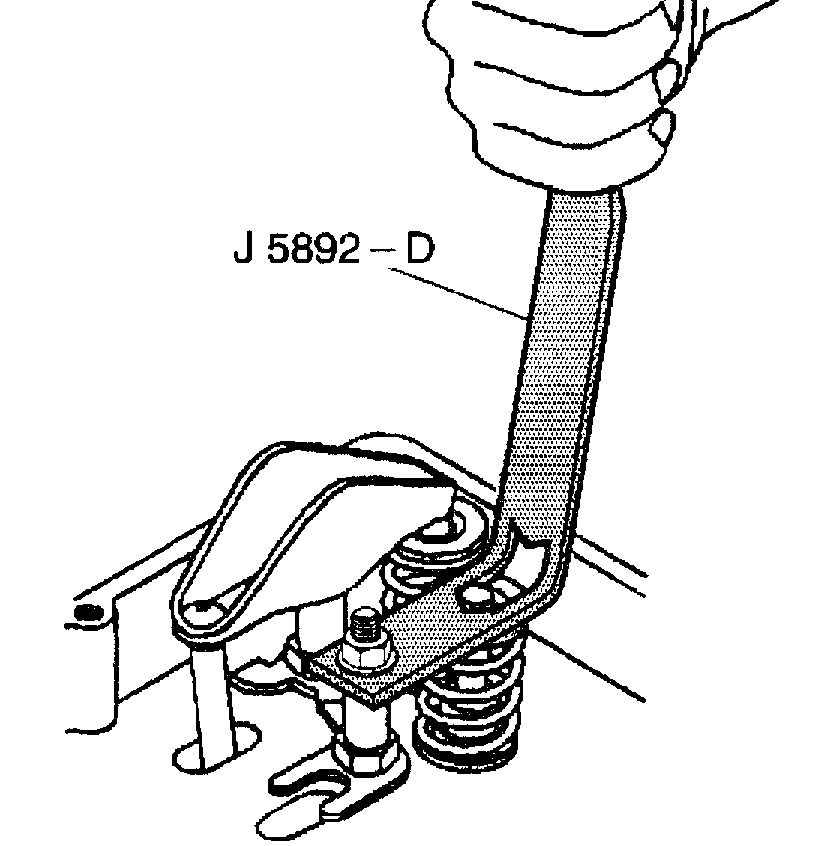
Picture 2
5. Install the valve rocker arm nut.
6. Use the J 5892-D in order to compress the valve spring.
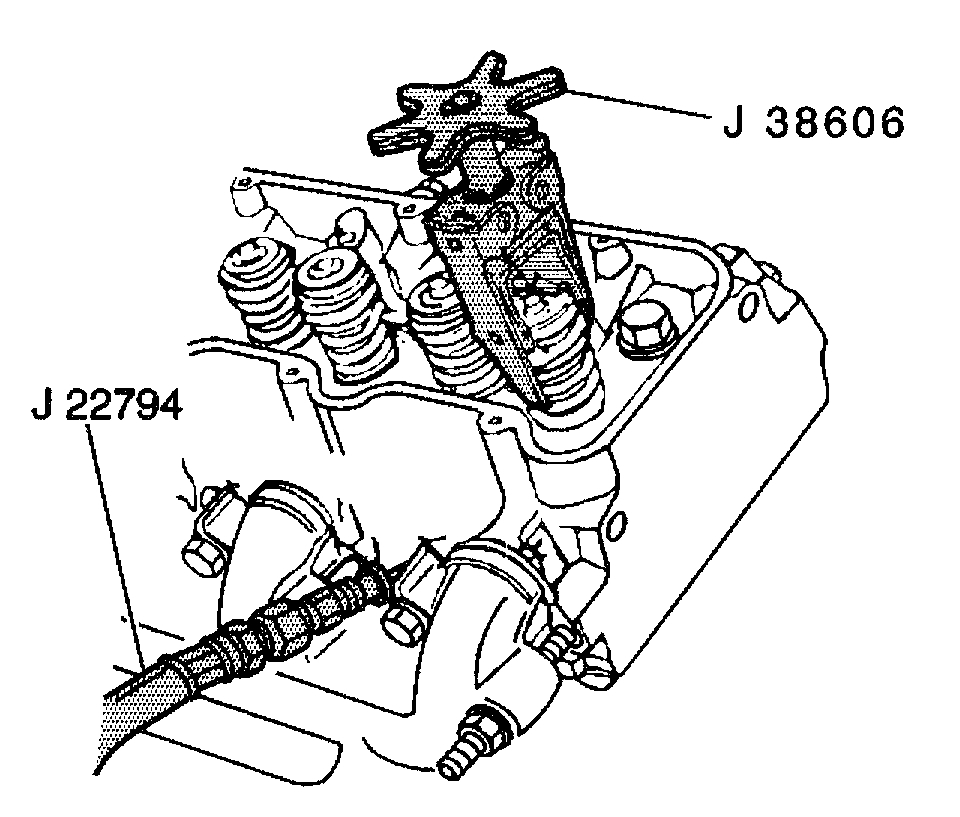
Picture 3
7. Use the J 38606 if clearance does not permit use of J 5892-D.
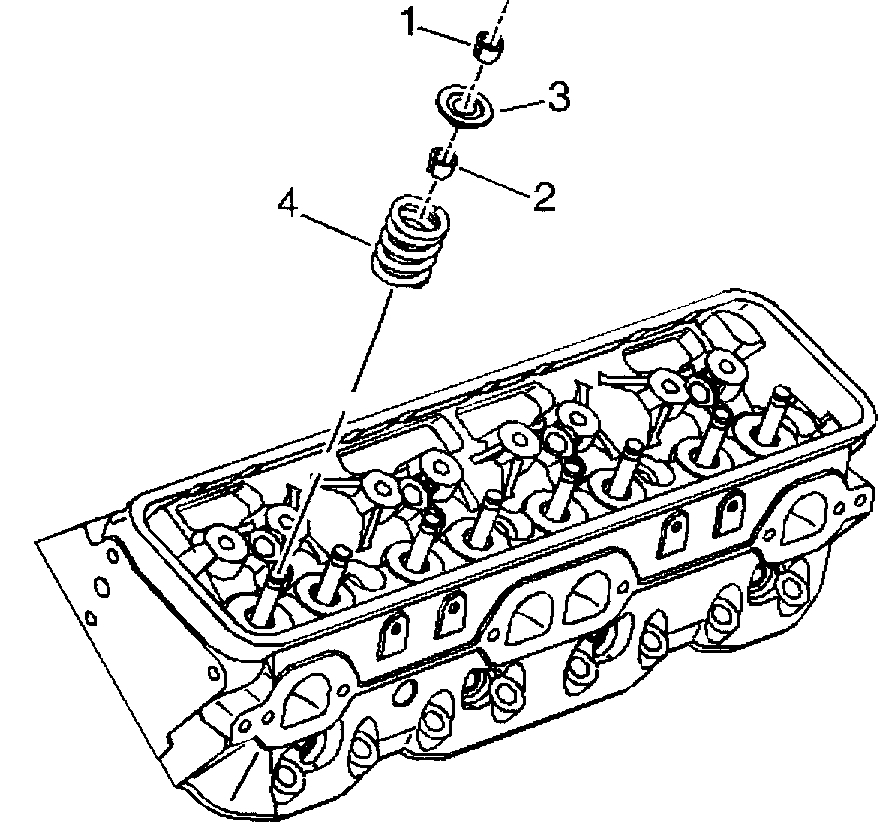
Picture 4
8. Remove the valve stem keys (1).
9. Carefully release the valve spring tension.
10. Remove the J 5892-D or the J 38606.
11. Remove the valve spring cap and valve spring (4).
12. Remove the valve stem oil seal (2).
INSTALLATION PROCEDURE
- Tools Required
- J 22794 Spark Plug Port Adapter
- J 38606 Valve Spring Compressor
- J 5892-D Valve Spring Compressor
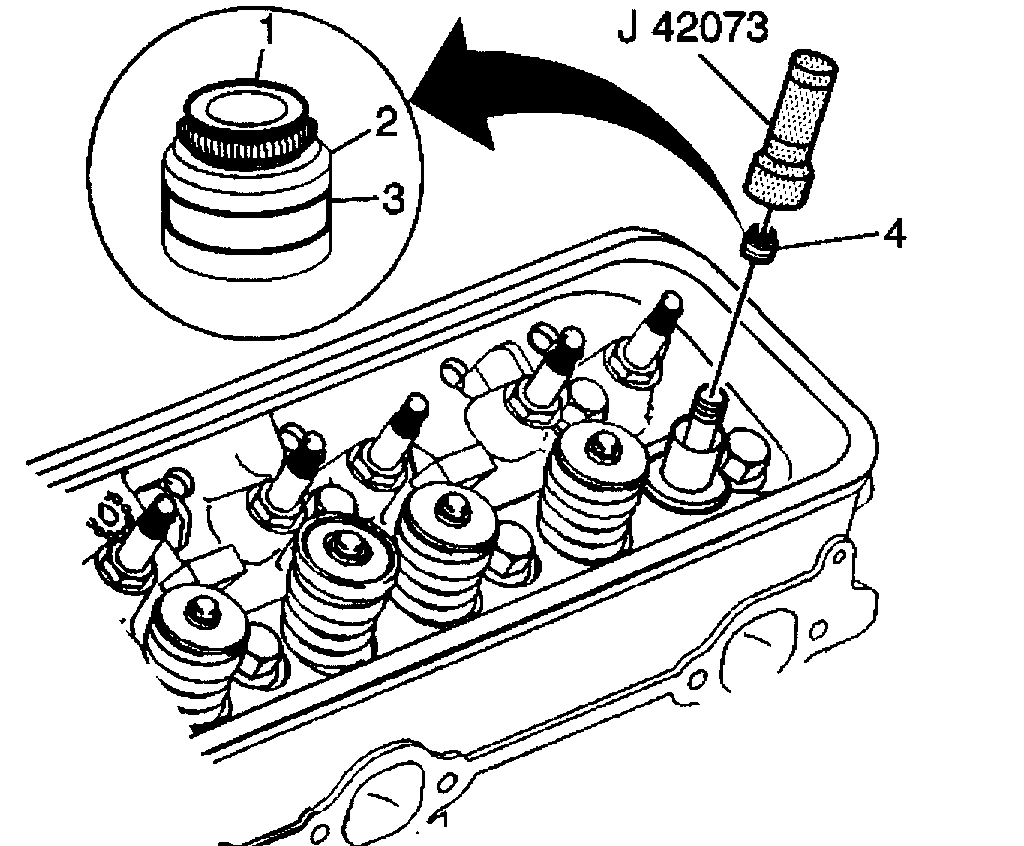
- J 42073 Valve Stem Seal Installer
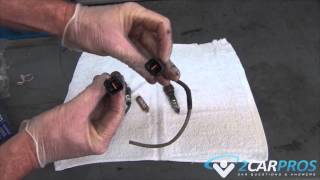
IMPORTANT: The exhaust valve oil seal has the letters EX (1) molded into the top of the seal. The seal material is brown in color (2) with a white stripe (3) painted on the outside diameter of the seal.
Picture 5
1. Select the proper valve stem oil seal for the specific valve guide.
2. Lubricate the valve stem oil seal and guide with clean engine oil. The exhaust and intake valve seals are not interchangeable.
3. Assemble the valve stem oil seal onto the valve guide using the J 42073 and a hammer. Install the oil seal onto the valve guide until the installation tool bottoms against the valve spring seat.
4. Install the valve spring.
Picture 6
5. Use the J 5892-D in order to compress the valve spring.
Picture 7
6. Use the J 38606 if clearance does not permit use of J 5892-D.
7. Install the valve stem keys (1).
8. Use grease in order to hold the valve stem keys in place.
9. Carefully release the valve spring pressure, making sure the valve stem keys stay in place.
Picture 8
10. Remove the J 5892-D or J 38606 and the J 22794.
11. Install the spark plugs. Refer to Spark Plug Replacement.
12. Install the valve rocker arms. Refer to Valve Rocker Arm and Push Rod Replacement.
_________________________________________
Let me know if this helps or if you have other questions.
Take care,
Joe
Images (Click to make bigger)
Saturday, March 16th, 2019 AT 5:11 PM