Changing the fluid in the automatic transmission promotes proper operation and helps the transmission last longer without failure. There are two types of automatic transmission fluid services, the first involves removing the fluid pan and filter and installing a new filter and gasket which changes about six quarts of the ten the unit holds, while the second type involves removing a drain plug and allowing the fluid to drain out and then refilling with new fluid. Both service types can be flushed if the fluid cooler lines are disconnected and fed through a flush machine which is more expensive but more complete because it removes all fluid instead of what's in the fluid pan or case.
What Goes Wrong?
When transmission fluid breaks down it loses its ability to lubricate correctly which leads to bearing and clutch material failure, this is indicated by fluid color and odor and will eventually lead to the transmission failing. Car manufacturers will specify the service interval duration for their particular transmission in the owner's manual.
How Much Does It Cost?
Typically a transmission service kit and fluid will cost between $50.00 and $80.00 on Amazon (US) and will require the removal of the old fluid and possibly a filter. Labor time can be between 1.2 and 2.0 hours at a shop or dealer. If exact times or procedures are needed you can ask the 2CarPros community to supply you with the information (free), or consult an online resource such as AllData DIY (pay), this guide and video will be sufficient in most cases.
Lets Jump In!
We feature both case and pan style of services in this guide, beginning with
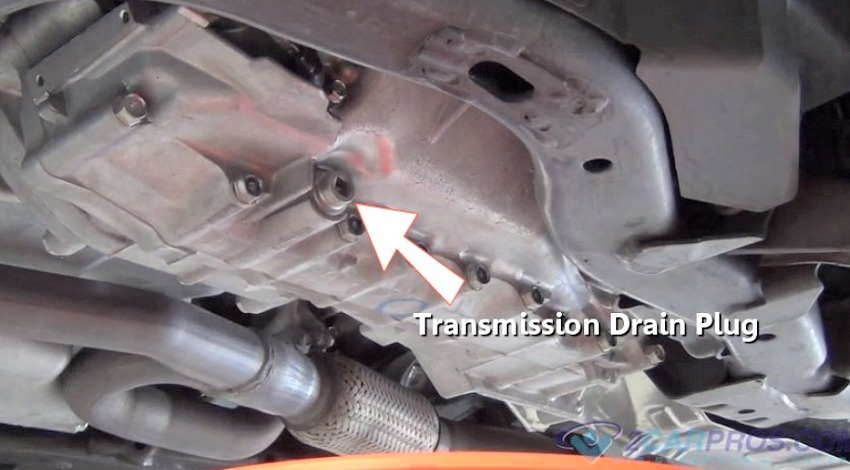
the case style. In each instance the vehicle will need to be lifted
using a hydraulic jack and
stands. Case style transmissions are usually front wheel drive as in the example
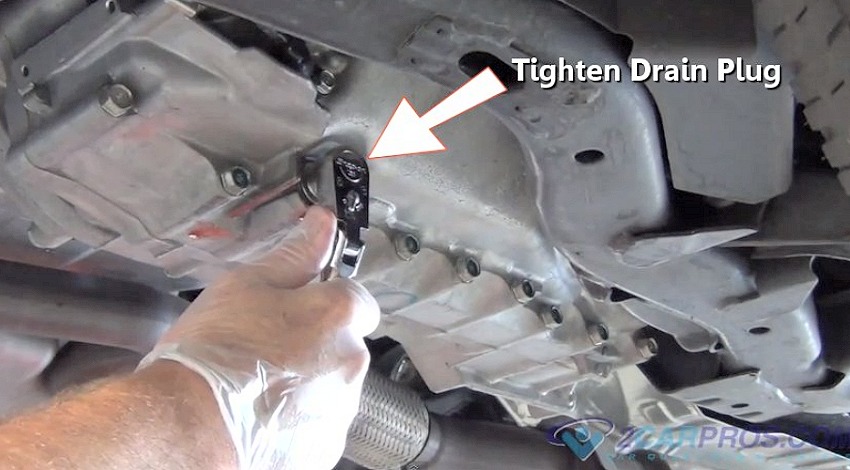
below, once lifted locate the fluid drain plug.
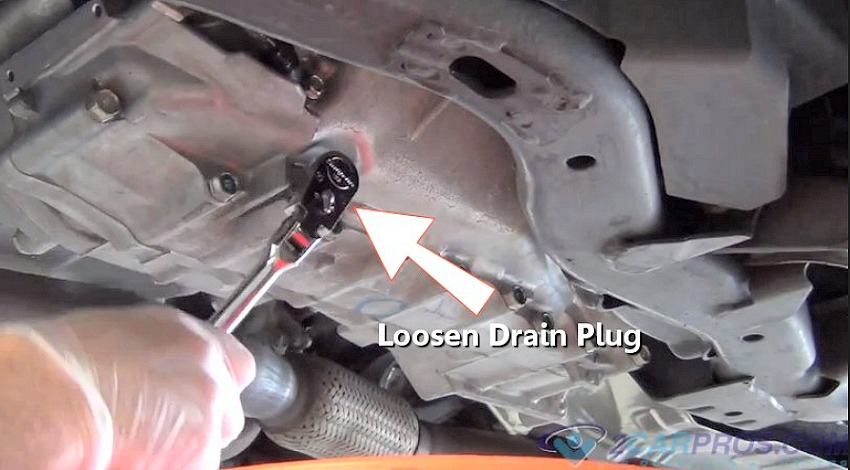
Choose the appropriate tool to remove the drain plug, in this case it is a 3/8
drive, such as a ratchet without the socket attached.
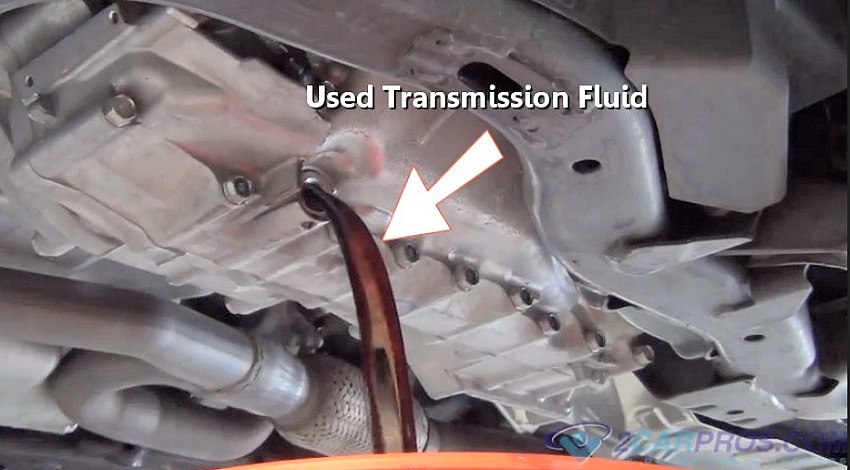
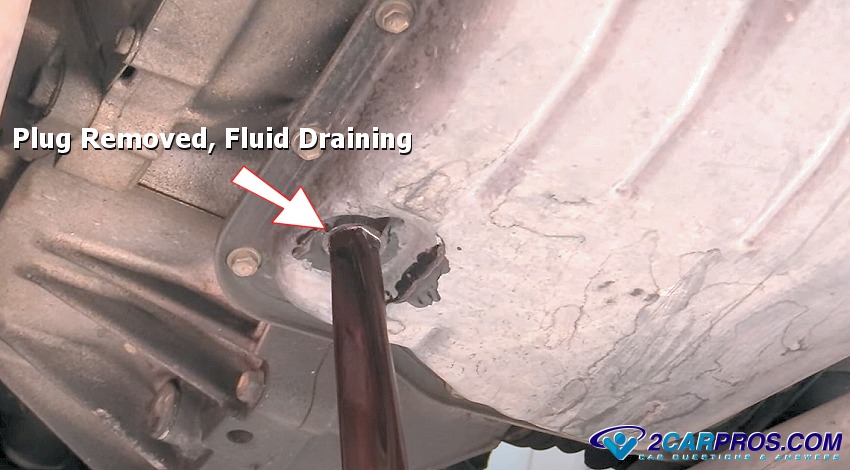
Have a fluid catch basin ready while removing the drain plug, line up the drain
hole to receive the fluid and continue to remove the plug, used transmission fluid
will begin to pour out.
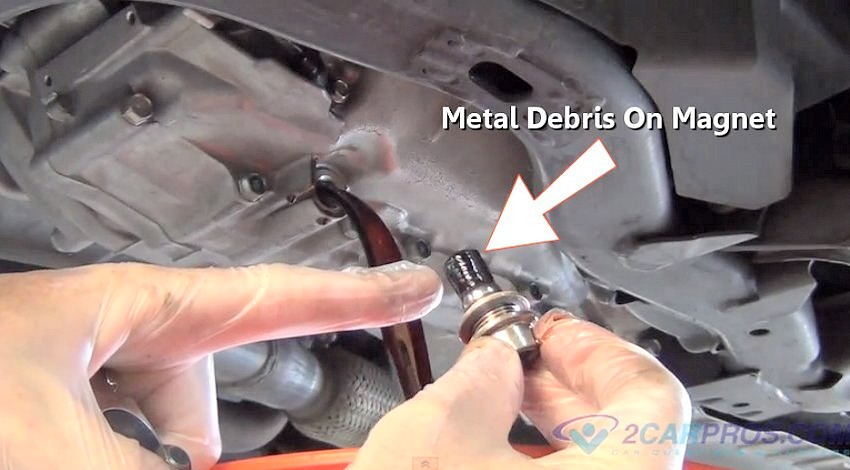
There can be a magnet attached to the drain plug which is used for catching metal
debris which is normally created by the operation of the transmission, clean this
magnet before reinstalling the plug.
Watch the Video!
Please watch this video of the job being done, then continue down the guide to glean additional helpful information, pan and filter guide below with video.
Wait until the fluid is done draining then reinstall the drain plug and tighten
to spec, in this case the torque was 14 foot pounds.
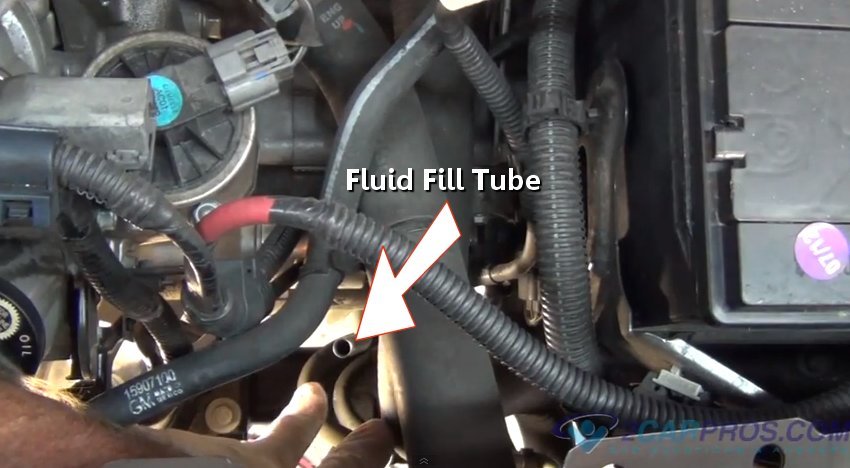
Locate the transmission fluid fill tube which also houses the fluid dipstick.
Some transmissions will have a fill plug or port which depends on design which is
outlined in this transmission
fluid level check guide.
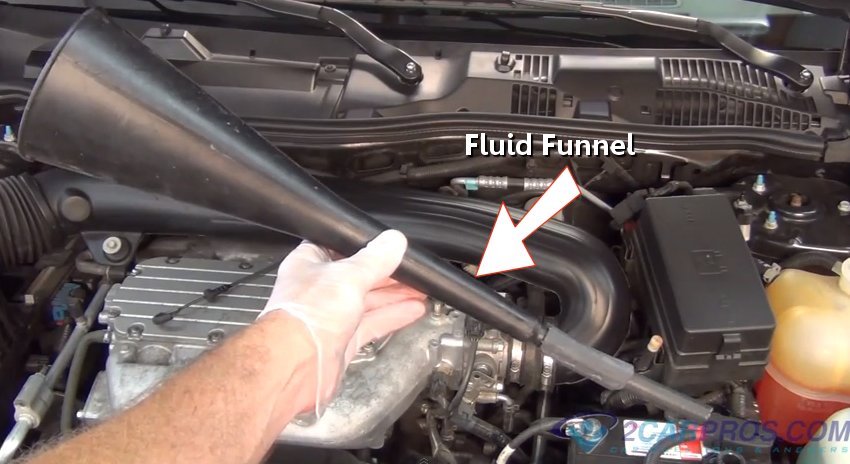
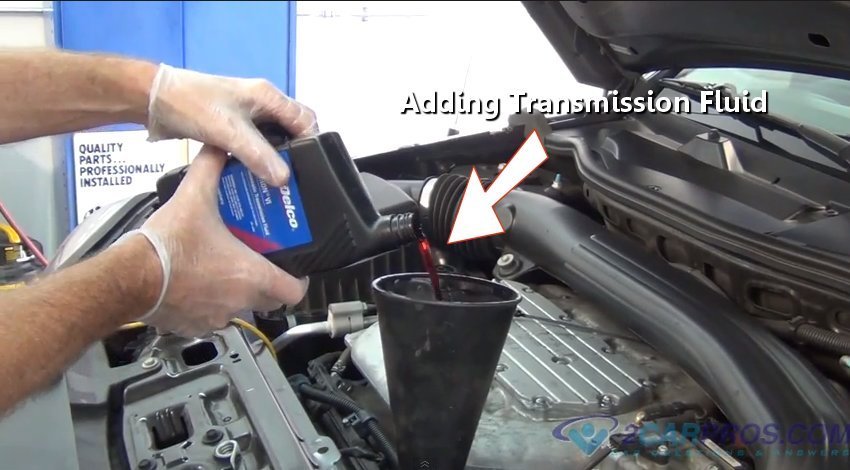
Usually the tube will have a larger diameter to help accept the new fluid, in
case case below we had to rig our transmission funnel to work with the smaller tube
using a small piece of rubber hose.
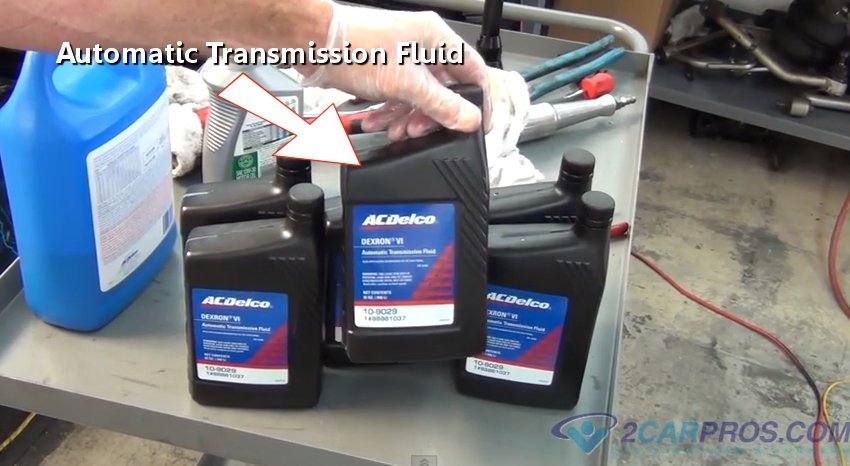
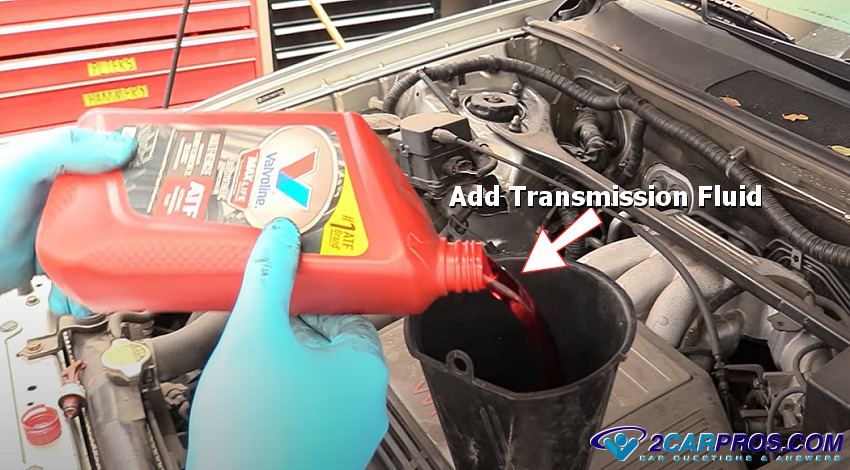
Have your new transmission fluid ready, when refilling, use manufacturer specified
fluids or their equivalent in most cases you will need 6 or more quarts.
Insert the fluid funnel, by judging the amount of fluid that came out it will
give you an idea on how much to pour in, you want to be a little low. We started
with four quarts and then started the engine,
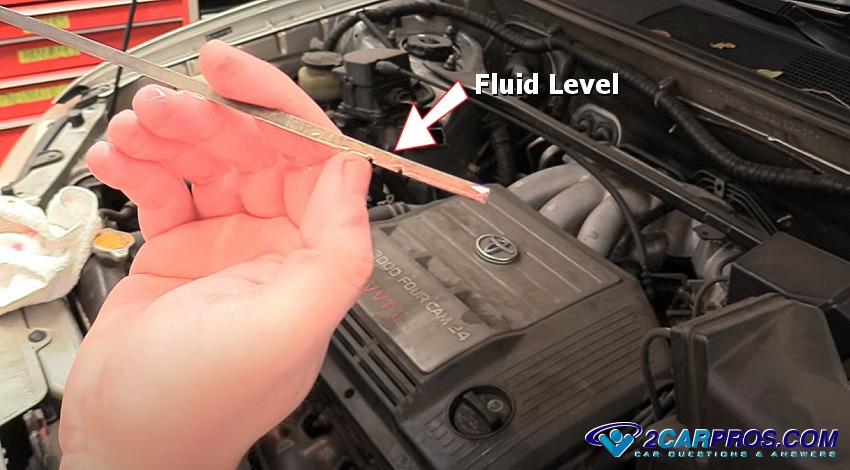
start checking the fluid
level and add fluid until the level is in-between the crosshatches on the fluid
dipstick. Allow the engine to warm up and recheck the fluid level, do not overfill
the transmission, this could cause the fluid to foam which can cause slippage. Shut
off the engine and replace the fluid dipstick, check transmission for leaks and
recheck fluid level in a couple of days to be safe.
Transmission Pan and Filter Service
Locate the transmission fluid pan, some pans have a fluid drain plug, insert
the correct tool in this case it is a 10mm Allan wrench hex drive and turn counter
clockwise, if your does not have a drain plug skip this steps, (fluid will exit
the transmission when pan is removed).
![]()
Loosen the drain plug until it is easily removed by hand, have a fluid catch
basin ready. Carefully continue to remove the plug until the fluid is flowing out,
allow to do so until completed.
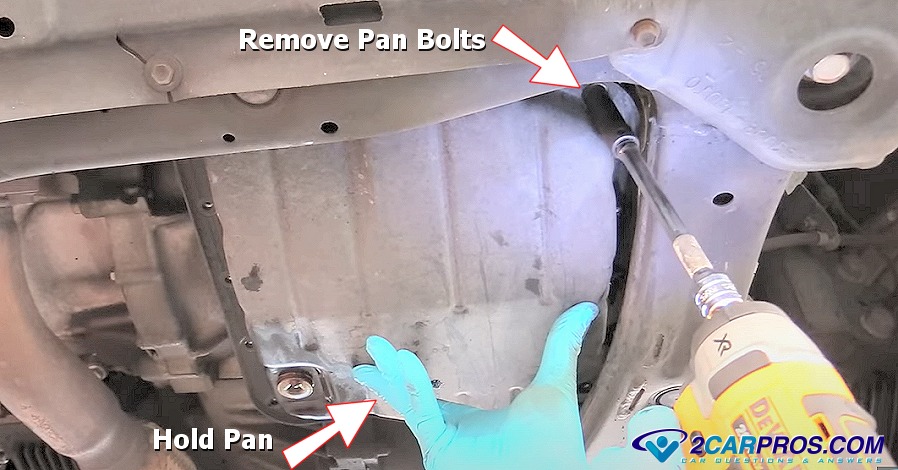
Remove transmission pan mounting bolts and continue to do so until all but two
bolts hold the pan in place. If there is no drain plug, now is the time transmission
fluid will start to pour out, have a fluid catch basin ready. When all but two bolts
remain, place your hand under the transmission pan and remove the remaining bolts,
gently lower the pan and empty the remaining fluid.
Here is what it looks like with the pan removed, exposing the filter while transmission
fluid continues to drain.
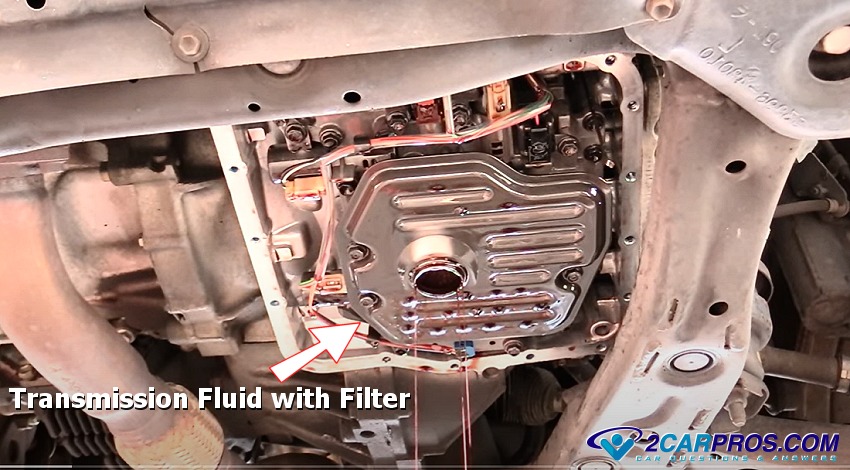
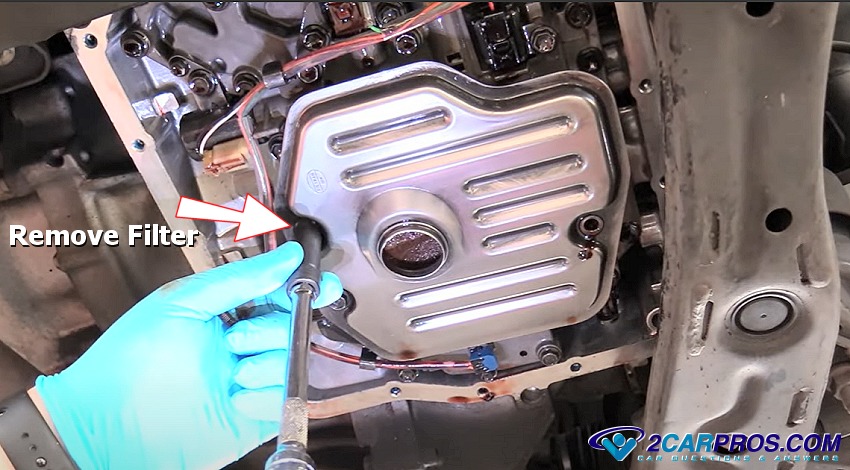
Remove the transmission filter which can be held on by mounting bolts, a clip
or an O ring, this varies per manufacturer, in this case there are three 10mm bolts.
Be sure to remove the old O ring seal or gasket, a new seal will come with the new
filter kit.
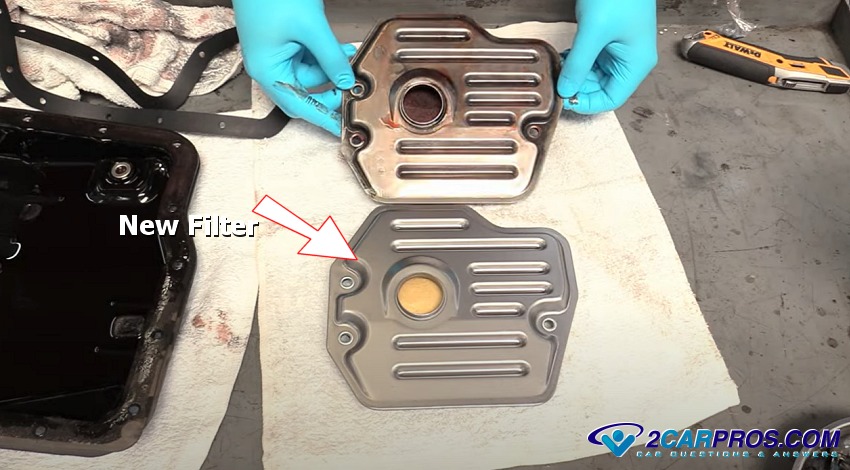
Inspect the transmission filter kit which should include the pan gasket, filter
and filter seal or gasket, confirm the parts are correct.
Watch the Video!
Please watch this video of the job being done, then continue down the guide to glean additional helpful information, pan and filter guide below with video.
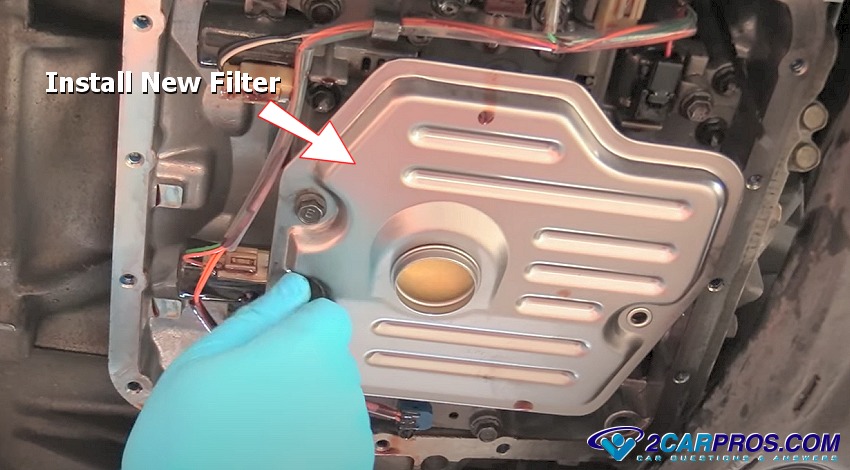
When installing the new filter, clean the seal surface in which the seal will
sit against to avoid any leakage, once the new gasket or seal is installed fit the
filter into place and reinsert the mounting bolts or clips. Tighten the filter bolts
to spec which in this case was 7 foot pounds.
Remove the old transmission pan gasket and clean the pan thoroughly, sometimes
there will be a magnet inside the pan designed to capture small metal particles
which should be cleaned as well. All transmissions have some metal particles in
the pan, but excessive quantities can mean a more serious problem. Install the new
pan gasket using contact cement to hold the gasket in place, a thin layer of gasket
sealer such as silicone rubber can aid the sealing ability of the gasket, (transmission
side).

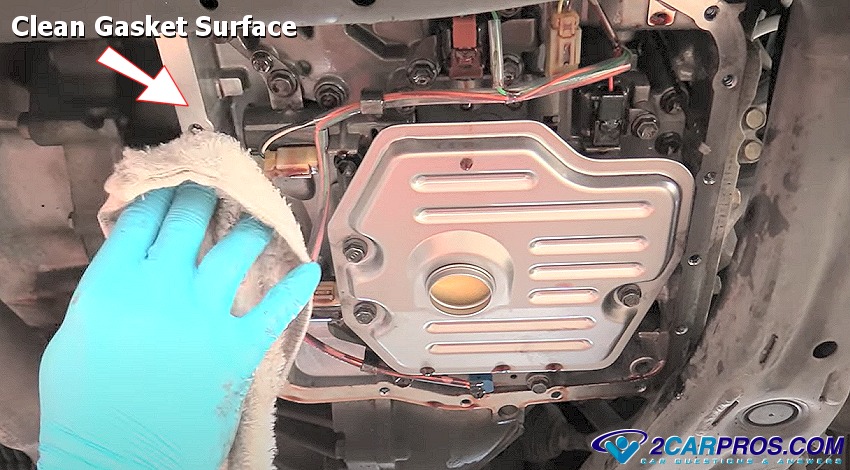
Before reinstalling transmission pan clean the gasket sealing surface with a
gasket scraper and shop towel, this enables a secure seal to the new gasket.
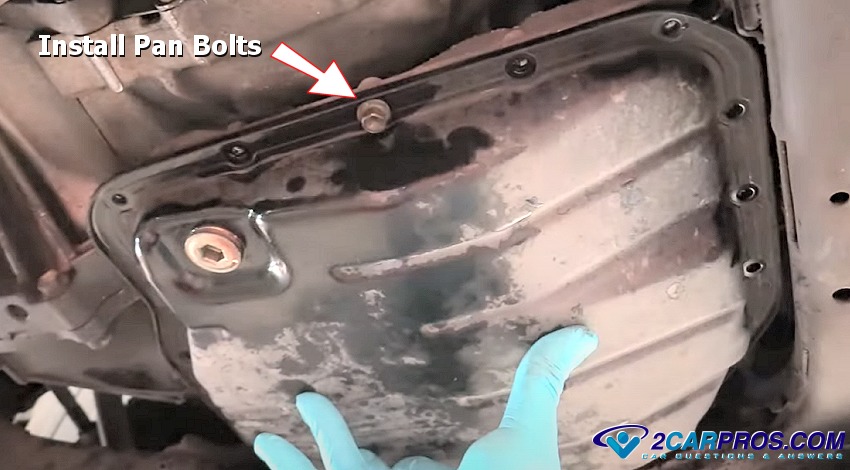
Gently raise the pan up and into place being mindful of the gasket while installing
the transmission pan bolts. Insert the bolts by hand, do not tighten until all bolts
have been started, tighten to the manufactures torque spec in a star pattern. If
no specs can be found wrist tight is a good rule of thumb, do not split the gasket
by over tightening the bolts, be sure to recheck the bolts in a few days to retighten
as needed.
Locate and remove the transmission fluid dipstick and insert a fluid funnel,
start by adding four quarts and then start the engine,
start checking the fluid
level.
Continue to add fluid while the engine is warming up, it is best to add 1/2 quart
at a time, with your foot on the brake move the gear selector through the gear range
slowly. Keep wiping off the dipstick as you add, stop adding when the fluid level
is in-between the level marks on the dipstick, some transmissions will not have
a dipstick in this case please check out this
add fluid level guide.
Due to the nature of the transmission it's best to check the fluid level in a few
days to ensure the correct fluid level.
Additional Transmission Service Videos
Questions?
If you have a car repair question, you can ask the 2CarPros community for help. We hope this guide helped you understand the repair. Please visit our 2CarPros YouTube channel for more helpful repair videos.